Miss-Prints, eSteps/Stepper, Filaments and More Rebuild, 4
Labwork – Rebuild Part 4
Fine tuning, break-fix, and reprints. Yes, break-fix steps continue, fine tuning/recalibration, config adjustments, steppers, test prints and more. Largely, considered a failure so far…
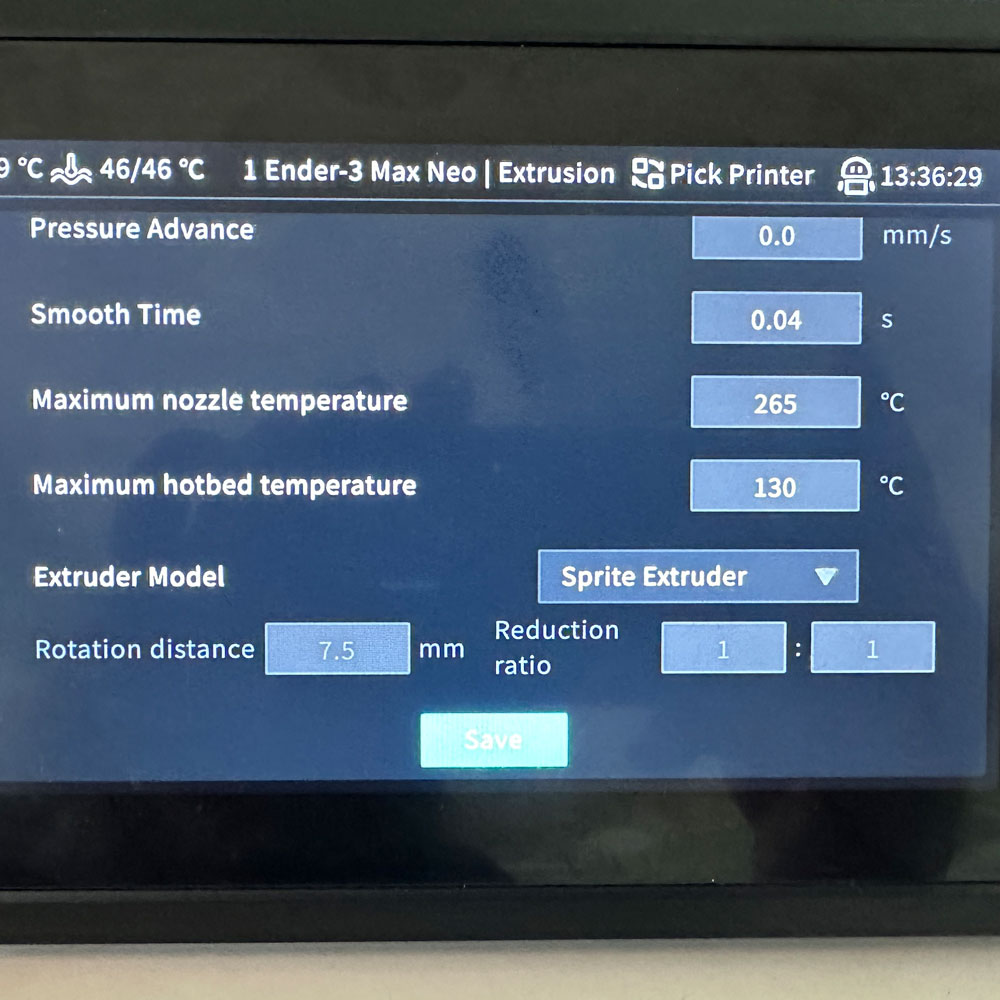
Failures, not to worry! We will get this fixed, upgrades and all. A couple cycles now, including – what I will call the ‘teardown-and-rebuild’ cycle – removal of most external upgrades such as the Creality Sonic Pad, Wifi Box 2.0, direct drive extruder, tubes and hot end… the key is to isolate issues with teardown and rebuild cycle, building up with neutral or known issues. Please note, the Sonic Pad interface, under the ‘advanced settings’, extrusion settings… the default extrusion type must be changed/modified to include the ‘sprite extruder’, this accounts for the upgrades and the most significant step forward.
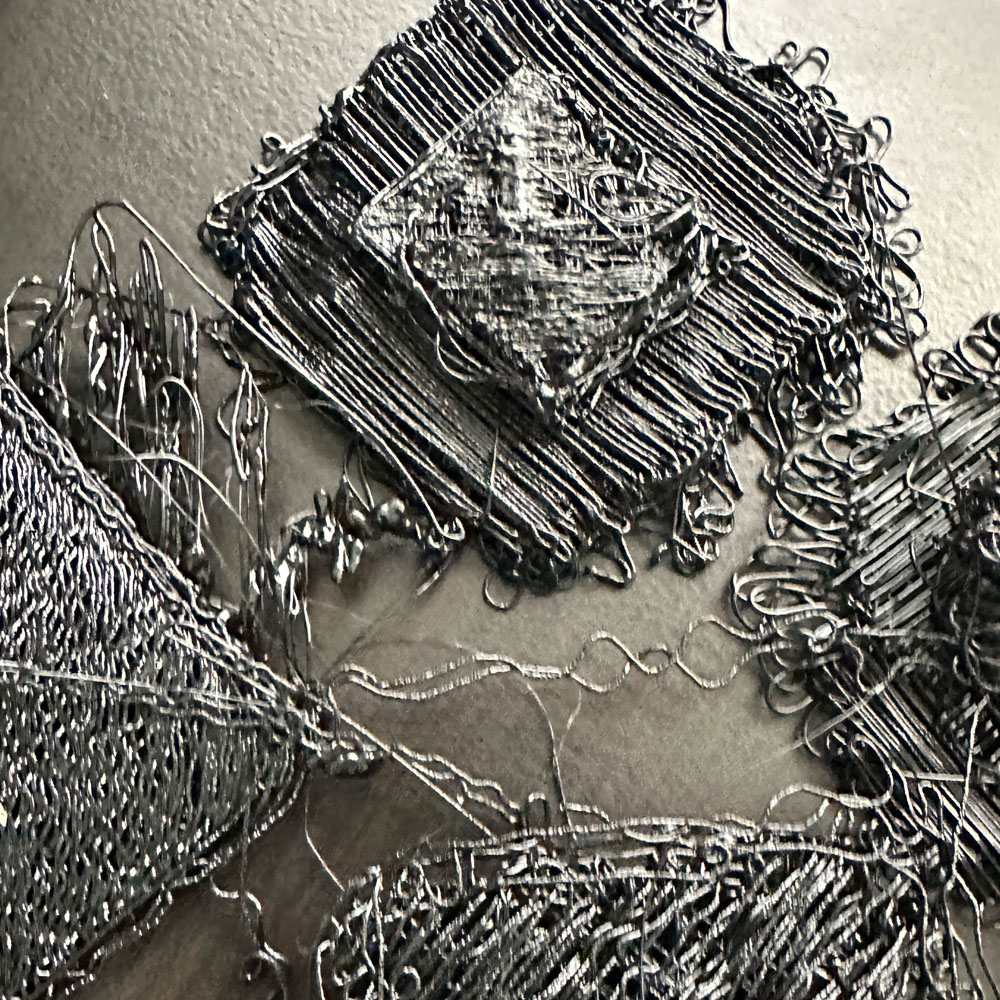
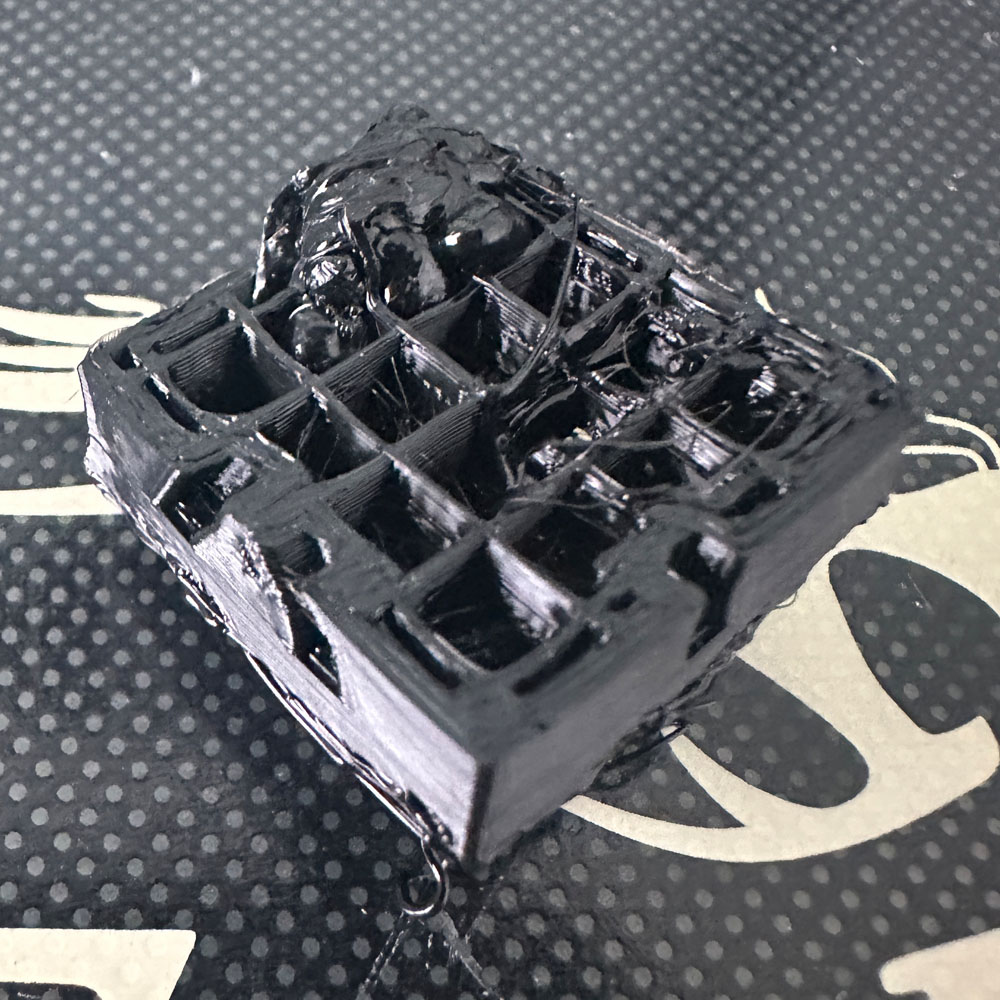
Please note, there are four default settings – default, sprite, MK8 and manual or custom… although we quickly tested each extrusion type, here, we focused in on the sprite extruder settings. Also of note, we’ve not had a clean TPU print. The TPU prints have been bad to say the least, as you will see in the test photos, bad to worse in some cases. In addition to miss prints, under-printing has been a major factor (due to extrusion steps as mentioned above, check the Sonic Pad Settings -> Advanced Settings -> Custom Extrusion Settings – Spite Extrusion vs Onboard Interface ramping up eSteps ~ 500mm). Before we move on, we’ve had globules (just large drops of melted TPU, simiular in shape/size as the end of a q-tip) miss-prints, gummed up nozzles and so on.
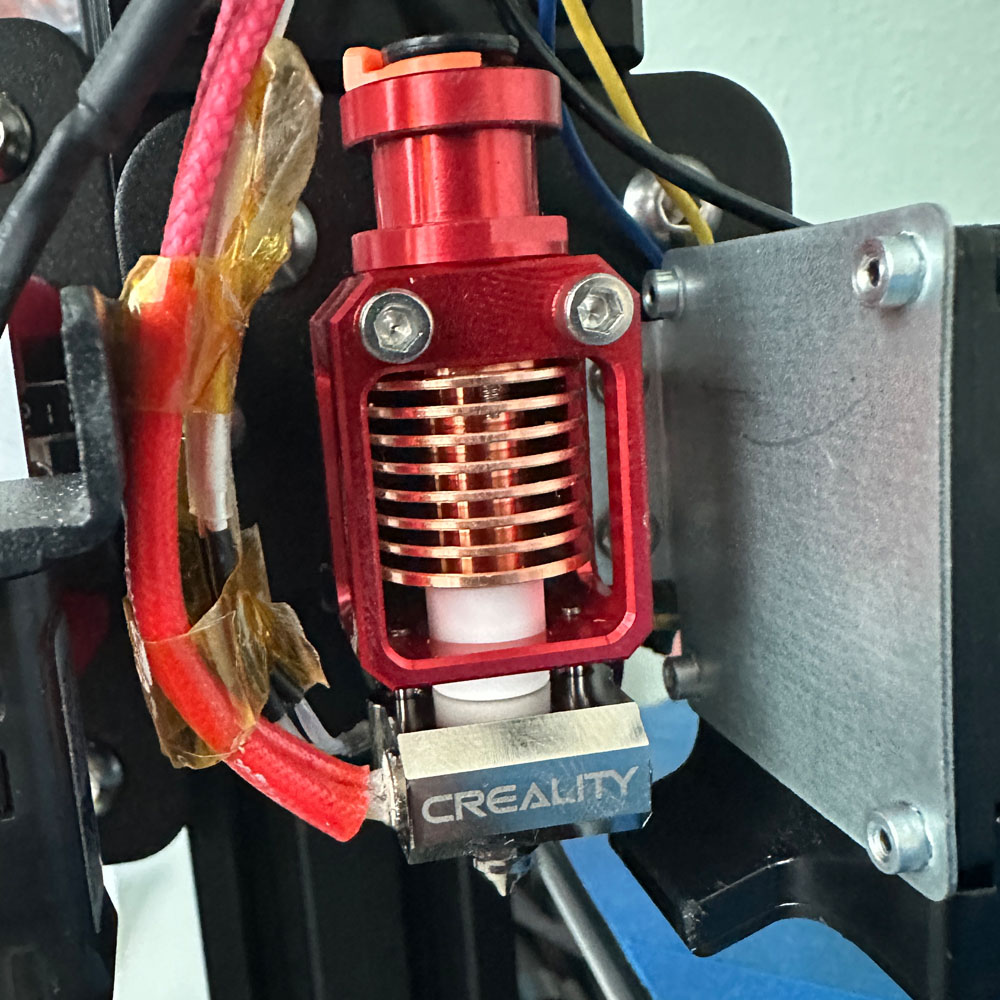
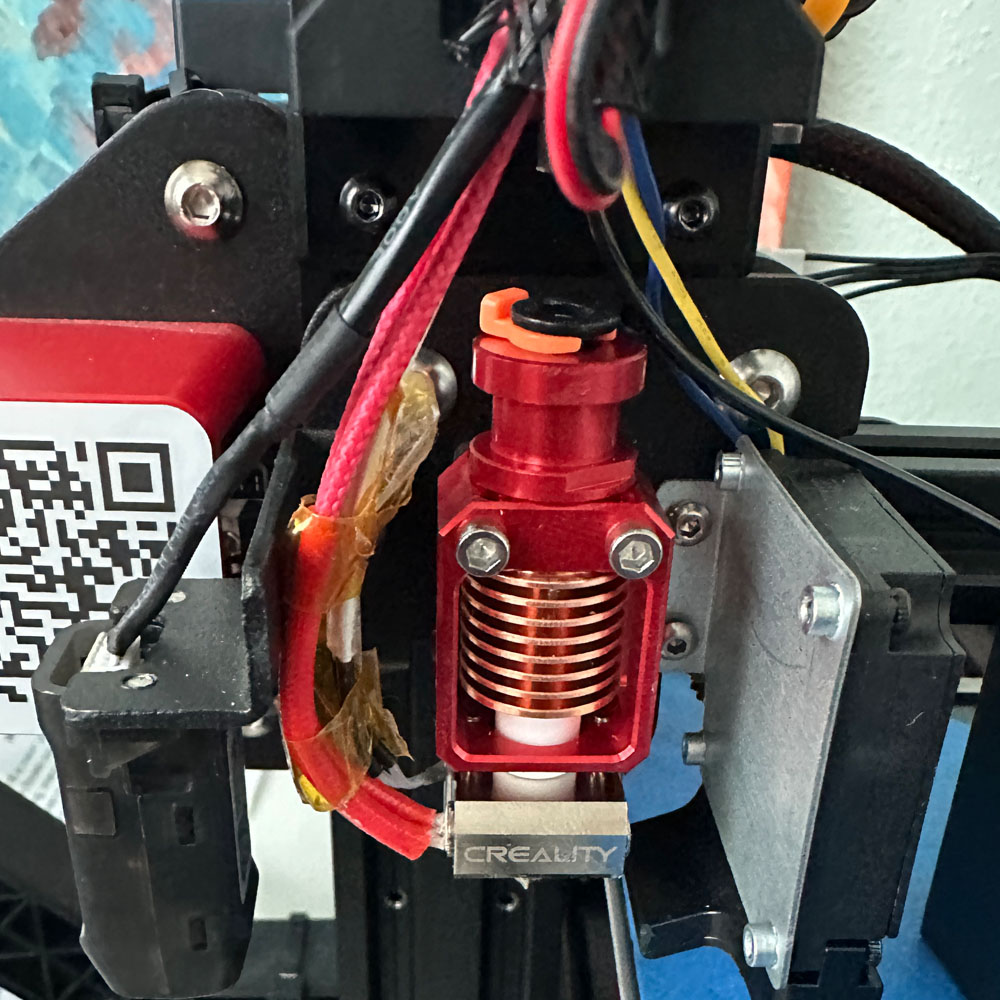
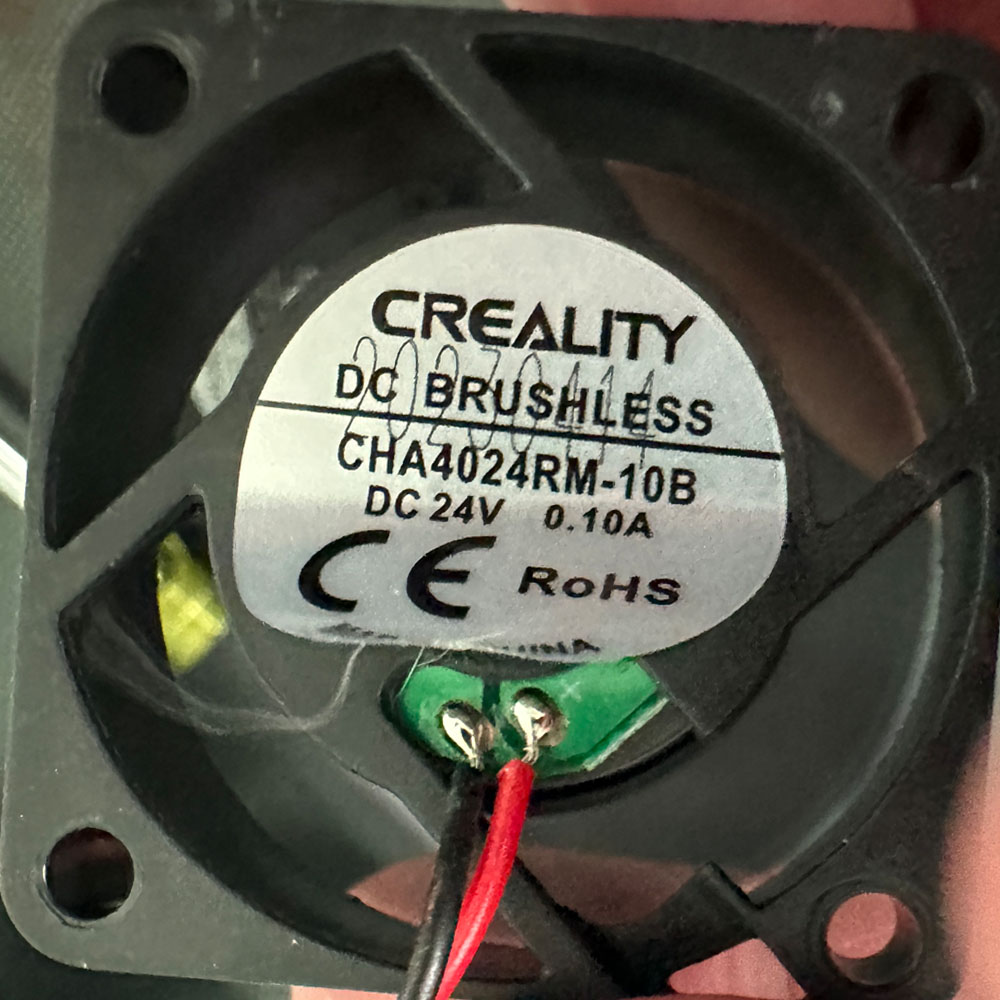
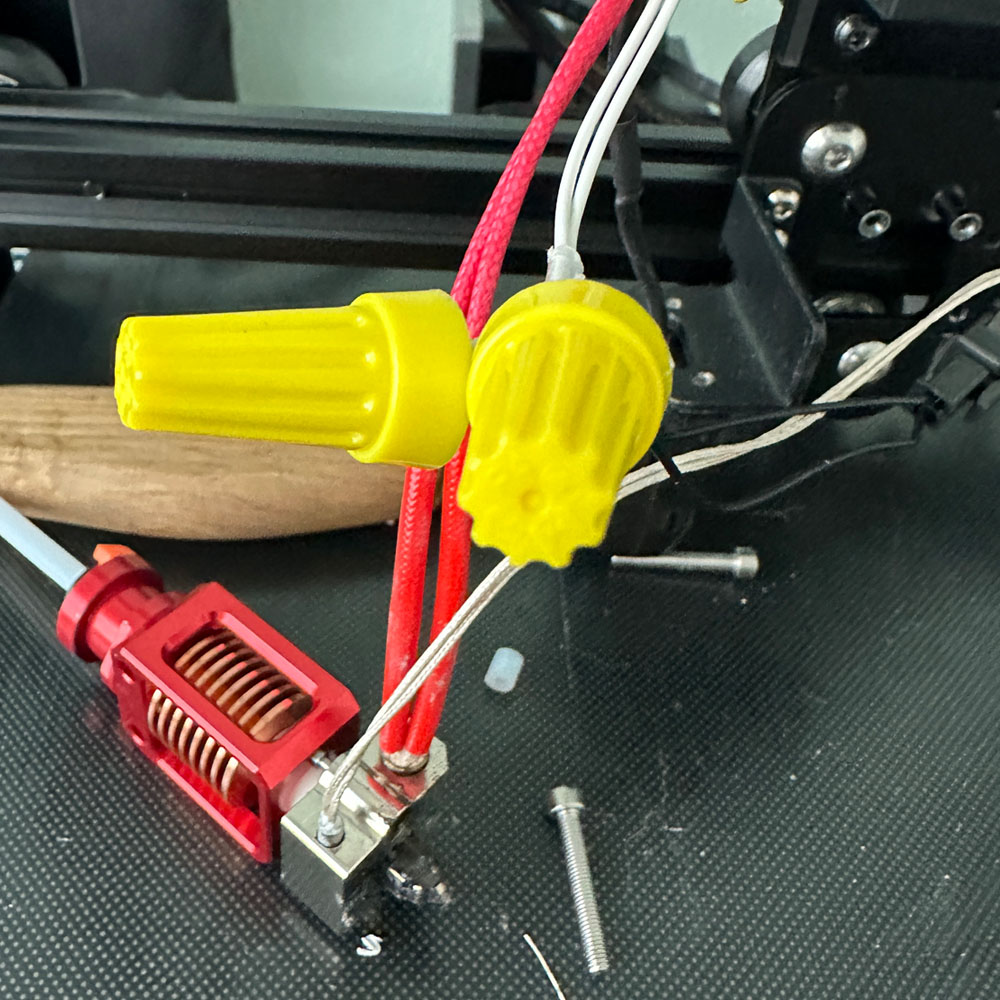
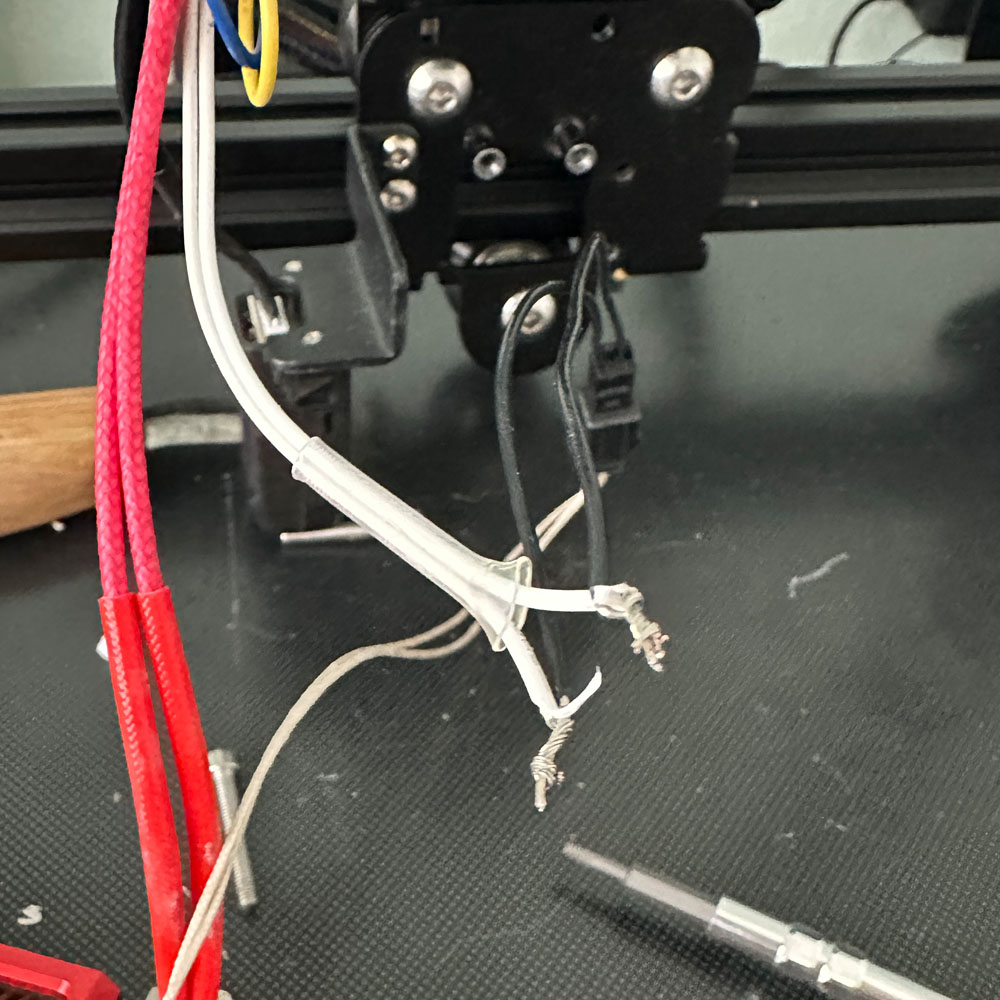
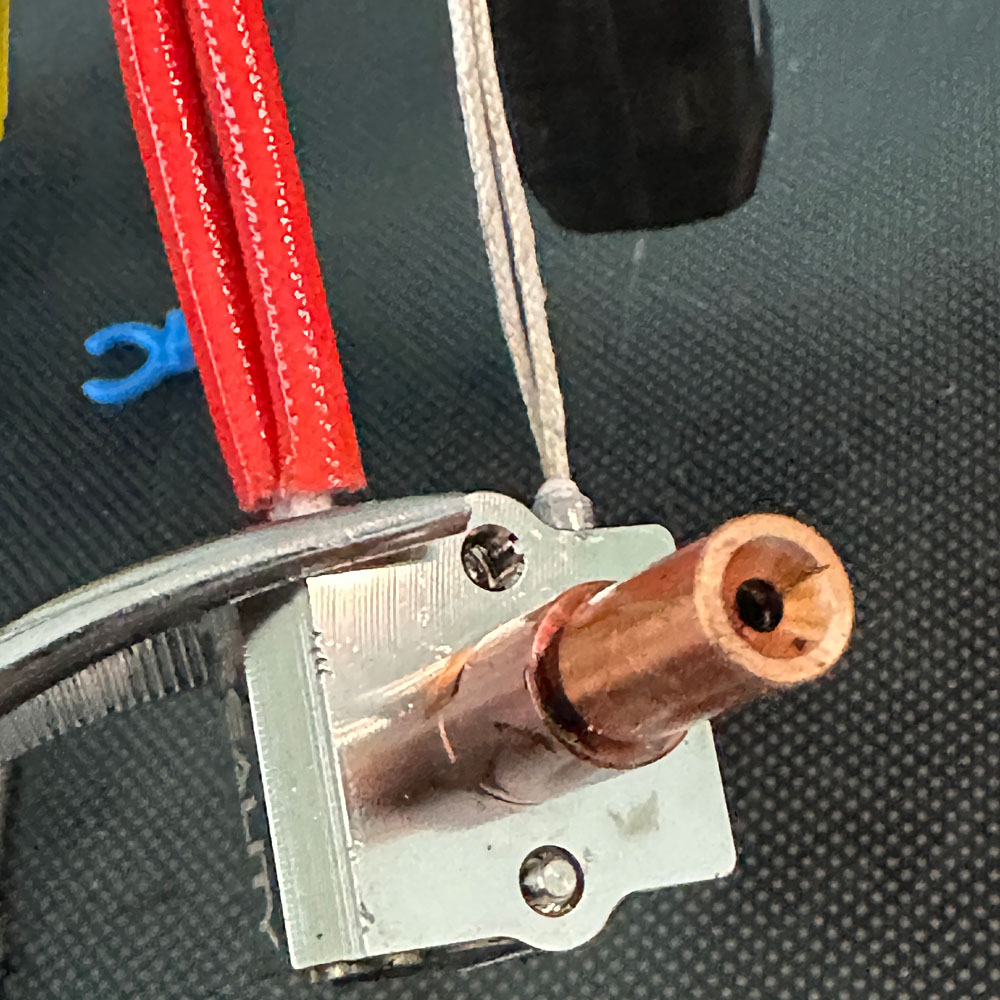
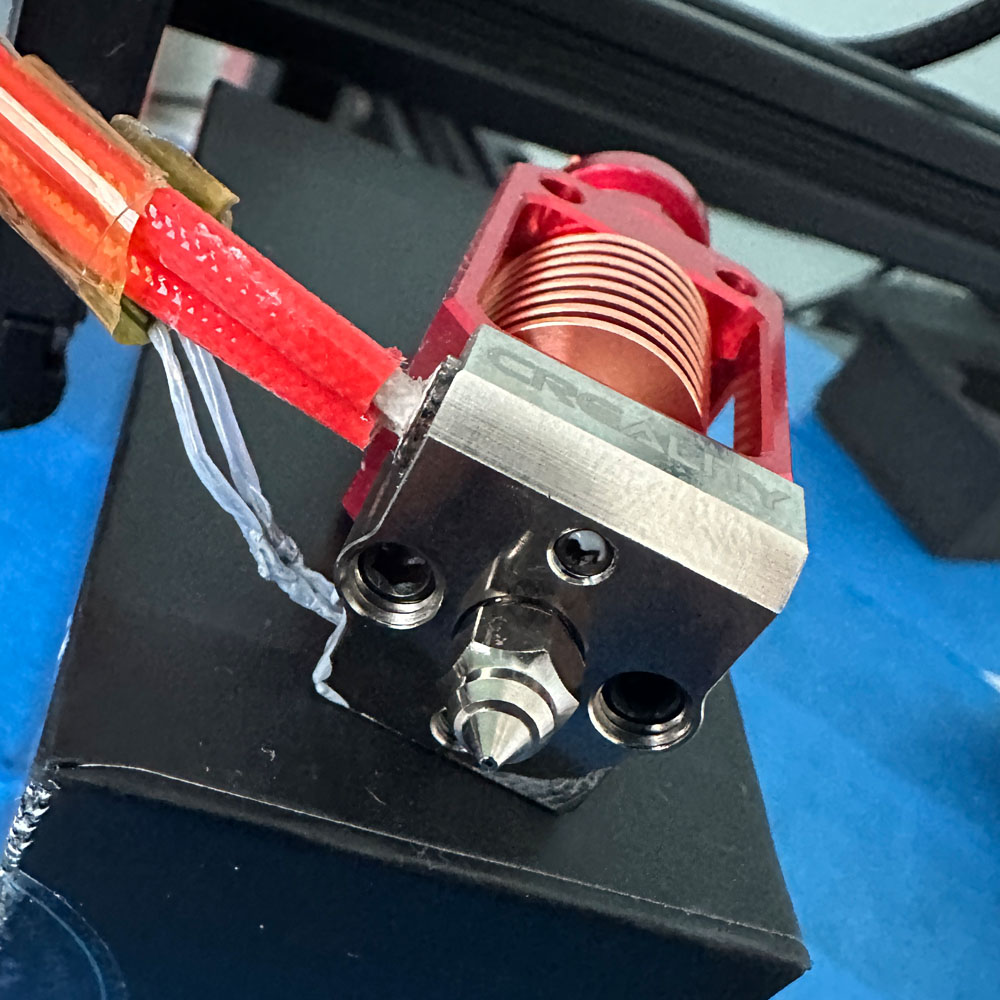
Beyond this point, I’ve looked at a board swap, which will also be something to consider until the print issues can be ironed out. Yes, that would be mean an effort in futility, meaning a full swap which would be considered moot.. for those that might not understand, this would leave only the base hardware/structure unchanged, changing out all components; which is not the goal. If a required motherboard change is confirmed- Creality motherboard v 4.2.7 specifically, a new printer specifically used for TPU might be the answer. Not ideal, but necessary. Below, you will find new images have been posted, thought it would help to highlight the removal of the fans, changing out heating element and sensor and Sonic Pad configs. Furthermore, I feel we are close to a successful print. Before I forget, the PLA prints run with little error, printing test cubes with minor blips or over printing… Beware, slicer/printer controllers do vary, Utlimaker Cura, Creality Slicers etc have varing results, some no result at all as the print is shown outside the consoles ‘known print’ area. More on that later, we can share a few posts on slicer sucesses (failures in our case).
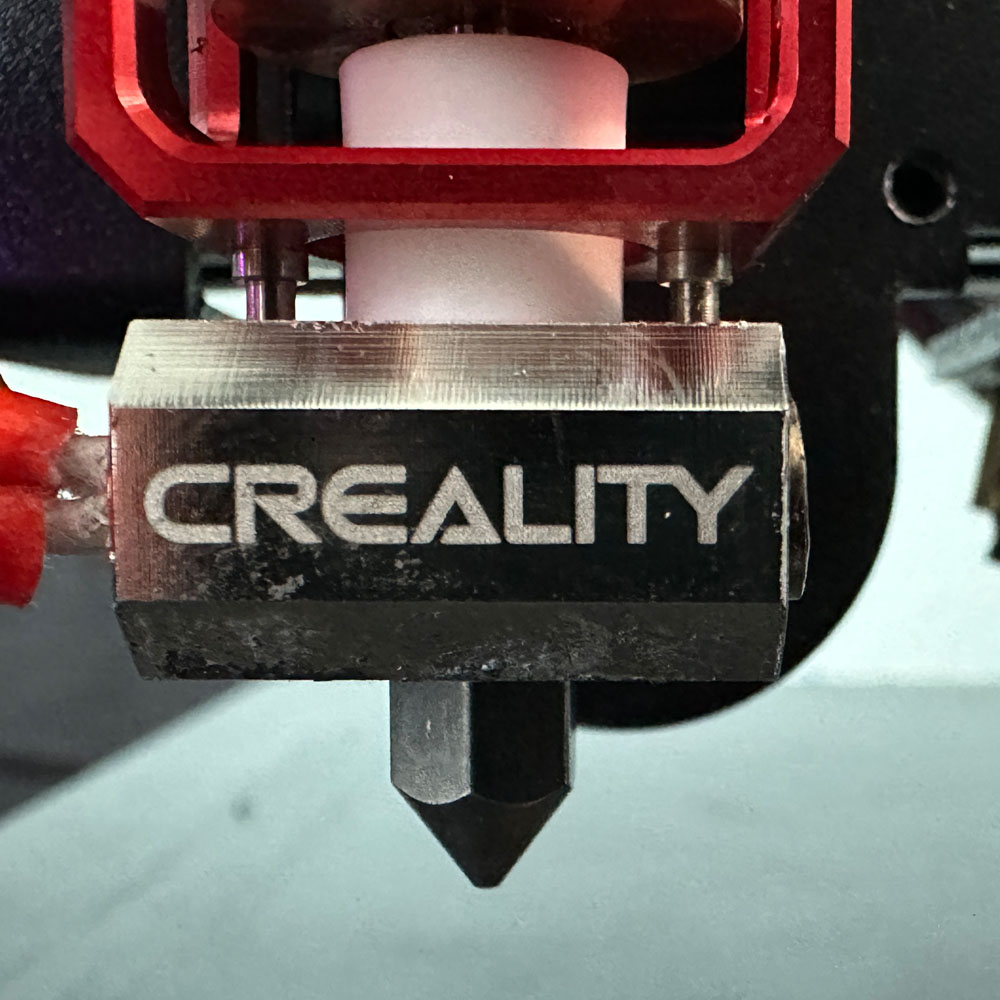
Next, let’s cover some of the activities taking place during the rebuild:
- Hot End
- Assembly
- Backplate
- Sprite Extruder
- Filament Tube
- Filaments
- Bed level, Adhesion Spray Glue and Blue Tape
- Software – firmware and slicers (Creality Cloud, Creality Slicer, Ultimaker Cura)
- Wifi Box, MicroSD Cards, Sonic Pad, Onboard Interface
- OS – MacOS/Linux
- Lot’s of cleaning, grab yourself a brass brush
- E-stepper
- Nozzles
- Temperatures – hot end, bed
- Homing Issues
- Extrusion Settings
- Homing Issues
So, what’s next you ask? Nozzles, needles, upgraded plate screws, leveling, Capricorn tube, Spider 2.0/3.0 Pro hot end… motherboard? We will have a full swap on our hands shortly! Ugh. Listen, it might sound like a lot of work, it is… but that is part of 3d printing, don’t let that bog you down. The challenge, the challenge or build problem ‘is what I gravitate to’ the most, a good problem, finding solutions, and working around said challenges… testing, and failing. In this case, may be to many times. I’ll sure video at some point, but for now, pictures and commentary will have to do the job for now.
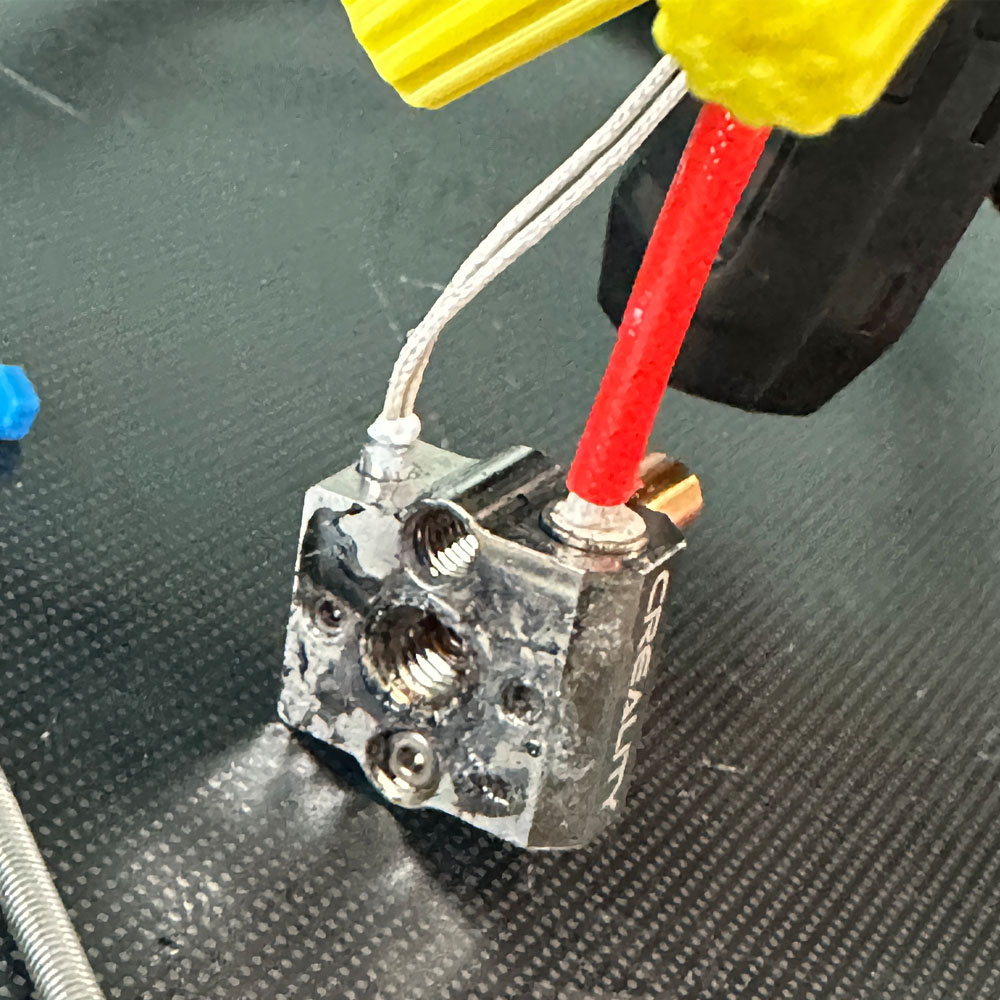
Moving on, I mentioned a few items on the ‘pending’ list, nozzles, I think something is going awry with the heating element, thermistor and nozzle – space issue, wrong temperature etc. Globules of filament collect on the heating element, nozzle and many times fail to find the build surface. E-Stepper will help with this, I’ve read 424.9 is the ideal. However for our build, it has yet to be determined as the hot-end and thermistor might be the culprit. We need to eliminate those as build factors first, more to come on that front. Next, we need to have a few needles around to keep the direct-drive and assembly filament path clear, the collection of burnt filament doesn’t help the situation. So that to will be addressed this week.
Motherboard upgrades, we’ll skip the motherboard update for now, as that would as I mentioned be a full swap with a new sprite/extruder assembly to bypass the extruder and sprtie upgrade purchased at the start of this build. If the printer would require a motherboard update – 4.2.7 specifically, again, not the happy path per say. We will stick to items above, new screws, metal tension knobs, cushions, tubing and hot end are next. Ideally, the win will come from a level and consistent bed/build plate temperature, a clean adhesion plate, consistent hot end temperatures to reduce ‘leaking’ and hot end ‘heat creep’ and a quality filament… hardware problems might recede, or at least that is the intention. Now, assuming the hardware and upgrade components work, software will be the final challenge… TPU seems to be more about testing and failing tests, more so than first expected. I was able to print a clean print with a filament swap using the old Bowden drive and PLA settings. This was a full step back, to make sure the base product still prints as expected. Honestly, the speed-to-market issue comes into play here (this assumes you are looking to print commerically or in some professional fashion), as we are down both the ability to print PLA, cost per print and TPU. We will get the problem solved here shortly, more to come.
Part of this process is just keeping a positive outlook, even when balls of filament build up on the hot end and nozzle for the ~40th test. I know we are close per say, but, as we eliminate or mitigate more pieces and parts, the solution is there. Honestly, I might just need a few more mins to find the right combination of parts and software. Frankly speaking, TPU has been a bit of a bear. TPU is not all that hard on newer machines, but we need to find a solution for the Ender platform… on the cheaper end, wallet friendly for some (or may be not) when comparing to other very expensive printers which provide an out-of-the-box solution for many types of fulfillment needs. I will say this, for those looking for an easy, out of the box 3d printer (crickets, crickets), time/budget will be major factors, if not the defining factor; make or break.
More in part 5…