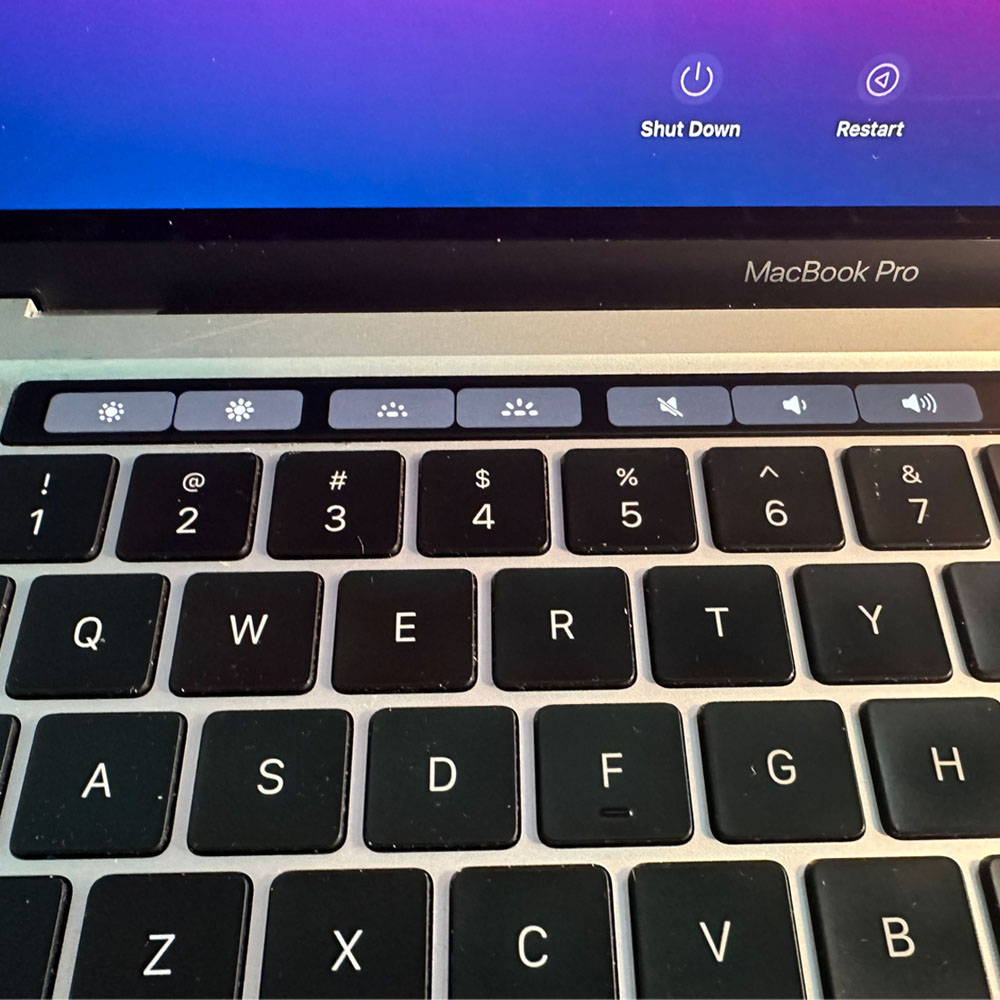
M1 Refurb – Touch bar
M1 Update – Touch bar
I can’t stress this enough, take your time, there are some 50+ steps in this process; proper care is a MUST, otherwise use your discernment and seek a professional where applicable.
There are certainly easier ways, which cost more money, we’ve mentioned those prior… for example purchasing the corret make/model upper case where a touch bar must be removed and replaced. Finding the right parts on the other hand, aren’t as easy as you would think as this particular model is just coming out of warranty. You’ll find this is common when fixing newer or cutting edge electronics. Like I said, probably easier to purchase the upper, replace the parts from the existing machine and rebuild from there.
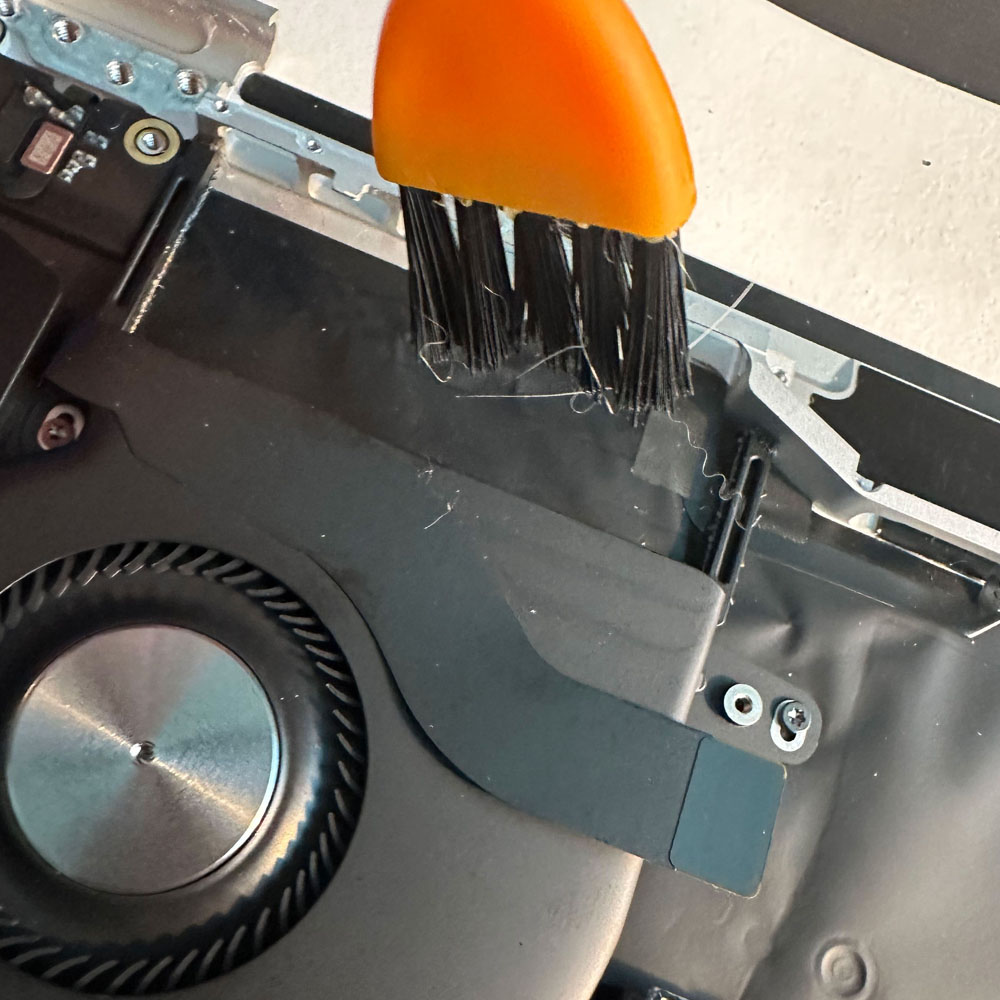
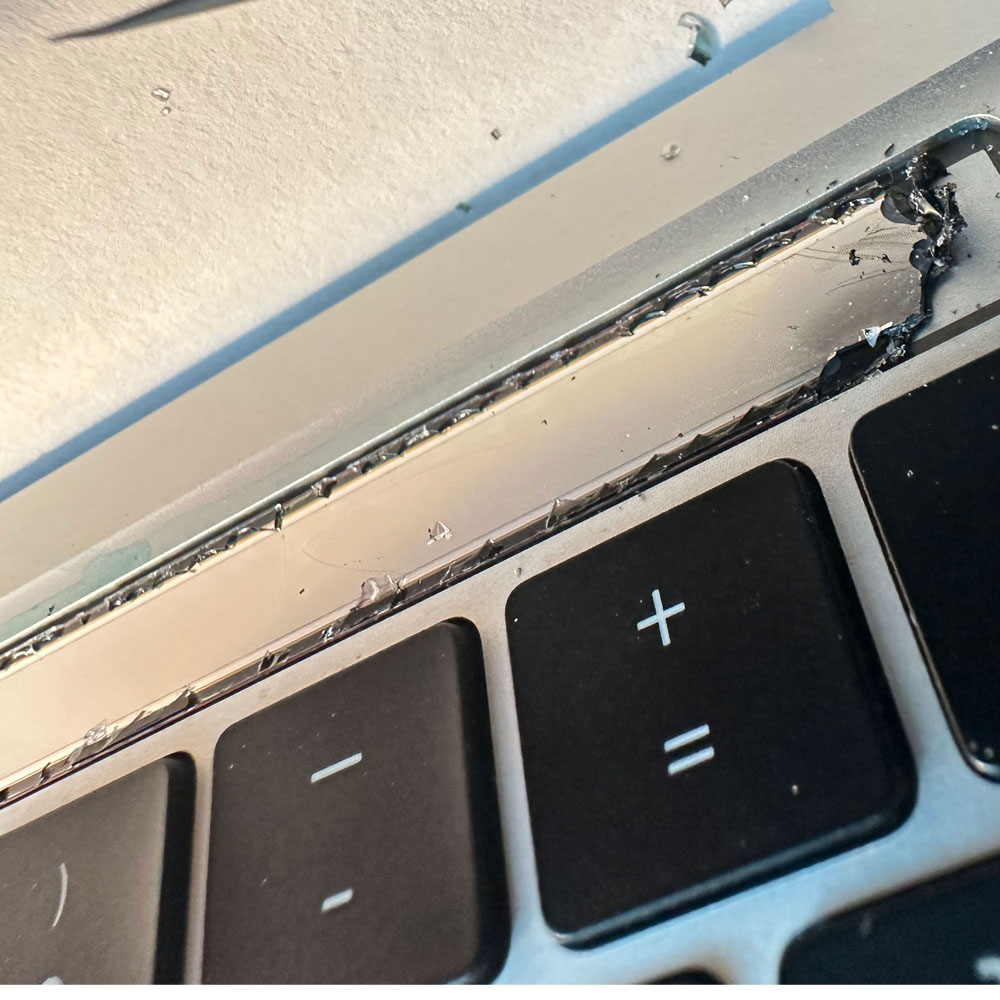
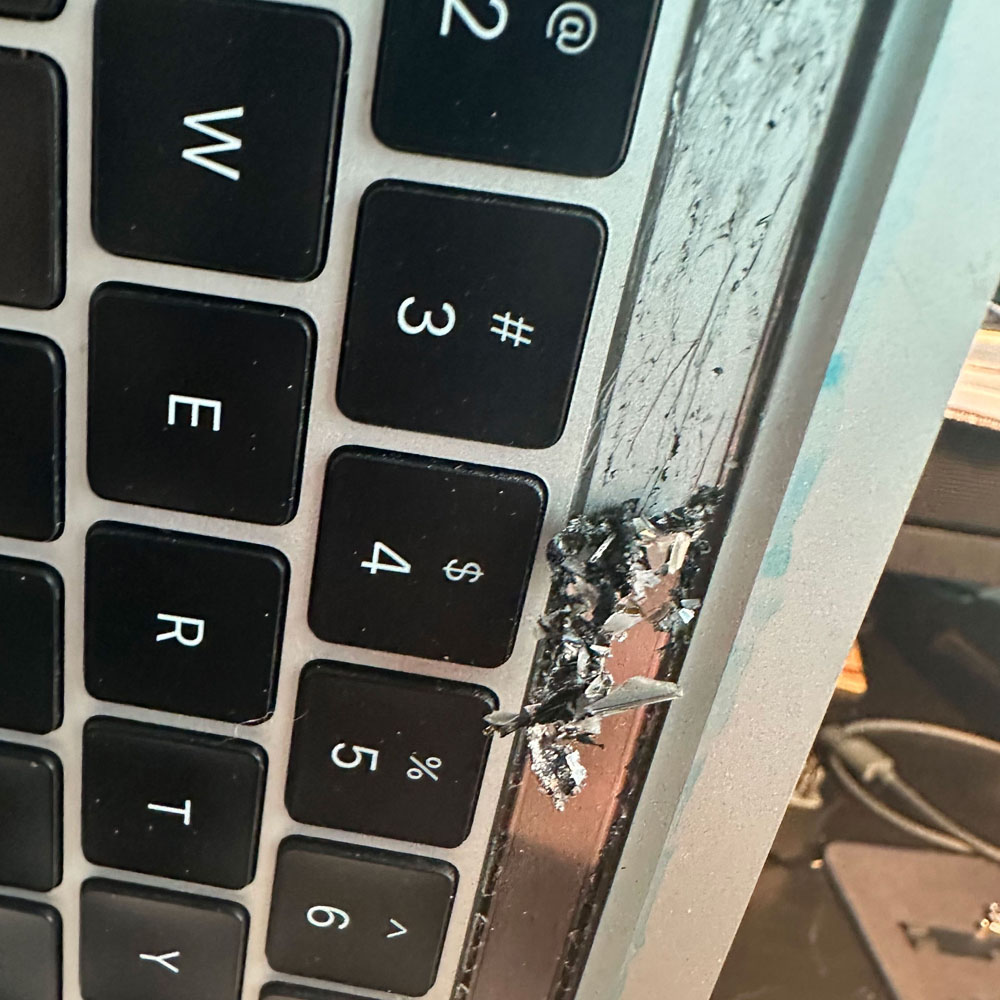
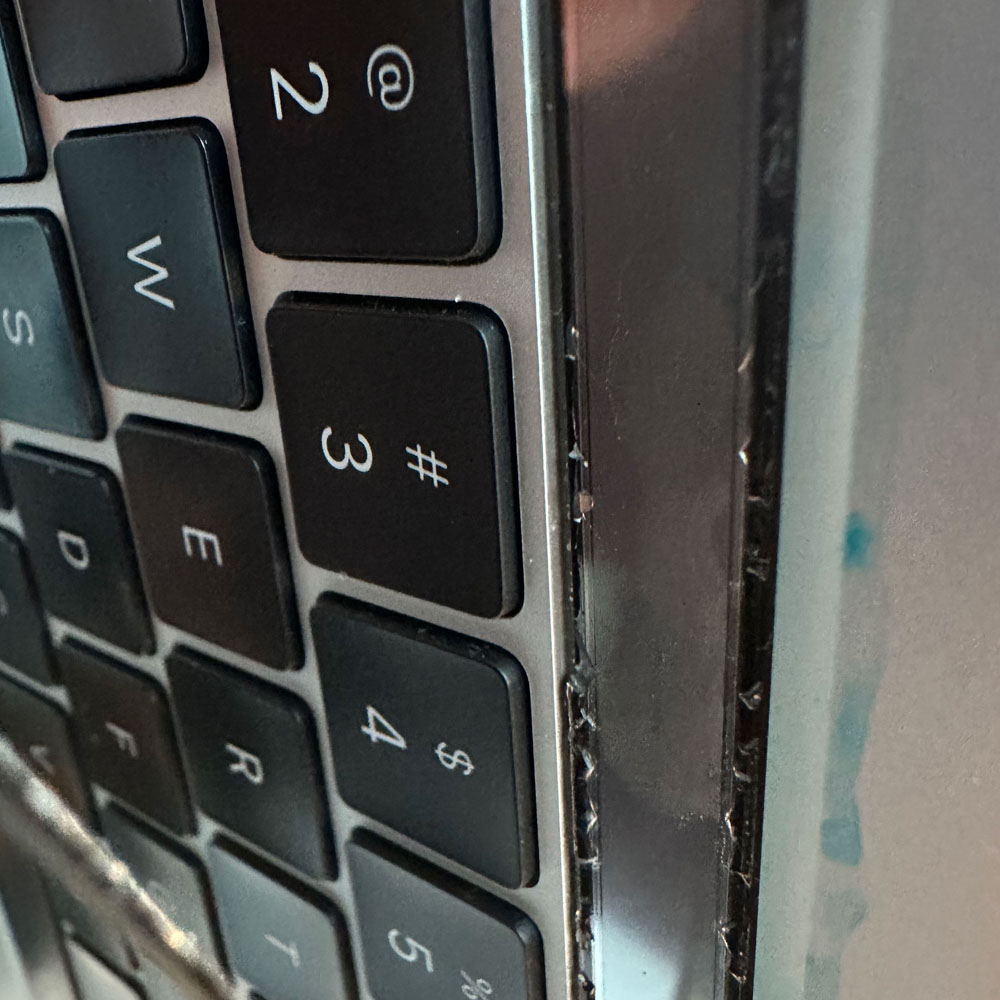
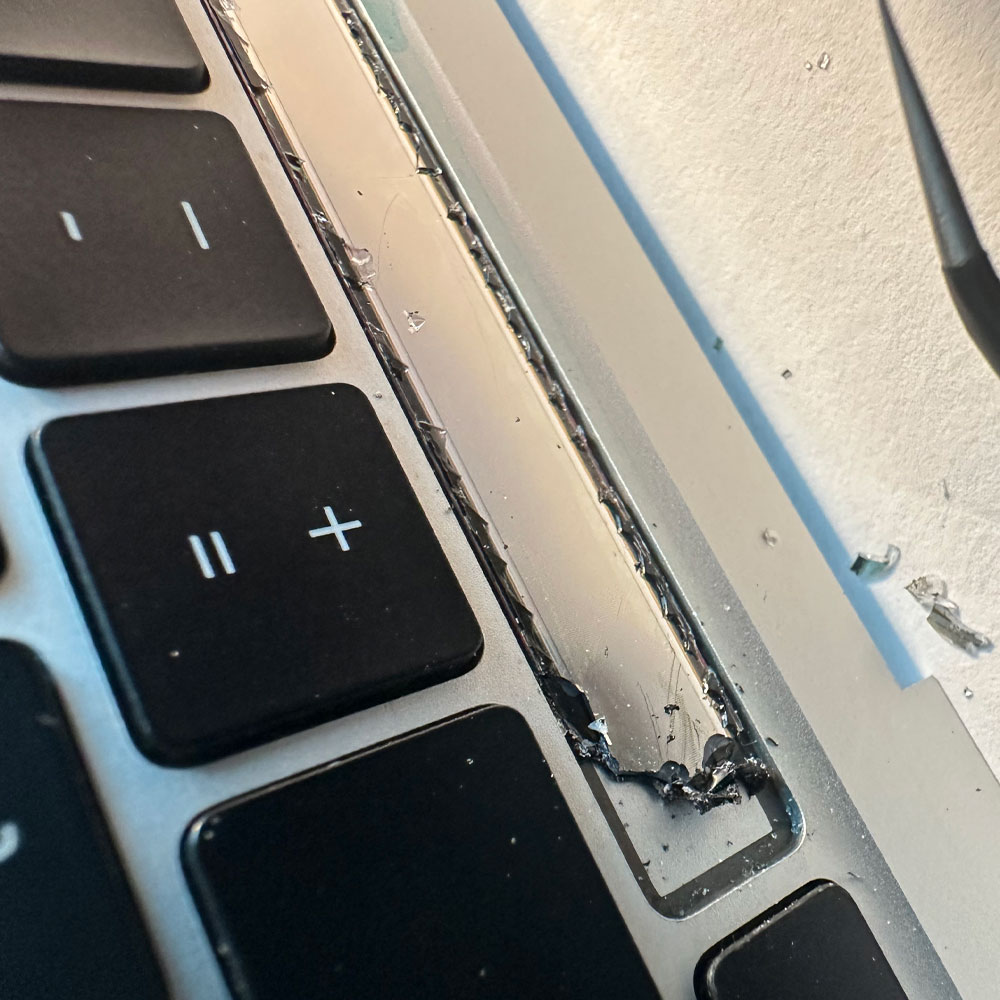
We clean as we go, there were glass fragments prior to, during and after this process. Handle with caution and care. Glass and debris (dirt, hair, fuzz etc.) must be cleaned as you go. Goal, leaving it better than the way you found it!
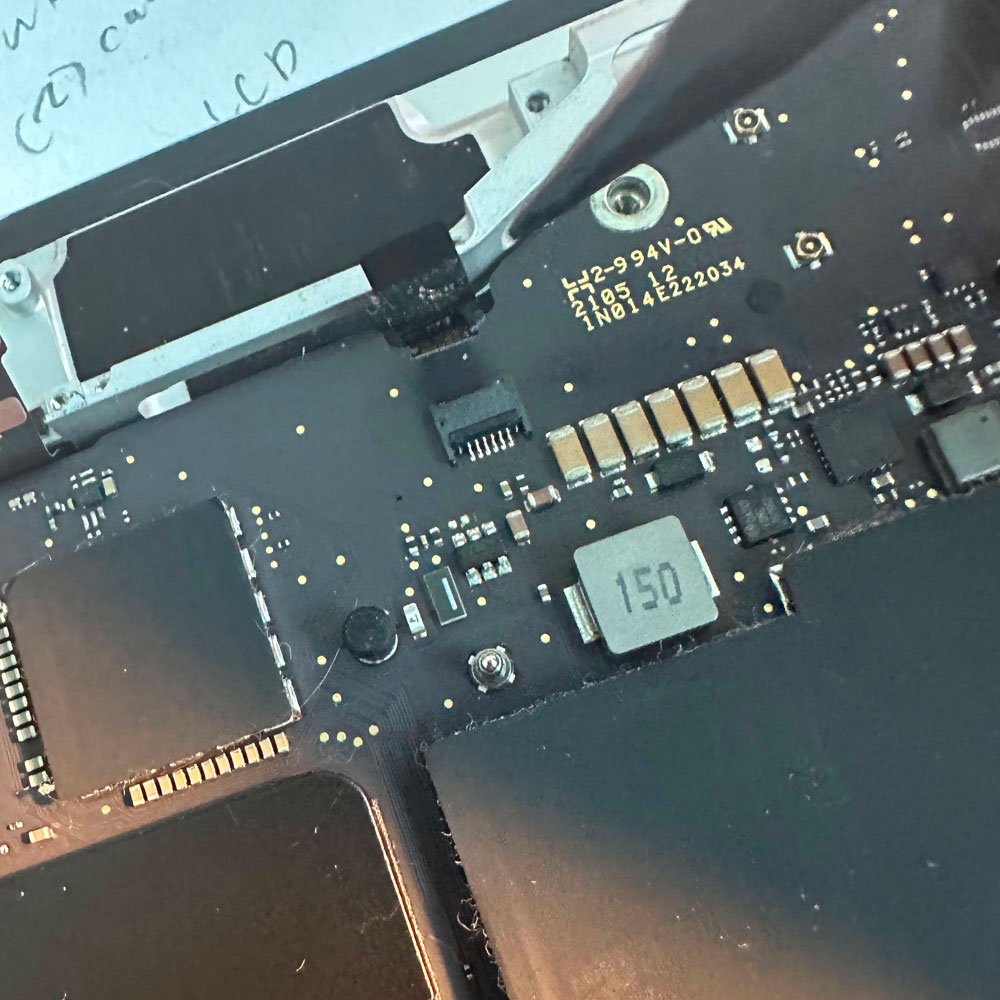
Ditto on Teardown for the battery, battery cable, main screw, hinges, lcd cables, display, display hinge covers, cables (springs), antennae cables and assembly, LCD, remove antennae, main hinge screws, remove LCD.
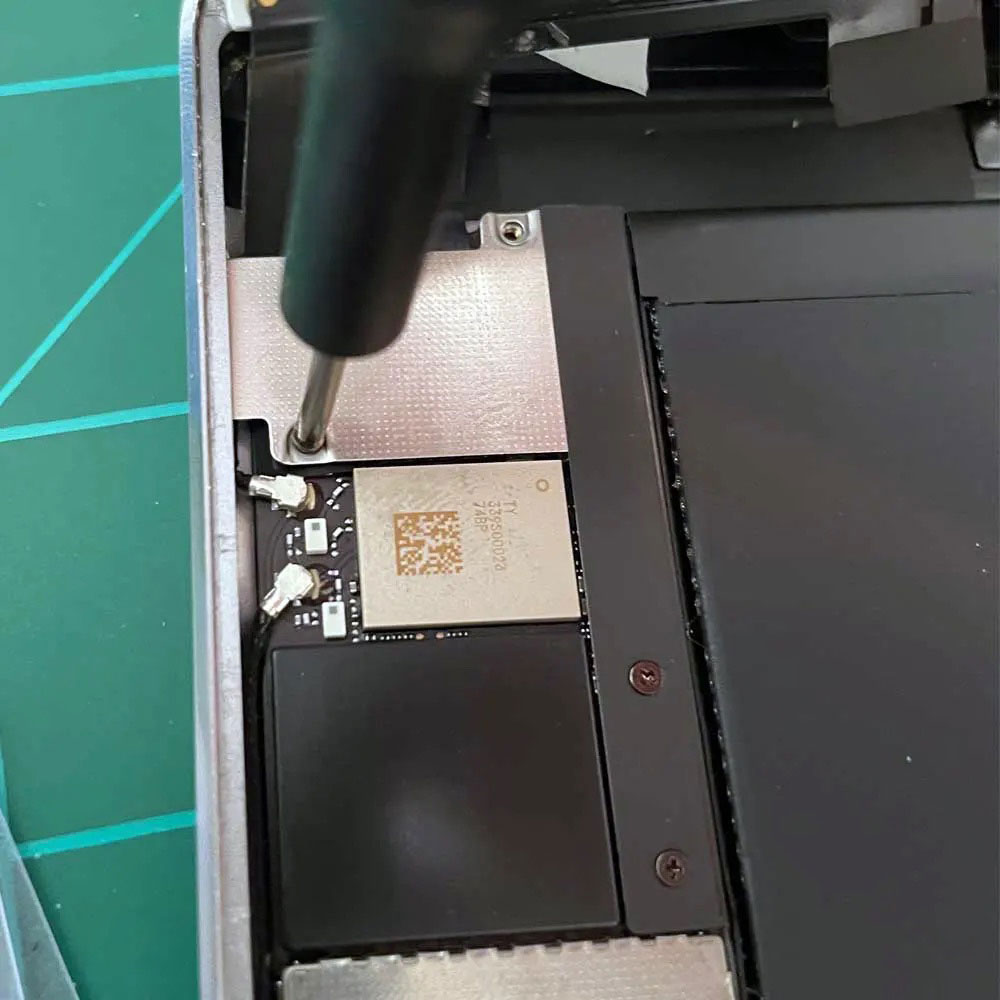
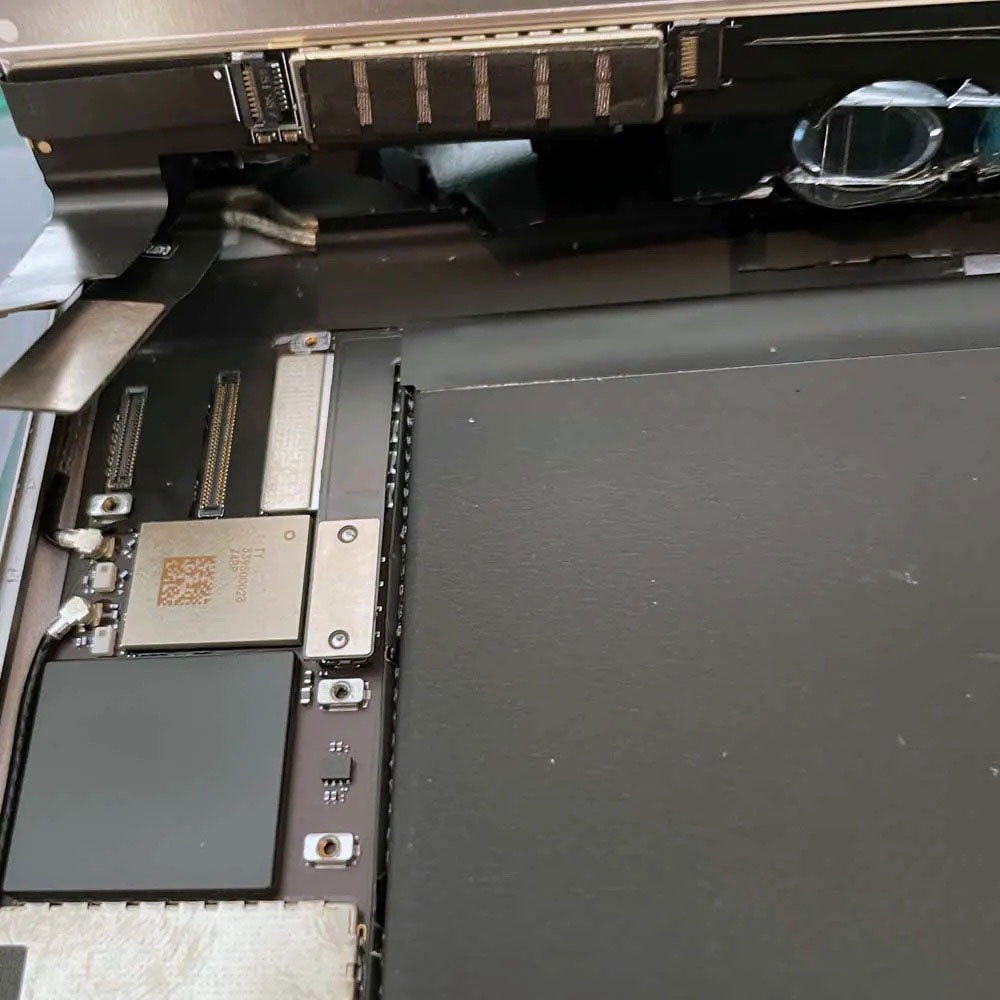
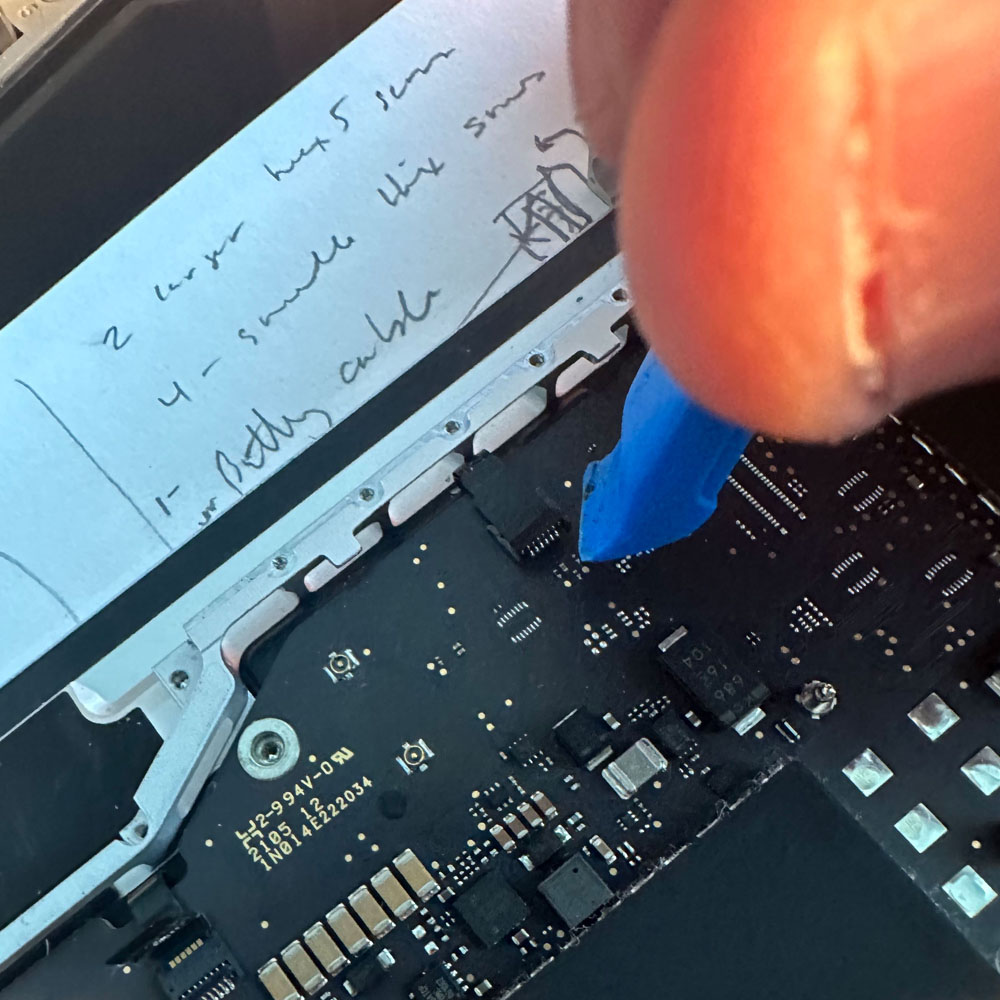
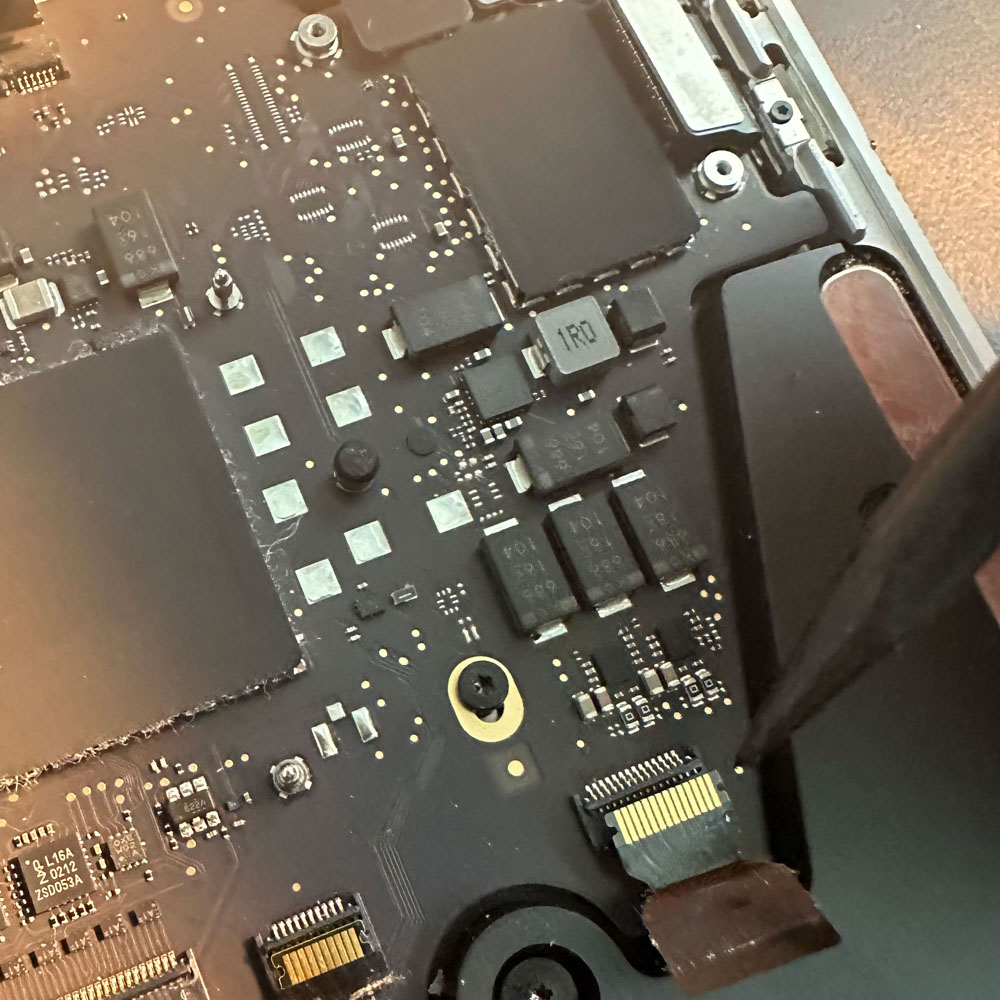
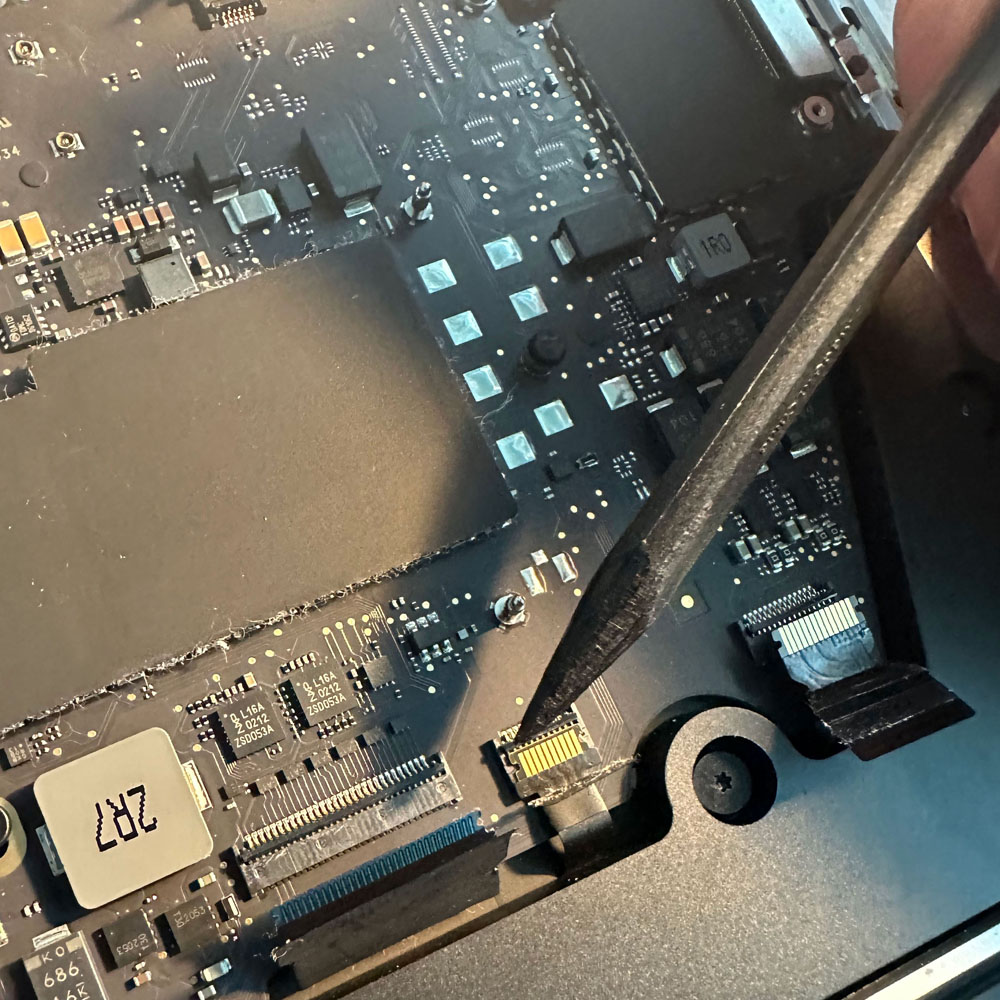
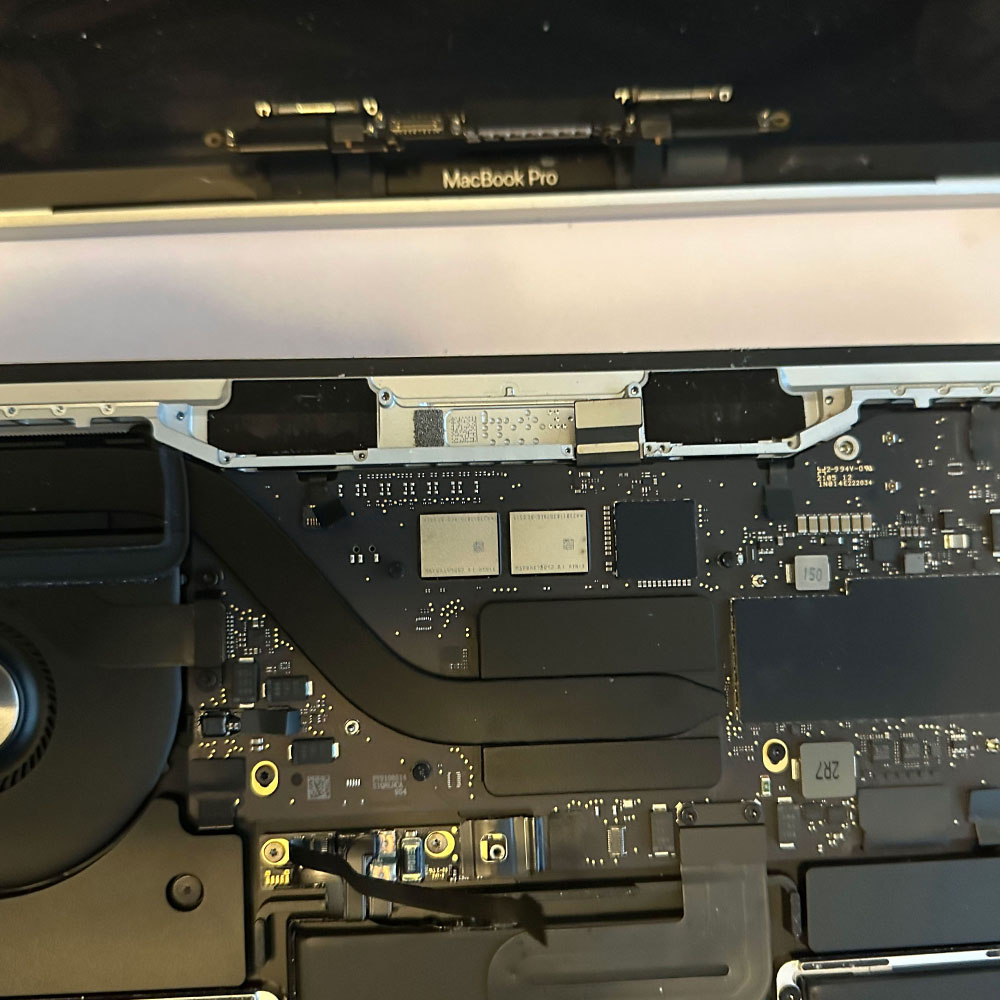
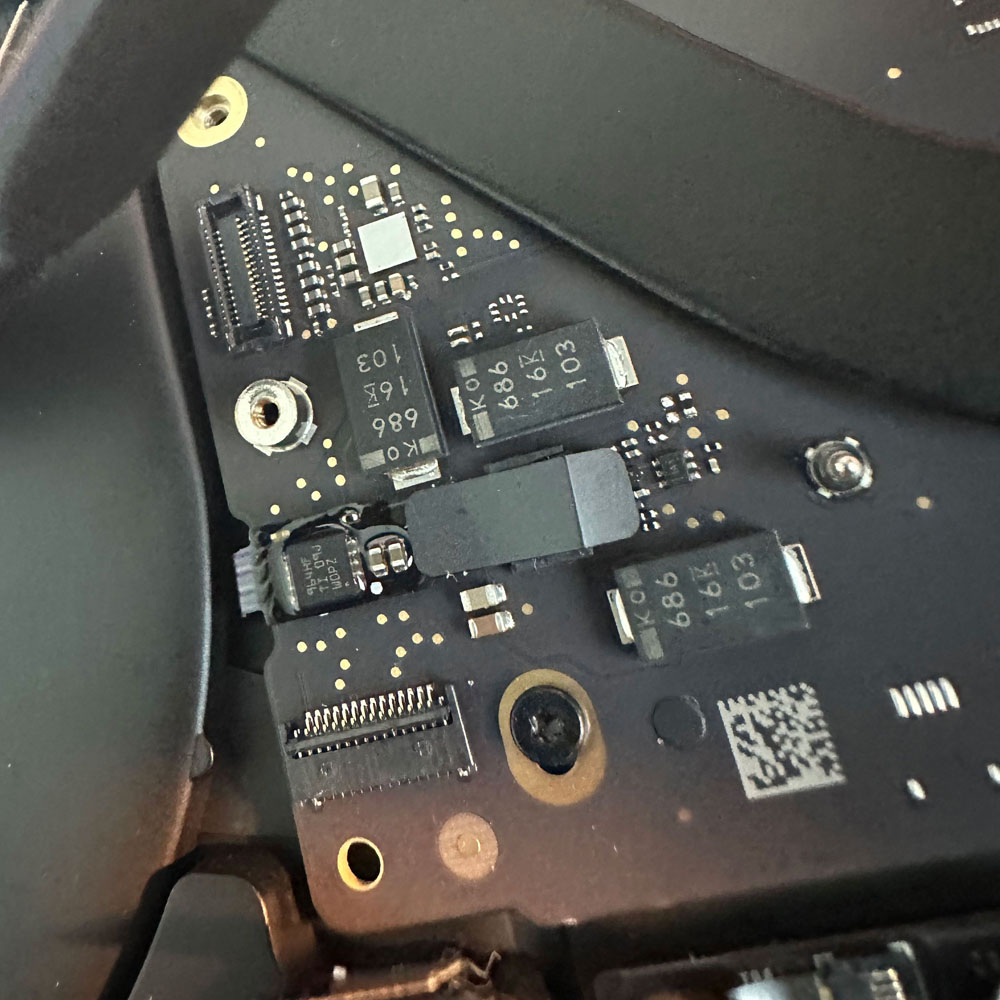
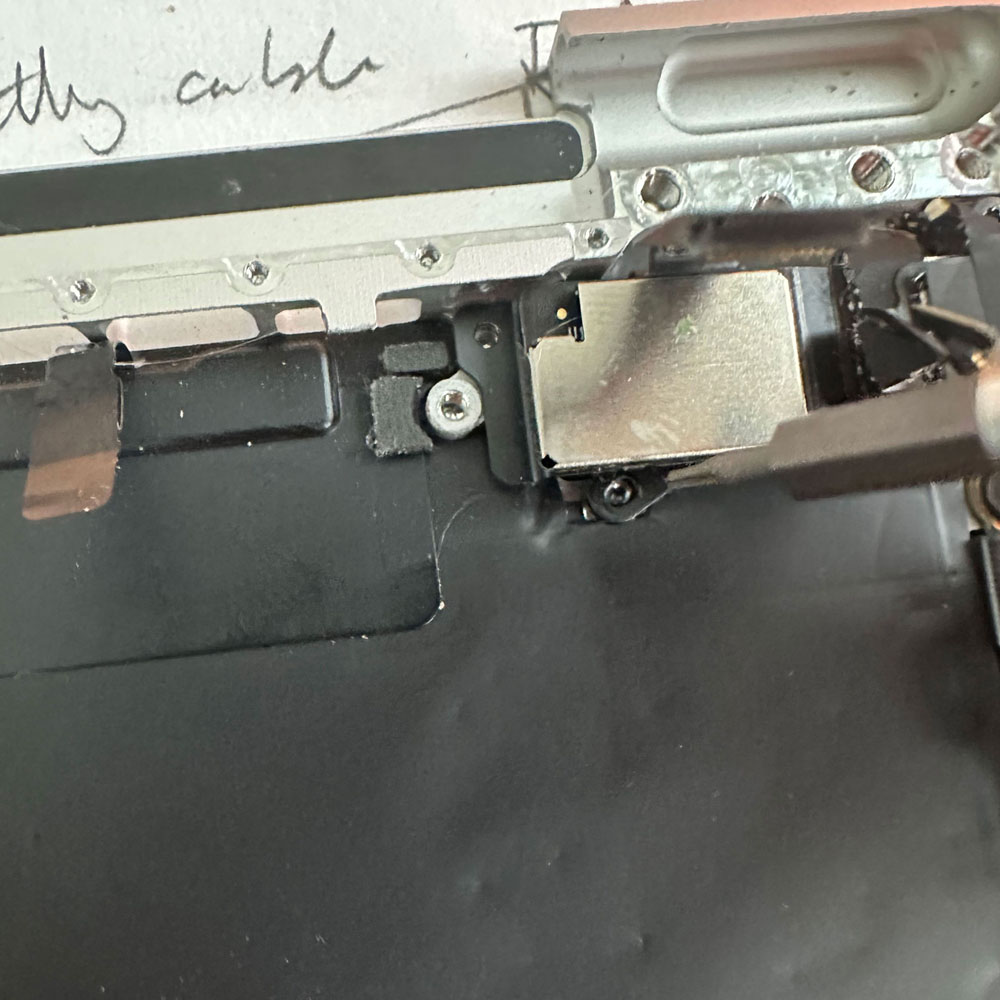
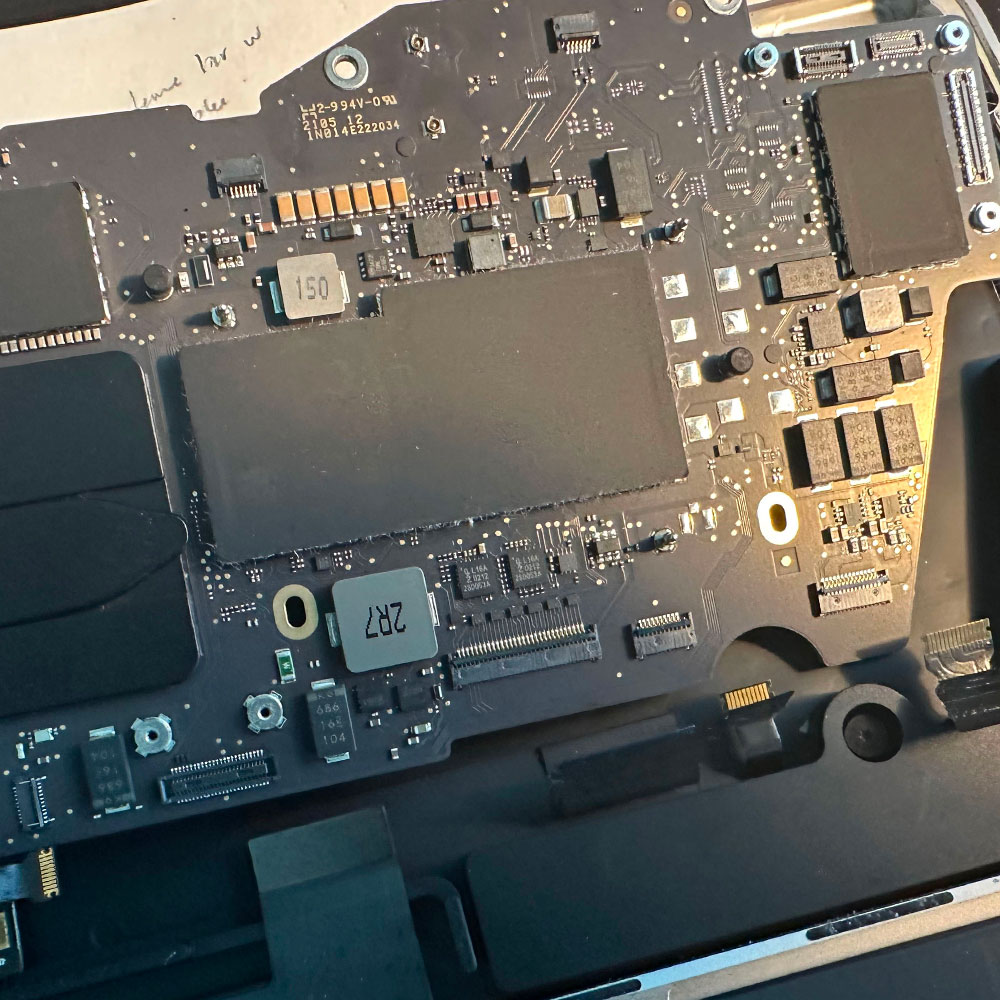
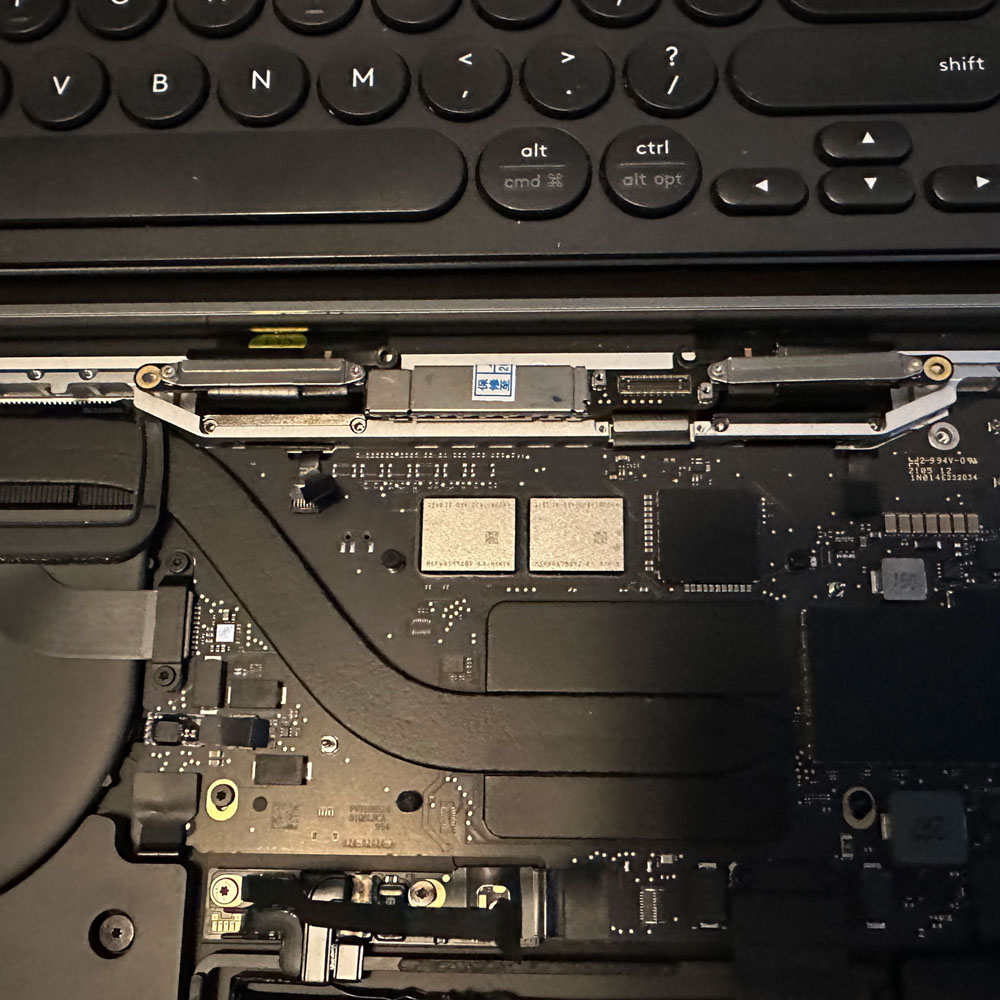
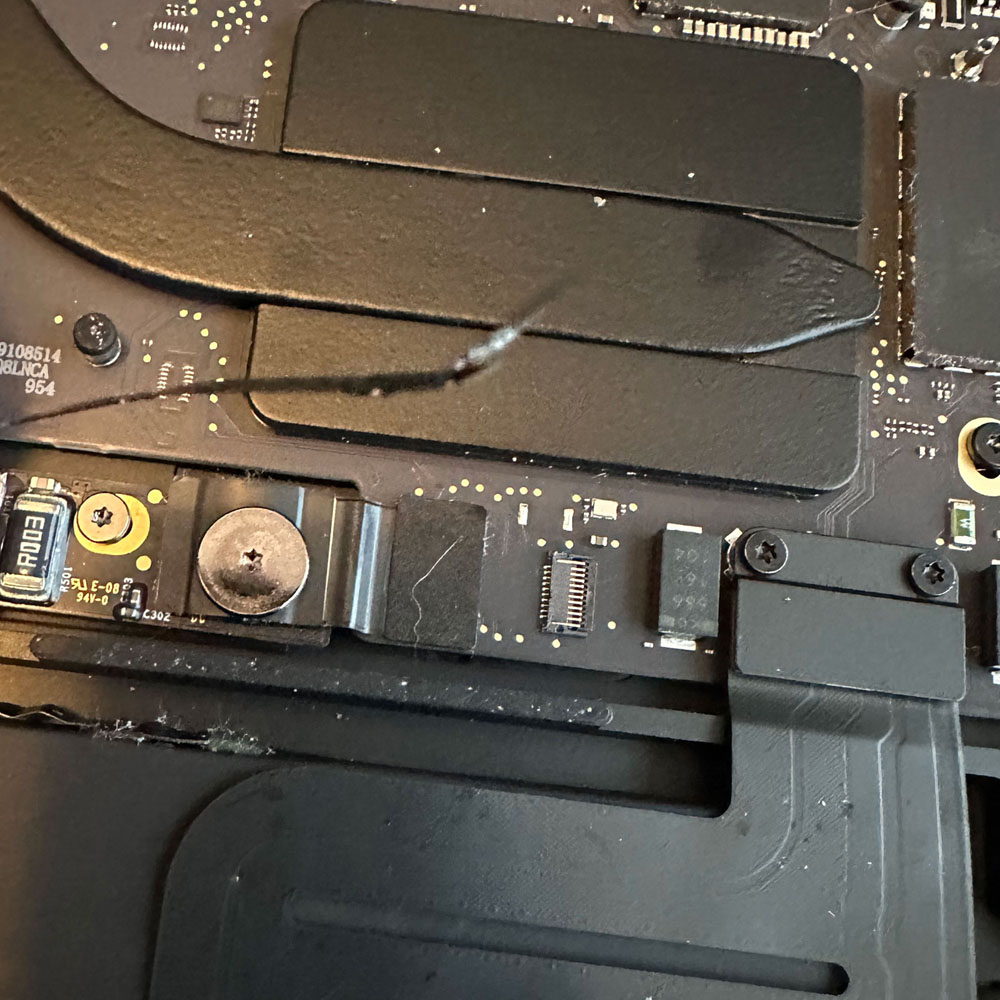
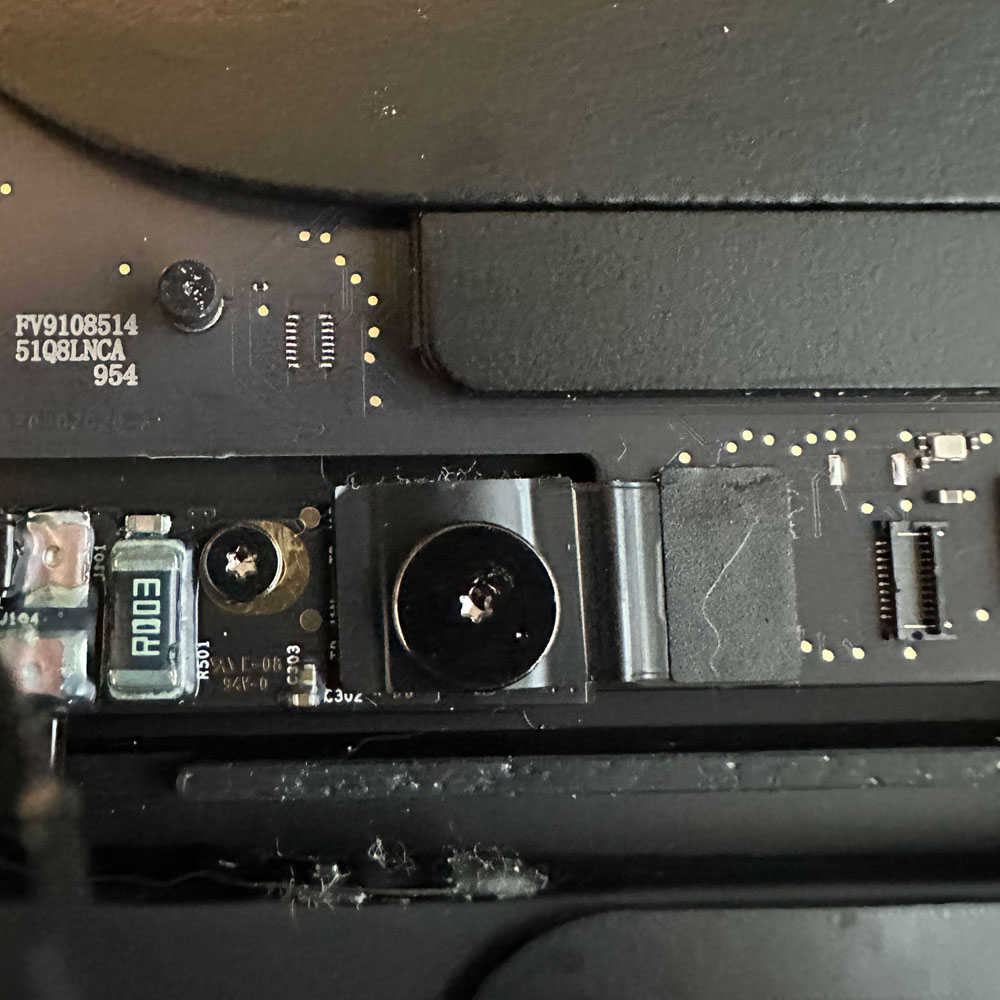
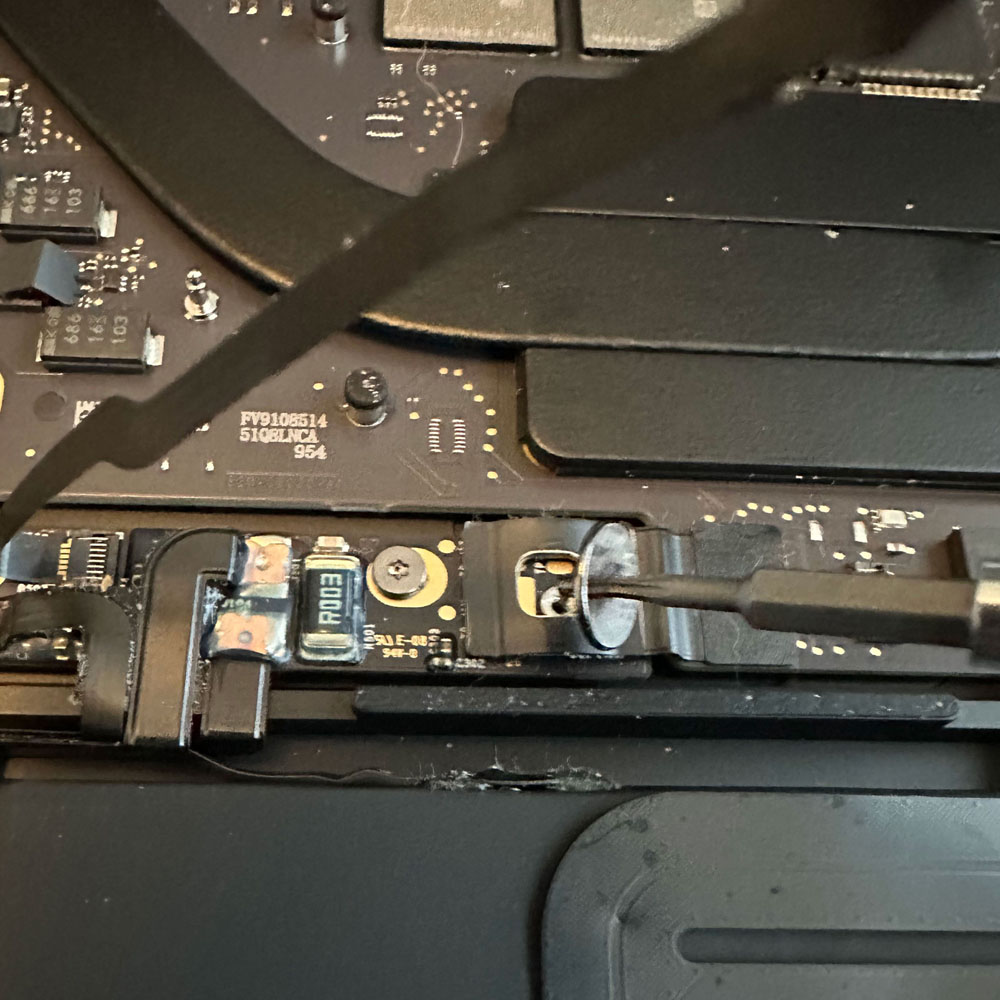
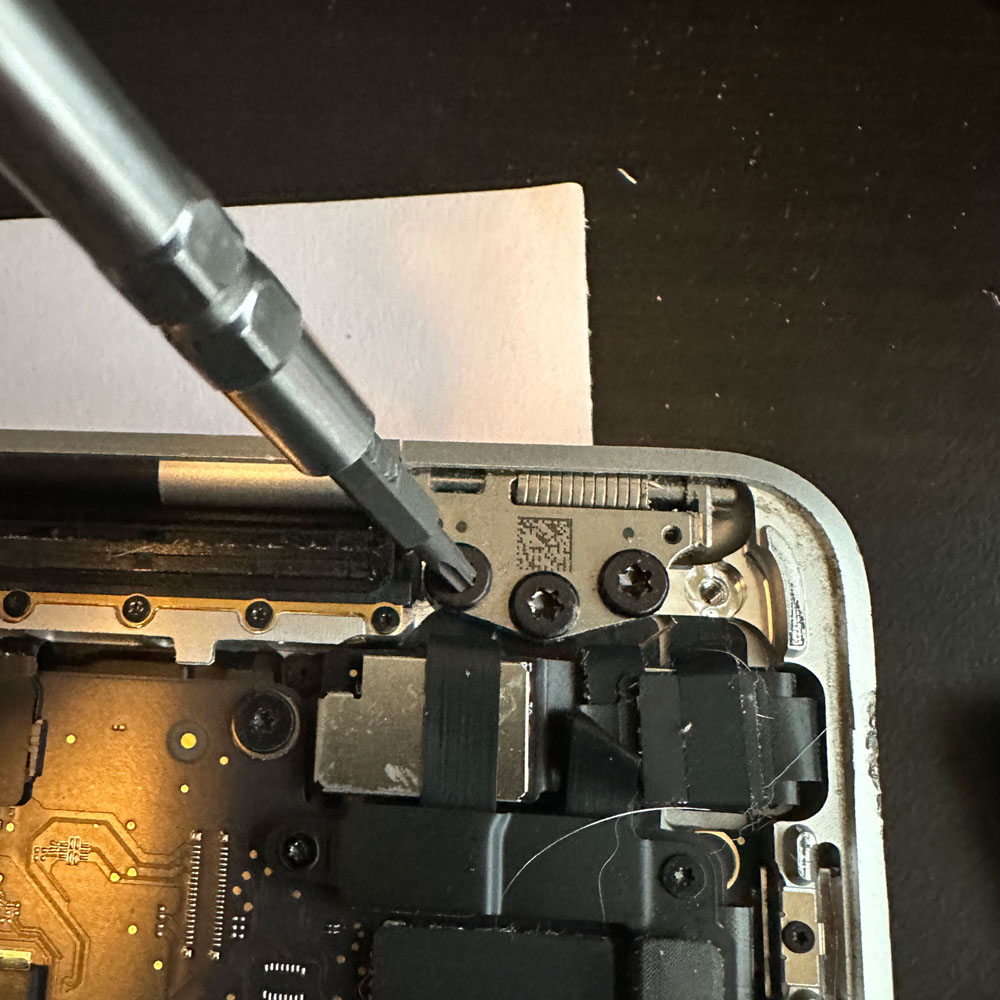
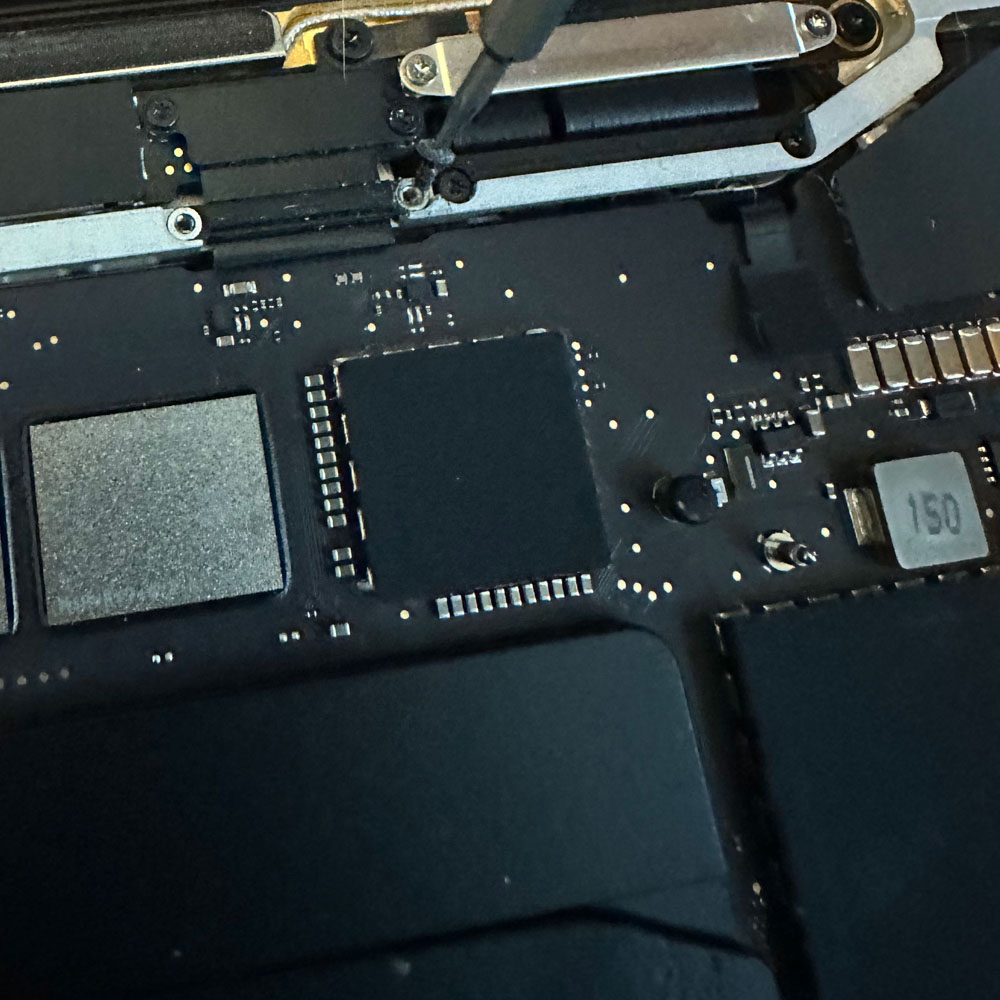
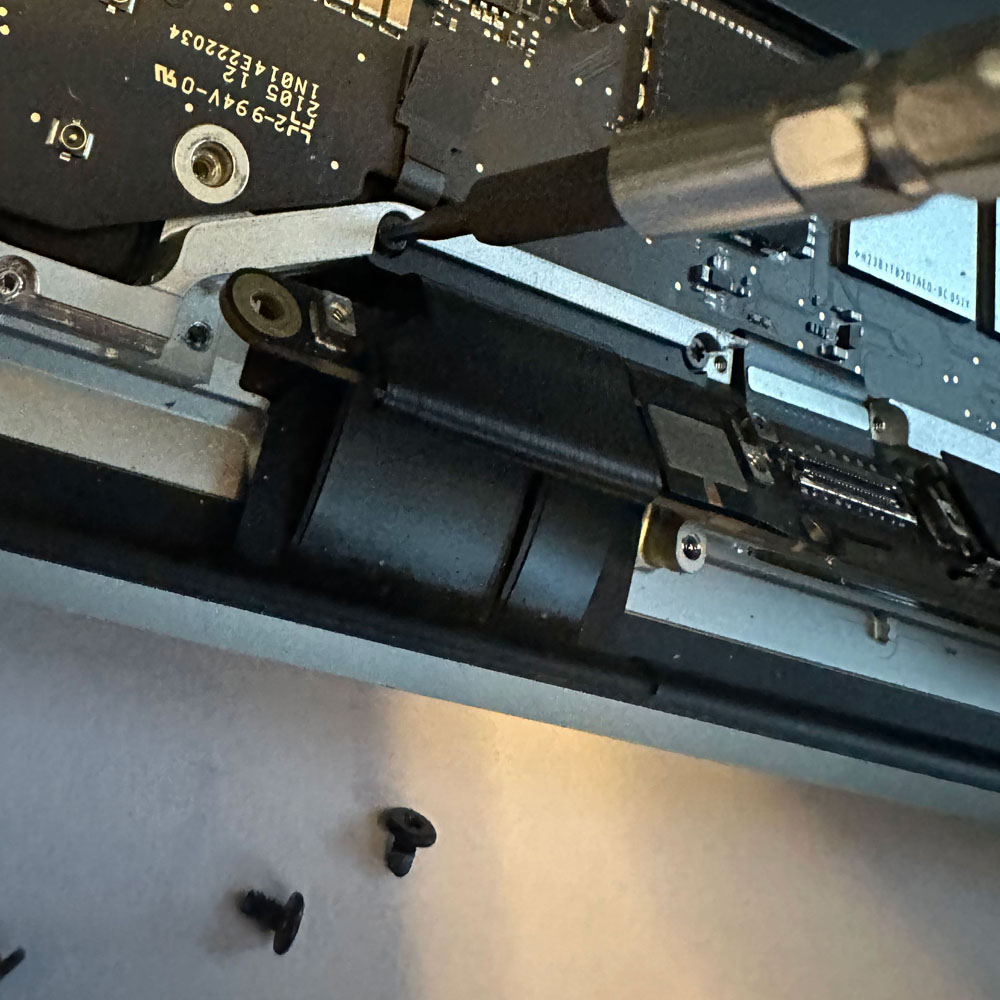
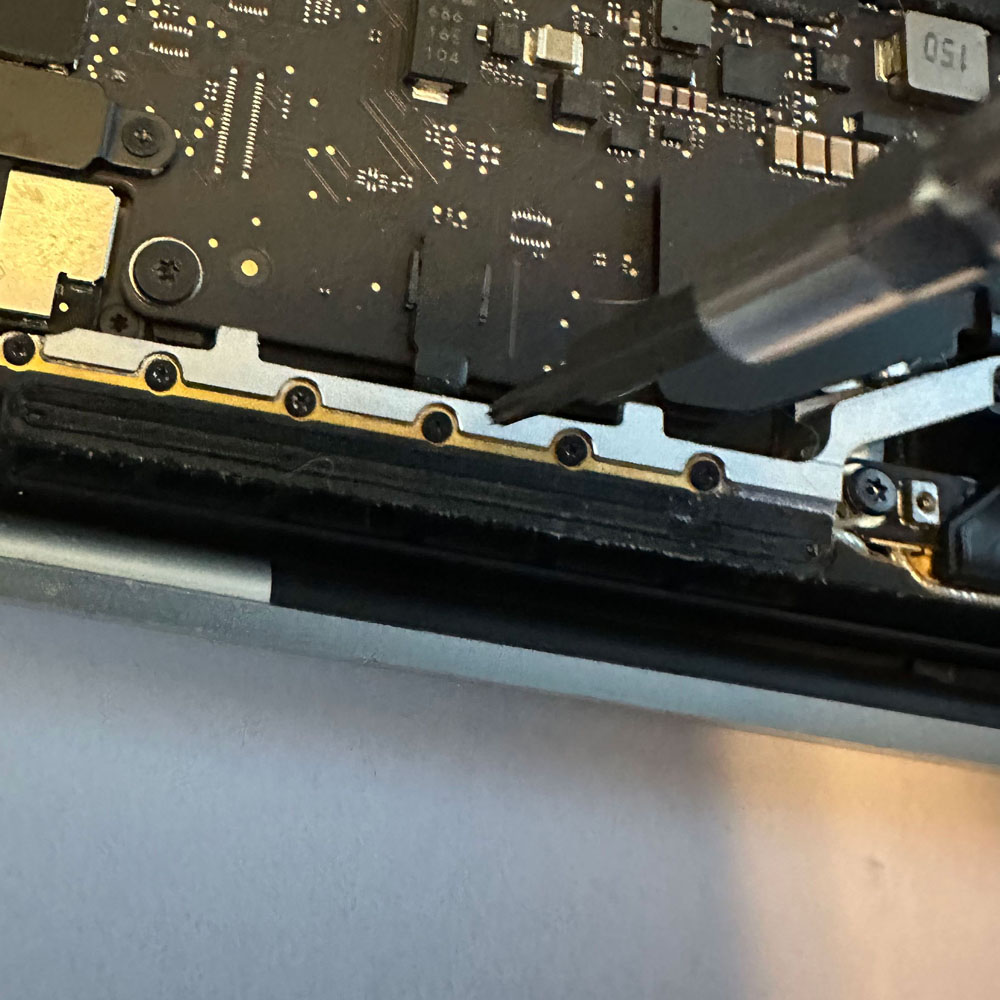
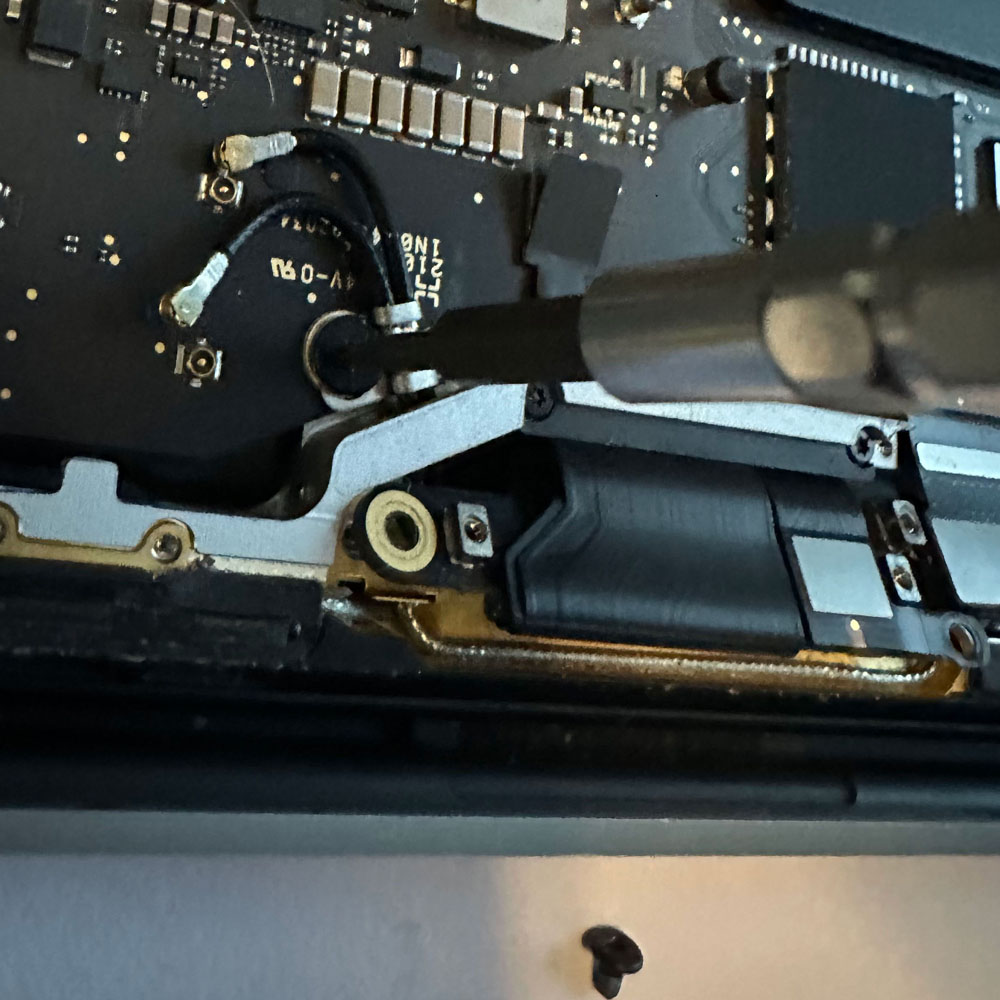
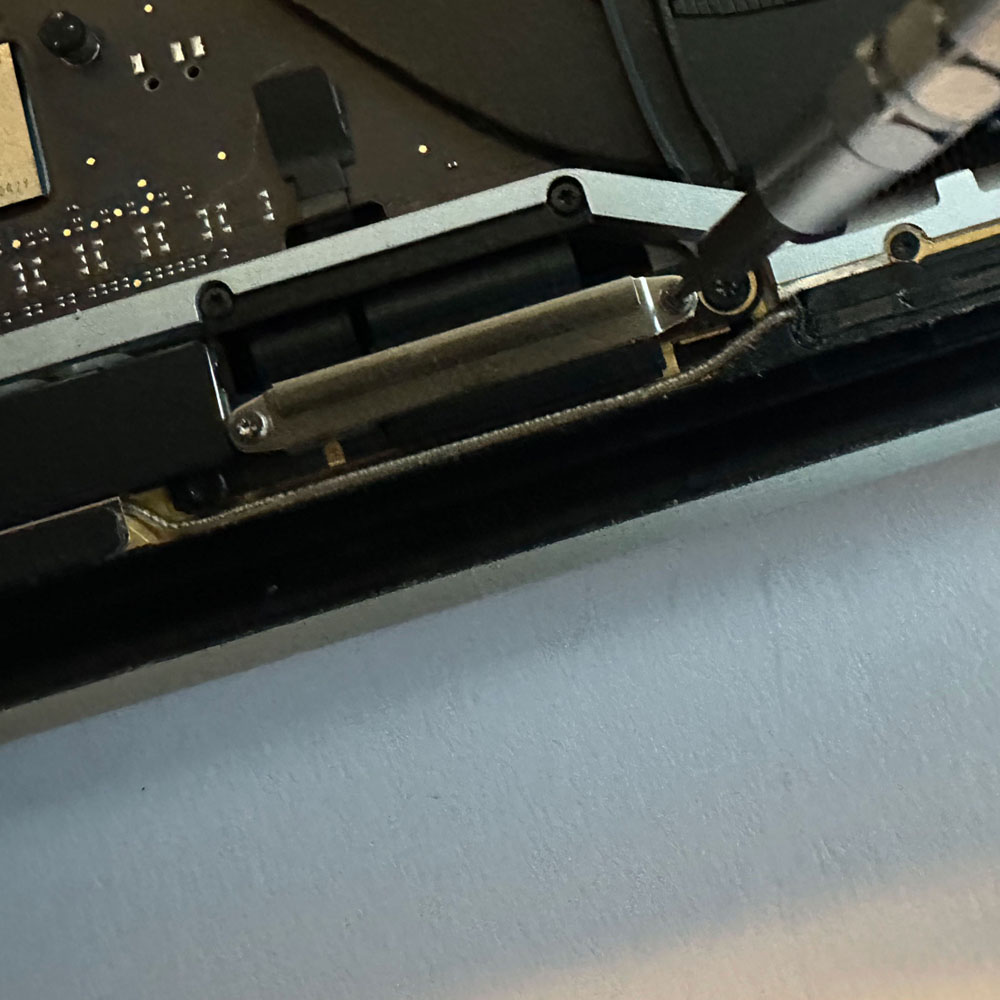
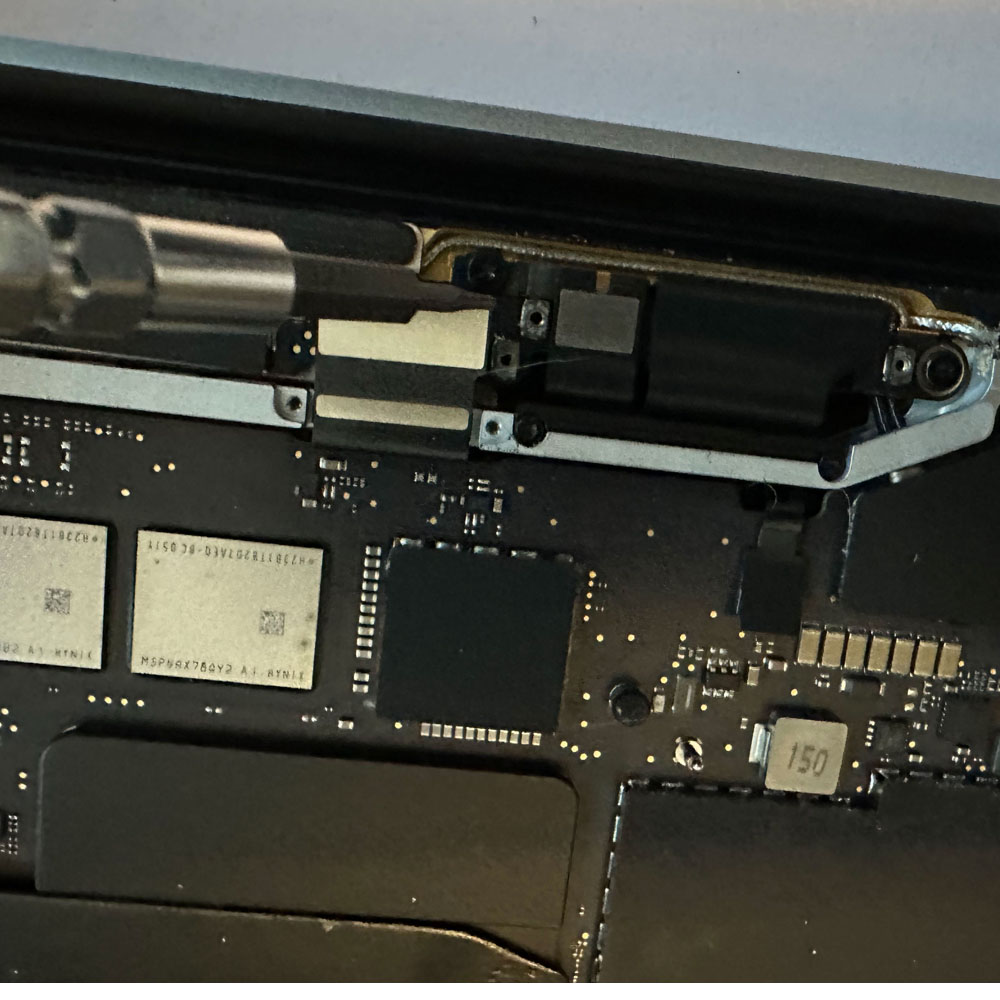
Starting here with the upper disassembled, we have the main logic board, power brackets, cable brackets, where we need to disconnect – trackpad, speakers, logic board flex screws and cables. This is where we can start the touch bar assembly replacement. It’s all bundled up, with covers and varing screws and electronic tape etc. Really you need to have your replacement handy, once you’ve removed the main board, speakers and trackpad… this is where it gets hairy!
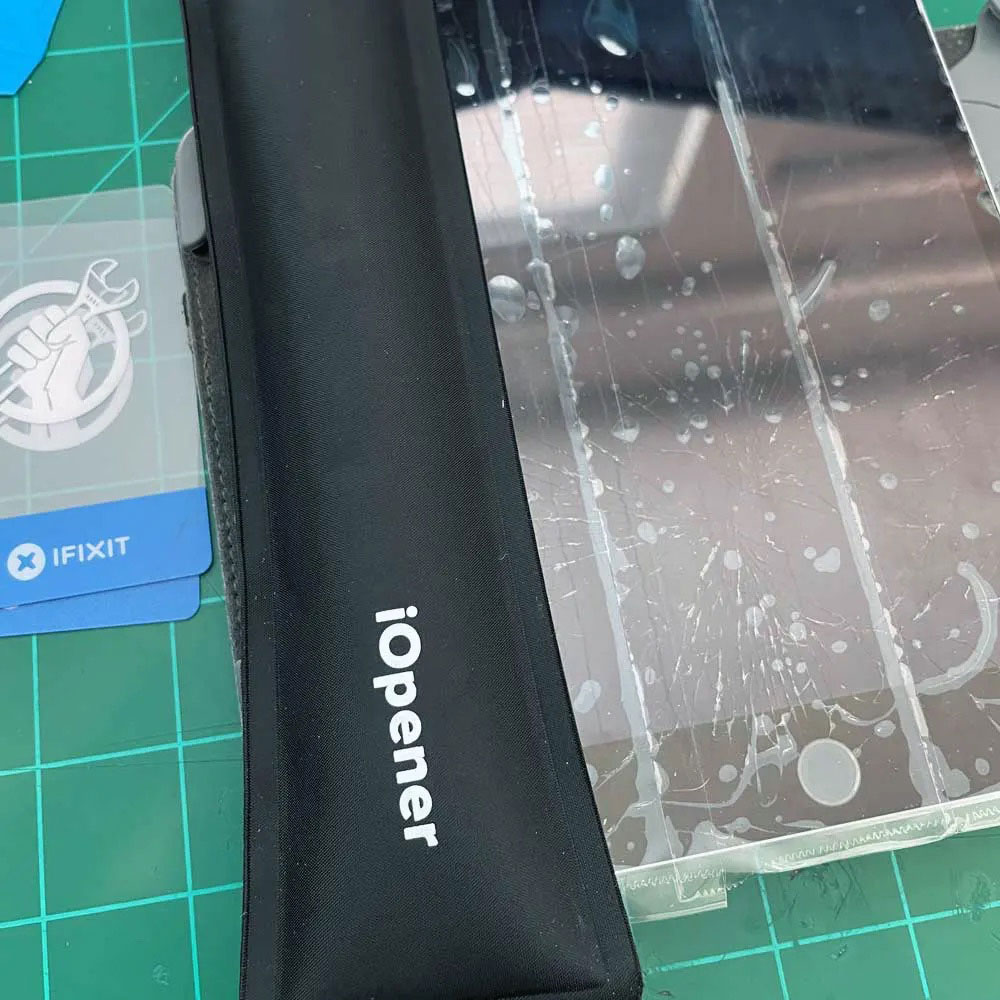
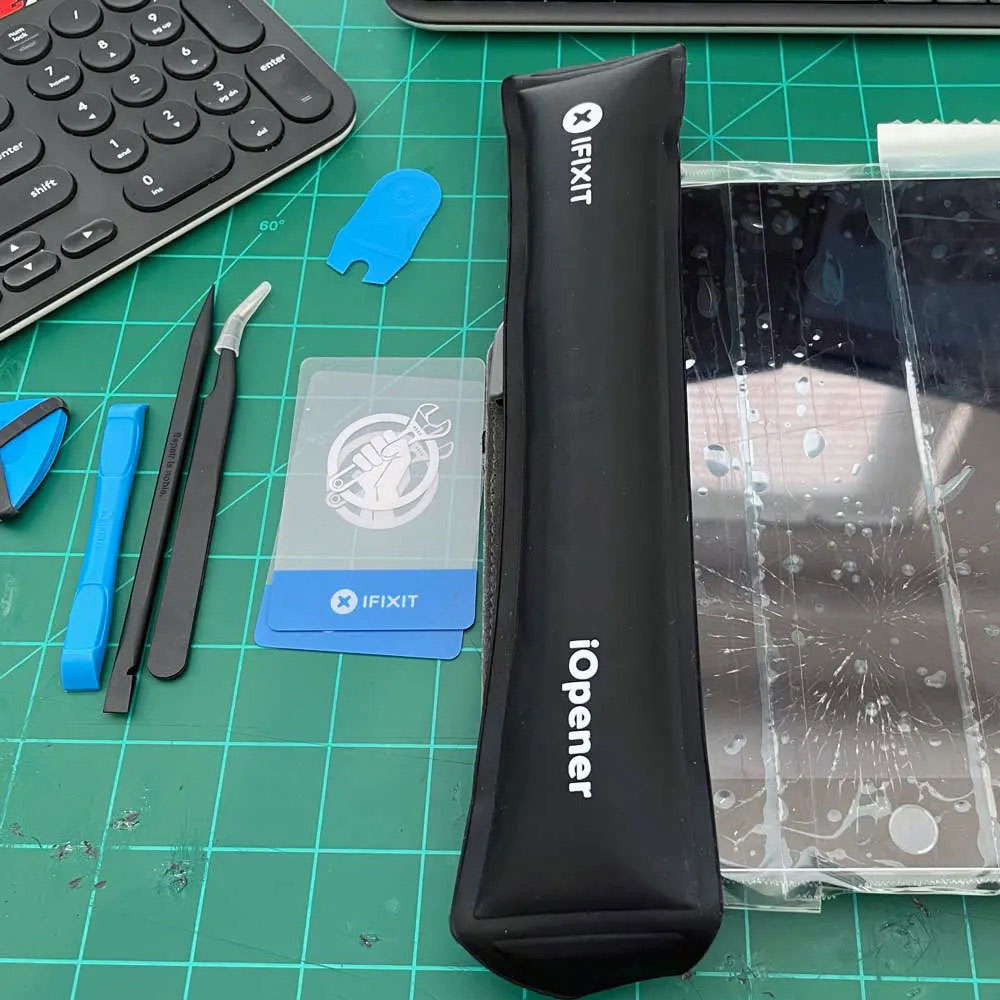
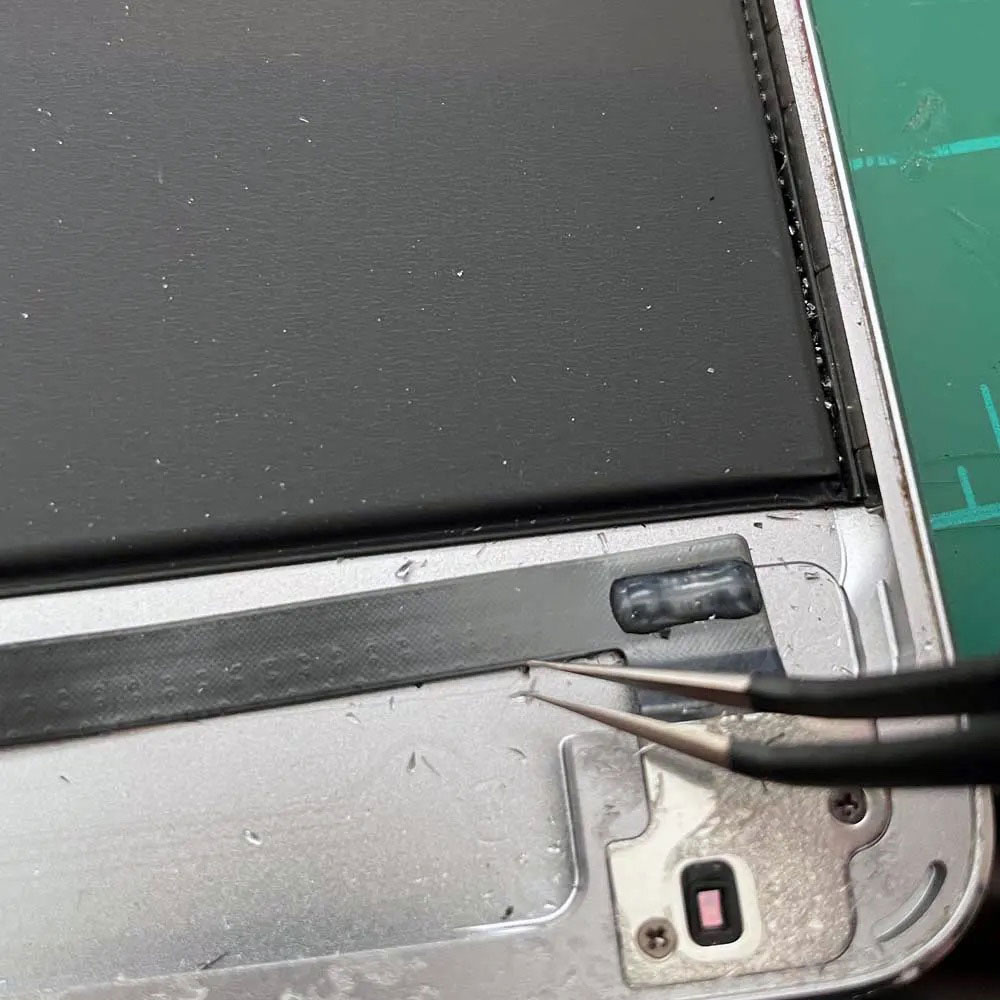
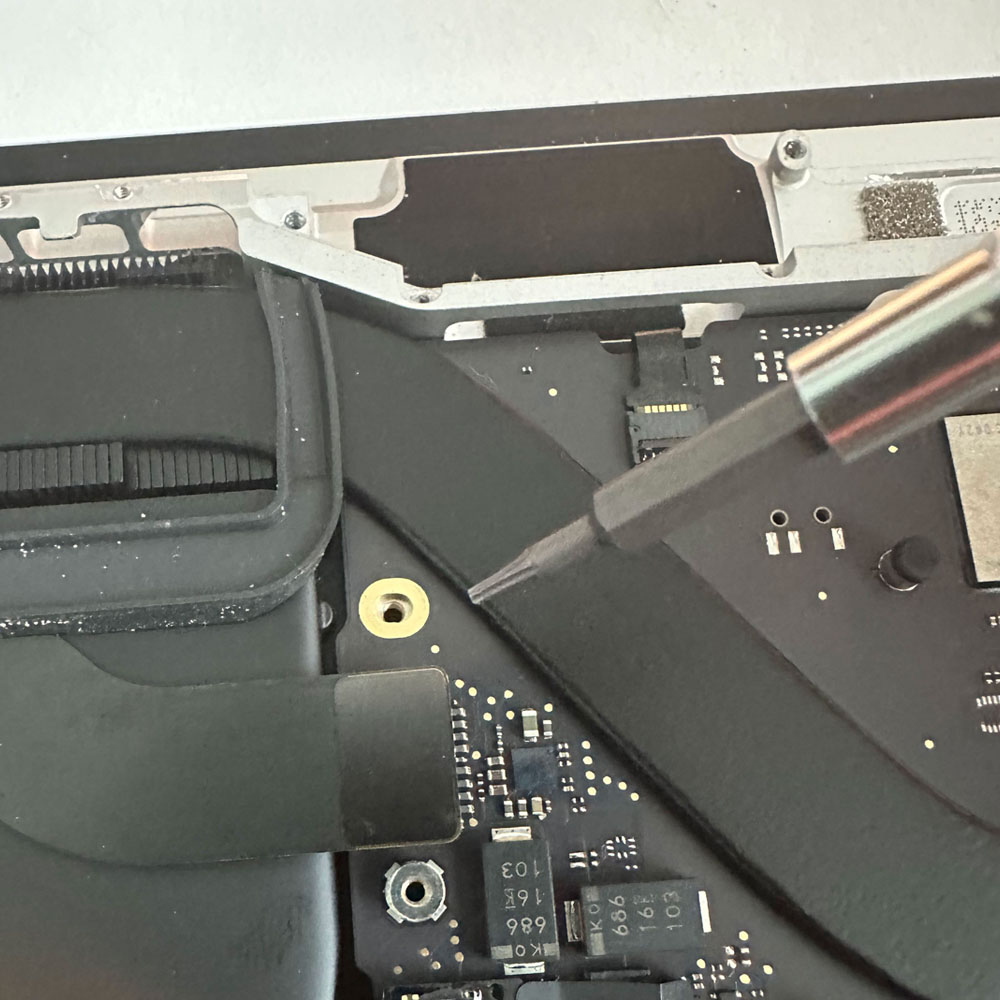
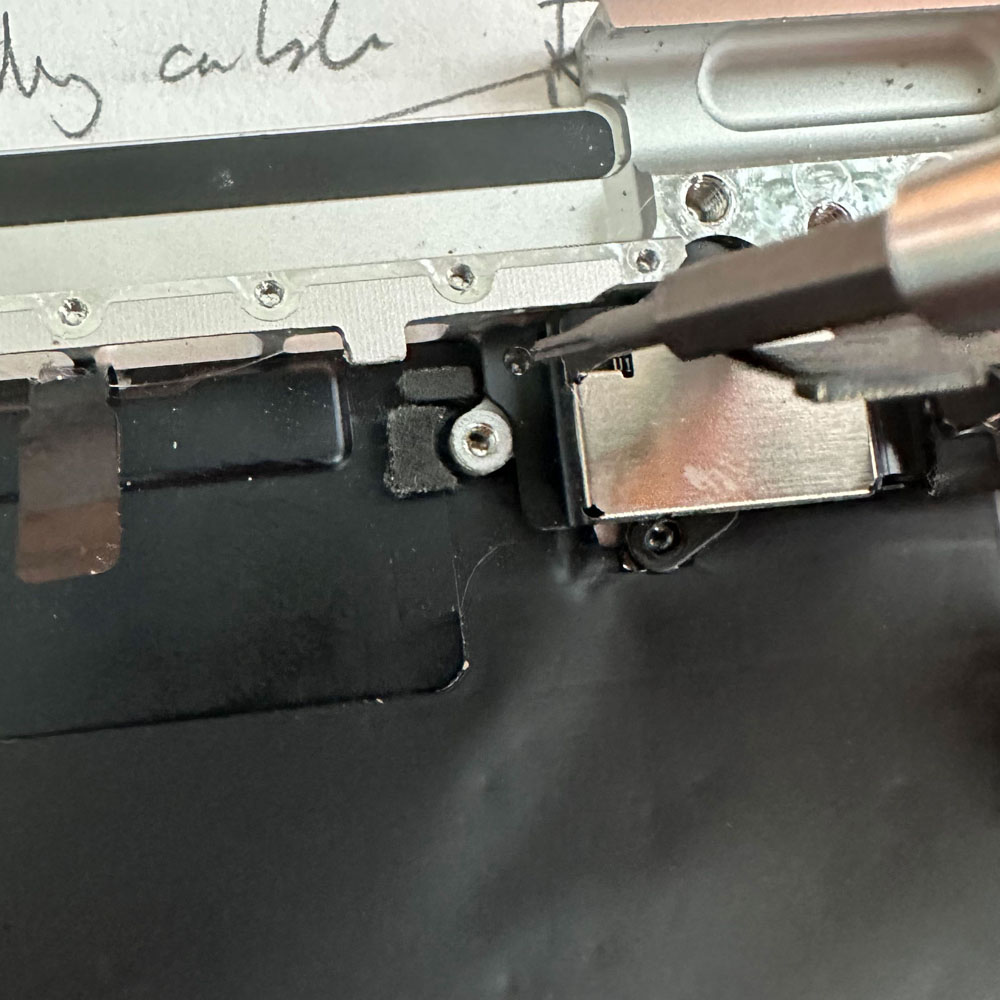
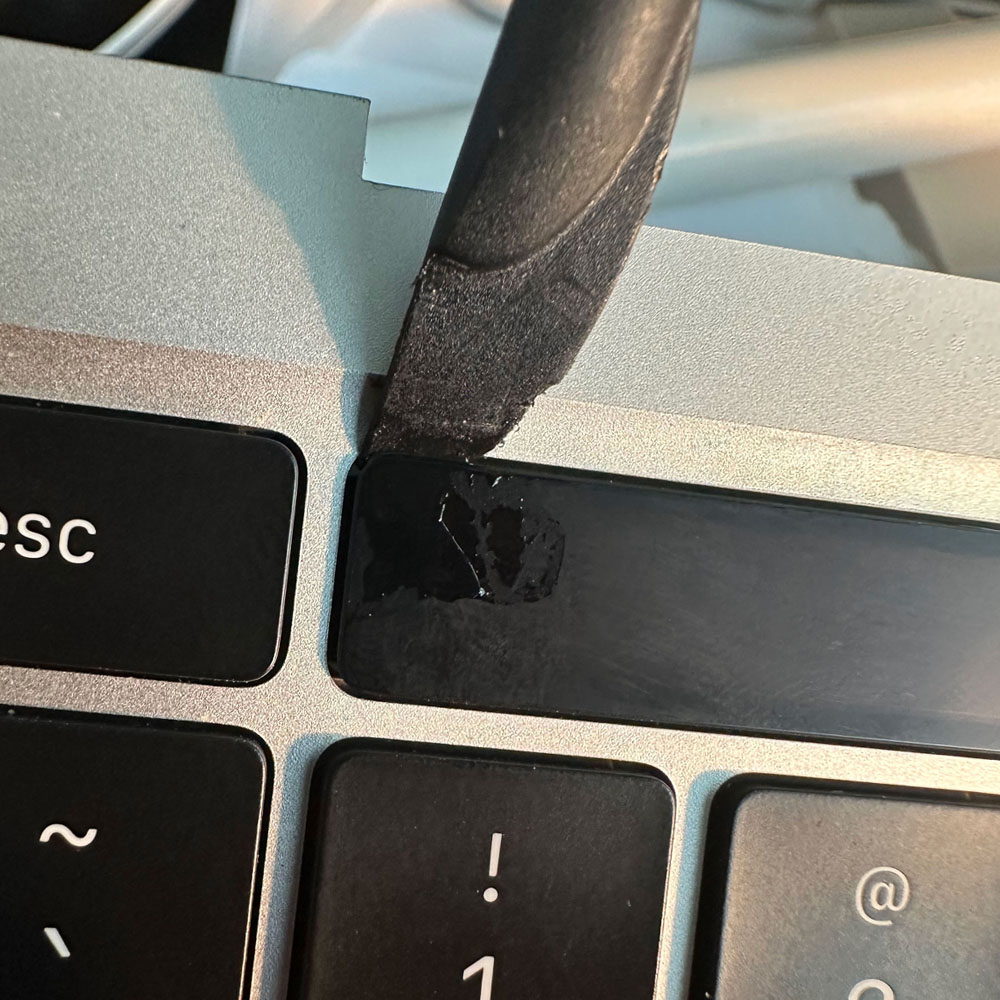
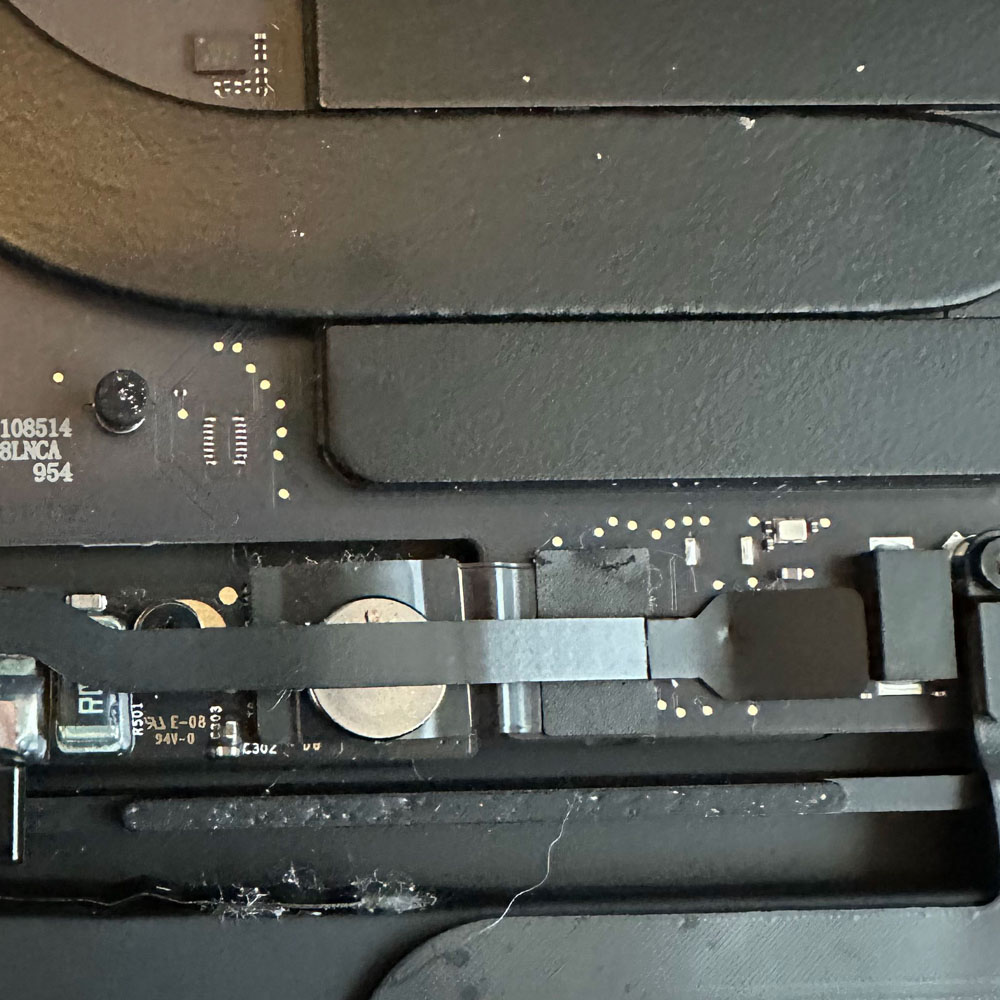
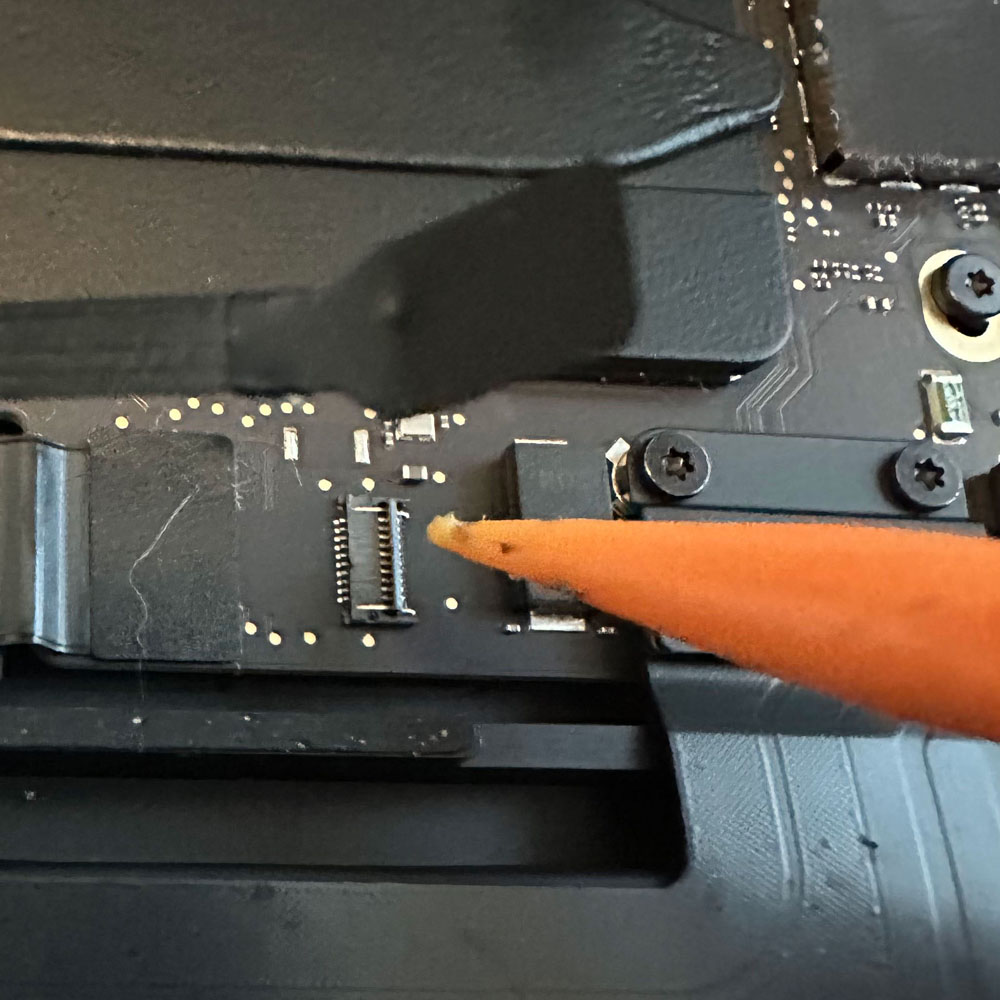
Handy to have your tool kit out, if not, again, give Amazon a quick call… or pull up iFixit a scroll… you’re going to need adhesive remover, some gloves, glasses, you know the essentials when working with glass, chemicals on small electronics. We will start with the flat pry bar, on the front (assuming all touch bar parts have been dismantled or ‘torn down’). We will slowly pry and spray our adhesive remover down behind the touch bar glass and the metal upper. Fun times, easier if you have more adhesive remover than what we had during the refurb process. Not much left after the mobile device teardowns a few months back.
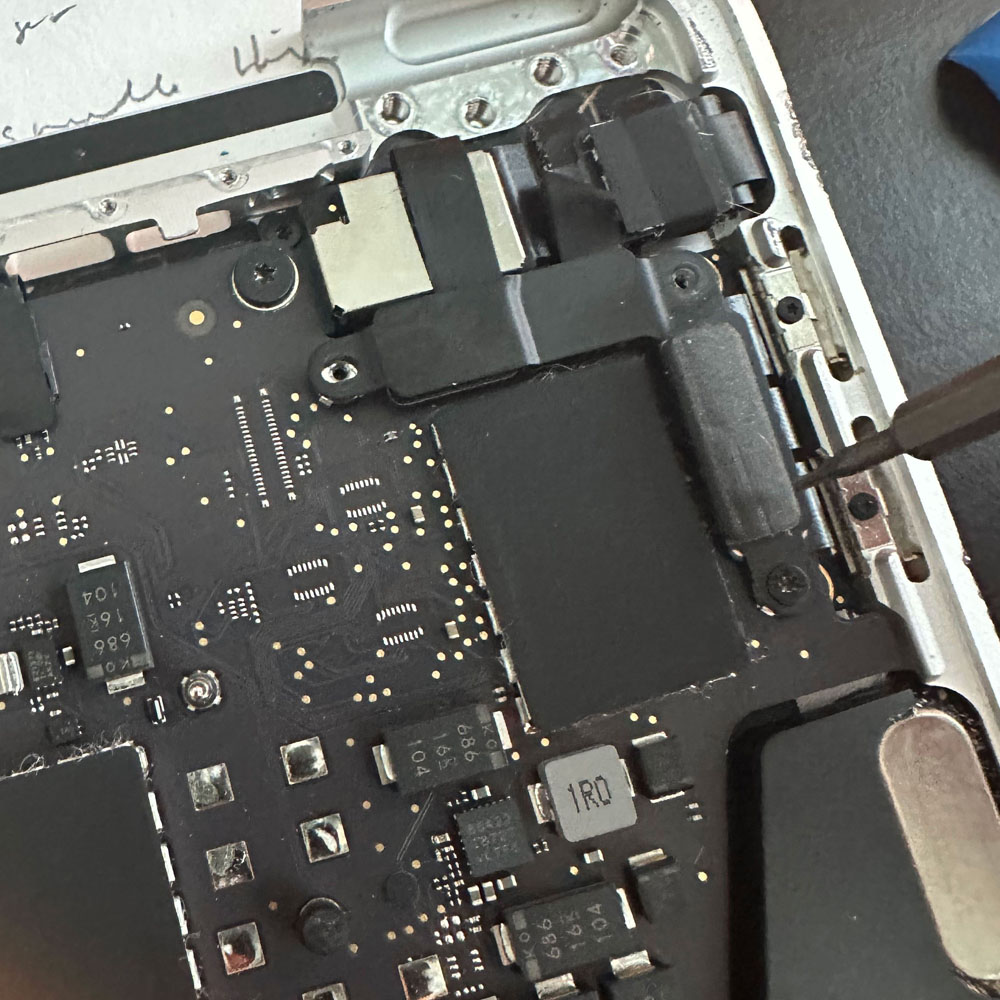
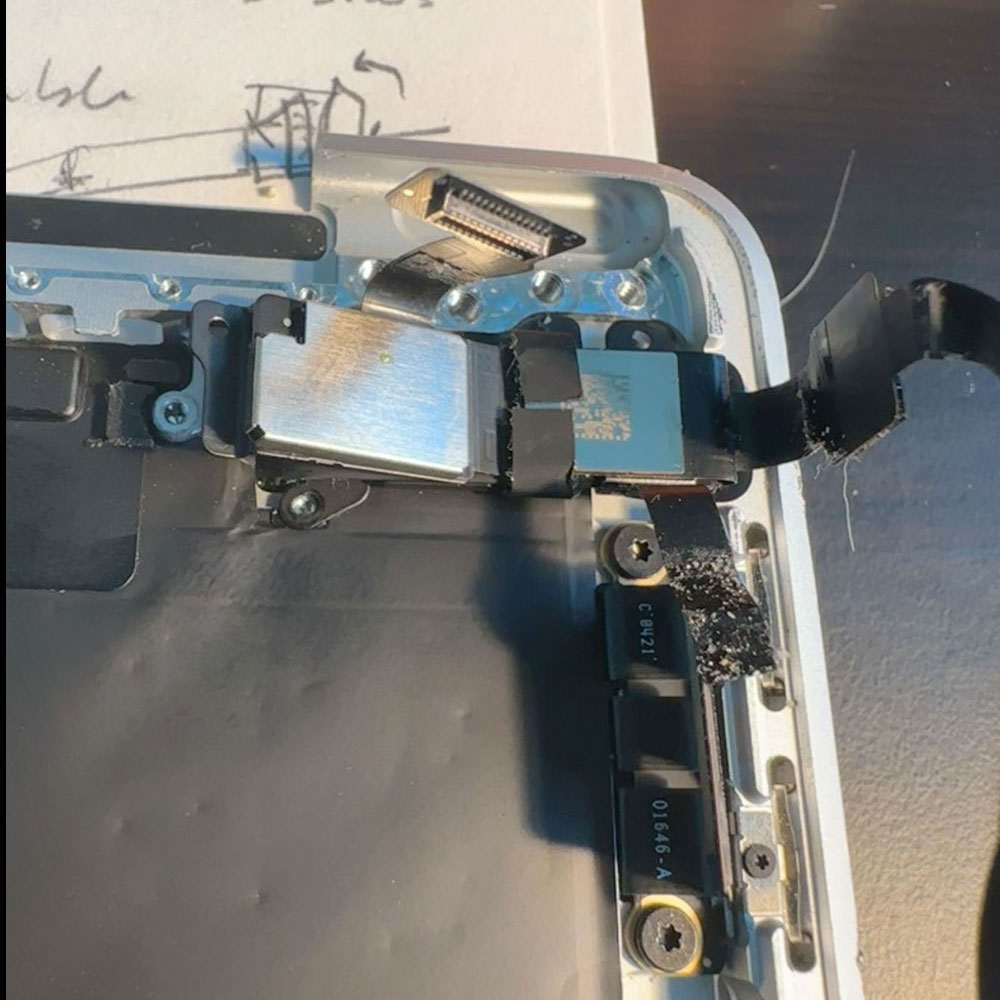
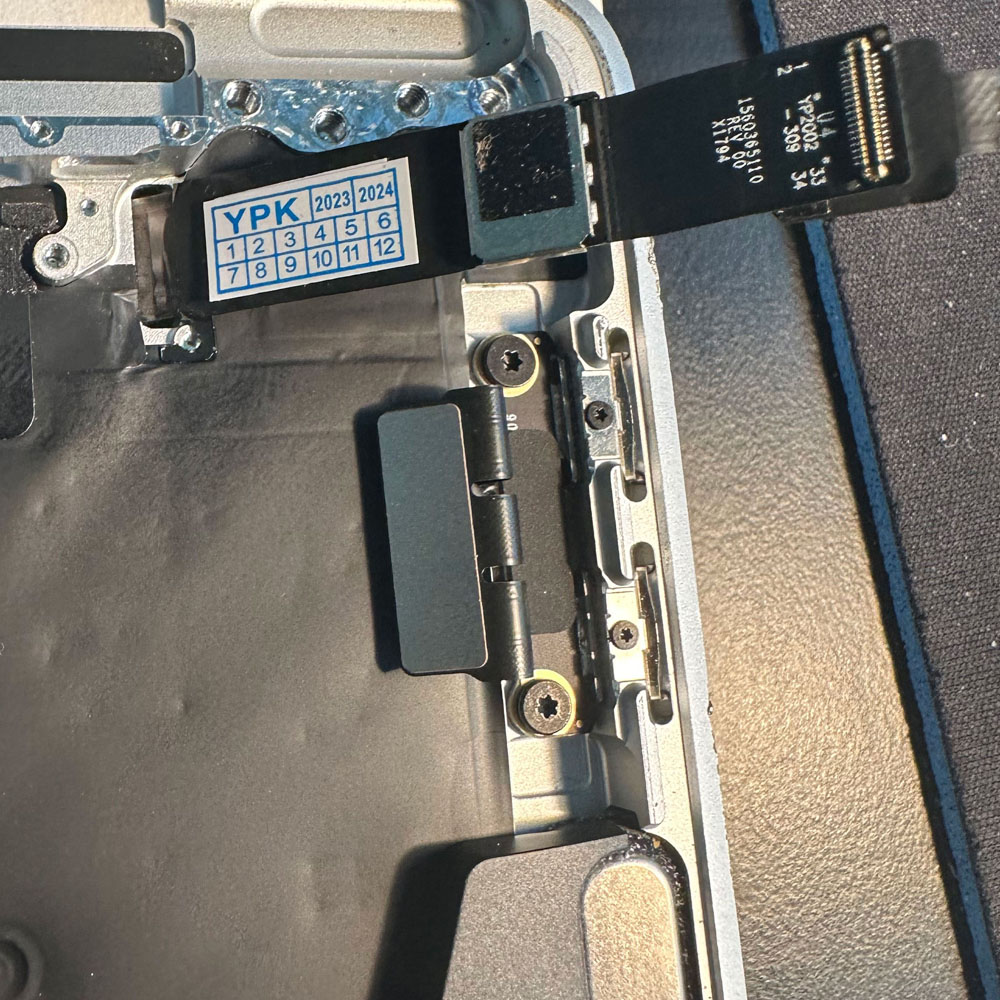
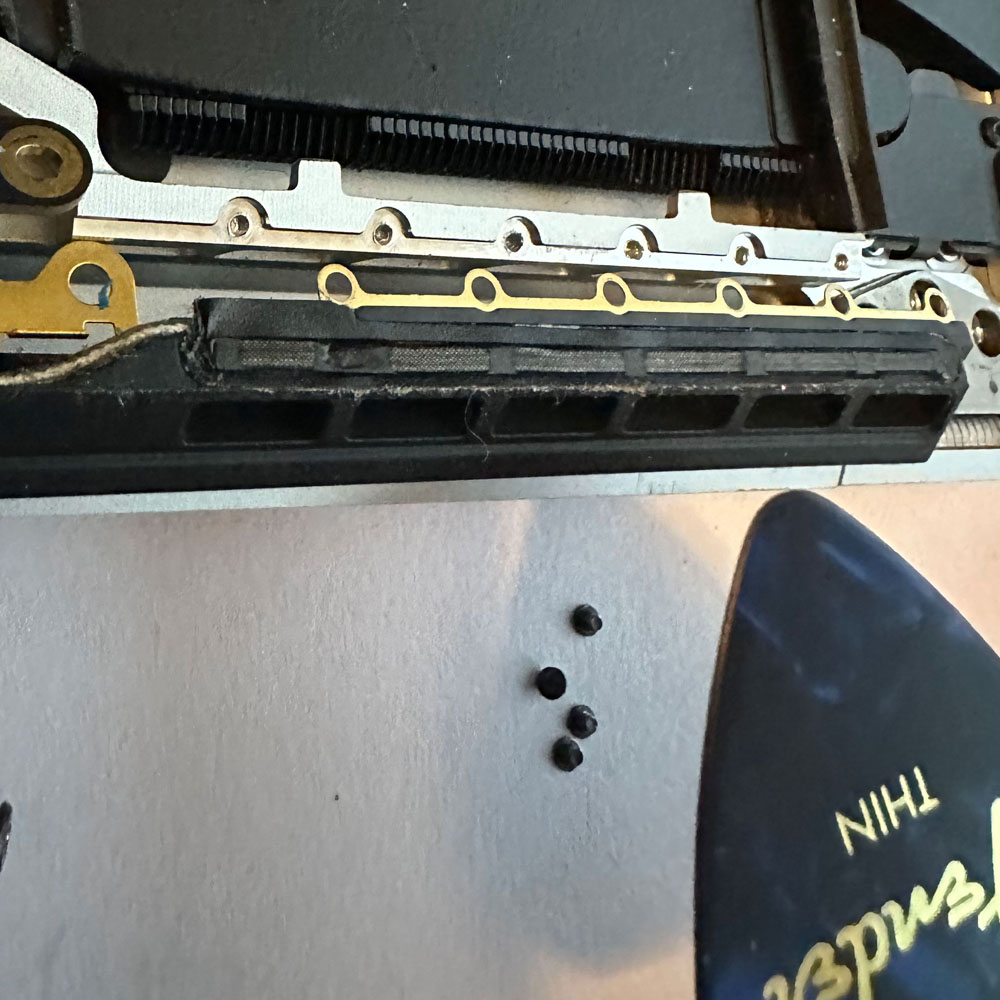
Ok, so we remove the glue, glass, and ultimately the touch bar on the front through the back upper. From here, easy peasy, we replace touch bar, careful to remove the backing which will adhere the touch bar to the upper case, flex cable in hand through the upper or touch bar bracketry and reassemble the touch bar cables and housing. We left the screen protector film on while we replaced all parts, as we continued the the rebuild process. Those images can be found below, there are a number of images; proceed with caution!
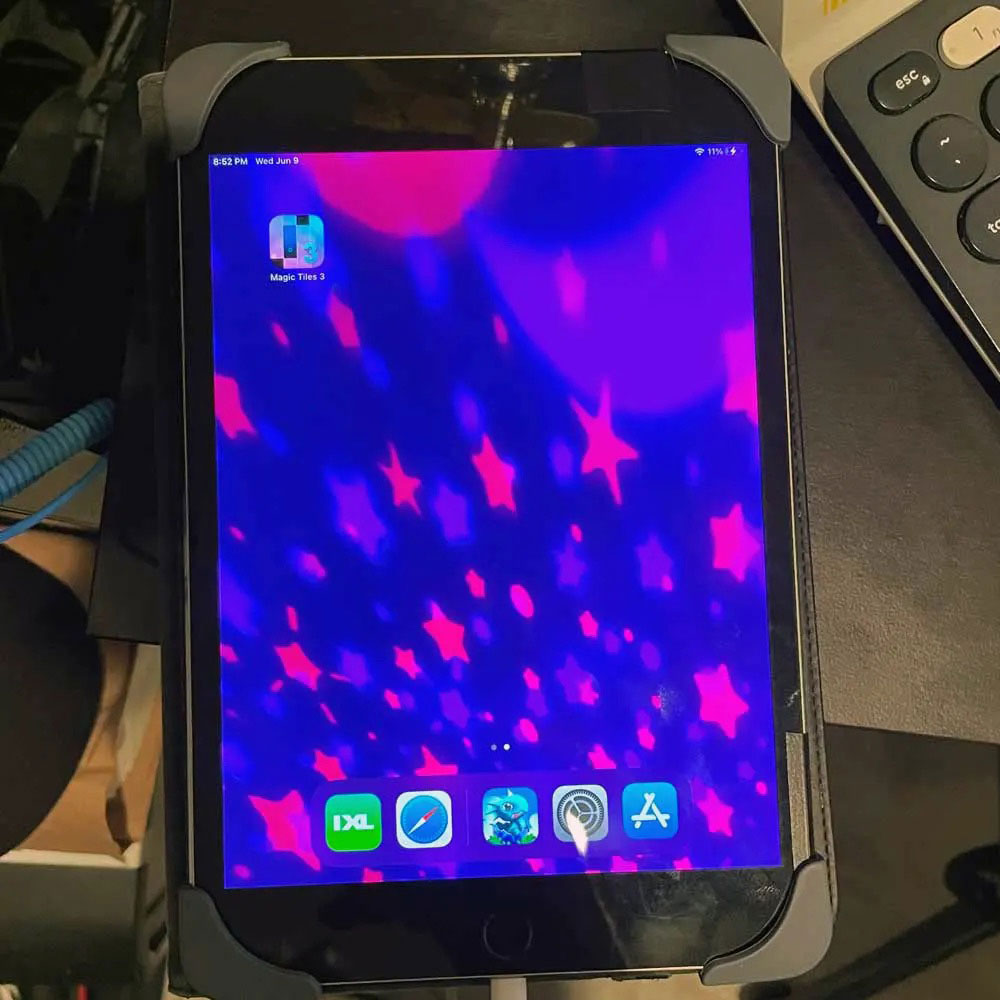
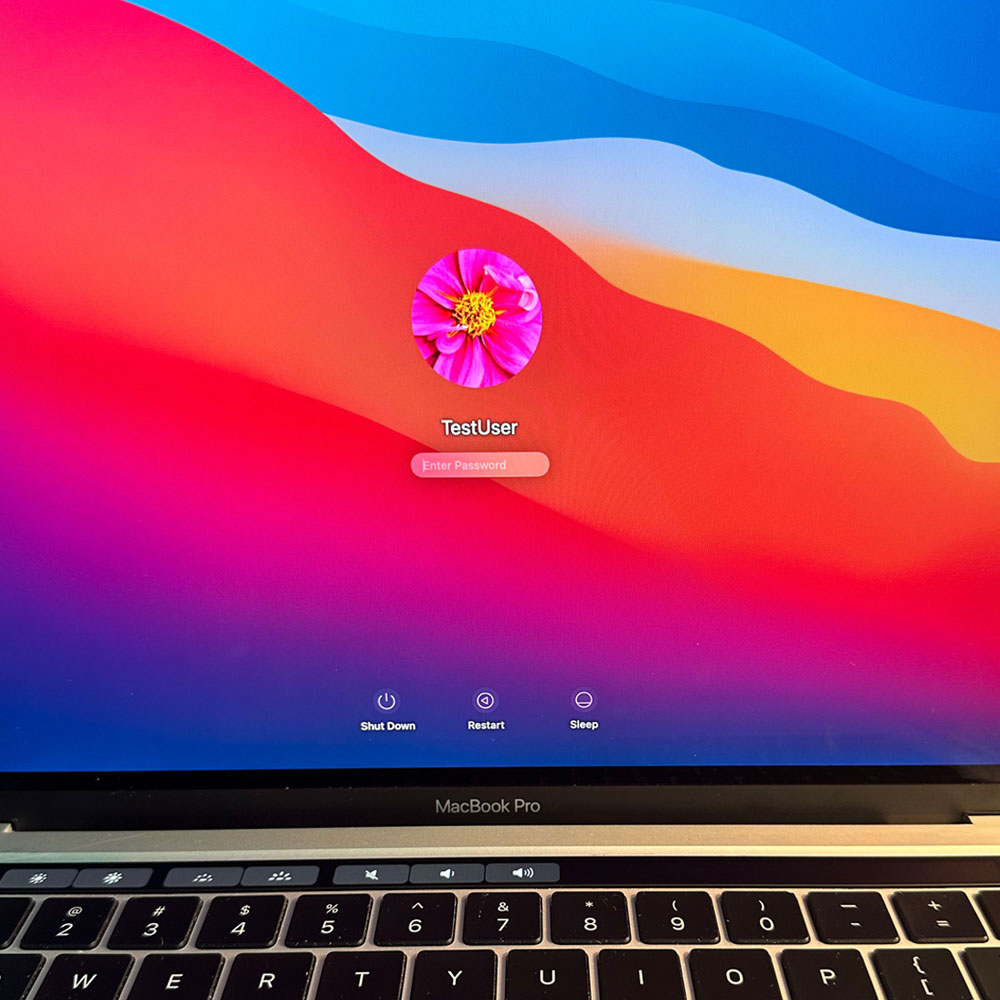
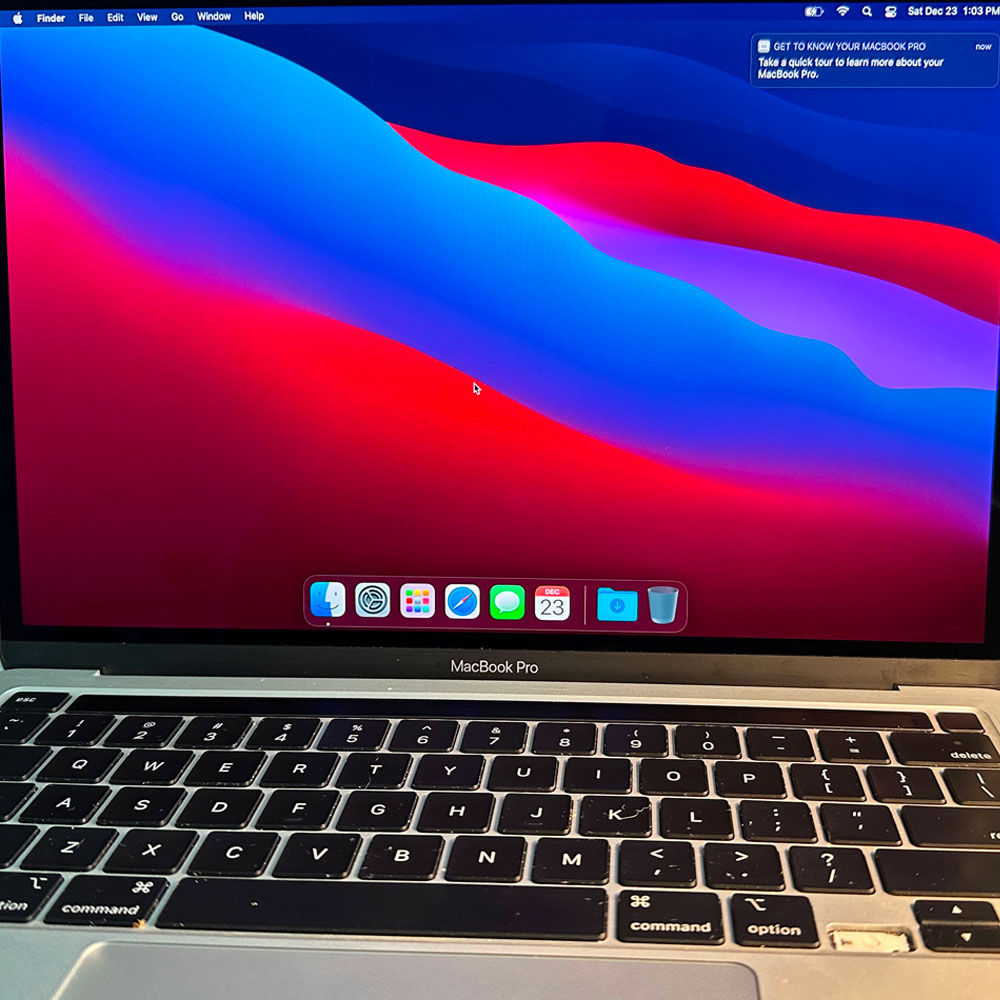
Phew, touch bar in, all parts, reassembled… let’s cover the conclusion. Once the machine is back together, a quick test is needed. We run the machine services mode, working with the drive, what’s on the drive etc. Wipe main drive, rename, rebuild and reinstall. Some quick terminal snippets and reboot. Once reinstalled. Remove any all software (bloat) we can, and we are off to the races. This laptop will be used at some point to run ham radio software if I can, hoping to install Linux on the main drive and use it as I do my previous machines. Well that concludes the refurb effort, if you have questions… send me an email, Cheers


M1 Screen & Keys
M1 Teardown – Screen & Keys
M1 Arrow Key, LCD
LCD and keys, can be tedious, be careful and be aware of the process; ‘teardown’ process.
The easiest part of the refurb are the keys. Keys, Screen/LCD and then the touch bar. Please note, the refurb process required two teardown(s) per say, I wanted to verify working parts and inspect the touch bar on it’s own. The process you can say is a 1 process job, however, I did this job in two parts for the sake of my own sanity. The key here, is this, I know if I could get the screen working, we would be in good shape. Cost aside, I was trying to avoid purchasing the M1 upper case which holds all parts associated with the computer. So, in other words, a no-brainer… Key, Screen, then touch bar.
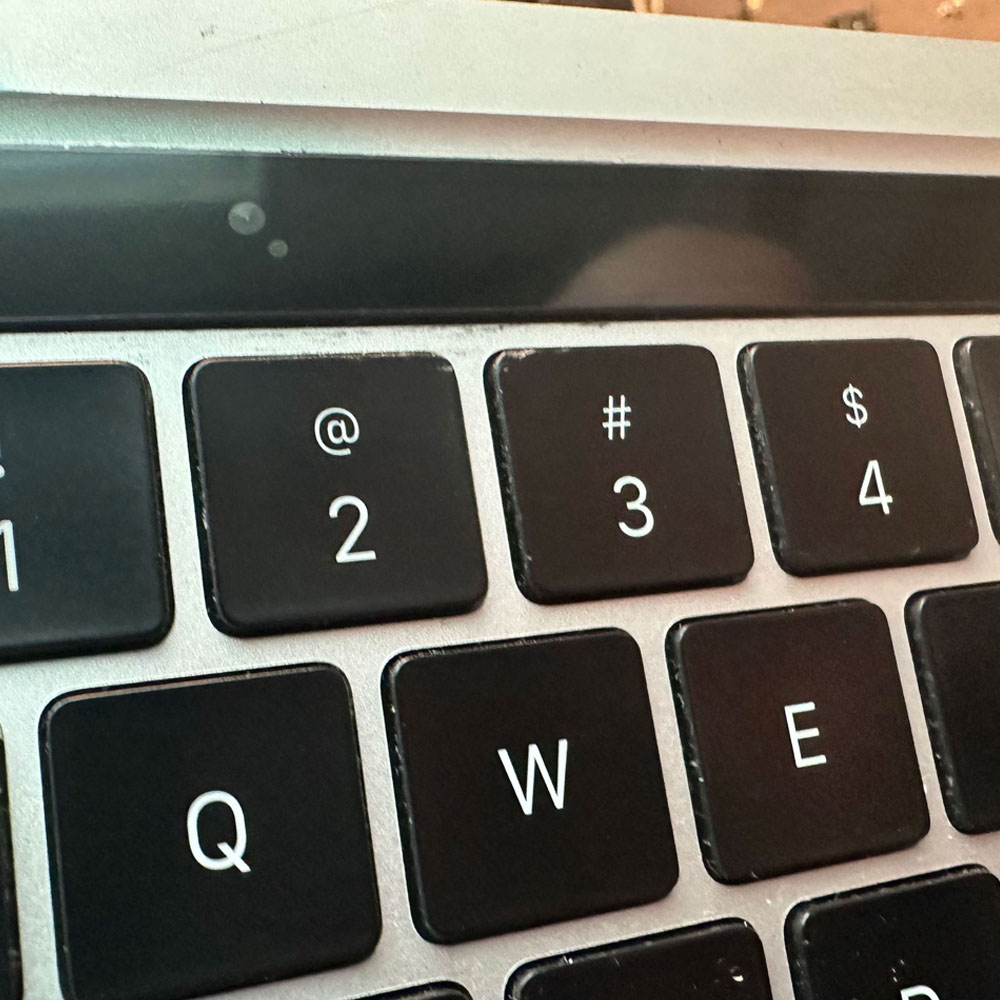
Start Teardown bell! We’ve completed our inspection, and we start the easiest of the three R/R (remove and replace) parts in this teardown. Keys can be tricky, please see the video below, if keys are ‘an alien’ concept, we just need the left arrow key. There are a few online resources to check out, below, Snazzy does a nice job, walking through the process in video form, we breeze through the key change. If you need more information, check out Snazzy Labs, quick video on how to replace keys. Please note – there will be some differences between model(s), M1 specifically; hence the video! The takeaway, quick snap key are handy, can be bear if you don’t know how the scissor clips work. I pre-purchase new keys (up, down, left and right – be sure to purchase the ‘left arrow’, purchase the correct key “left” arrow) slide and click, easy as pie.
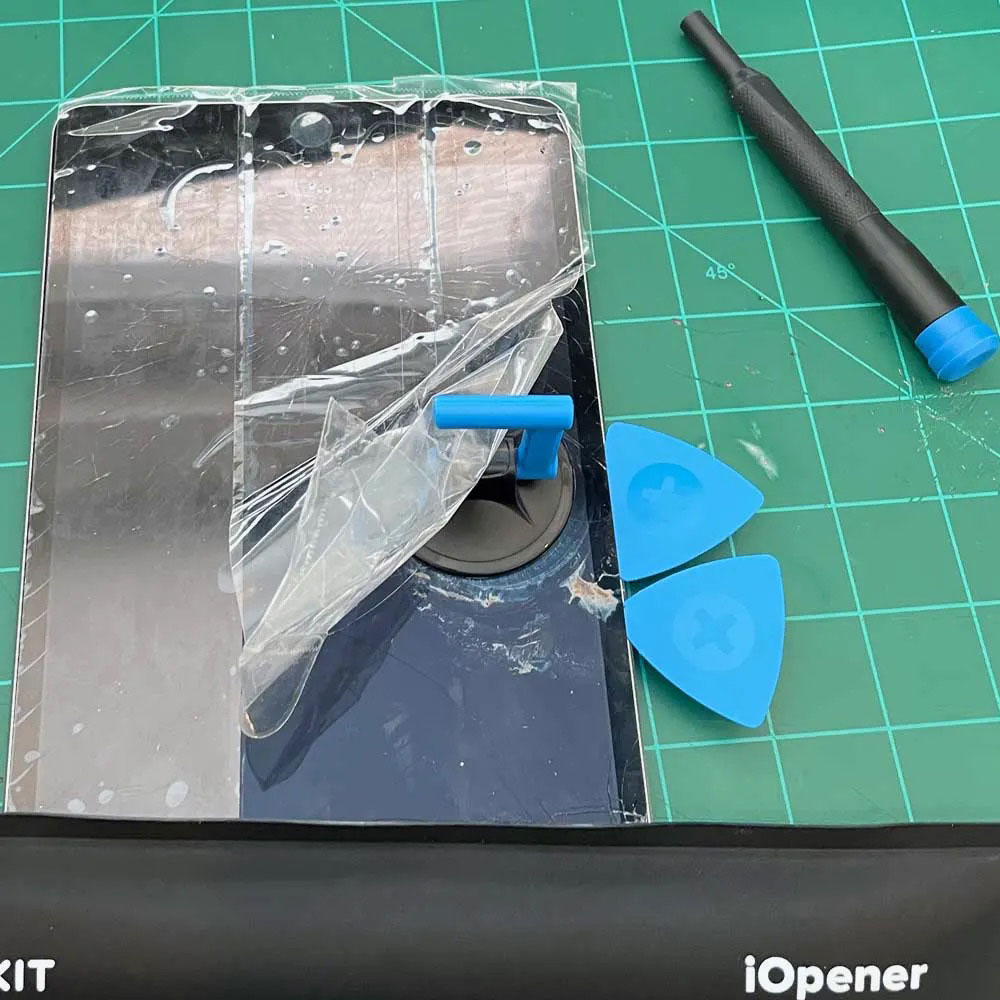
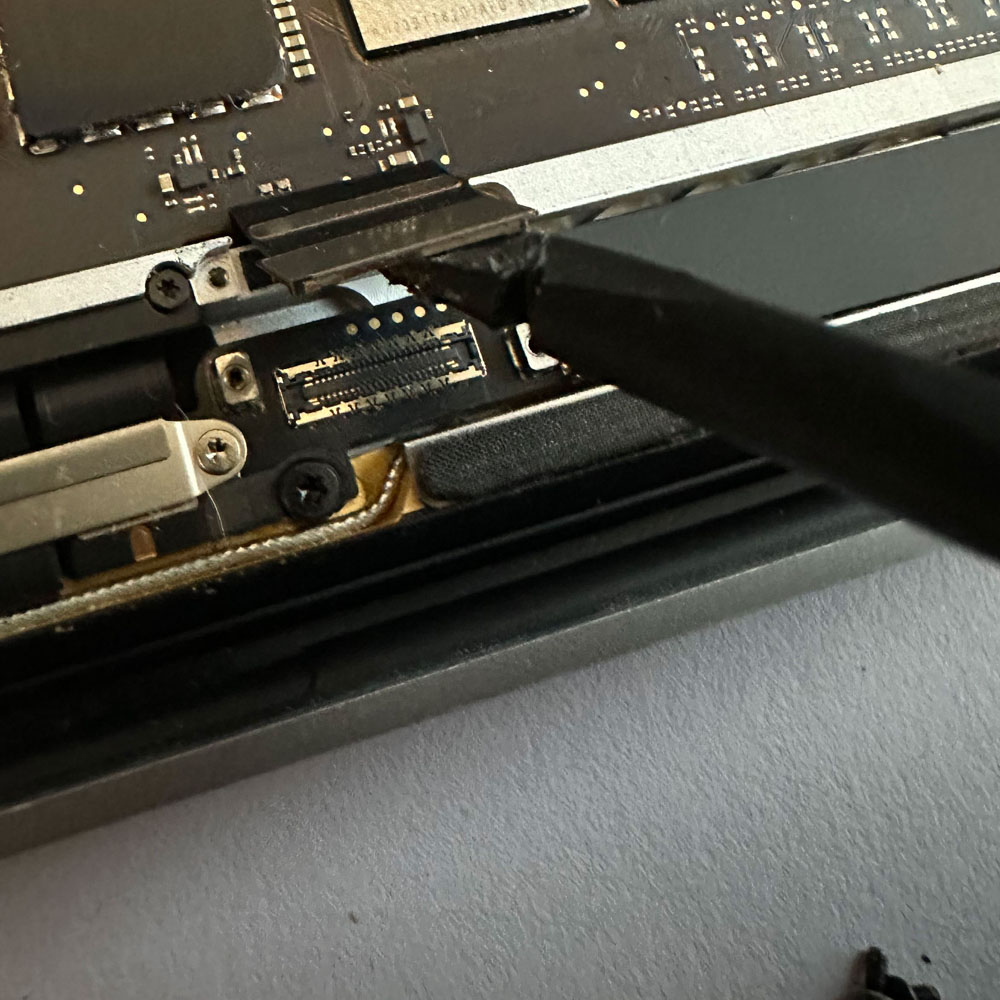
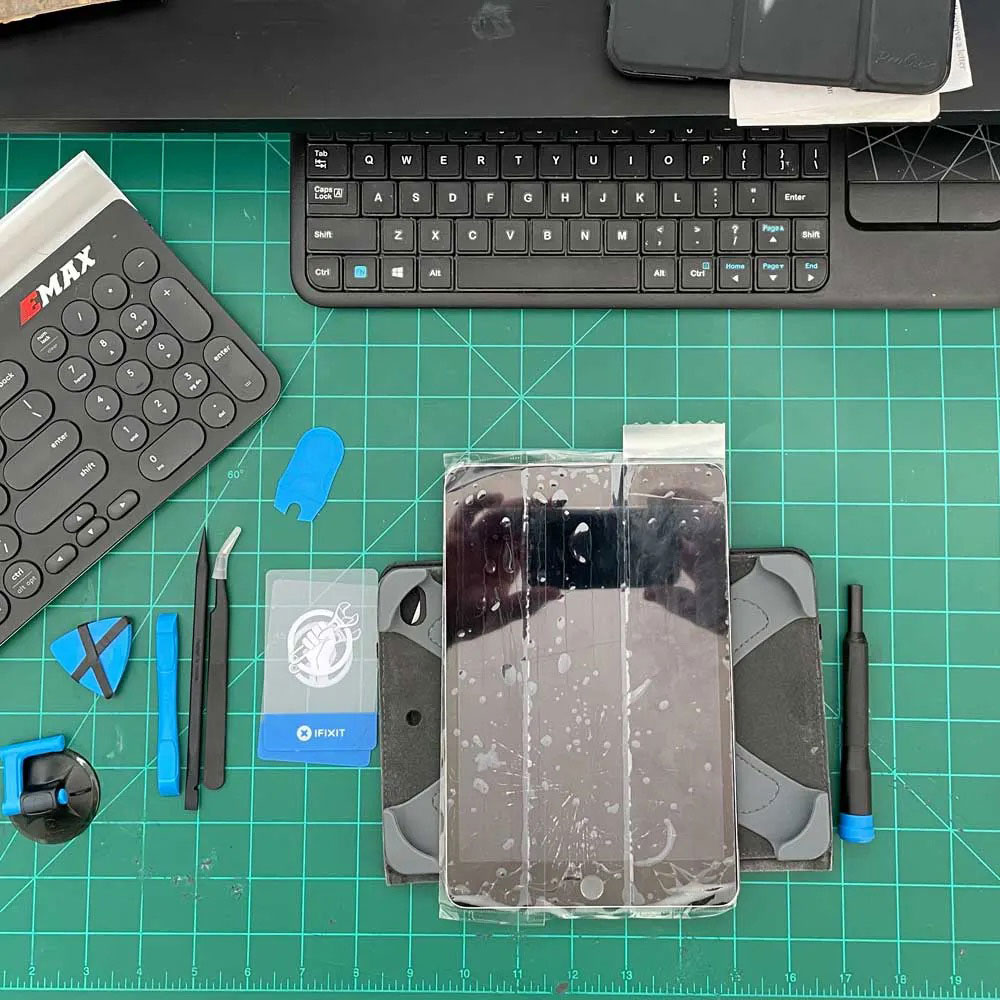
So, let’s pickup on the cracked screen… We get under the bottom case with a clamp tool and suction cups. Recommendation – iFixit has all kinds of ‘fix it’ stuff, from tools to parts etc. iFixit, we will come back to these folks here shortly, however, we’ve purchased a few items from them. You will need adhesive remover, can you guess where we got ours? This is not a paid advert, but there are some good tools there if you don’t have anything in the electric/technical toolbox.
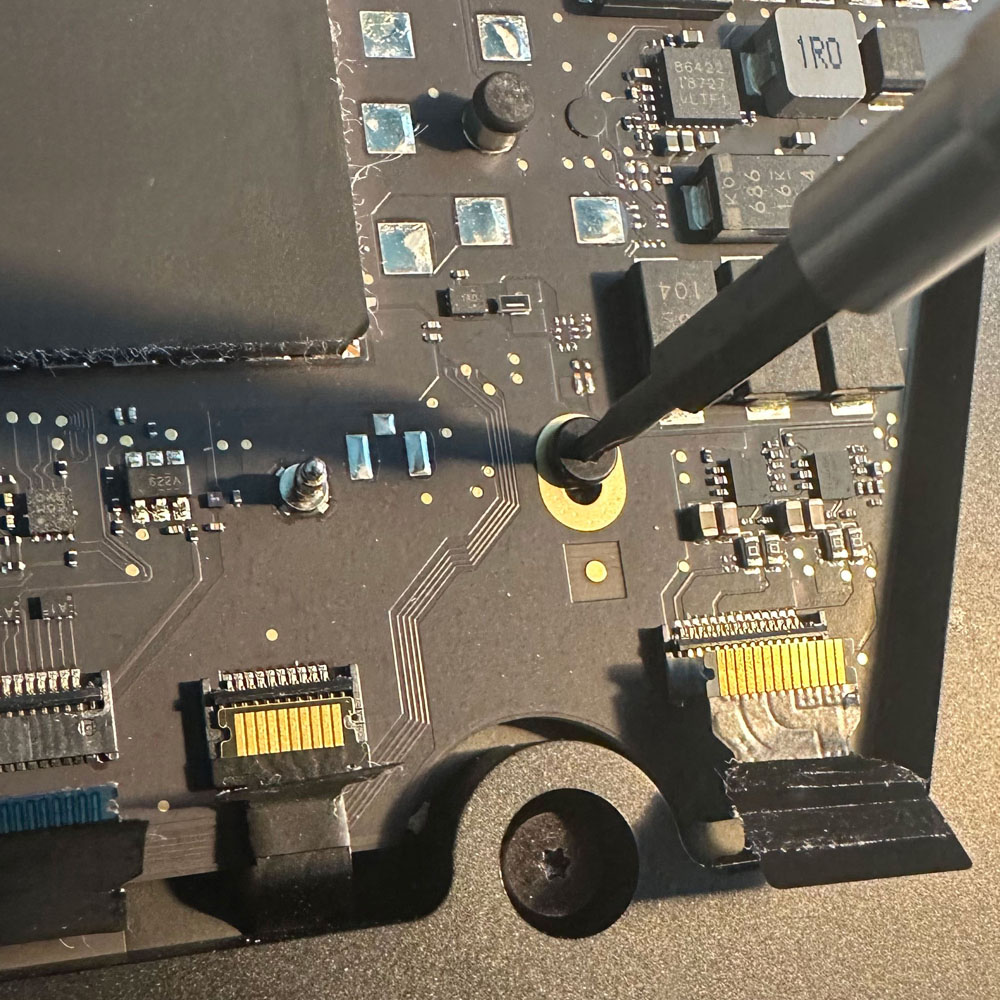
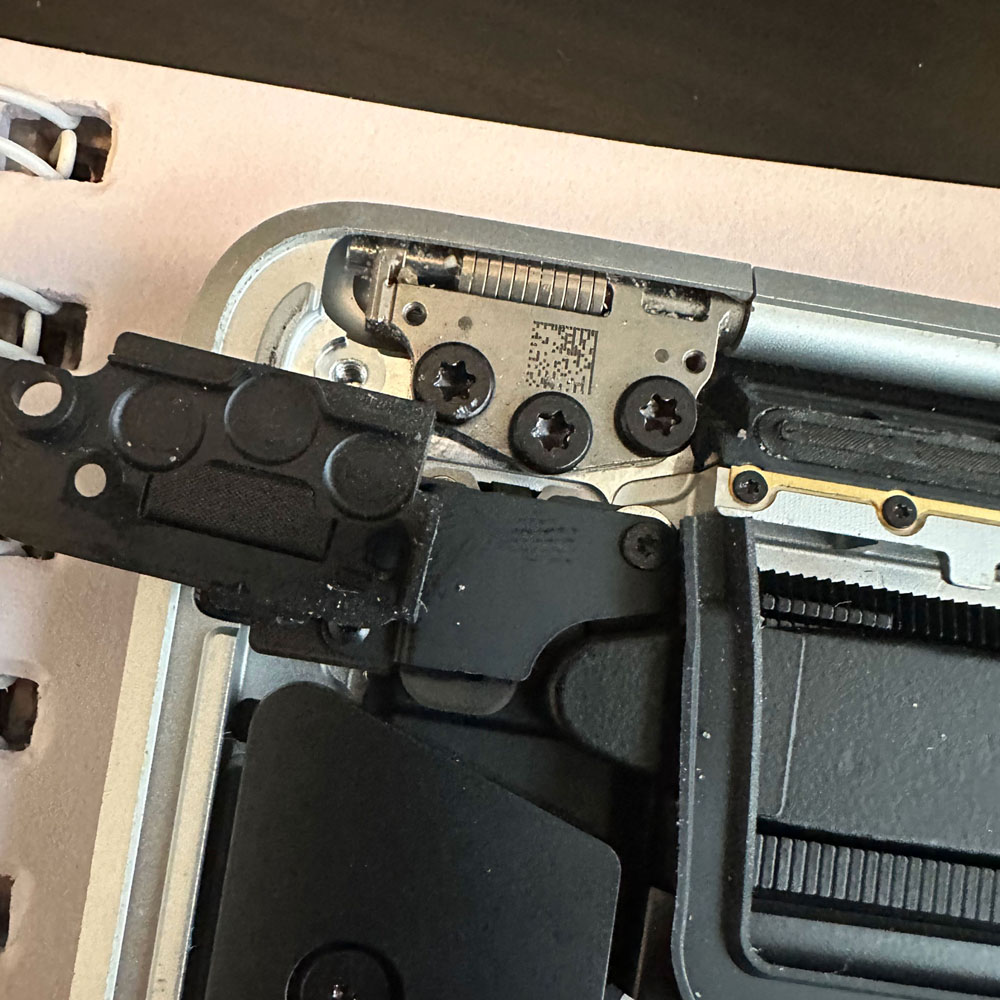
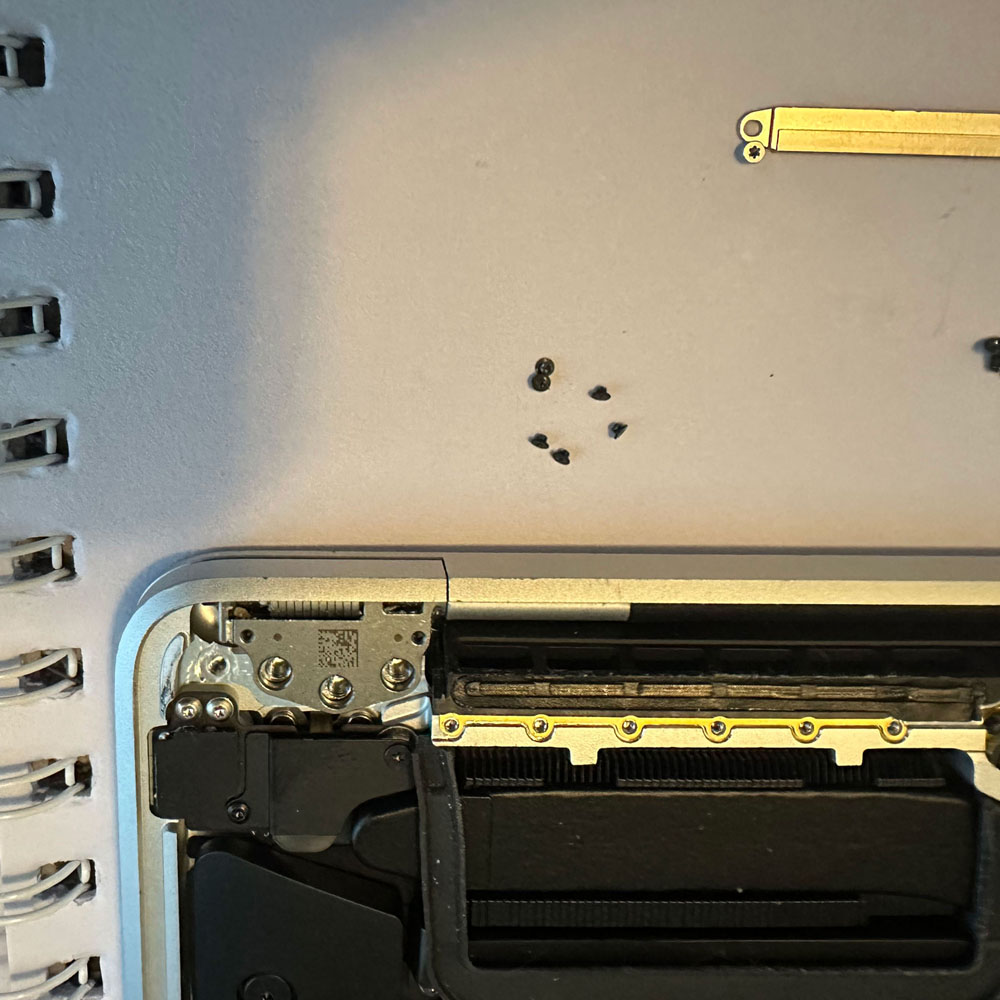
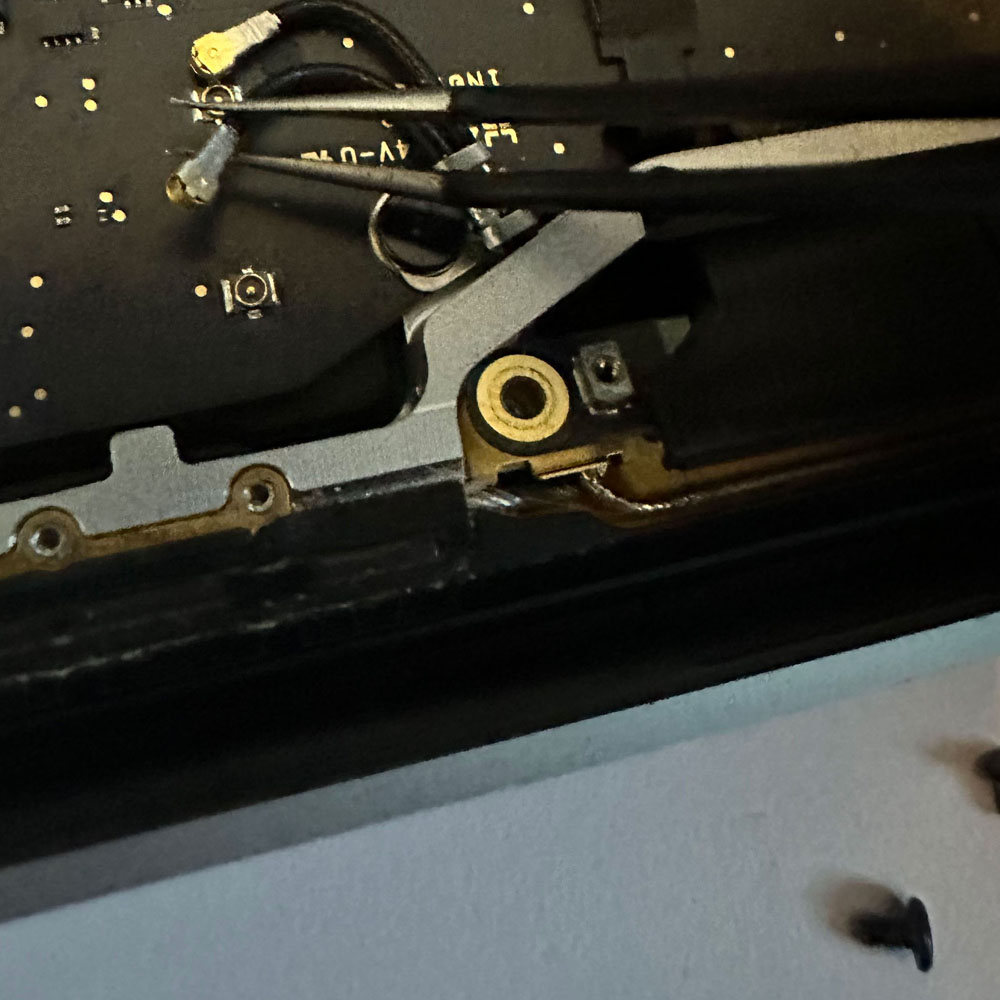
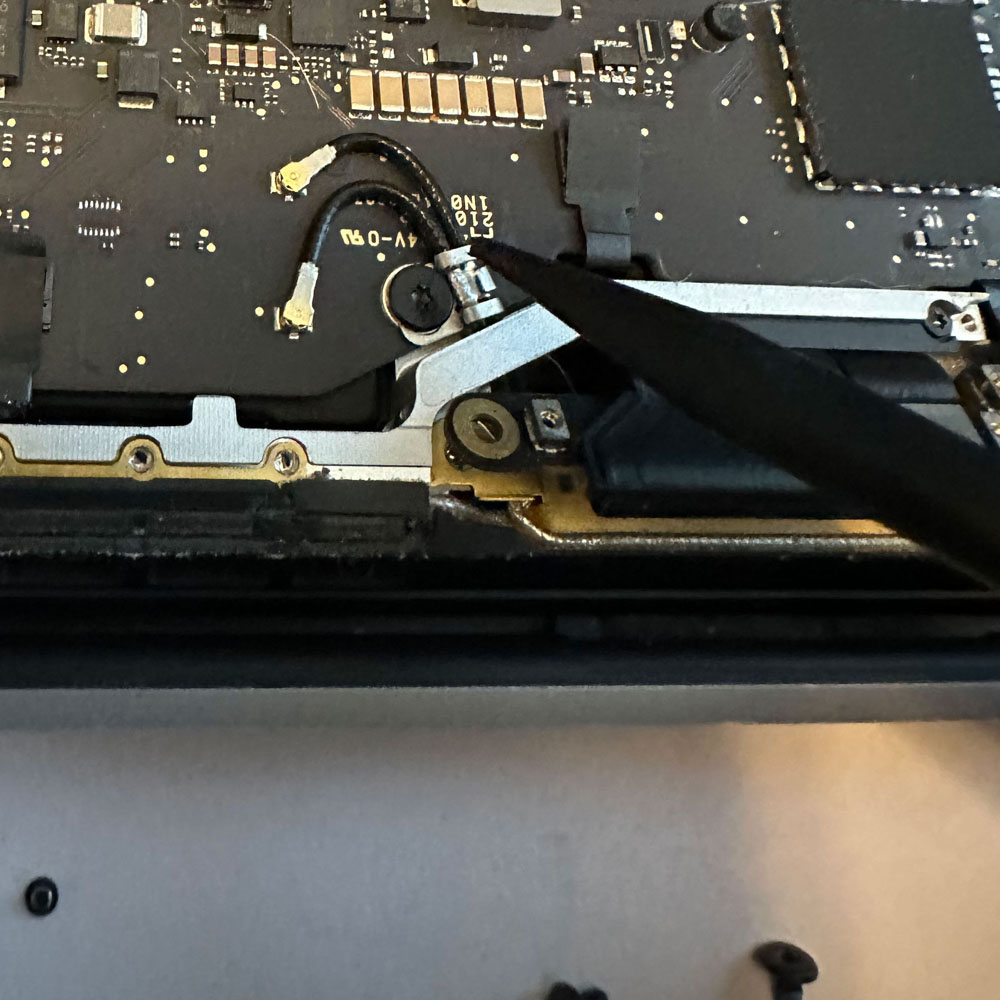
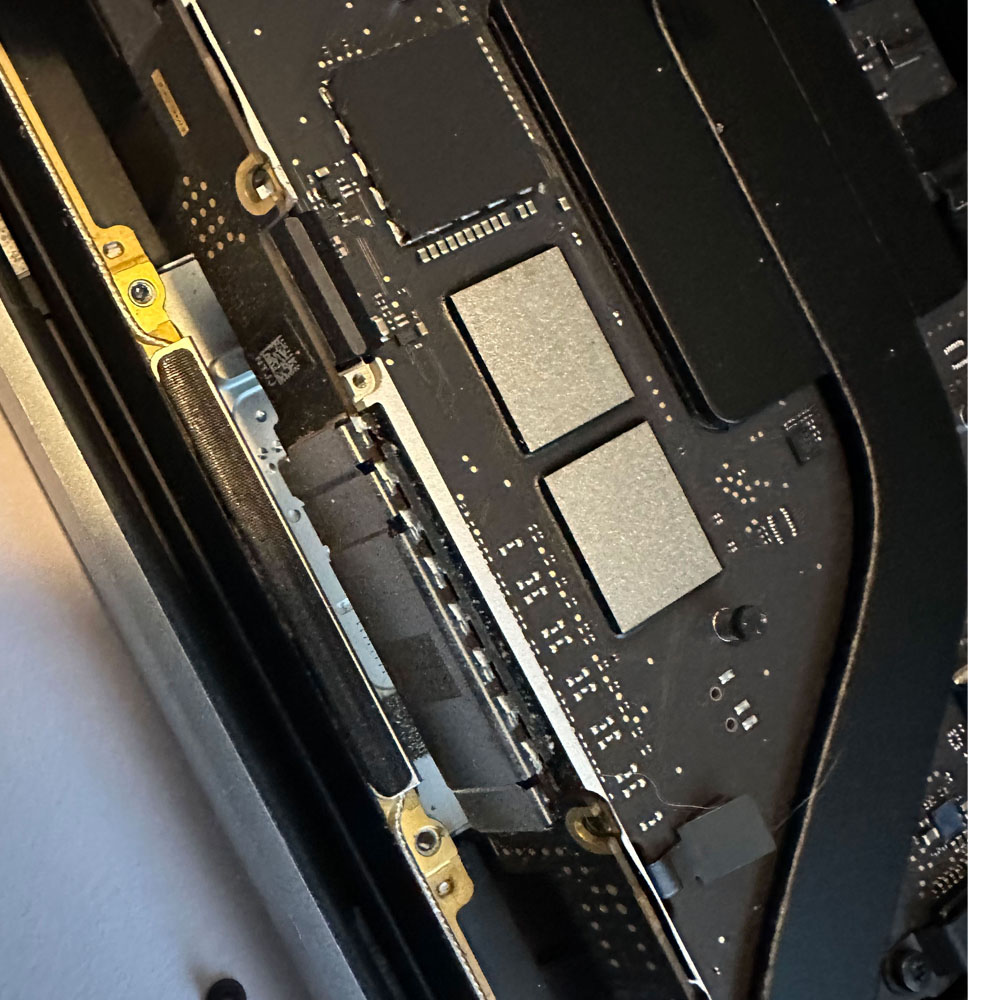
We pick up under the bottom case, starting with the battery cable, be aware, cables and parts are finicky and will break unless you are careful. So, cable cover, battery cable and screw. Honestly, the more nerve racking part are the variance in size, driver type and prying tools are needed to take on such a task (TORX, pryor(s), spudgers, tweezers etc). Anyhow, once batter cables and screws have been removed, we will unscrew hinge covers and start on the antennae. Good luck seeing the screws on the antennae!
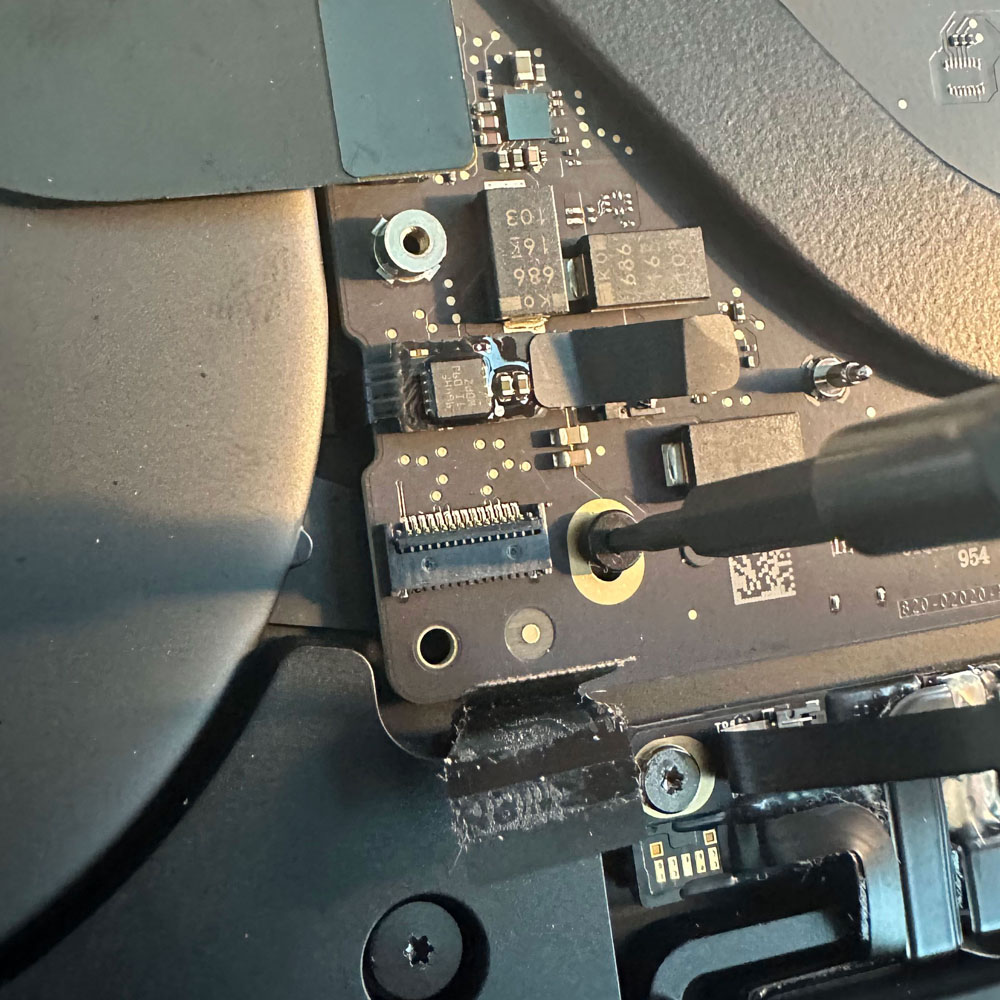
The antennae will require a few more cables, screws and bars. All leading down to the antennae and LCD springs. Once, through those items, we will again remove the antennae wire cover and remove those wires as well. Be aware, or a little bit of caution, we try and leave the piece we are working on in better condition than the way we found it. So, covers, try and peel those back ever so gently, keeping glued areas clean and debris free (or as much as you can, we had some glass bits that required our attention).
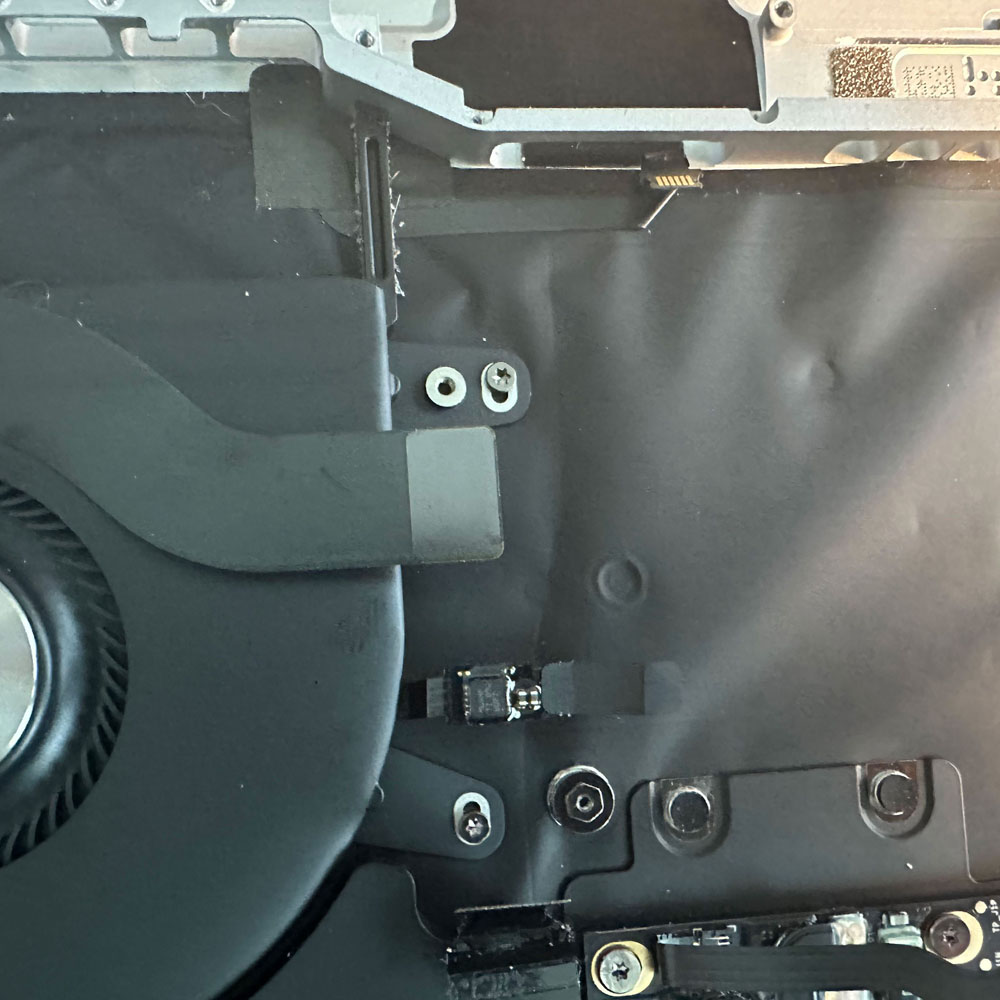
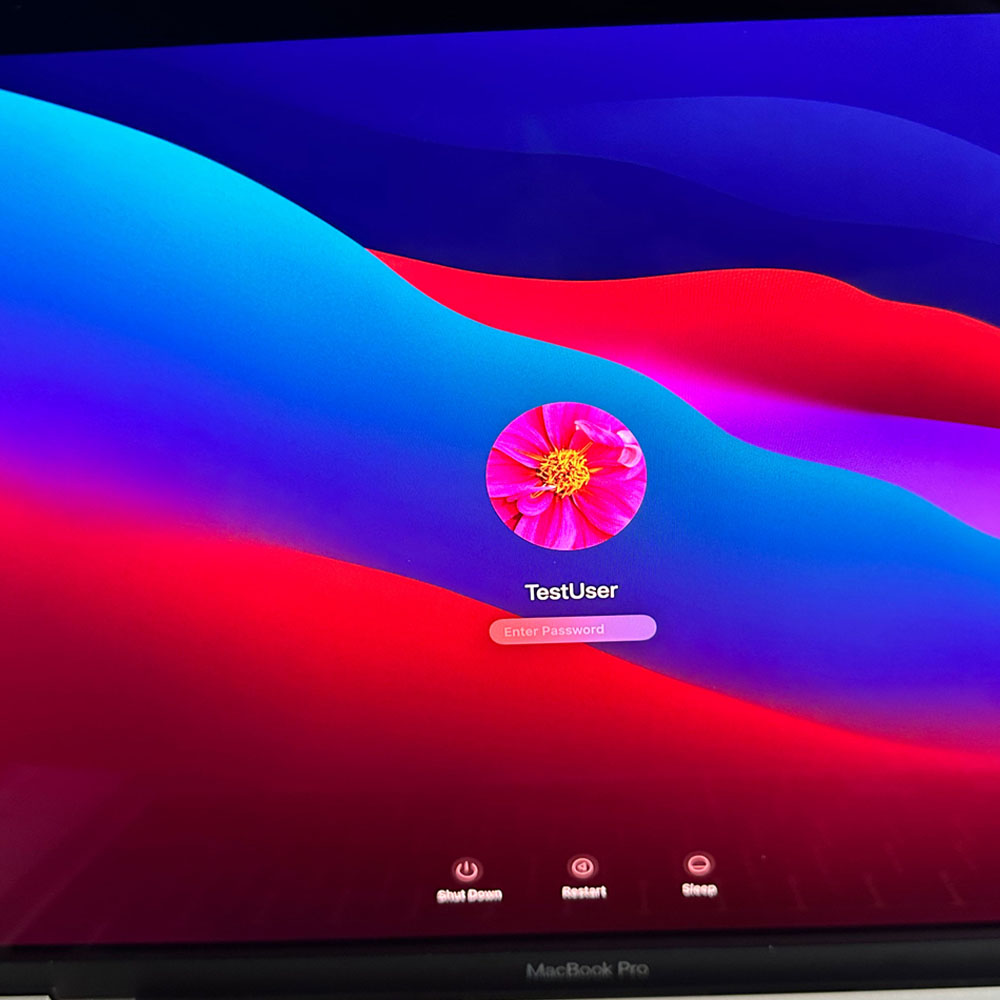
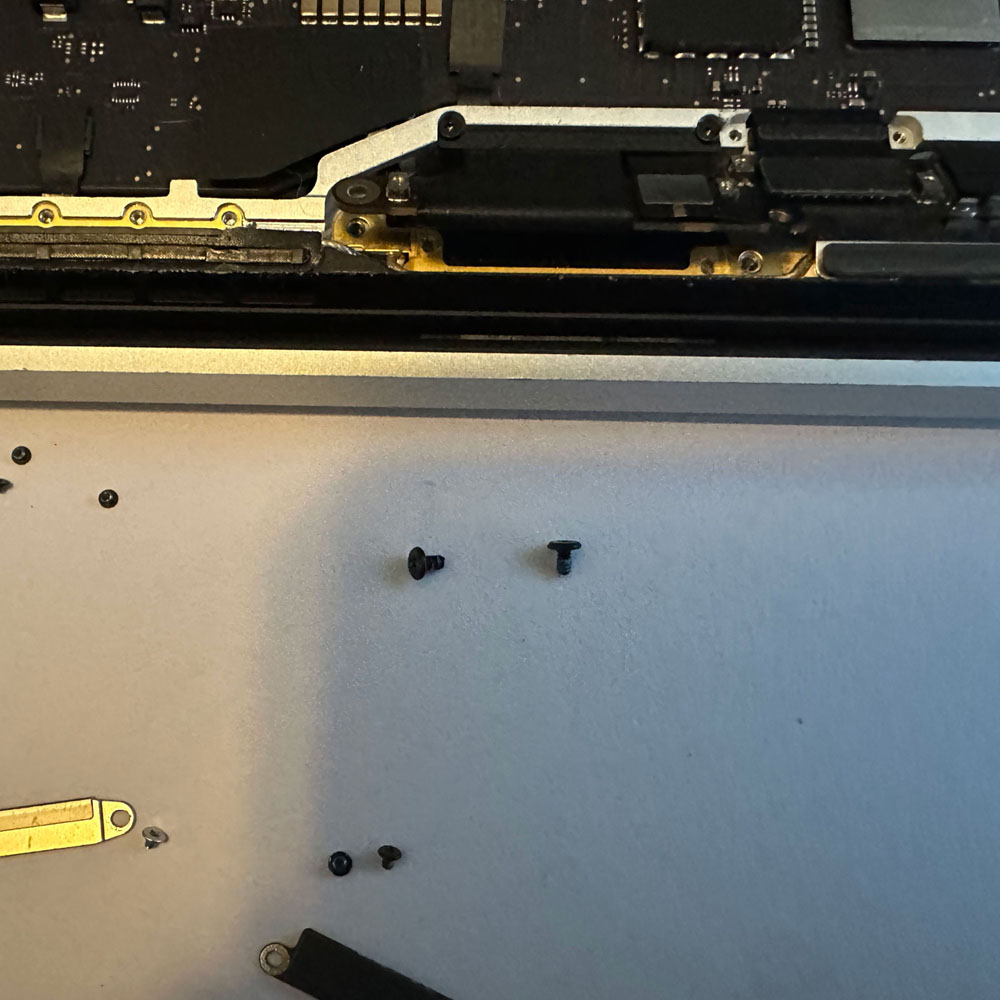
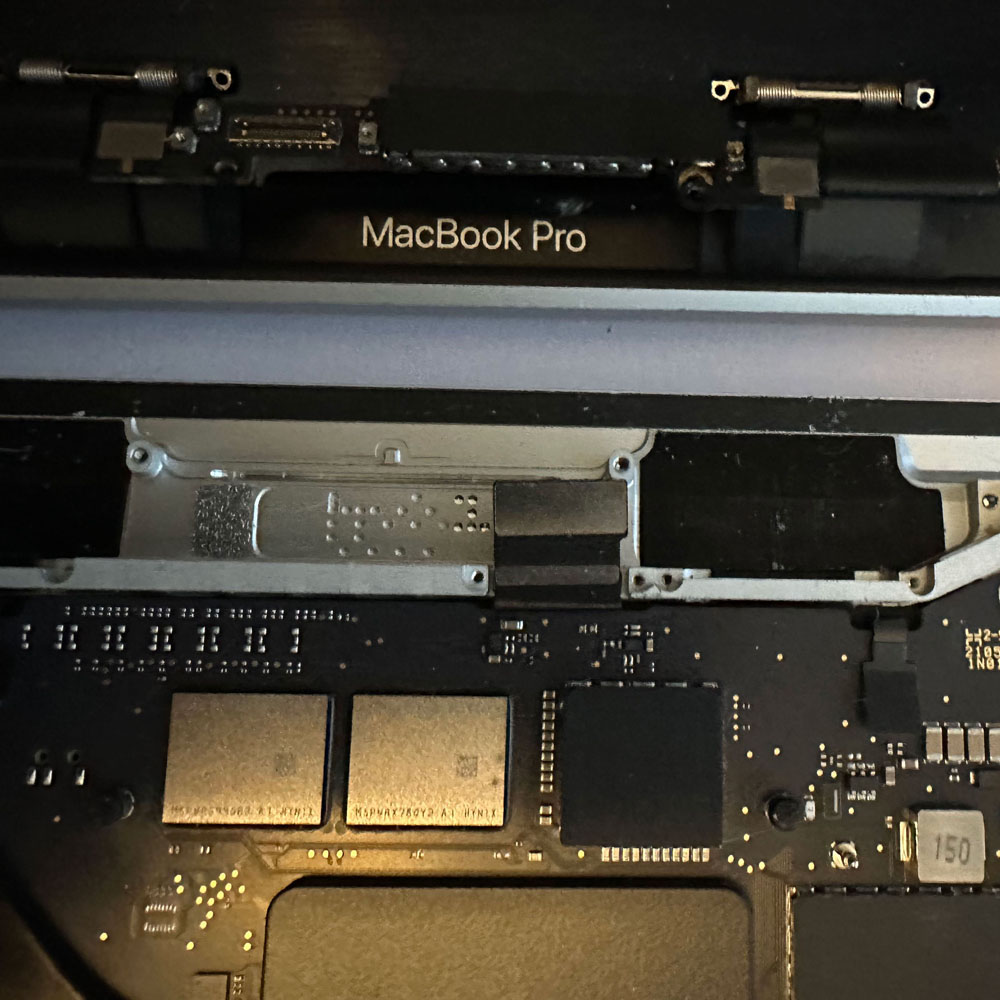
Once, the antennae bar is clear, LCD hinge screws will need to be removed, along with the springs and mounting hardware. Voila, LCD has been detached. Noted above, we will continue onto the touch bar, we backtracked, replaced all screws and cables to verify LCD swap and key do in fact work as expected and the touch bar was inoperable. We will pick up with the touch bar, verification, wipe and clean in the next post. Stay tuned.


M1 Refurb
Refurb Update – Keys, Touchbar and Screen – Images being prepped
M1 Mid 2020 Refurb process – Keys, Touchbar and Screen
Not recommended, but if you’re in a pinch, there is a way! Without purchasing a new M1 upper and/or M1 full assembly.
I was going to post the refurb process in two posts, one showing the screen and keys, the other, the touch bar. Since, the touch bar is ‘invasive’ to say the least, it’s easier to cover the screen, and touch bar in one post. So, a length post it is…
Where is the post today, 25 plus images ‘in-process’, quick story line complete and a pre-post completed. I think there was some 50 steps to remove, replace and install the touchbar, so we will make it as streamline as we can. More to come, check back in a few days, as we should have the post ready to go.
M1 Self Service Repair
M1 Repair – Apple Documentation
M1 Repair – Self Repair Documentation, Websites etc
Those of you who are not certified, no longer certified or never certified by Apple; there are options. Do your research, and perhaps you might want to start here…
I’ll let Apple explain the ‘other repair options’ independent repair providers and self service repair. Avenues become limited as the warranty expires or those who can perform the fix on the go.
Let’s assume our options are limited for the M1 issues… the Apple Self Service Repair (resource website) will help with your repair; this assumes you know what you’re doing. Parts can be purchased as well,
Update: AppleTV 4k & Apple Magsafe Battery Backup Review Running an older AppleTV 4K to compliment the 4k monitors; time for an upgrade. Today is that day… I’ve decided to update the office AppleTV to AppleTV 4K so to match resolutions, color etc via dual screens, used as separate displays. The purpose, MBP has some shortcomings, as you may or may not know, first is the limitation of dual-monitors or multi monitors NOT Apple branded. Again, a new limitation per say, not sure why this might be the case; you might be able to guess. So, I’ll leave that to your imagination to suss out. The goal really is to use the new (4K) version so that I’m not required to adjust resolutions 3840 x 2160 over multi monitors (more than one) while reducing resolution/reducing pixel space via MBP settings for desktop views, apps, windows etc. That said, the new MBP still needs some work, I will be frank… I’m not a fan of the limited HDMI connections without Apple specific dongles or Apple Monitors. Ultimately, I need to do something about this at the hardware level while desiring to run dual screens without Apple branded screens, monitors, tv’s. Again, this is self imposed limitation without dongles. Unfortunately, I’ve tried multiple dongles or HDMI extender hardware/software without issue. iCreate products have their own limitations, screen observations etc. meaning Apple OS updates create software problems by iCreate device for months… when the idea is simple, simply run multiple screens, as separate screens with the same resolution. More on the AppleTV 4K to come. In the meantime, let’s cover the MagSafe Battery Pack Trips, Travel in your near future? Tired of short-term battery usage, removing apps and settings to preserve battery life? Add a Apple Mag Safe Battery Pack. I(we) added the Apple Mag Safe for long-term battery needs, away from the office, travel, to the store… This is a great idea for those of you running ‘hot’, you know, those of you running Netflix, Peer to Peer Gaming etc. those kinds of things while not tethered to a wall jack. Let’s start there, buy one… I’ll give you my final ‘verdict’ in a couple weeks, check back soon. As usual leave a comment below. Have feedback on the MagSafe Batter Pack? Apple TV 4K, MBP? Let us know what you’re thinking? Need an upgrade? Make the jump, follow along with our own iPhone8/iPhone11 upgrade – iPhone 12 Let’s start with this, no, the need didn’t meet the demand for an ‘upgrade’ per-say… this is more about keeping up with the other Apple products in house. Want/Need ended up being more of a test like anything else… Don’t judge the messenger here, simple cost/benefit, over want/need, So, the choice was made to go with the newer iPhone 12. Not the latest, but newer than the iPhone 11. Here is the meat and potatoes; with a recent move to the SG215g for our personal ‘stuff’ it was time for a work update. That said, the move was set forth, the Apple iPhone 12 was in-hand just before the hurricane. Not ideal, but I’ll make it short. A need to do work, work phone needed an upgrade… As stated above, iPhone 11 to 12 was a quick and dirty upgrade with it’s problems. The goal was to buy a hardened, newer device, keeping it old school, bare minimum, limited data share, no health or home IoT software etc etc with the iPhone 8. Might be the best phone made by Apple by the way. Don’t let this lead you astray, I’ve used the iPhone 8 since it came out for work, travel etc. never let me down. Thus the high mark. This is pre 10 and the XR garbage with AI/Face AI not a fan, at least this is our thought. Making the jump from 8 to 11 was a good jump sans Apple Bloatware – Health, Homekit, Siri (again, very annoying to have bloat-ware on the platform) now iOS requirements. Short-term feedback processing power, better screen time, hotspot support and what seems like manageable privacy/security ‘settings’ provided to the user. Seems like this device is always on, sharing data which in my mind is not a good thing. More power, more is better; to do what? And does that benefit the customer? This iPhone 12 is our work option, couldn’t justify the move to the 13 or 14. As usual leave a comment below, let us know what you’re thinking? Work mouse; and more on it’s back up/EDC Logitech M525, cause the Apple Mouse has been all but useless at times Welp. It’s time to finally share a few things about the Apple Magic Mouse… First of all, we love the design (always do, life long Apple user, so take it with a grain of salt), slimline, usability (like touchscreen gestures and the like). Second, it’s got a nice weight to it, not to light and certainly not to heavy. The problem that we are having, after a few hours of work… we have to stop everything and charge the device; and we have to do it more often lately. Furthermore, as a lifelong user of Apple products, this mouse seems to be ‘less userfriendly’ than those devices used prior. I’m not sure of any bugs or ‘battery’ issues with this device, but it’s a world of pain when you have to charge it. THE POINT BEING, YOU CAN NOT USE THE MOUSE WHEN IT IS CHARGING! SO, while we are charging the Apple Mouse at this very instant (seriously, I’ve got the Logictech mouse on), clicking away… Thirdly, we got the Magic Mouse – Multi-Touch Surface a few months back and are increasingly learning to not want to use it. Again, love the gesturing, touch surface options, but every 8 hrs I’ve got to plug this thing in. What about the next 4 to 6 hours? We are talking paperweight for a good 1.5 hrs while the device charges up. Onto the M525, no gestures, just a plain Jane type of mouse… bluetooth/usb, heavier I’m assuming cause of the batteries and a handy little internal storage area for the usb dongle when not in use. It’s got a wheel, laser for tracking and it works. It’s a stalwart of a mouse and remains in my EDC bag/desk for work. Final Thought, if you want to over spend on an Apple mouse, get the trackpad, skip the mouse… always carry a secondary pointer device in a pinch. We do, and that is the Logictech M525. Buy one today… iPad 4 Mini – Digitizer Swap A glimpse under the hood, check out the iPad Mini 4 screen/digitizer replacement timeline. From tape to power-up, quick 20-30 mins and done. Please note make sure you remove the power flex connector first, and not the screen/digitizer flex connections. We placed a follow up picture in the timeline showing the preferred tools and method when removing those flex connections. Also, the button assembly housing, home button… be precise, caring for that button/button assembly housing and connections will go along way.
Let us know what your thoughts are, ~20 mins start to finish. If you have issues, trouble or run into a snag. Give us a shout, as we are happy to help! As usual leave a comment below, let us know what you’re thinking?AppleTV 4K & MagSafe Battery Pack
4K View & Battery Life On The Go

Gear – Apple Safe Mag Pack & TV 4K
iPhone12
Apple iPhone 12, Work Phone Upgrade

Gear – iPhone 12


Apple Mouse
The So, So-Magical Mouse

Gear – Apple & Logitech Mice
Now Dec. 2022 – We traded up to the Logitech M720, check one out… we will post an update shortly


iPad Mini4 – Screen Swap
Digitizer Screen Swap
Lab Work – Digitizer Replaced