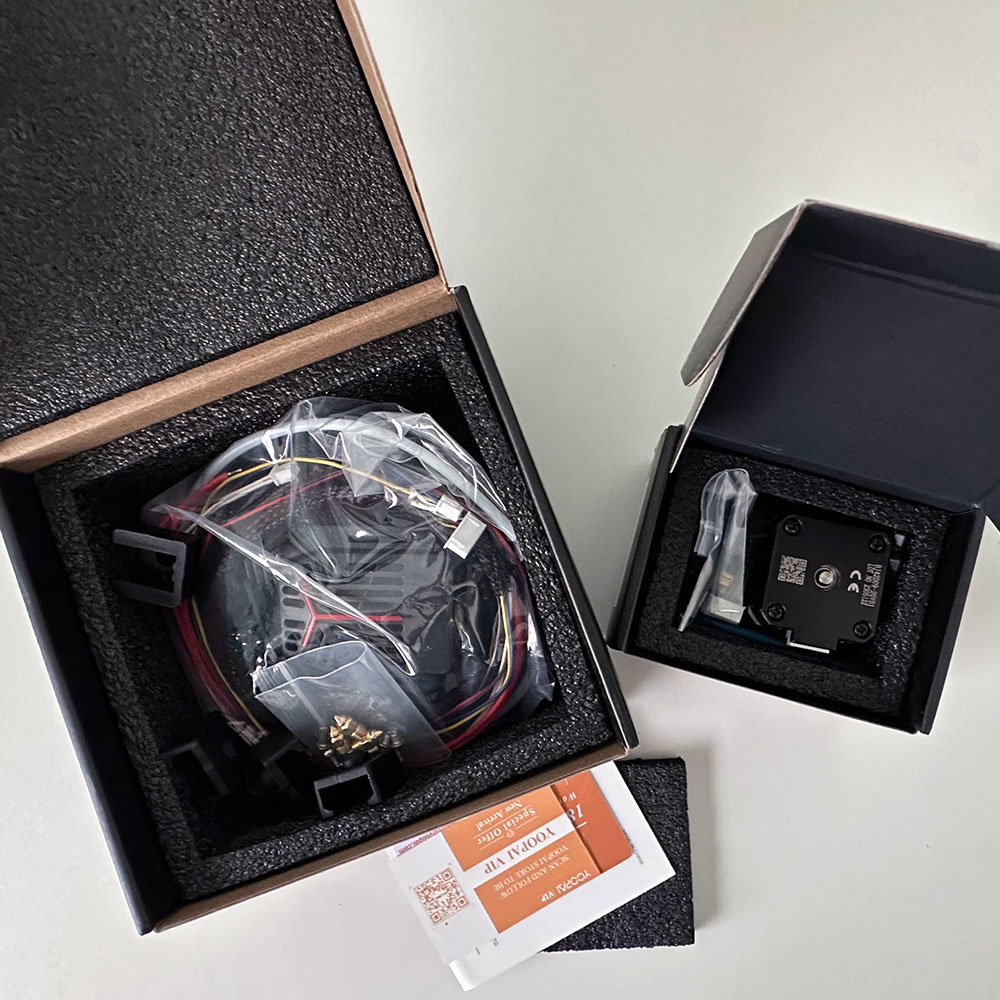
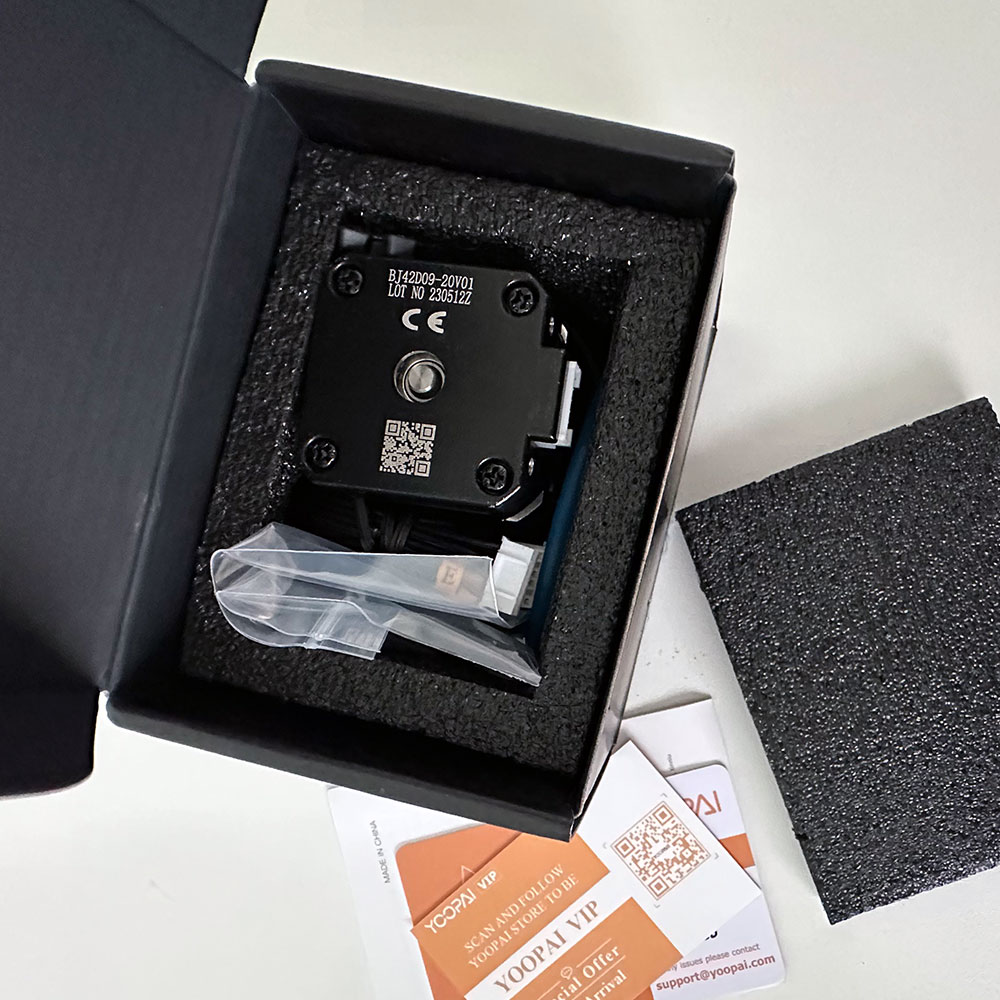
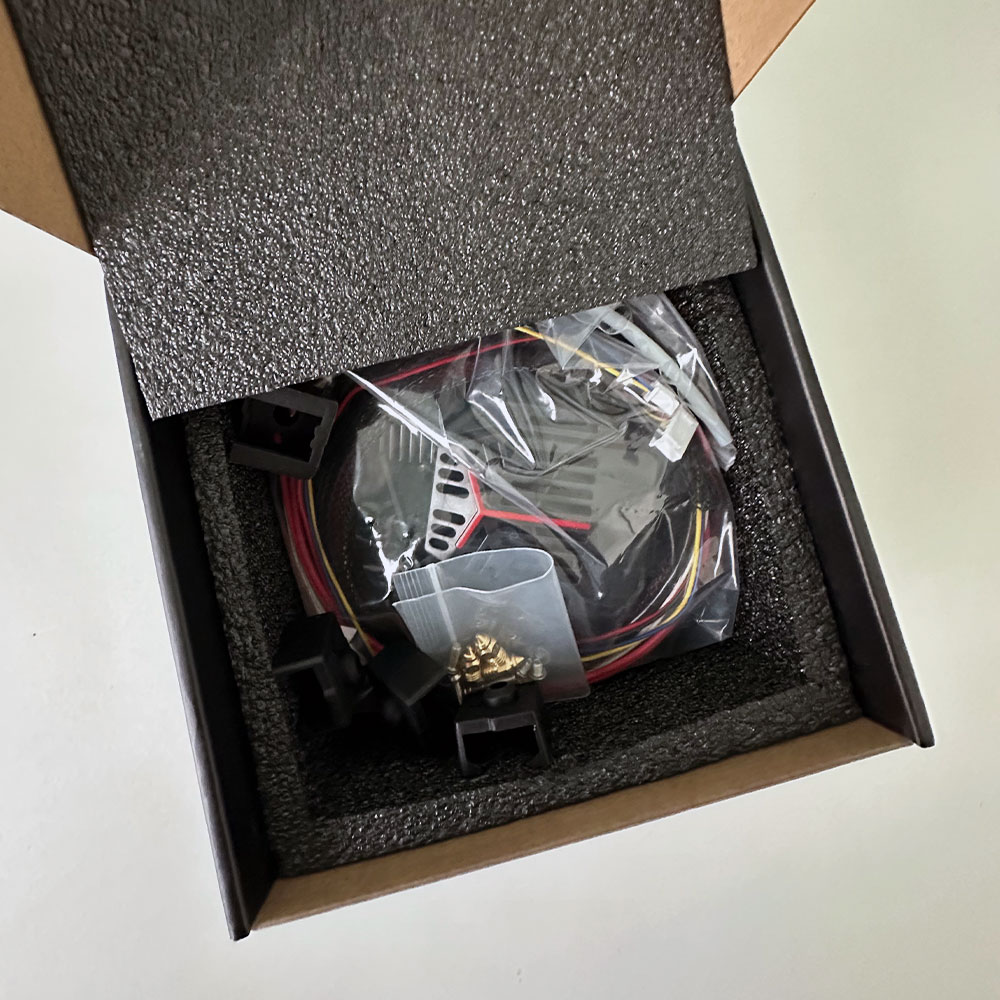
Search
Close this search box.
Sallee Technology Logo

Creality TPU

OEM TPU

Duramic 3d - Post Upgrade

Labwork – Various Filaments

Filament types, brands etc. a nightmare of a problem to have. Which filament to purchase, what works best on the 3d printer I own? What to do when you’re just starting out? Cut to the point, purchase, use what you can in context, however, when push comes to shove… Ender Series, Prusa, Makerbot all great choices for novices or beginners. Start with an eBay ‘parts’ printer, this might help cut down cost or refurb’ed. In time, as you learn the in’s and out’s of 3d printing, overcoming fine-tuning issues and filament extrusion/application will be key.

Regardless of product make/structure, the fine-tuning the nozzles, stability of the machine, drive system, adhesion and filament… Filament might be the easiest to swap out, may be the nozzle (noting various nozzle sizes, most default include .4mm) and for those hobbyist, the drive mechanism, bed/build plates etc. Filament might just be an easy swap with a catch.

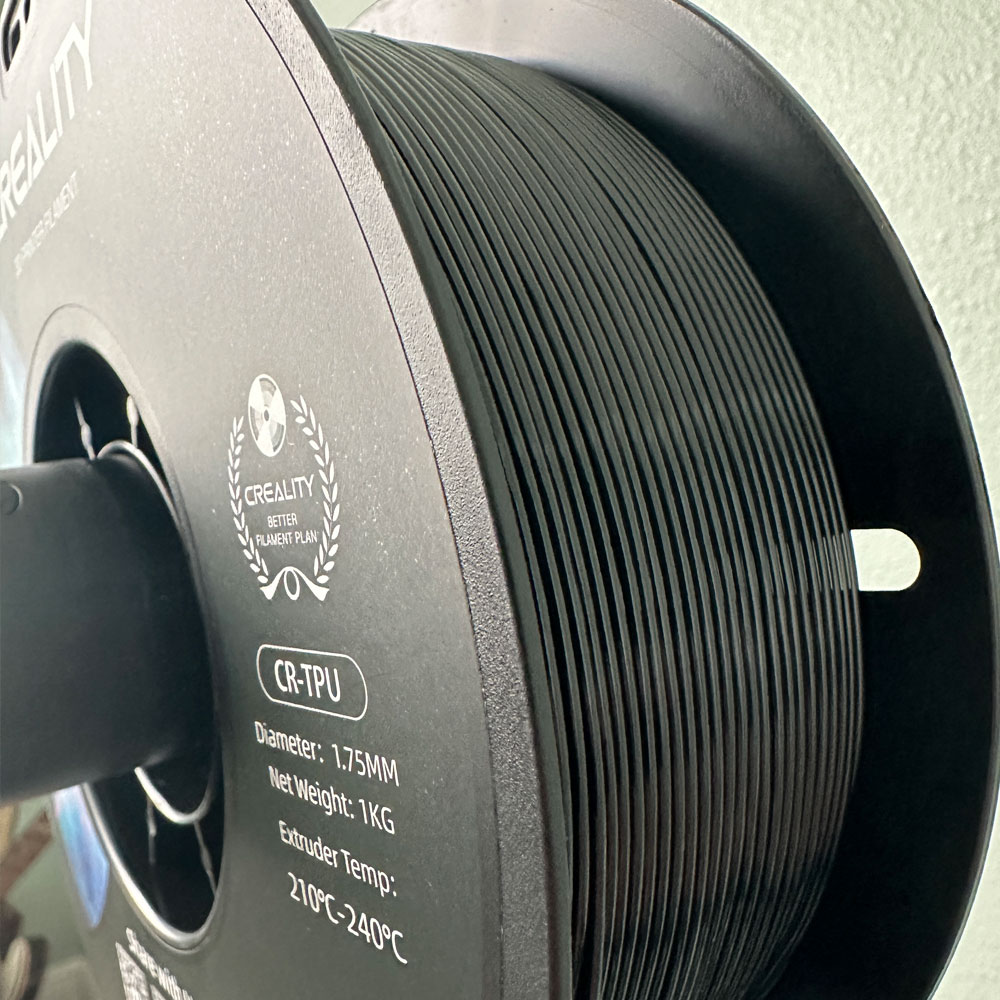
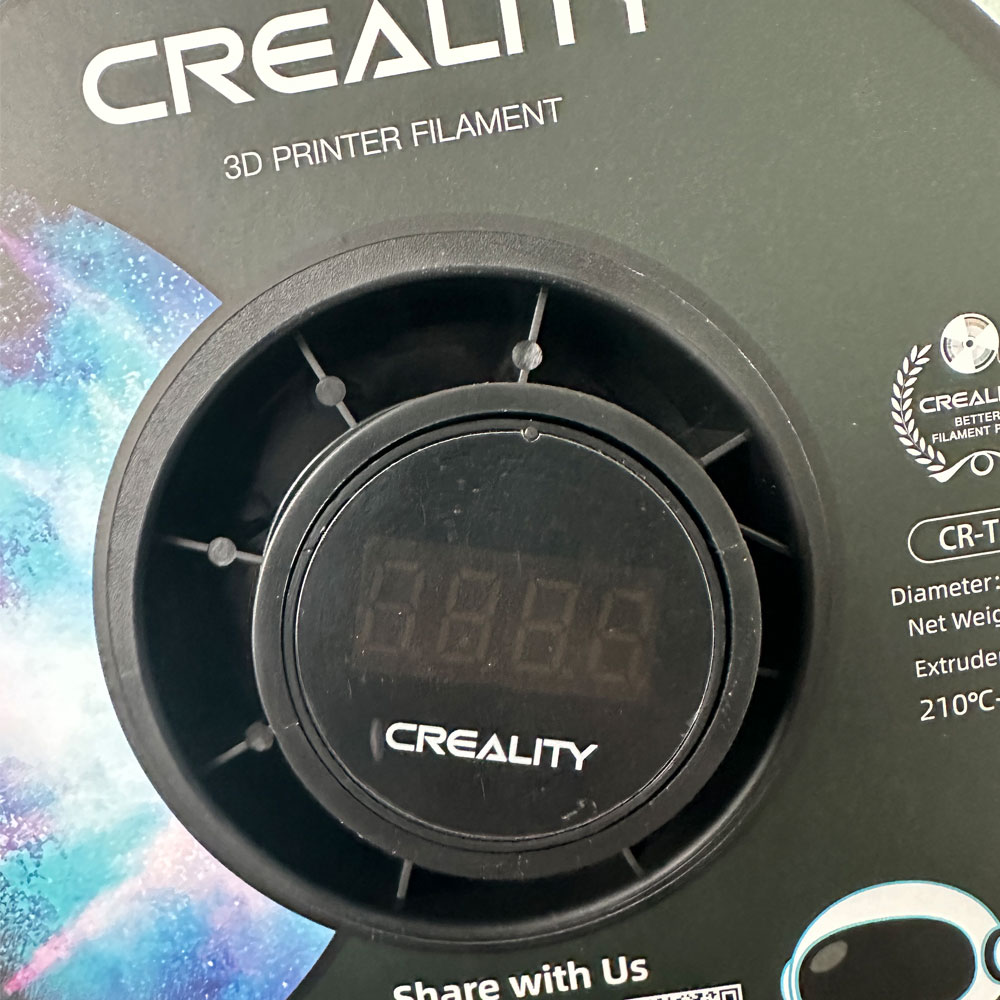
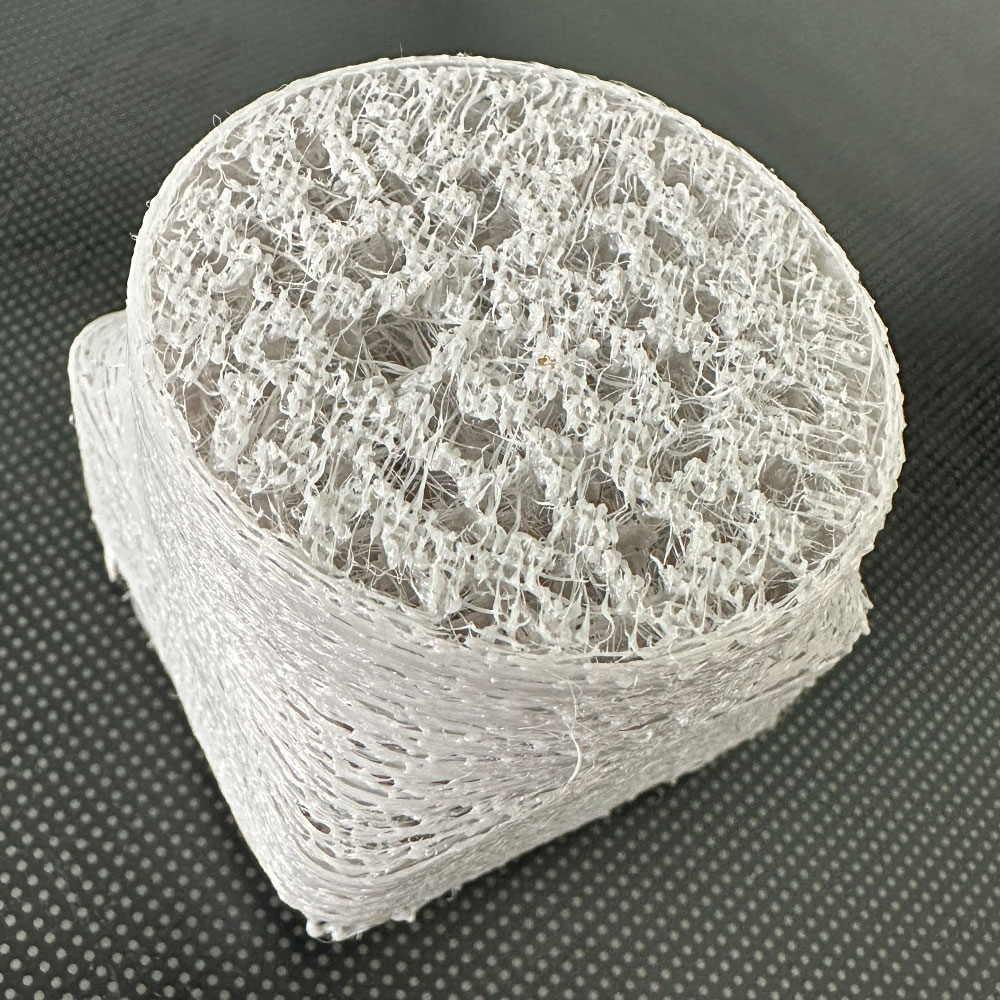
Like most things, filament comes with it’s own issues – additional research is required, fine tuning and testing depending on choice of 3d printer. Let’s talk shop, filaments… retraction (later, future post). Listen, if purchase power is a problem, meaning if you have the money, first, buy what you can afford, especially those starting out in the 3d printing hobby… Do what you can to make ‘it work’. Making it work, meaning so that you can test, test, and retest. It’s a process of elimination, elimination of problems over time. Better filaments, better results. There have been many times when testing, in fact, I might venture to say, problems are related to cost of filament and the length of time it takes the user to move from the cheap ‘stuff’ to the final working filament. After all, at least in my filament finding (tersting) days, more often than not, filament testing became cost to throw-away, ‘what not to do’. So, yes, a healthy dose of testing is needed; failure as well. That said, I would be remise not to shine a spotlight on the value of the article; which is saving you money on filaments, pieces, parts and cost to print etc. The punchline, buy and match OEM (Original Equipment Manufacturing) filaments. I have a Creality ‘shop’, thus, I use Creality filaments – Creality TPU (Thermoplastic Polyurethane) Filament.

Lately, we’ve been looking branch out a bit, as we’ve recently added the Prusa’s i3 MK3S+ 3D Printer kit to the mix. Again, there are many options, printers, upgrades, filaments… choose wisely.

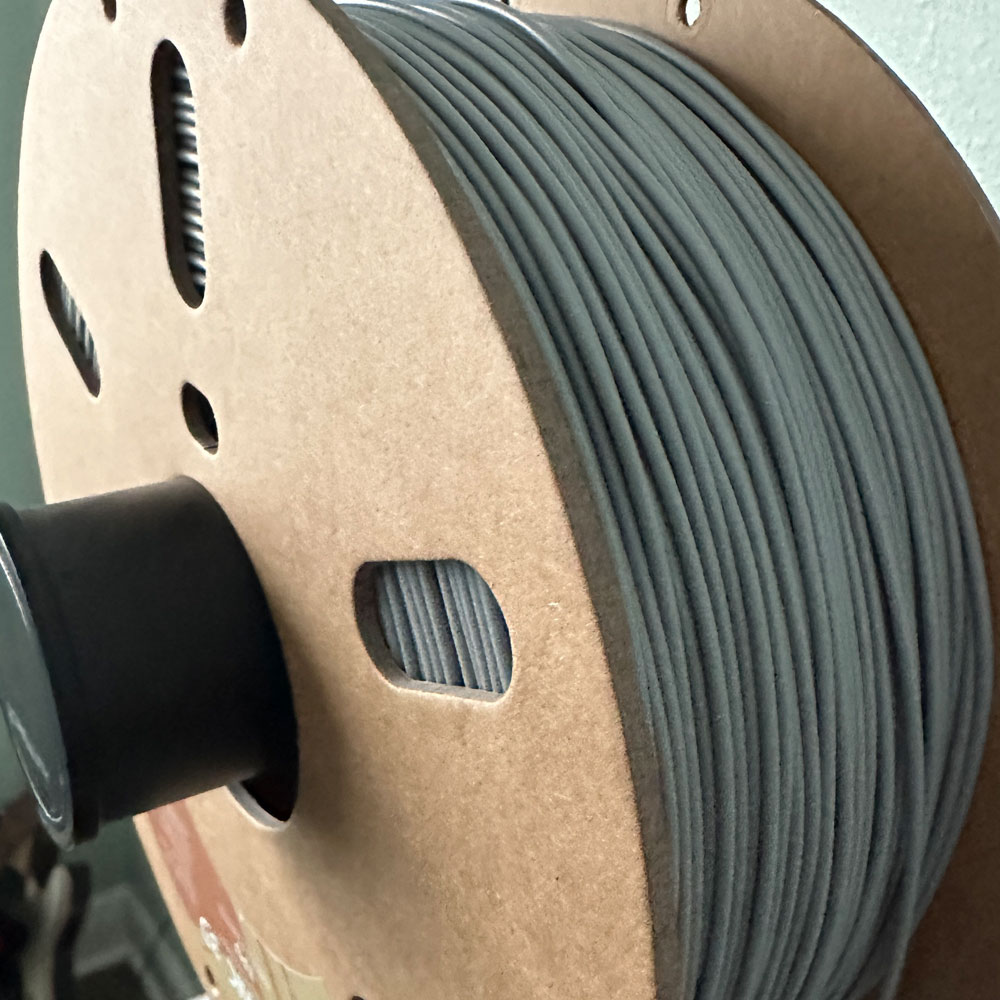
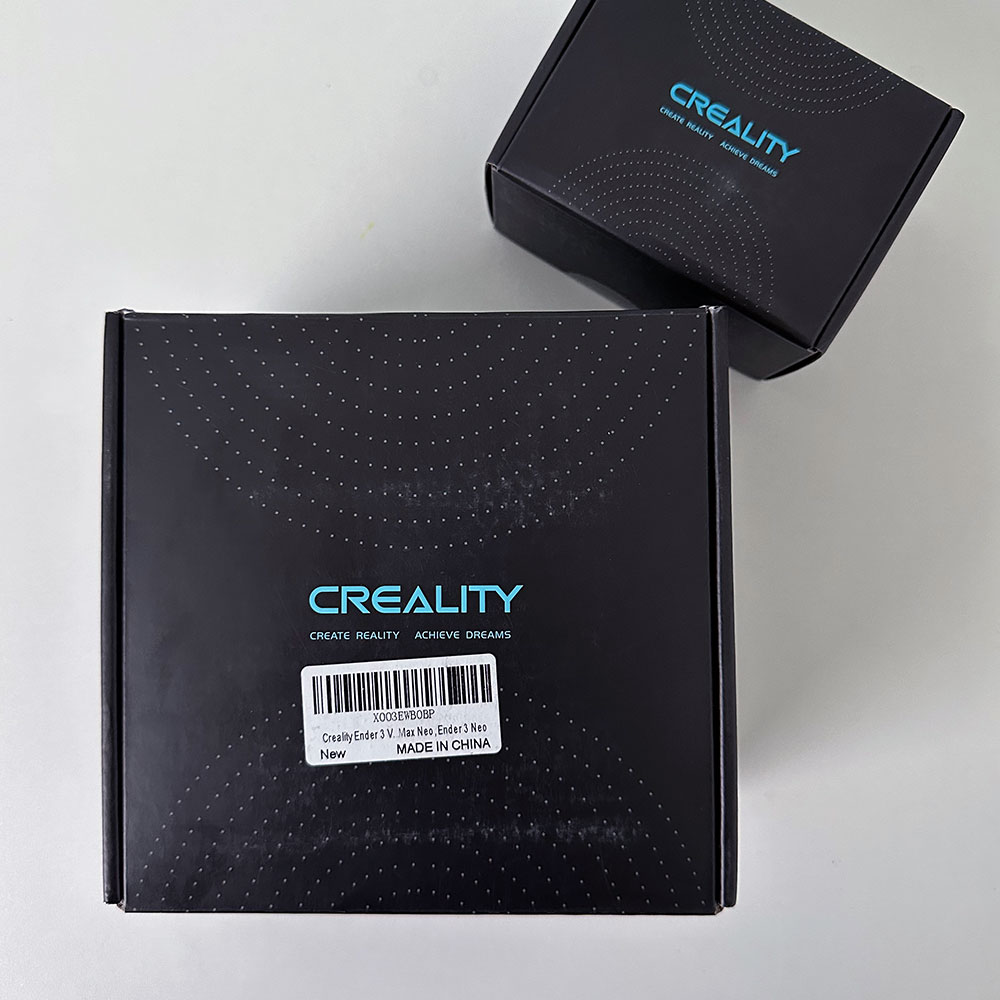
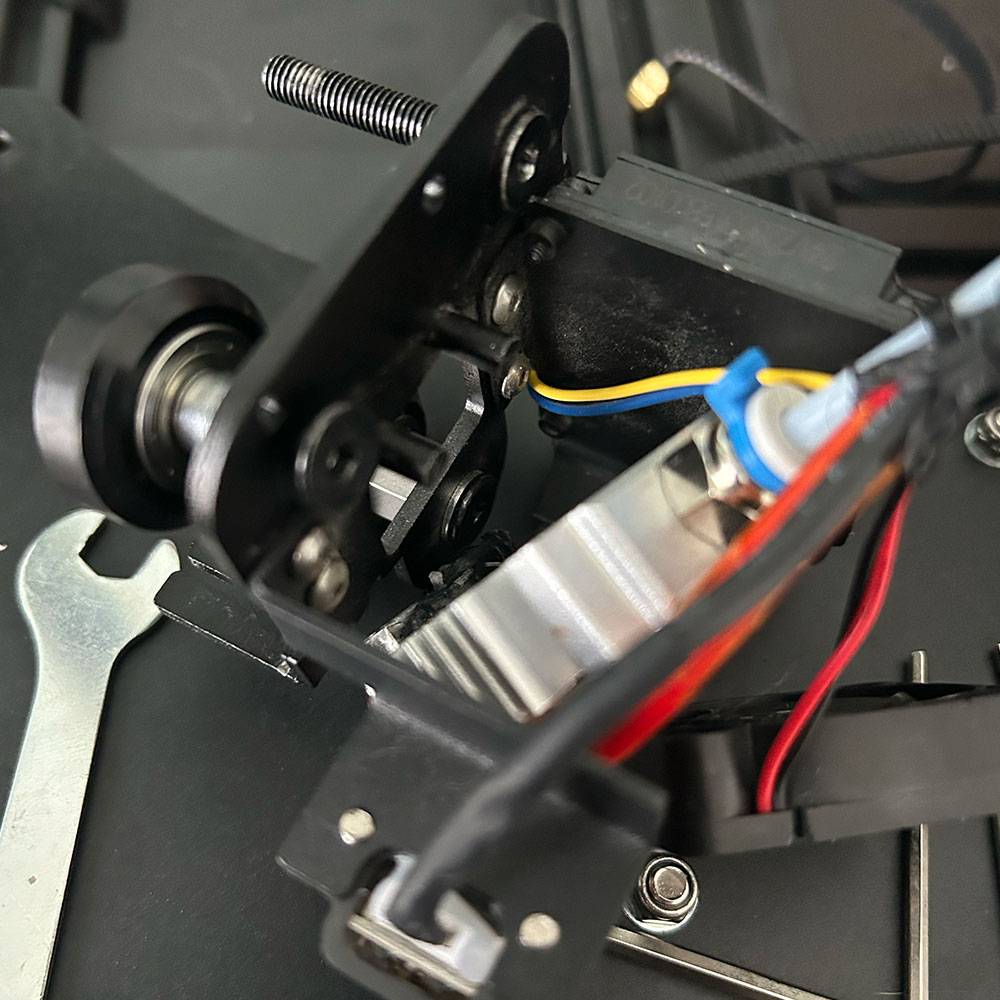
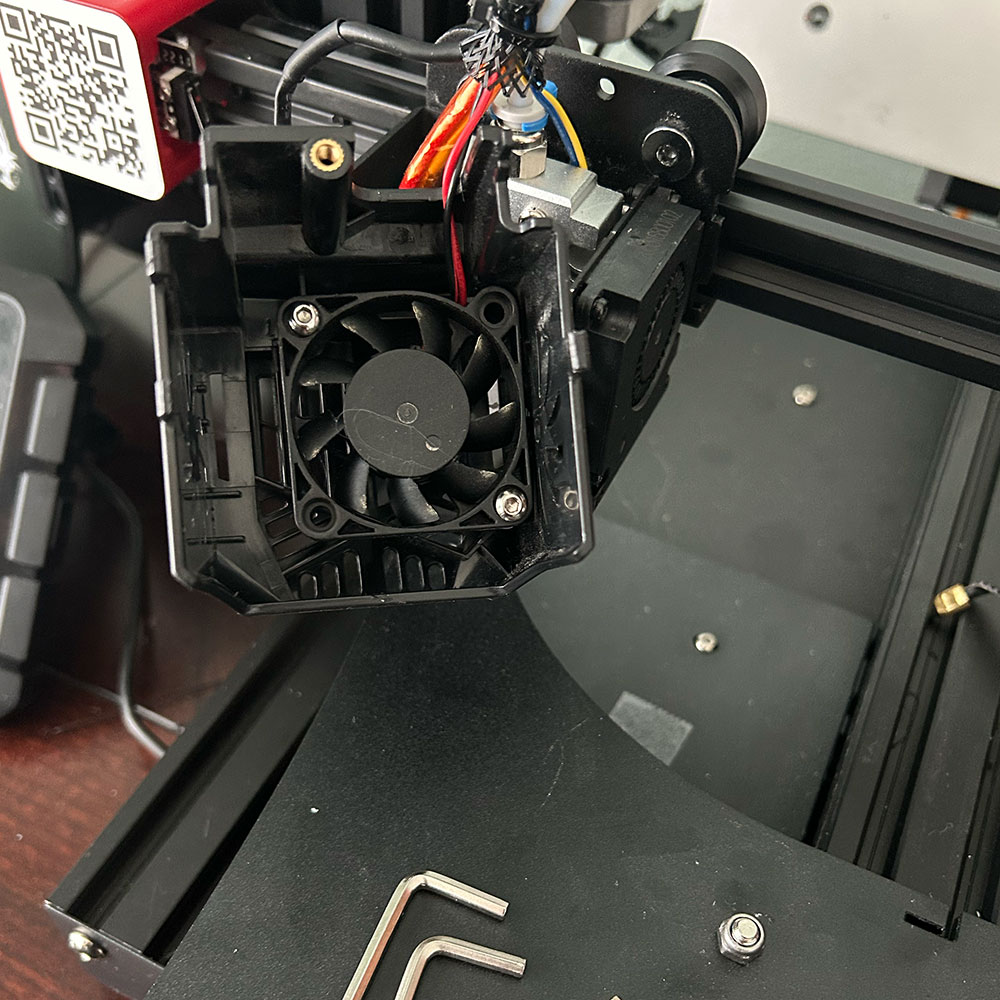
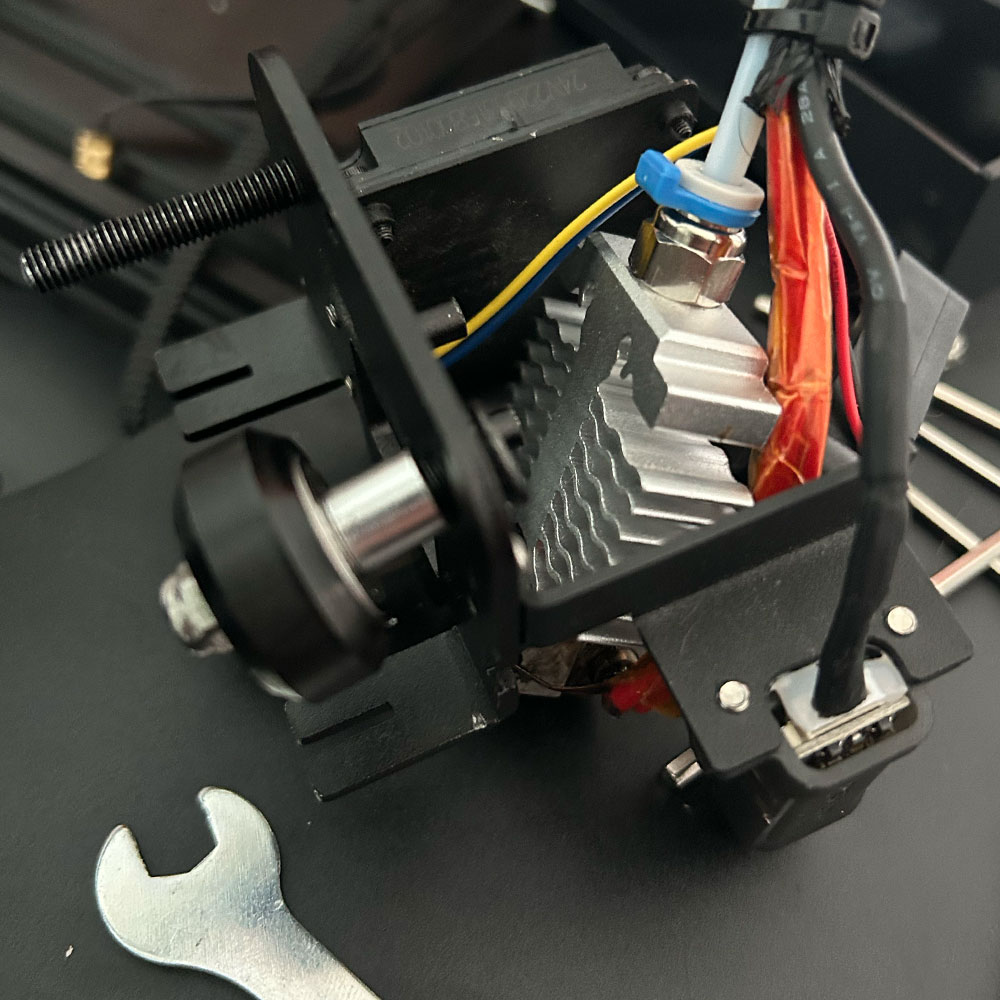
Let’s move onto what works, finding something that works for your printer, or future printer. I’ve maintained more of a ‘happy path’ as a hobbyist, less venturous and sticking to the PLA’s (Polylactic Acid) and TPU’s. Again, MatterHackers does a great job sharing what’s on the market – types of filament, sizes, brand, color. Dive in! Or maybe, expansion is on your mind, and you want to setup your own print farm – @ShopNation might be a great research to check out. Have options, which might be the biggest take away beyond testing or OEM/OEM filaments. Hey, as a hobbyist, saving some cash is good thing, there are thousands of upgrades on the market, same for the number of printers, filaments, parts, boards etc. What I’ve found through various testing methods, settings, set ups, printers and more, has been more about what works, the ‘success’ metric here. Consistency, fit/finish – quality over flash, speed – quantity. Take for example, and why perhaps I’m writing to you now, Duramic 3D TPU is just not working in the Ender 3 Neo Max rebuild. Teardown, rebuild all updated, same result, so, again, time to make a switch.

The switch, I’m referring to here (moving from generics to OEM) worked on the PLA side of the equation, may be a correlation perhaps, and not causation. I believe that’s the value here. A handy lesson here, might be to continue to test where it makes sense – remembering “correlation does not imply/mean causation” ((Shout Out)) Find more about Mr. Glickman on his personal website or faculty website, Mark Glickman – Senior Lecturer in Statistics, Director of Masters Study.

If you want to learn more about filaments, do your research, please do look into – MatterHackers, All3dp – Filament Finds and/or @ShopNation

I’ll leave you with this, try what you can afford… what you can afford to discard, test and worked to fine tune your printer. Words of encouragement ‘leave no product stone unturned’. The goal is to produce high quality, consistent and clean prints. Find something that works 80% of the time, the old 80/20 rule. PLA is a bear to tweak and maintain, so is TPU and the ~14 other materials including metals, carbon fiber, wood, nylon. The application is endless, from starter to full forge, high-strength, commercial production. Focus in on settings, adhesion, extrusion temp, nozzle temp, surface tension, drives – pushers… And so it goes, testing is our motto/mantra, testing has become a constant when finding something that works, good over bad outcomes… so, test them all. Checkin from time to time, new posts are created daily, we will cover the Prusa tests, Creality TPU, Polycarbonate and PVA (Polyvinyl Alcohol).

Have fun, cheers

Creality TPU Creality TPU Duramic 3D

Max Neo Back Plate

Back Plate and Rail Wheels

Lab Work – Working Through The Challenges Associated With 3d Printers, Printing, Upgrades and More

Long awaited parts are on the truck this morning, should get the final pieces by 2pm or so.

Quick update, all the parts to update the Ender 3 Neo Max to run TPU should be in hand by roughly ~2pm today. Ultimately, I’d like to get the rebuild out on the interwebs by the end of the week. I’ll post the tear down pics today, below. Just a few, to help you understand what needs to be removed, replaced and rebuilt. If for some reason the parts are delayed, Friday should still be a reasonable goal.

If you’re new to the site, check out the Max Neo challenges in the Output archives… for those who just want to see the rebuild, just understand this – we had a few prints that went sideways, by sideways, extruder was found buried in filament, grinding away at the build plate. Ultimately causing a meltdown, plate parts thrown out of the machine etc… prior to the blow out, we had a few successful TPU test builds go to term, however, the standard build (Ender 3 Neo Max Bowden Extruder setup, standard build from the factory) wasn’t working. Please note, sometimes you’ve got to ‘break’ things to truly figure out the right path; change paths per say. Anyhow, not to belabor the point here, but, we should have all the necessary parts to finally rebuild this machine with the correct parts and extruder to build more ‘things’ with an array of filaments.

TPU Driver, Assembly Support Plate and More

New Assembly, Drive Drive Extruder, Support Back Plate and Rail Wheels

Lab Work – Building and Buying Parts On The Supply List

… a few more days folks, a new extruder support plate for the Ender 3 Neo Max is on the way. Not on back order, but awaiting the last piece so the rebuild can commence.

Before the assembly and new direct drive can be upgraded, we found an ‘issue’ with the back support plate (including wheels and bolts) are out of whack. Following the printer ‘meltdown’ a few months back, check out the results of that print here… The final piece in the rebuild is this support back plate. There is to much play, movement, space between the assembly and guide rails. I’m not sure (I don’t recall the play or any movement between the assembly, support plate, wheels and rails). I would think there is no or very little ‘wiggle room’/tolerance in those items. That said, I can almost remove/lift off the assembly housing, extruder and back plate from the guide rails under tension. Third sign, in this case, it was time to replace the support plate, bolts and wheels to ensure an improved upgrade and/or fix.

Anyhow, all the pieces and parts have been removed from the initial purchase. So, for picture sake, we’ve got the frame, base, and guide rails and that’s it. All parts have been removed for the moment. ~3 weeks now, awaiting the OEM support plate. Ultimately, we are looking at a clean rebuild, OEM parts with a few upgrades (direct drive, replacing the Bowden extruder) to allow for TPU, Wood/Bamboo, Carbon, Metal, Organics and more. System upgrades might come later, the goal being more power to compensate for the downforces on the extruder head in the direct dirve case. Caution, there are differences between the Direct-drive and Bowden extruders, obviously advantages and disadvantages for both… maintenance and care being the most complex for the direct-drive variety. The goal with the direct-drive ‘pivot’ is the heat, extrusion pressure, retraction and a much broader range of filament materials. I will stick to the update advantages/disadvantages for the sake of this article. The opposite being the vs. advantages/disadvantages. One more time, more materials, heat, pressure, and variety vs maintenance (a lot of maintenance). I use the break/fix method – parts being less expensive in the printer ecosystem to replace. May not be wise, but sometimes you’ve got to break-it to understand the machine or engineering behind the magic.

Final thoughts, parts help, build yourself a parts bin, part out used and gently used parts to cut-down on out of pocket expenses, learn how to maintain and reuse your gadgets. Don’t forget to fail fast, when working on such equipment… short-term break fix expenses go along way when dealing with 3d printers, drones, computers and more.

TPU Update

New Assembly and Drive Drive Extruder

Creality Extruder, Full Assembly

Lab Work – Bolt On Upgrades

We are updating the extruder, bolt on direct drive upgrade and replacing the Series 3 full assembly body.

PLA is great, TPU might be better. Of course, if you need flexibility over rigidity… this assumes you want to test TPU filament. First, we replace the existing assembly body on the MAX NEO, and bolt on the new extruder to help with the TPU issues*. A little more on the issues, TPU requires*/needs more ‘umph’ to drive the flexible TPU filament through the assembly and out the nozzle. The direct drive helps will ‘refinement’ and focus on pushing and pulling the filament more accurately and more precise. Again, not something that is a *requirement, however, I’ve seen enough test prints now, it’s time to make the switch. So, here is the bolt on solution from Creality for the Ender 3-Series, MAX NEO.

Look for additional photos and mini-clips covering the install shortly. In the meantime, here is a brief unboxing and assembly tear-down. Thanks!

Extruder and Assembly Extruder Bolt On Assembly Body Assembly Body Assembly Body Assembly Body

Ender 3 Max Neo Filament

Printer Base Stabilization, Adhesion and Print Heights

Filament Everywhere

Lab Work – TPU Speed and Cycle Times

I’d say, a typical print cycle might run between 2-5 hours, may be more, while the norm has been 2-5 hours. Recently, we’ve extended the top run times(longer), to a timeframe just under 12 hours for our test models. Shockingly, both print tests resulted in the following mess.

So, a paper towel holder caused this… twice. At first glance the further the print test progressed into the ‘higher’ portion of the test (meaning as the printout got taller, the print out saw issues). So, somewhere between about inch 4 and 5, both print tests went haywire. I’m starting to think there is shaking issue with the table or even a stabilization issue where the printer lives. Both might be addressed with a singular print of the base slices, the holder ends, screws, rod and washers. Printing these items separately, meaning the pieces and parts to attach the towel roll and the rod. The rod that is slung between the holders can be printed in a secondary or tertiary step; this is where we are headed next. *mitigation issue number one. Or, address the stabilization. The printers ‘live’ where they stand today, so not much I can do to shift those around. Once, I receive new filament, we will print the rod and if it works, great. If not, then step two becomes more tedious. More or less it’s a space issue in the office… Filament should be here later today, I’ll post a quick short summary once I’ve finished up the rod slice, assuming success.

Ironically enough, a similar issue was taking place when I ran TPU through the machine. Although I don’t think they are related, adhesion was the culprit with TPU. Of which we will address in a future post, once we get the correct nozzle temps, print speed and adhesion work around setup correctly. I’m hearing/reading adhesion spray of sorts or glue. Another day, we tackle those 3d printer issues/phantom printing phenomenon.