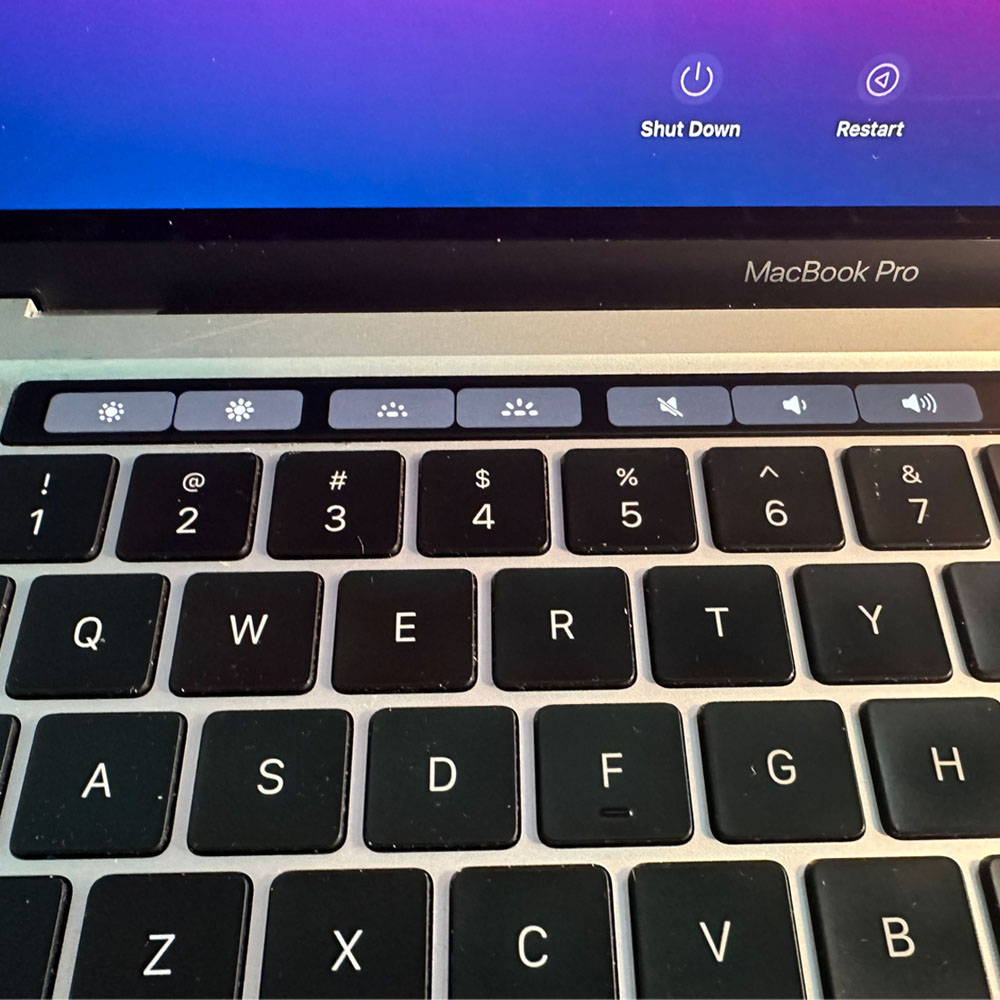
M1 Refurb – Touch bar
M1 Update – Touch bar
I can’t stress this enough, take your time, there are some 50+ steps in this process; proper care is a MUST, otherwise use your discernment and seek a professional where applicable.
There are certainly easier ways, which cost more money, we’ve mentioned those prior… for example purchasing the corret make/model upper case where a touch bar must be removed and replaced. Finding the right parts on the other hand, aren’t as easy as you would think as this particular model is just coming out of warranty. You’ll find this is common when fixing newer or cutting edge electronics. Like I said, probably easier to purchase the upper, replace the parts from the existing machine and rebuild from there.
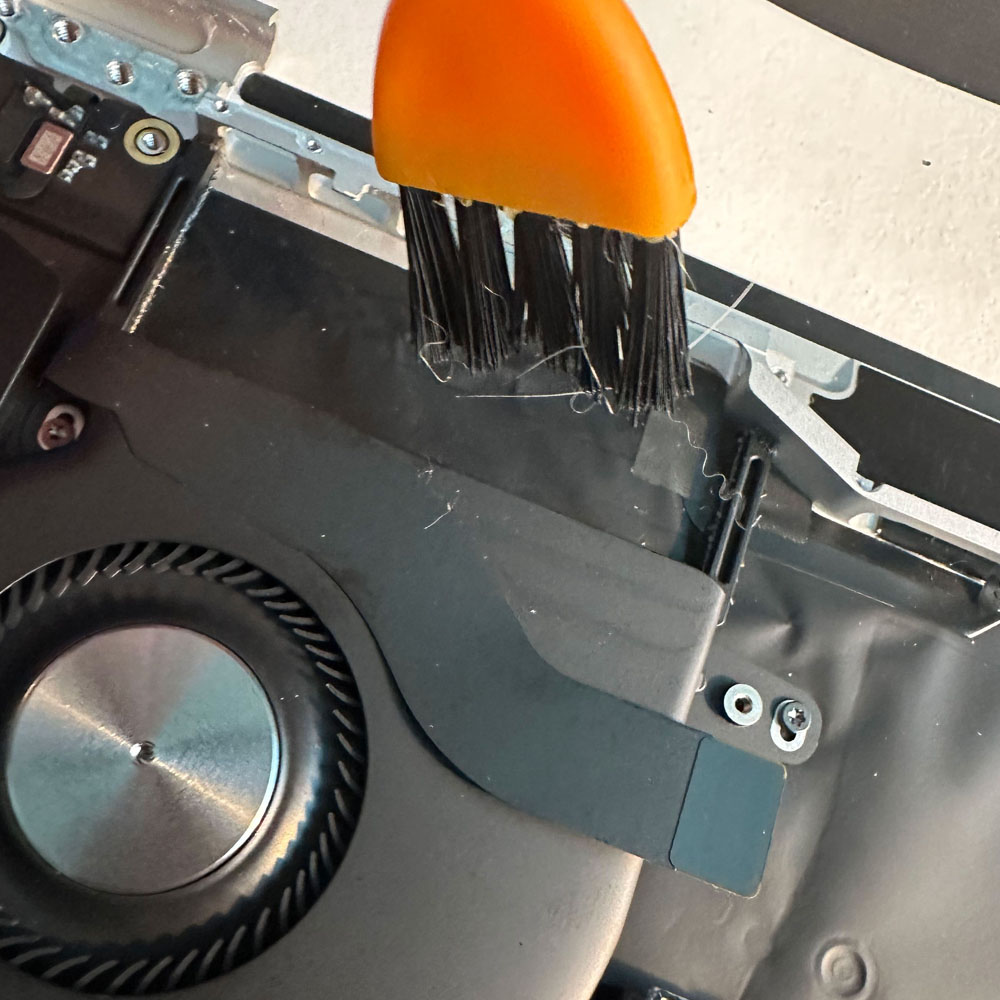
We clean as we go, there were glass fragments prior to, during and after this process. Handle with caution and care. Glass and debris (dirt, hair, fuzz etc.) must be cleaned as you go. Goal, leaving it better than the way you found it!
Ditto on Teardown for the battery, battery cable, main screw, hinges, lcd cables, display, display hinge covers, cables (springs), antennae cables and assembly, LCD, remove antennae, main hinge screws, remove LCD.
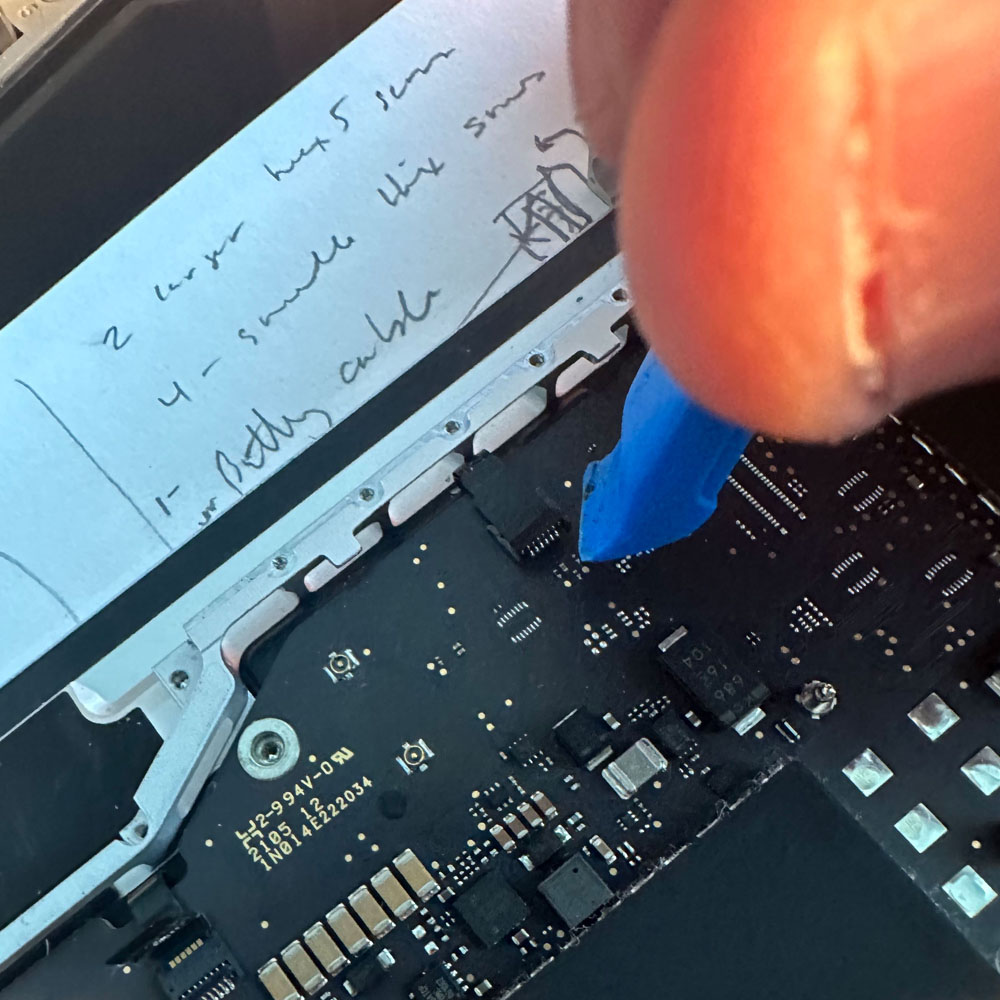
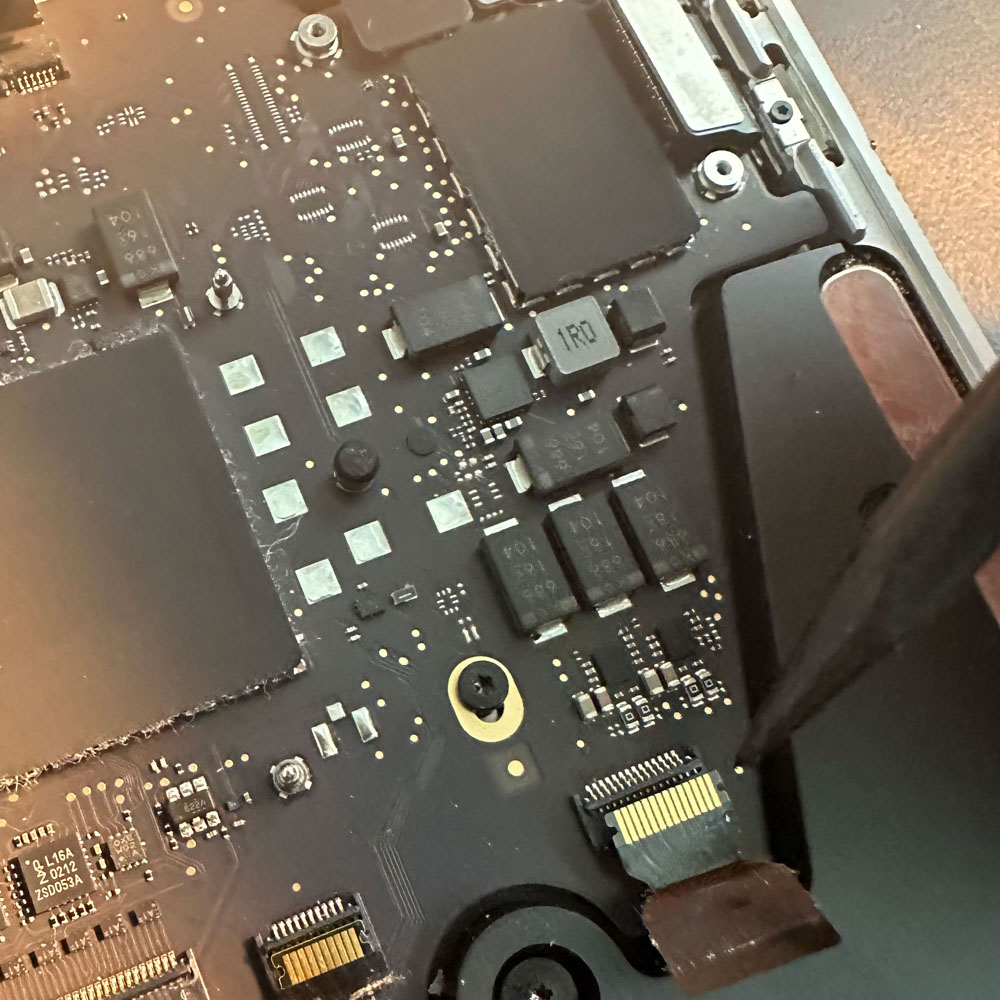
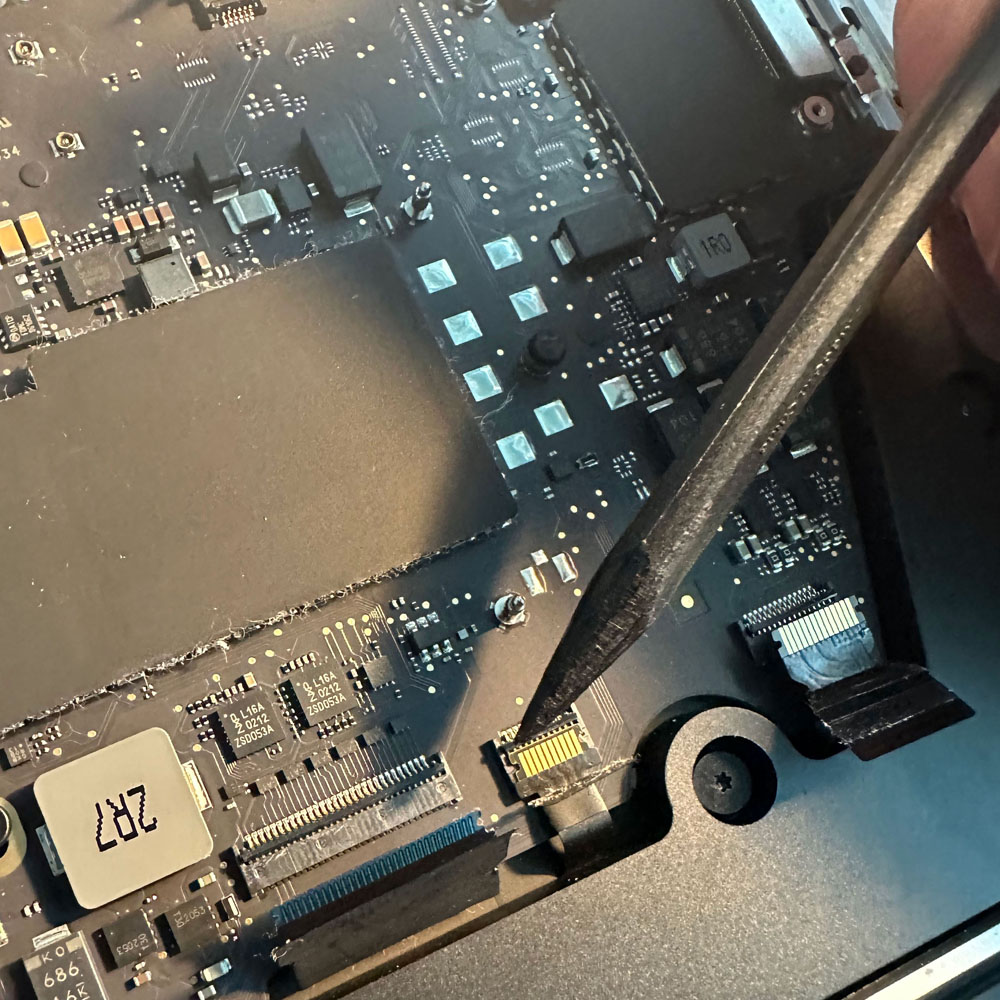
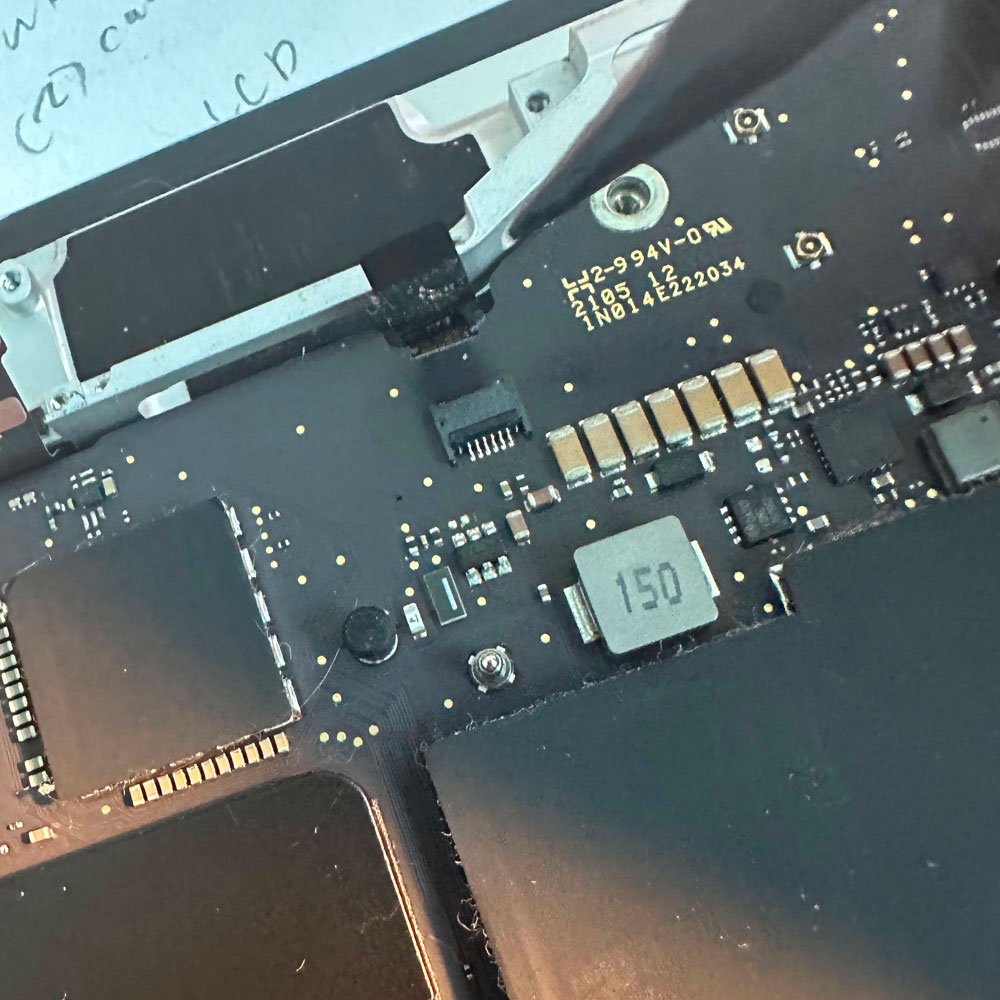
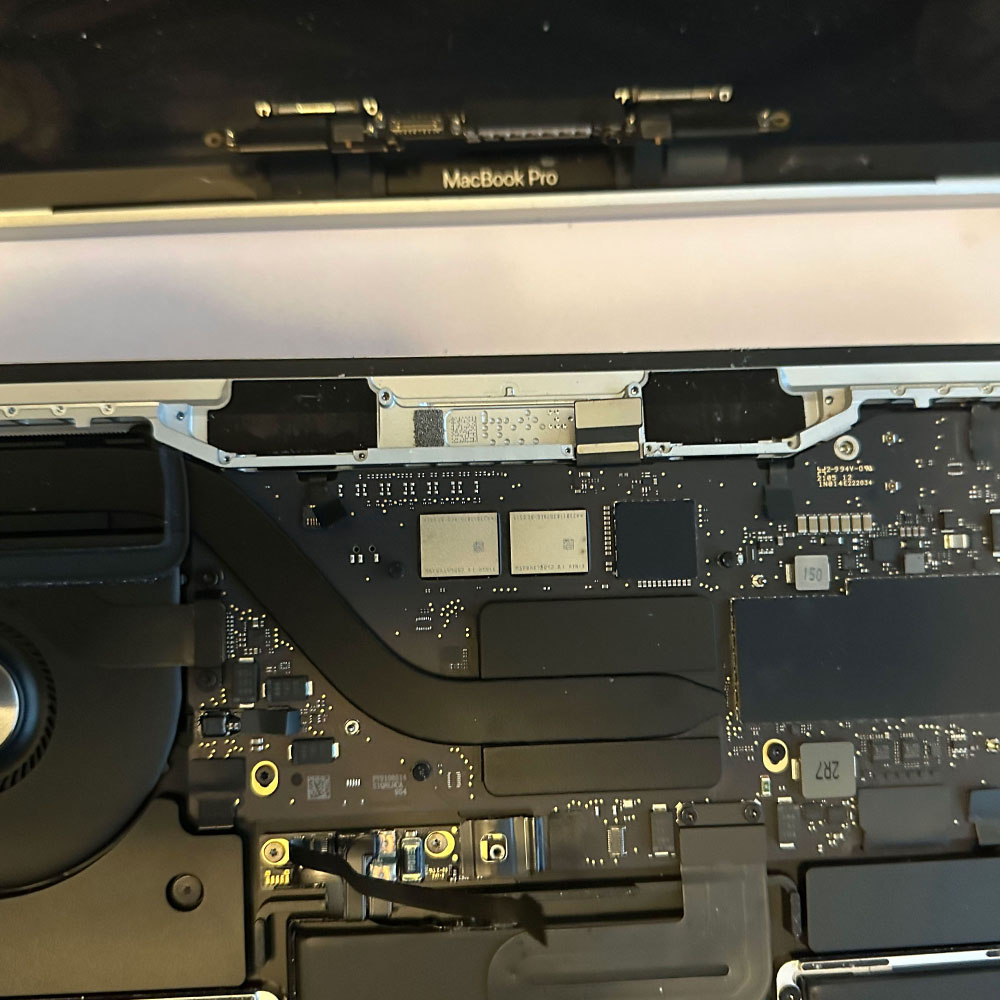
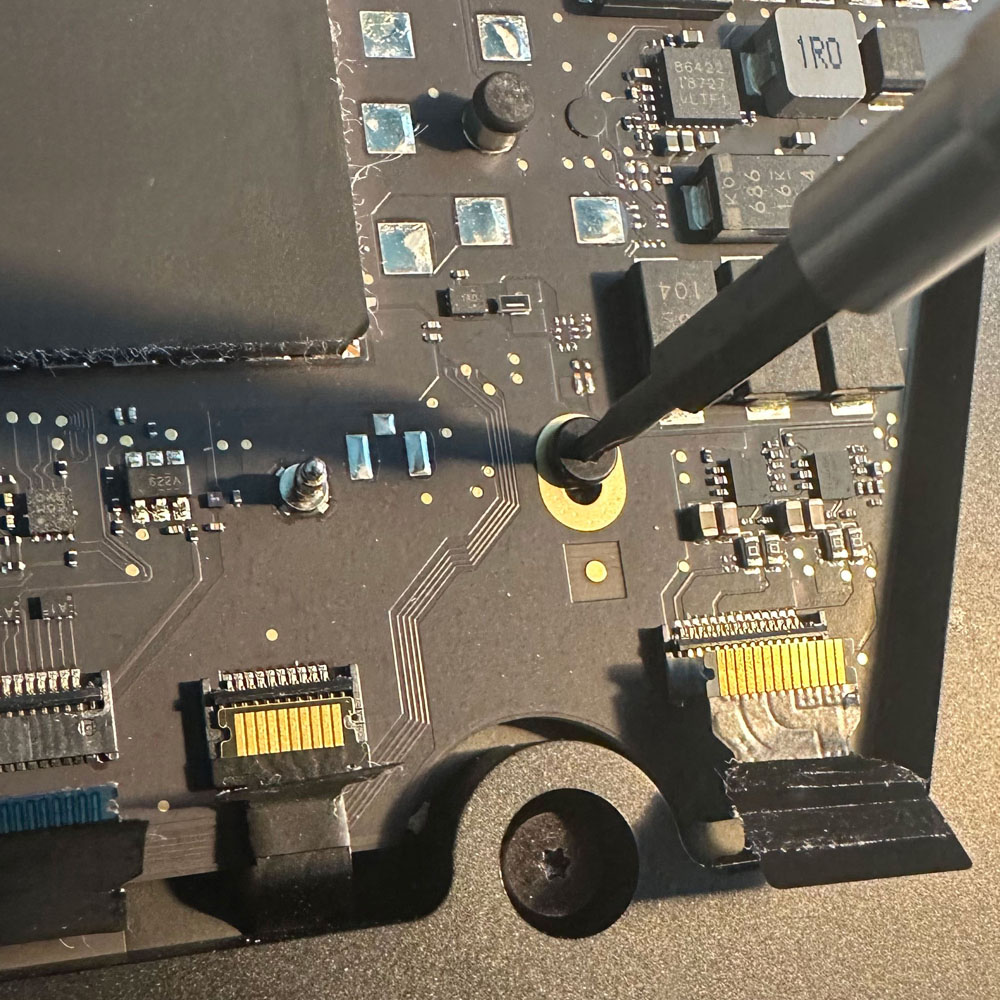
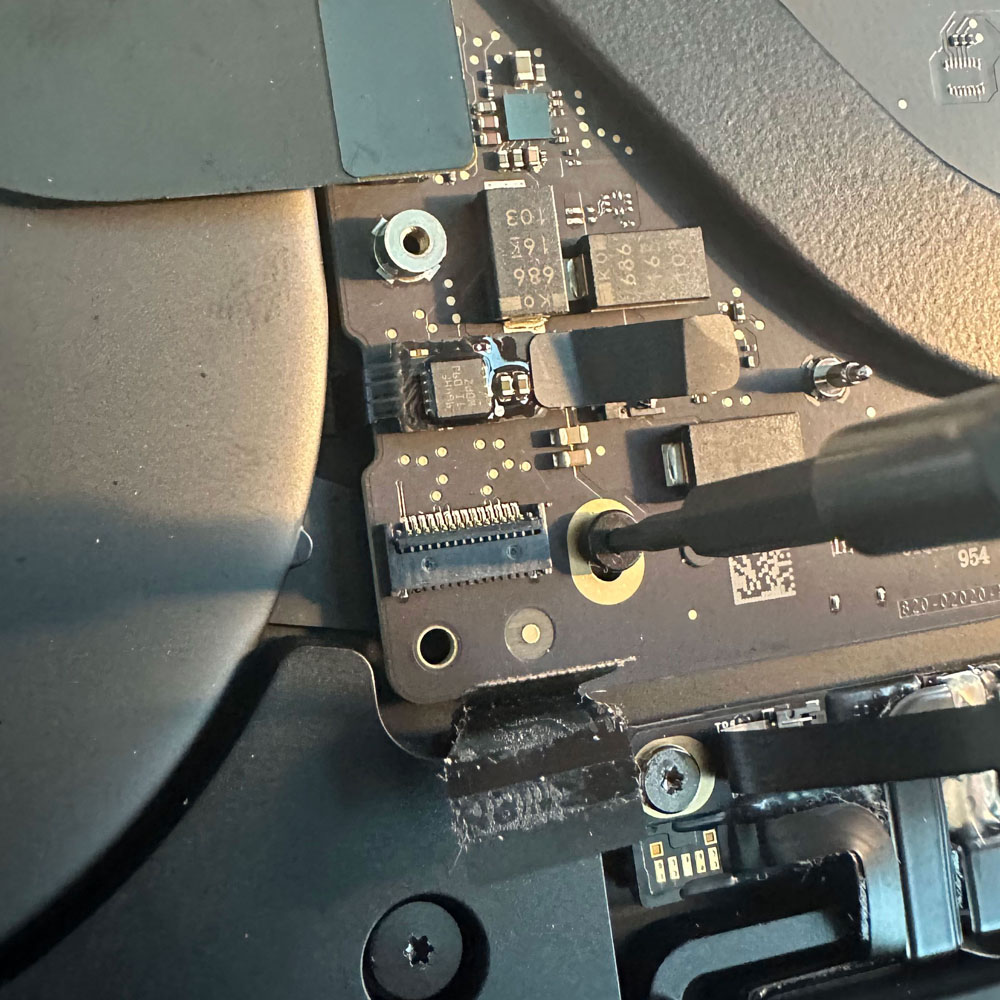
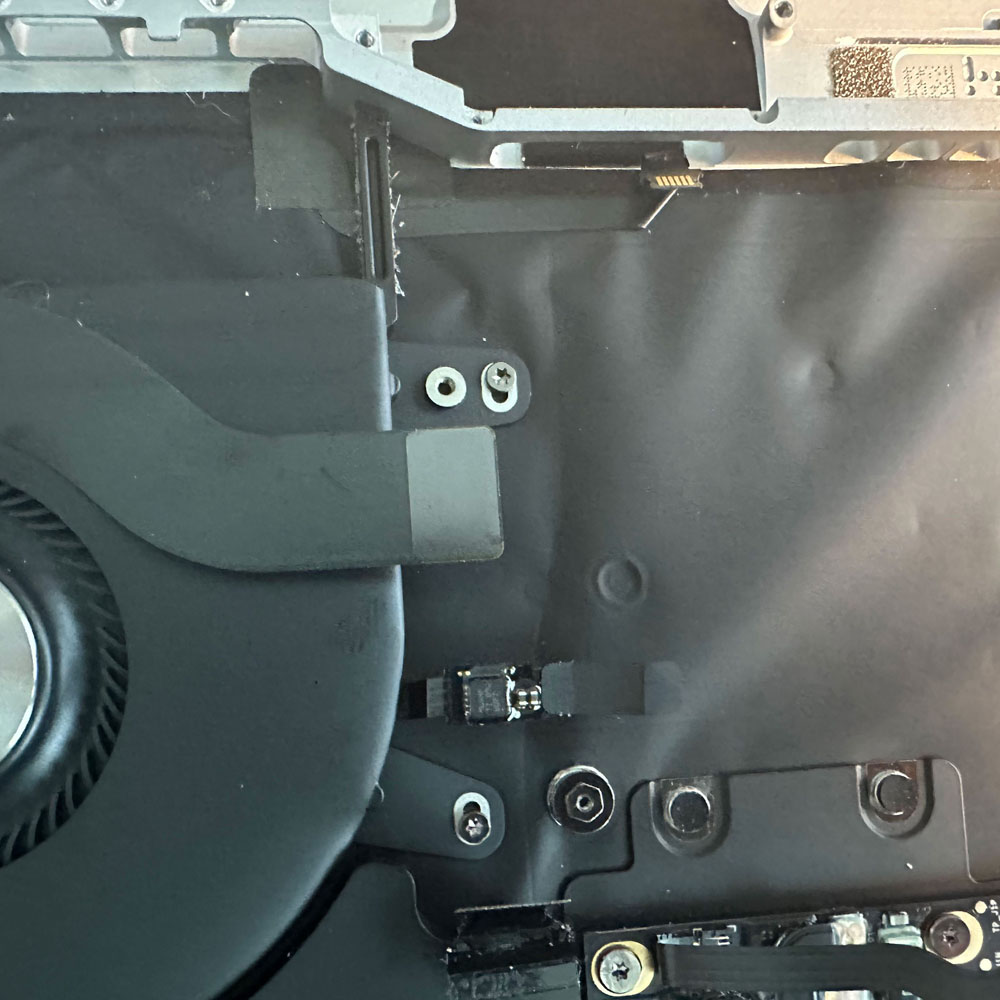
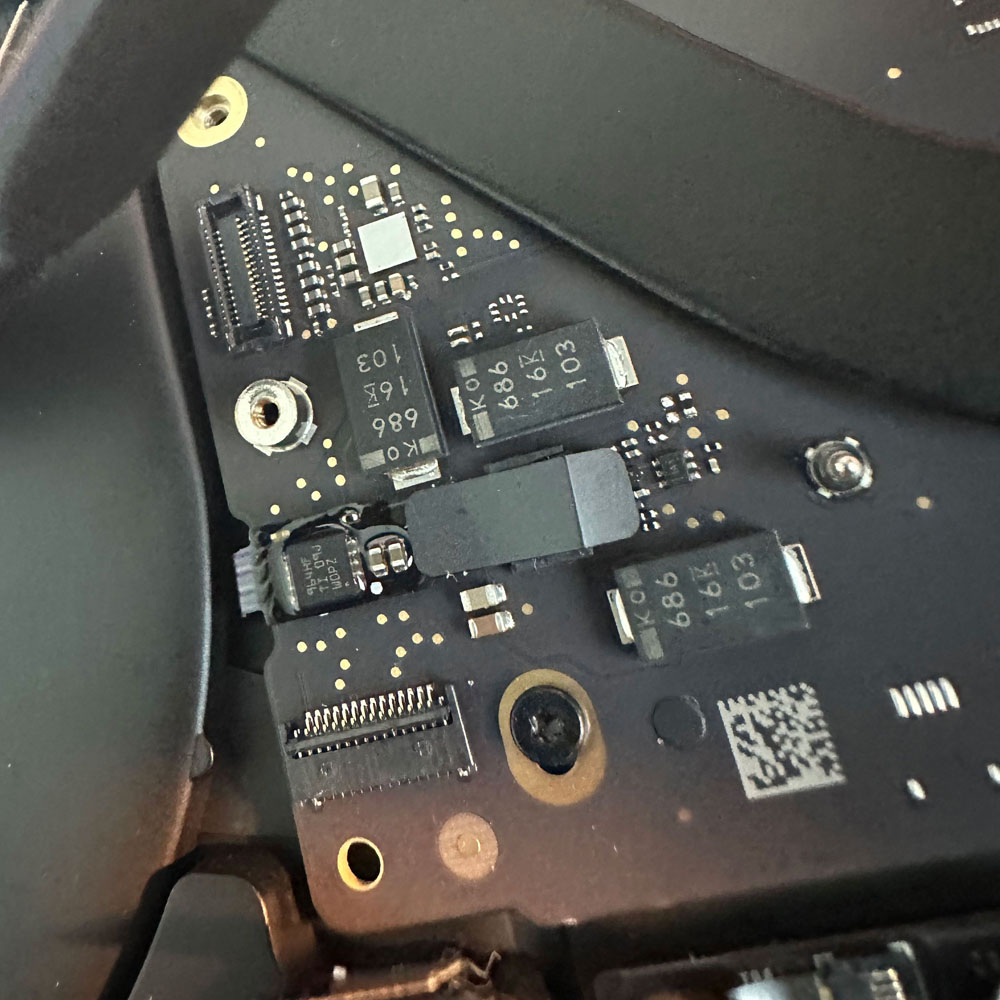
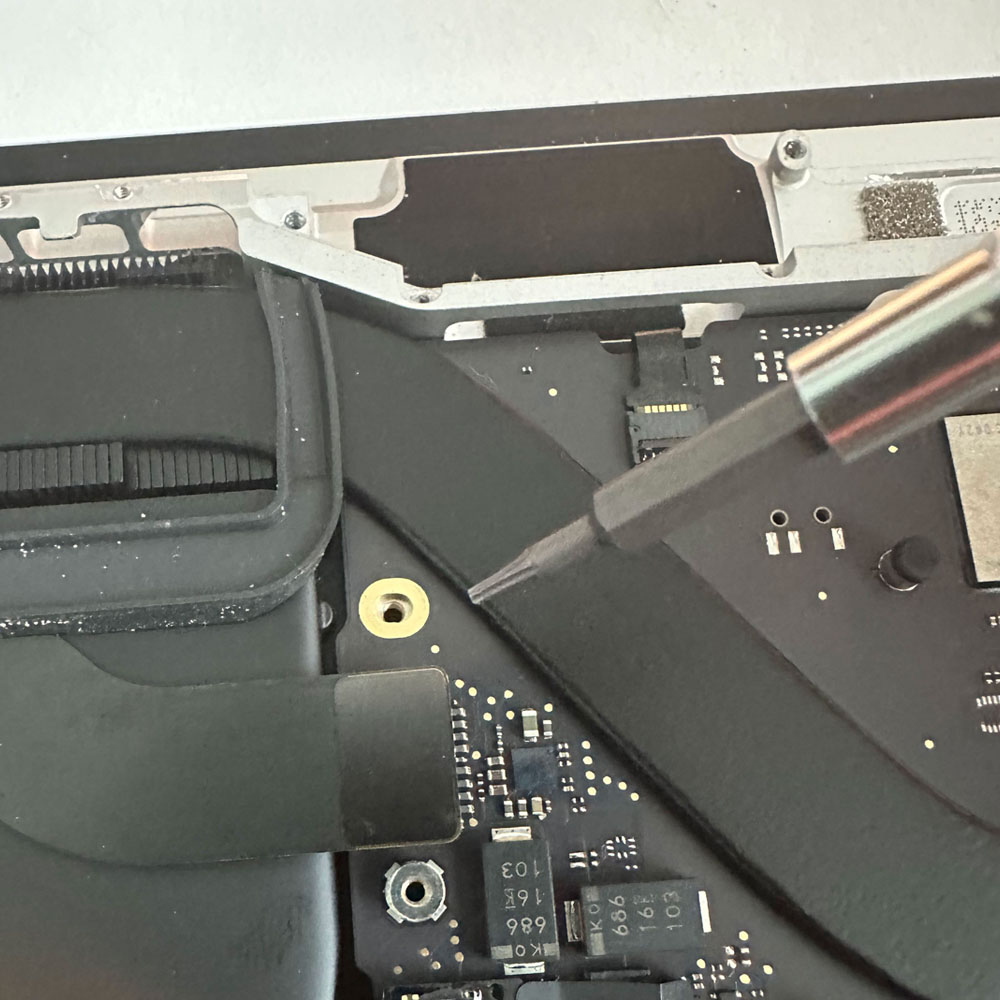
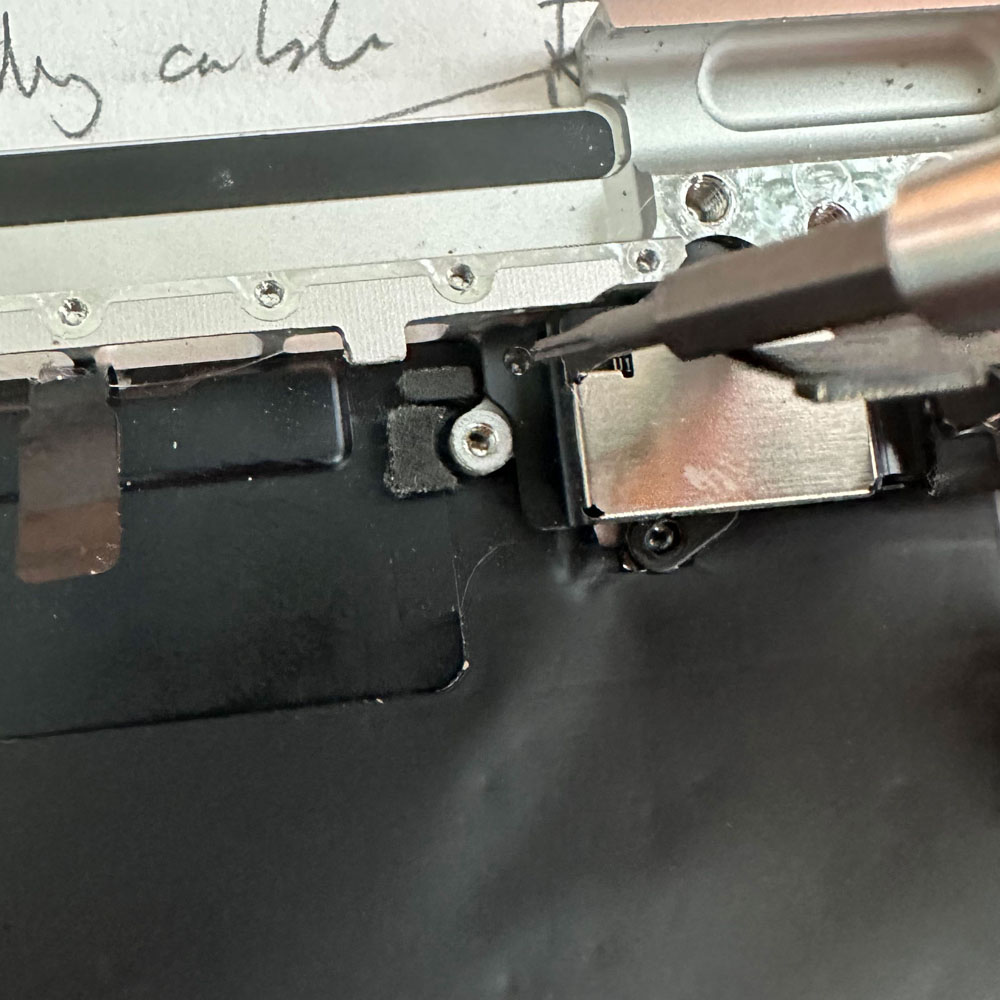
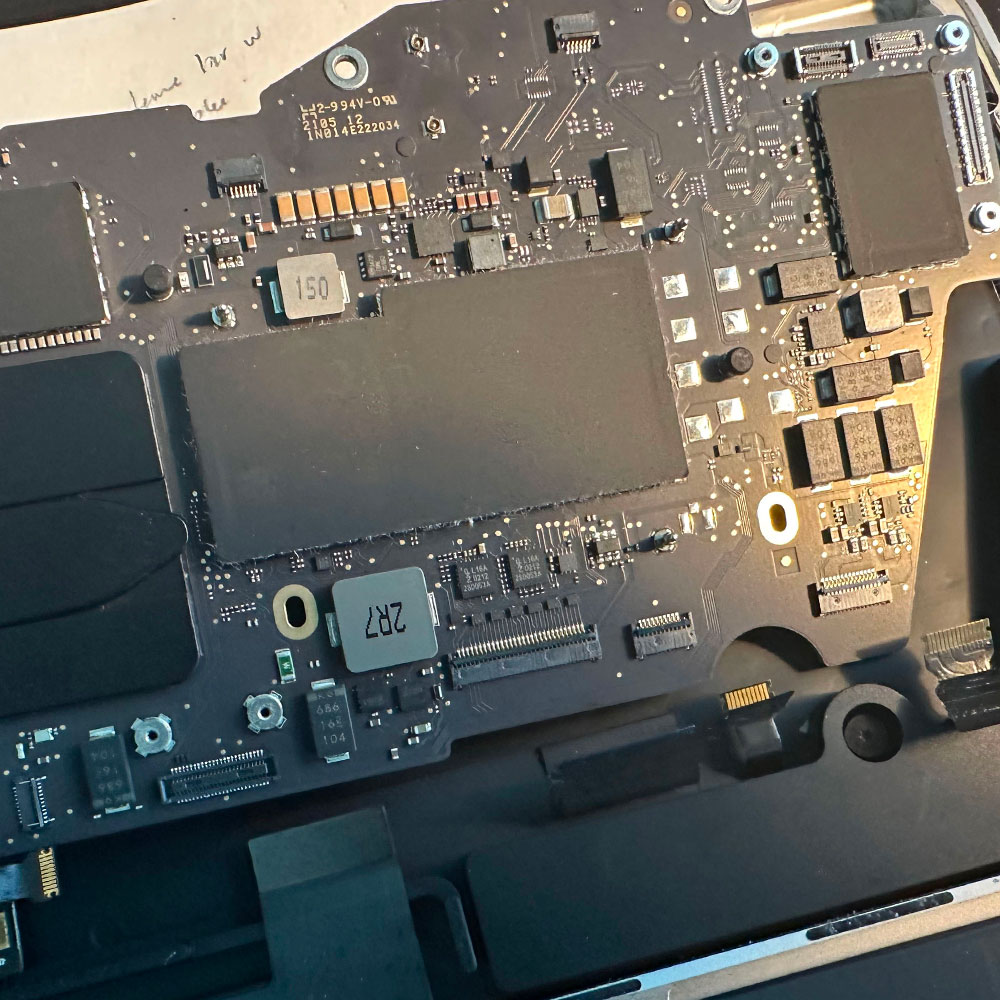
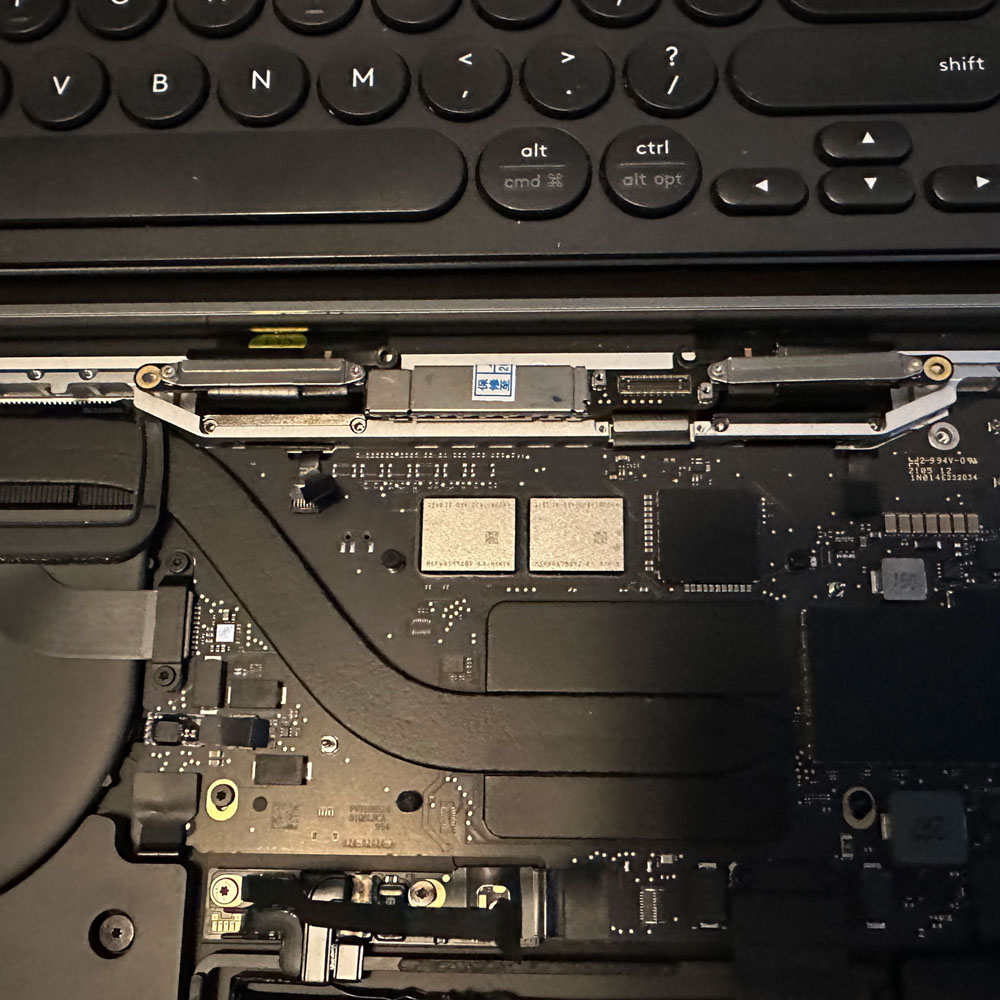
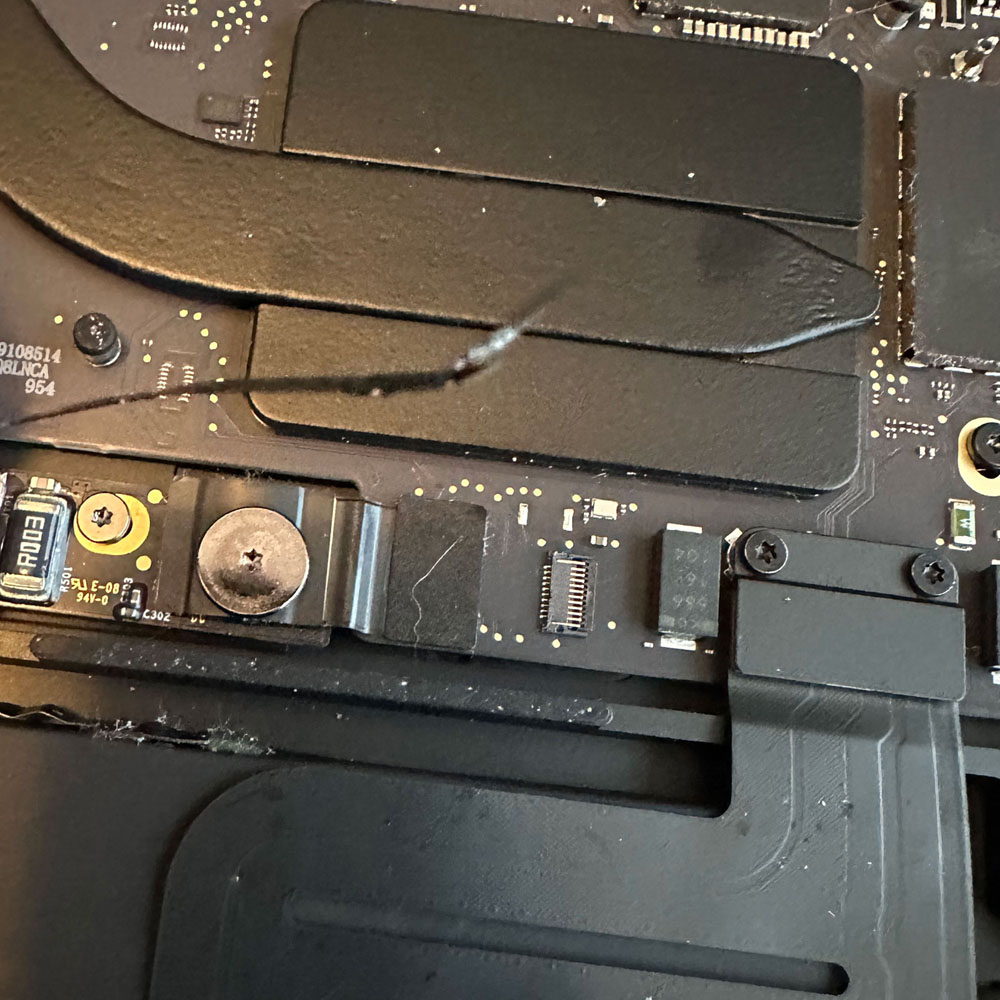
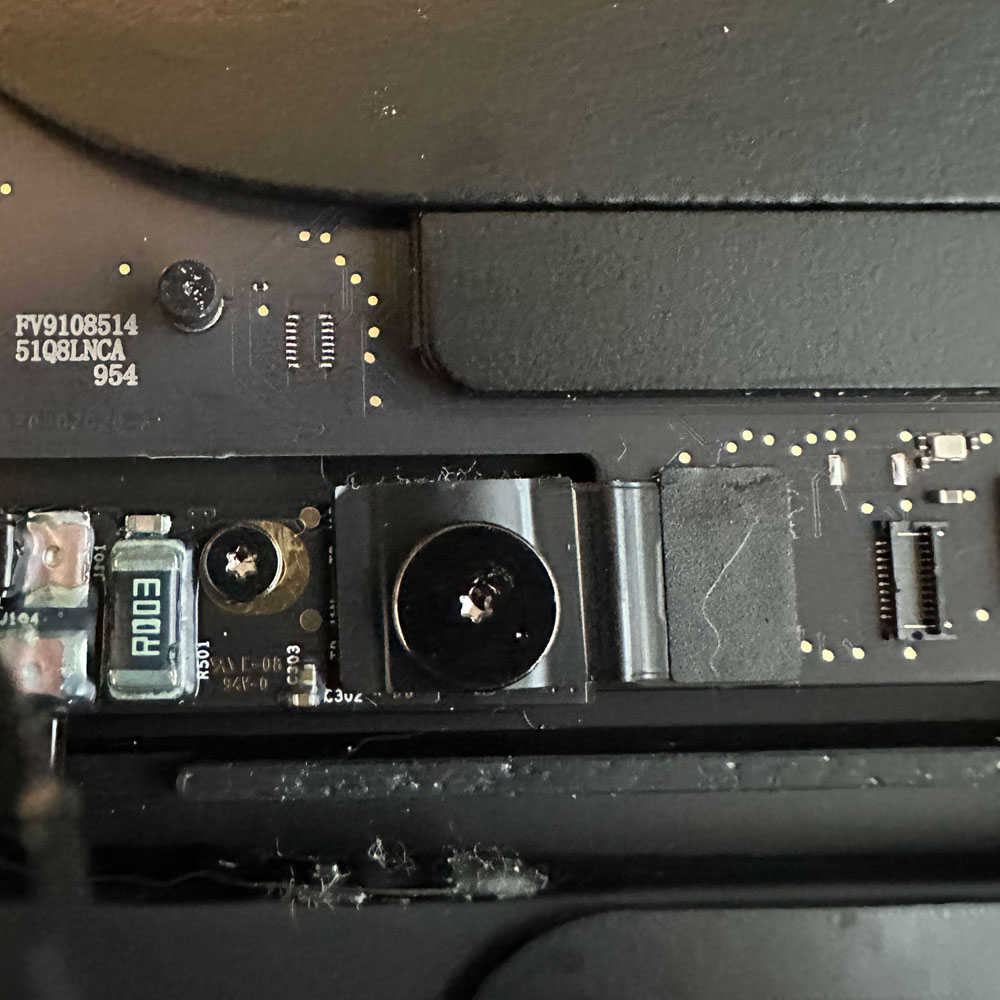
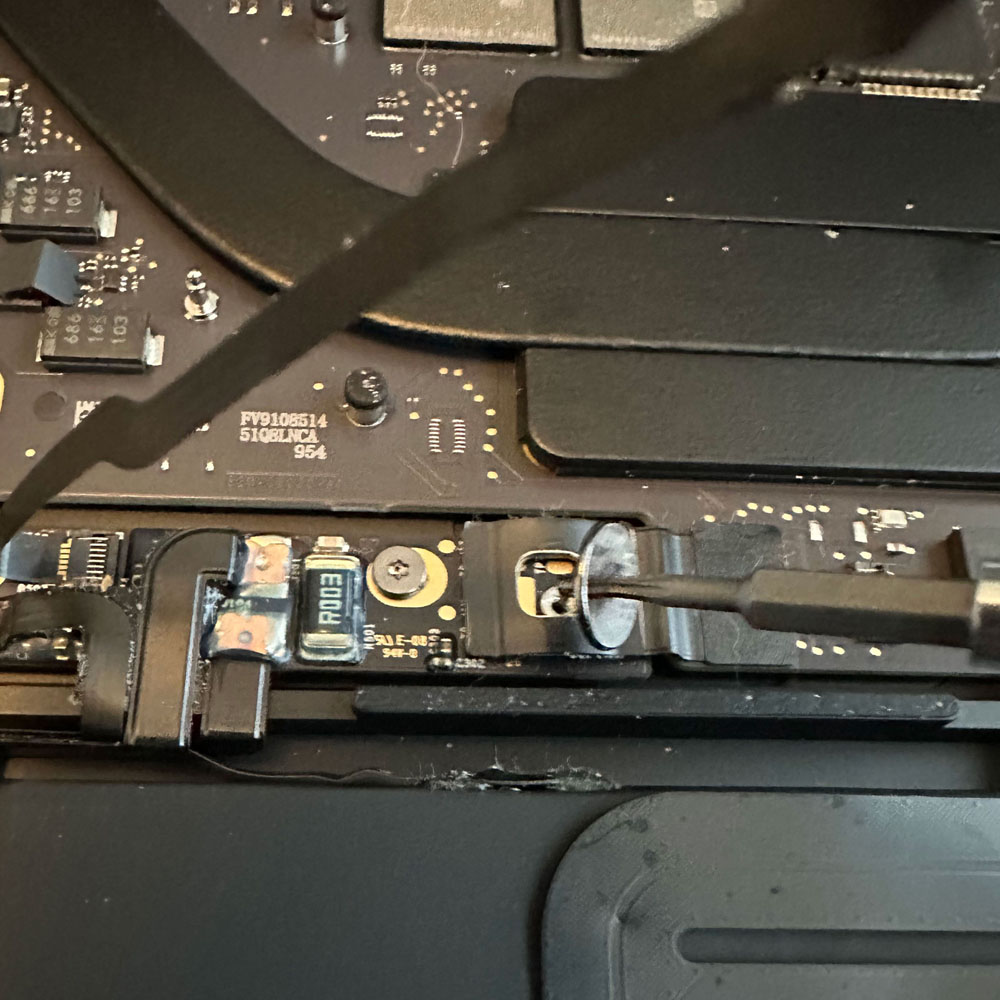
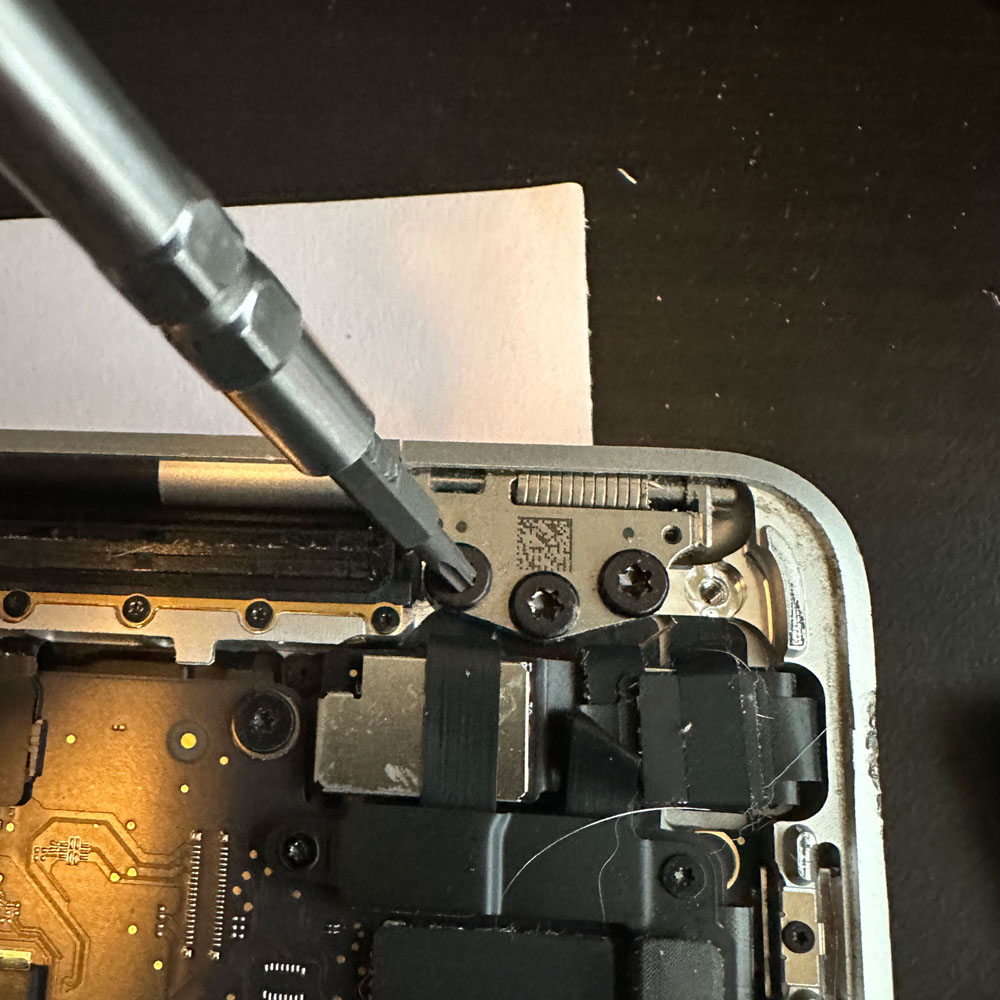
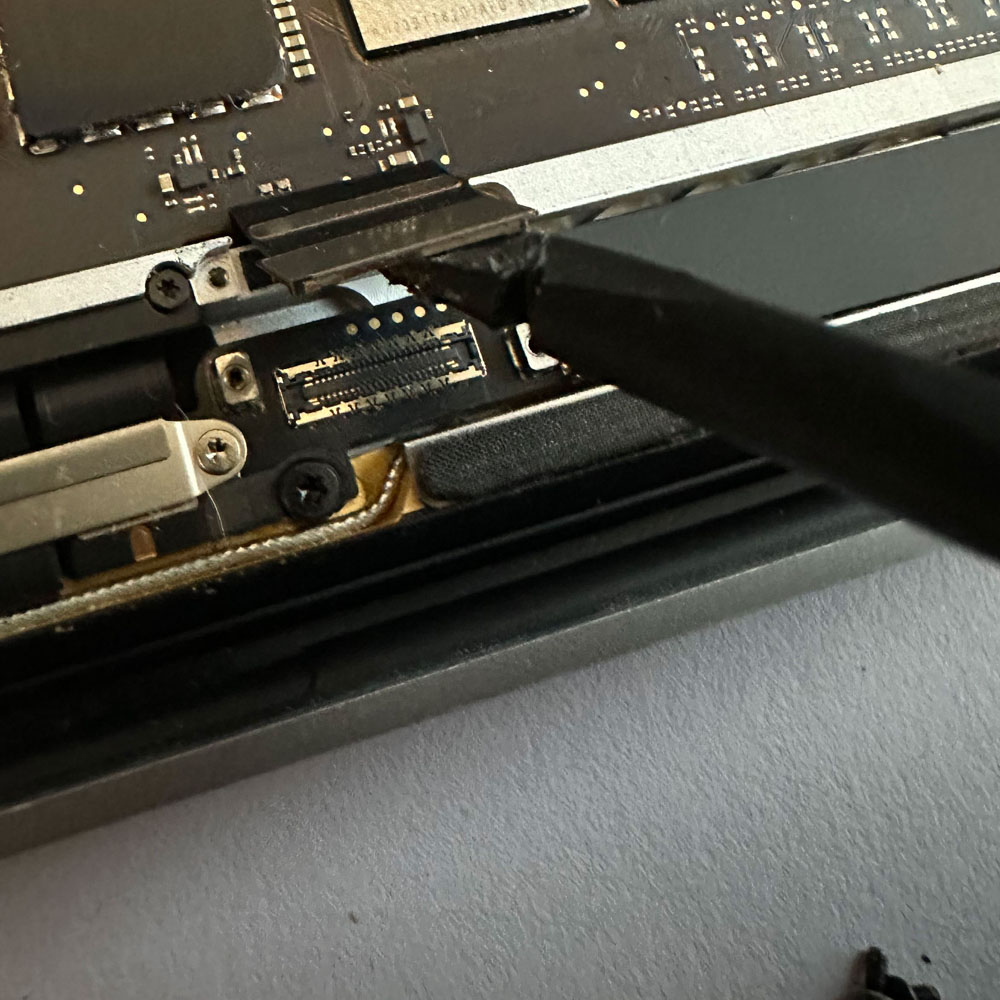
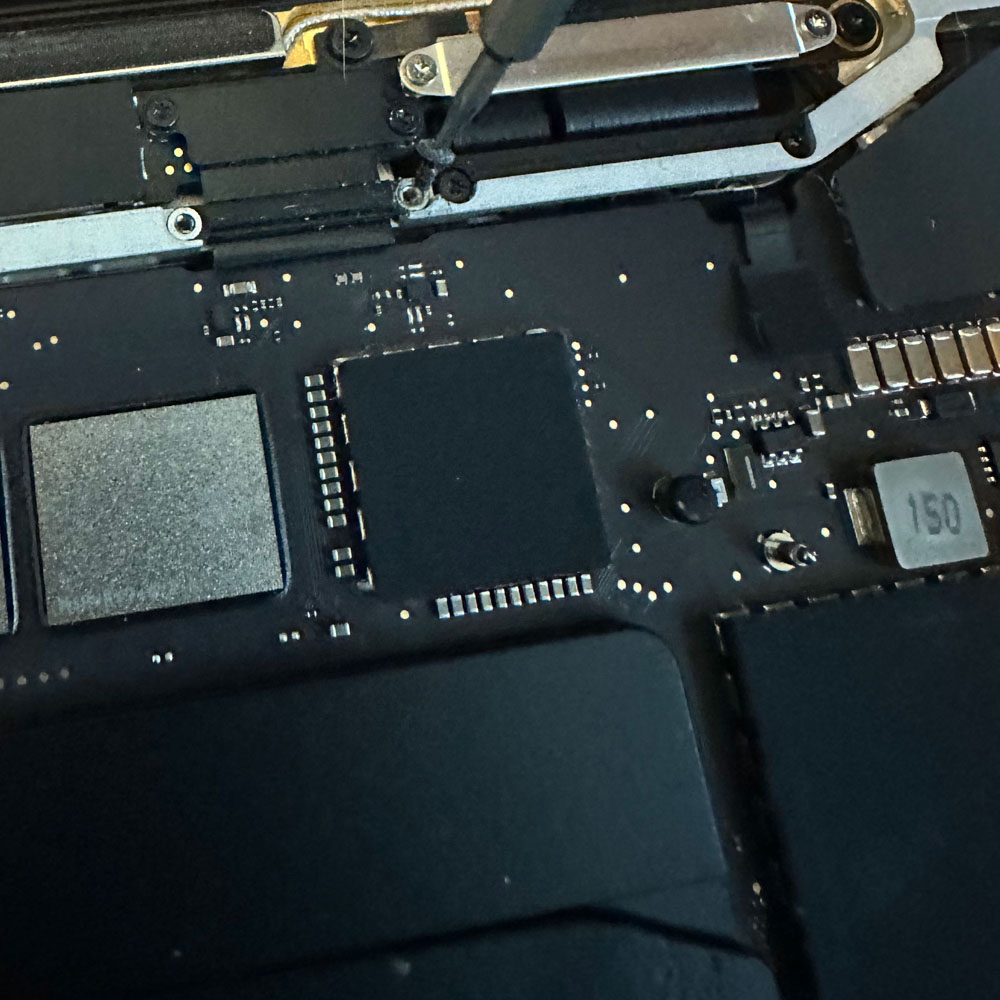
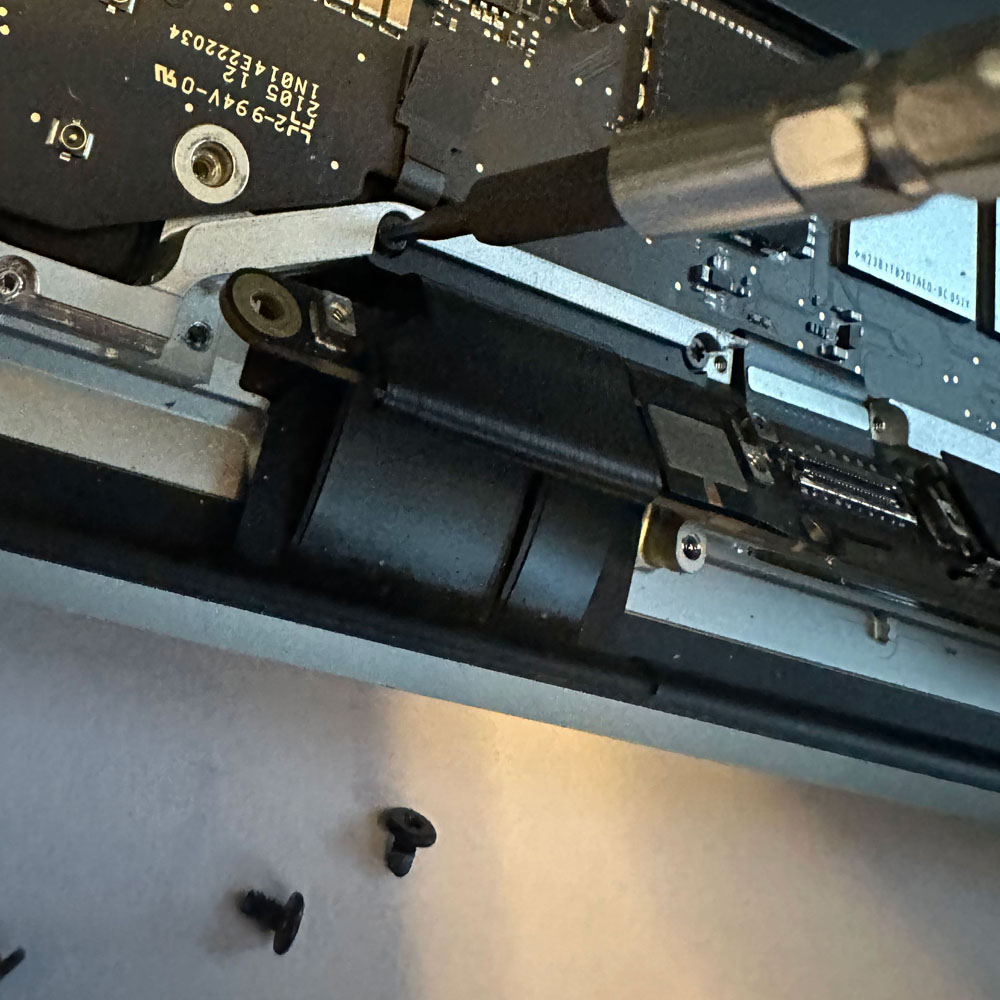
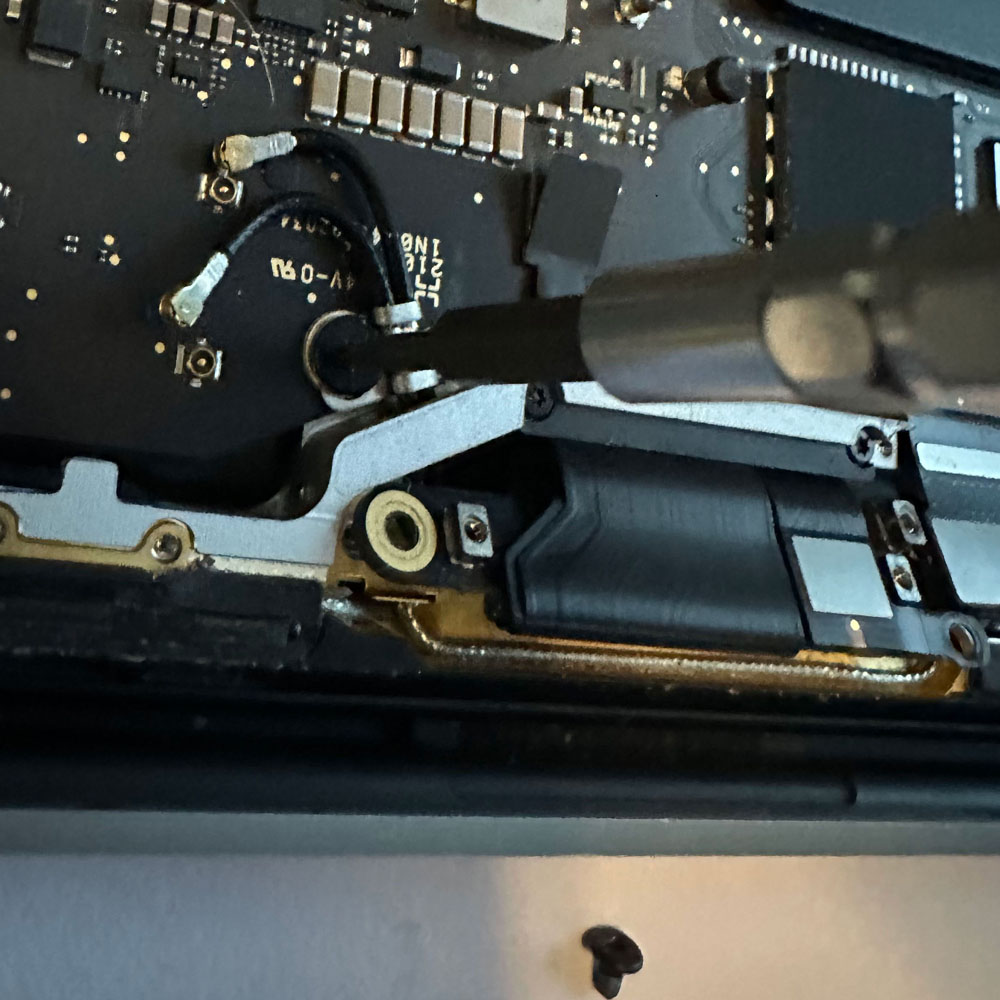
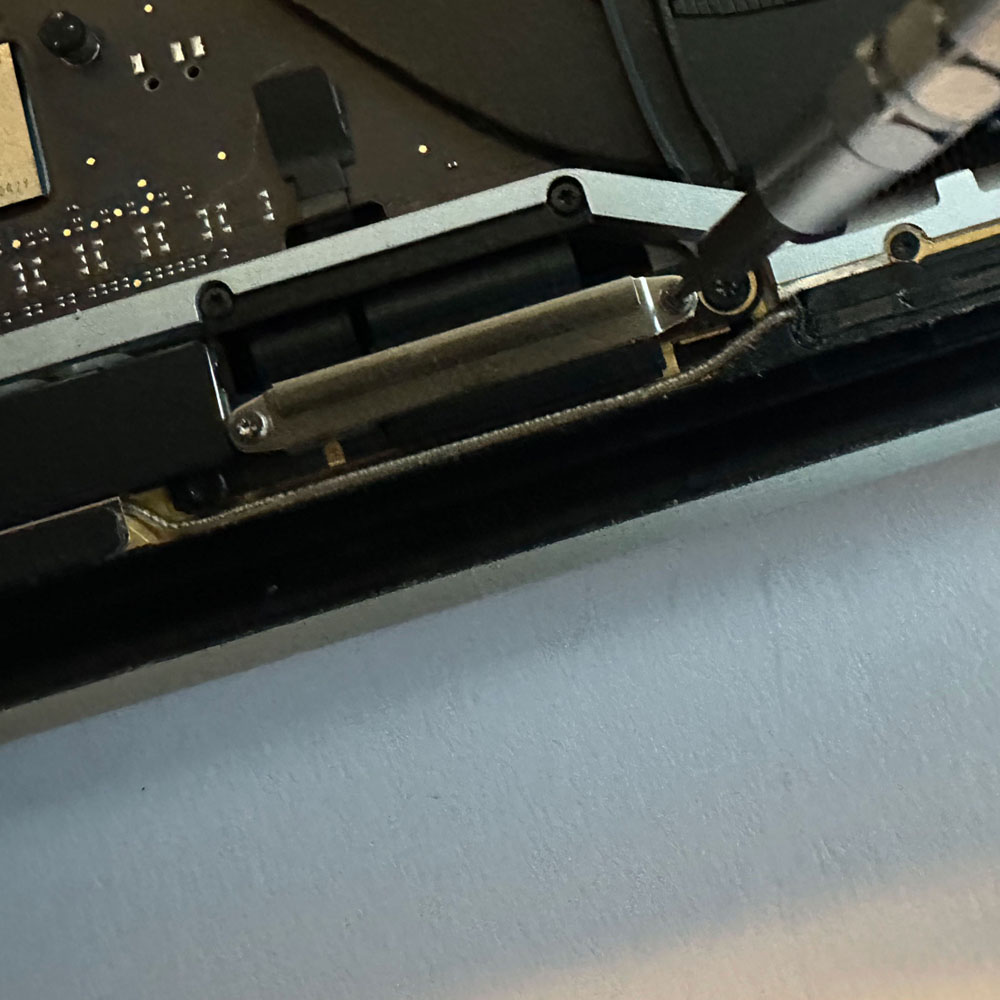
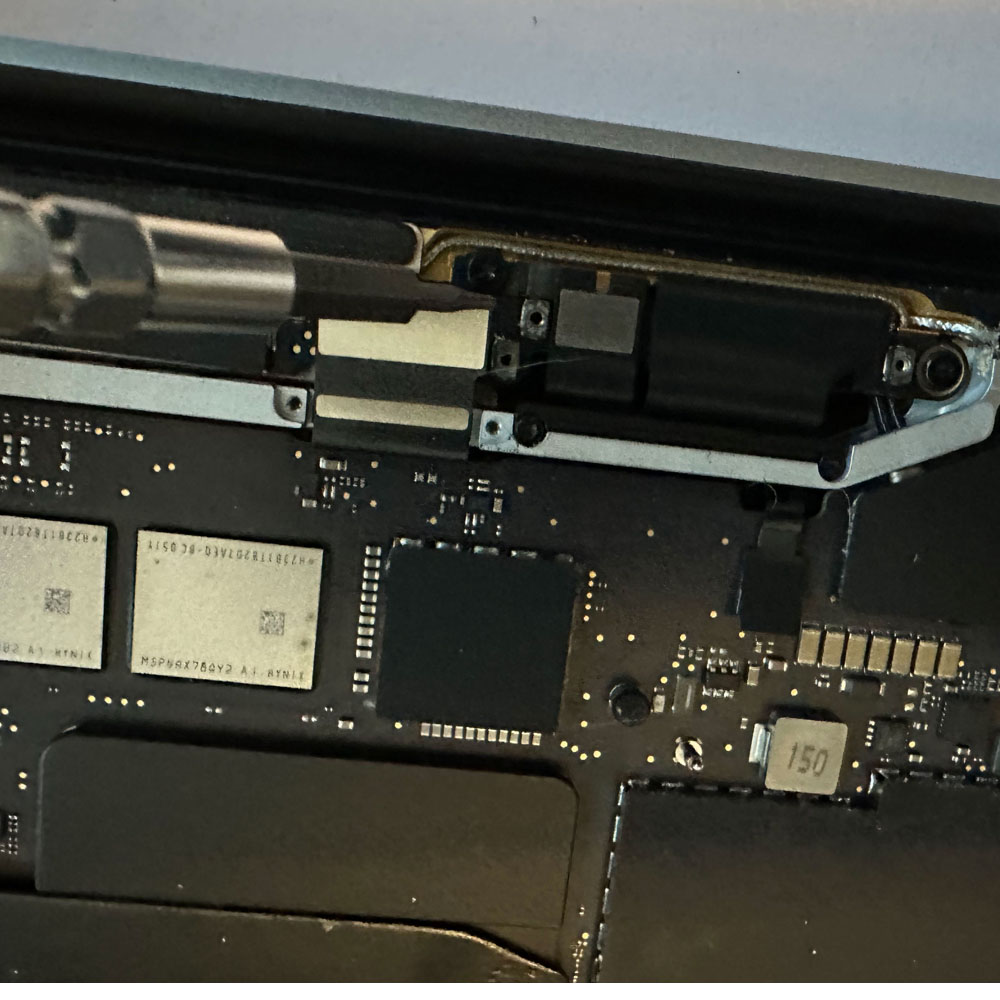
Starting here with the upper disassembled, we have the main logic board, power brackets, cable brackets, where we need to disconnect – trackpad, speakers, logic board flex screws and cables. This is where we can start the touch bar assembly replacement. It’s all bundled up, with covers and varing screws and electronic tape etc. Really you need to have your replacement handy, once you’ve removed the main board, speakers and trackpad… this is where it gets hairy!
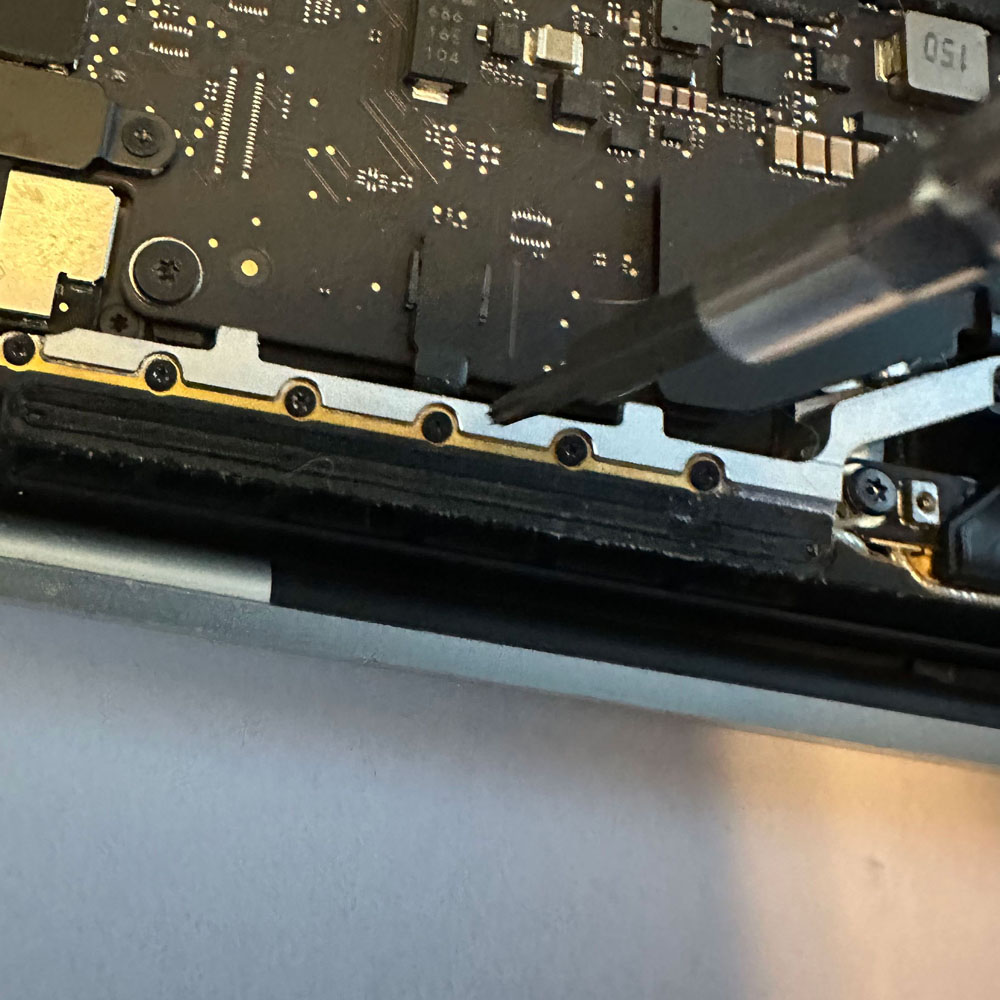
Handy to have your tool kit out, if not, again, give Amazon a quick call… or pull up iFixit a scroll… you’re going to need adhesive remover, some gloves, glasses, you know the essentials when working with glass, chemicals on small electronics. We will start with the flat pry bar, on the front (assuming all touch bar parts have been dismantled or ‘torn down’). We will slowly pry and spray our adhesive remover down behind the touch bar glass and the metal upper. Fun times, easier if you have more adhesive remover than what we had during the refurb process. Not much left after the mobile device teardowns a few months back.
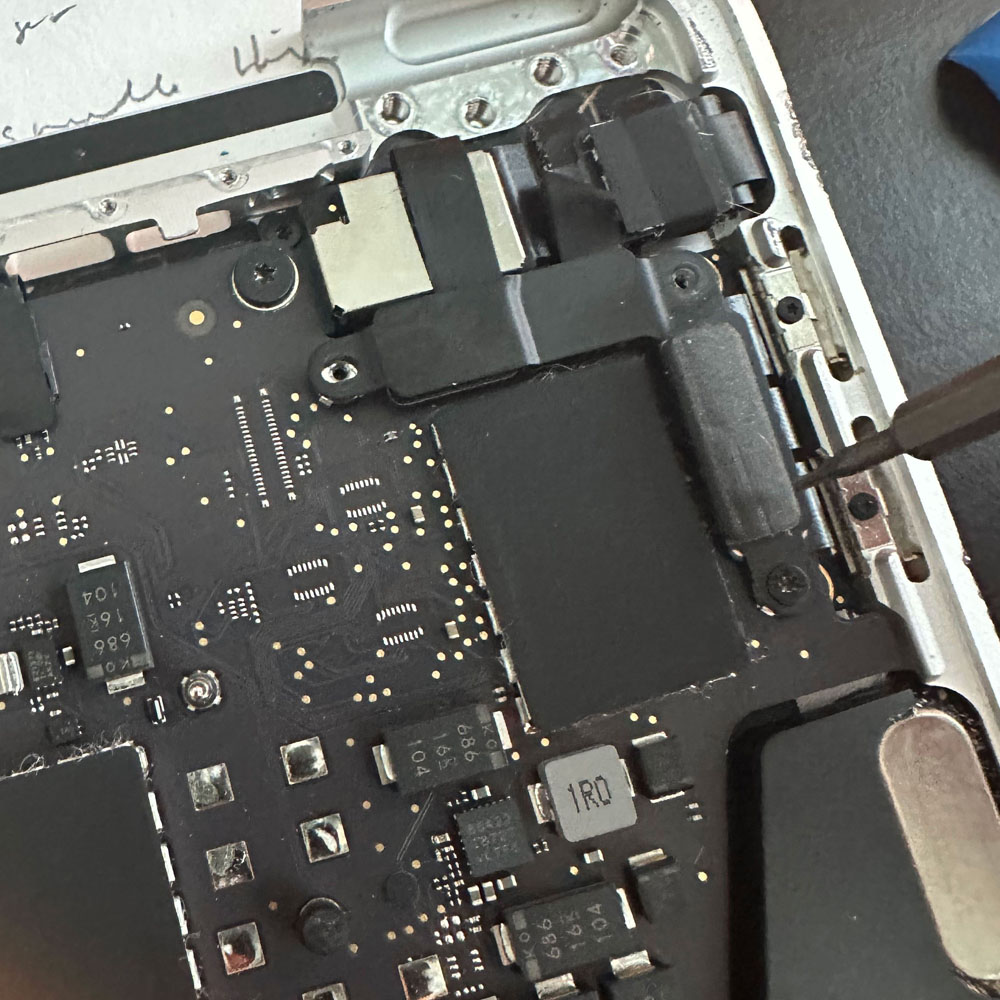
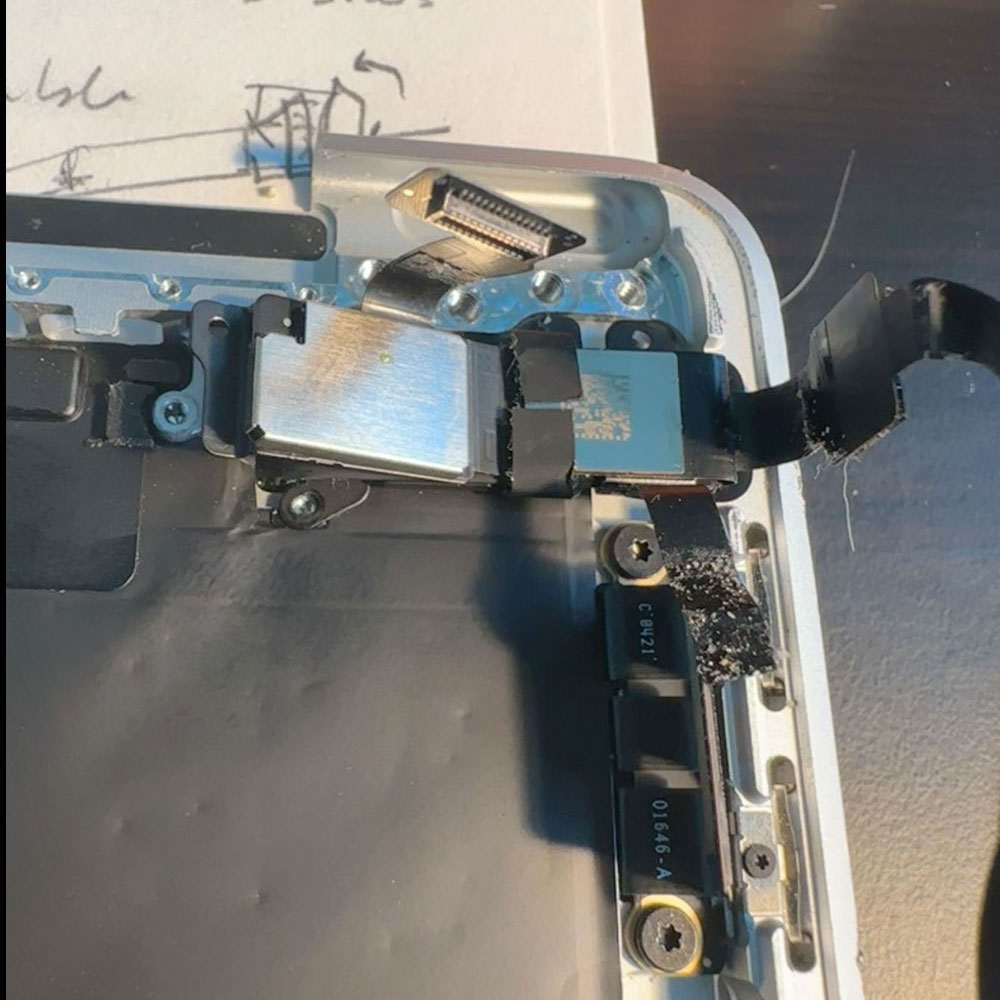
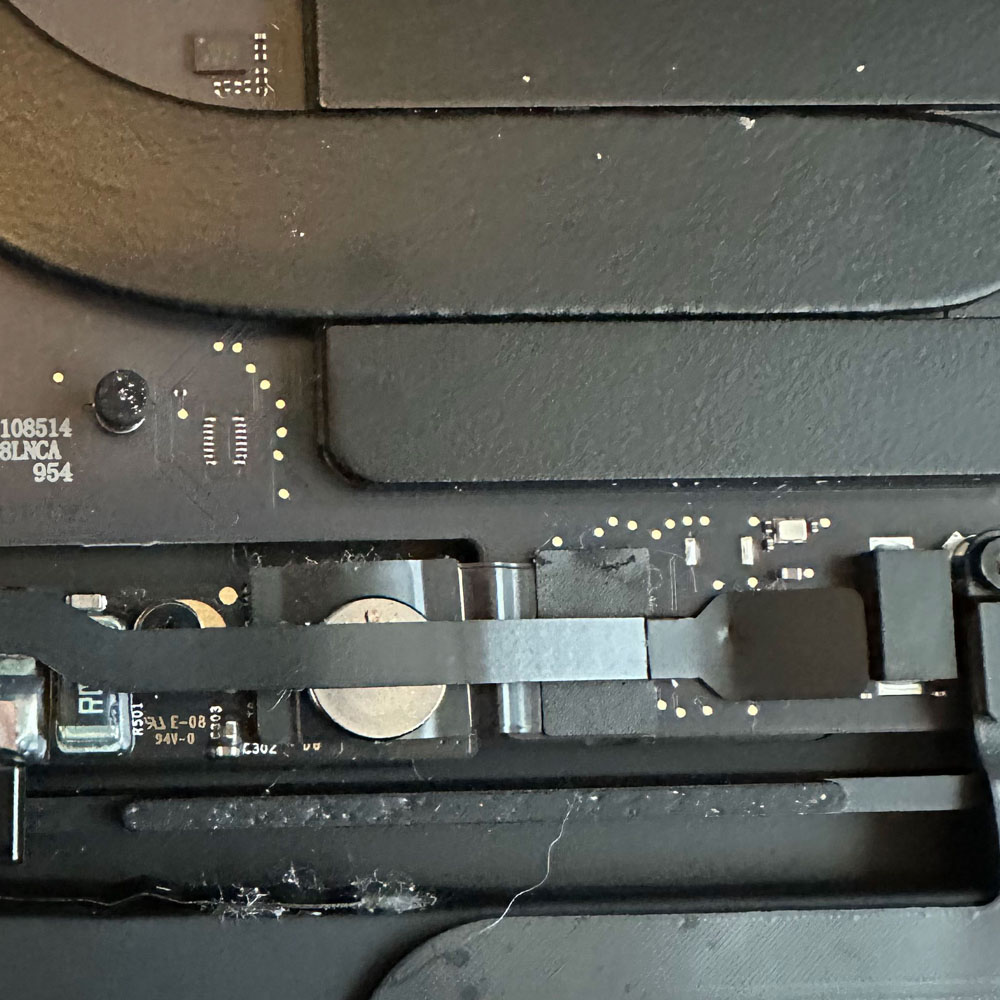
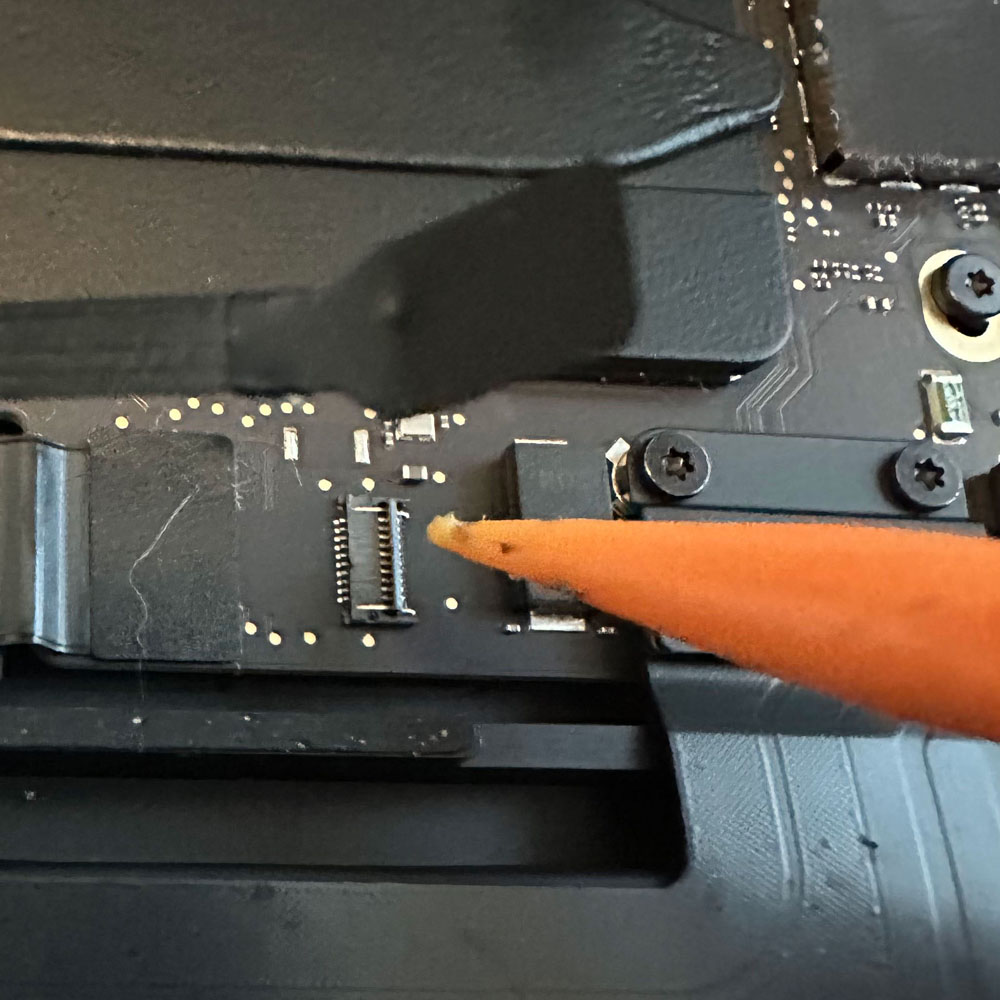
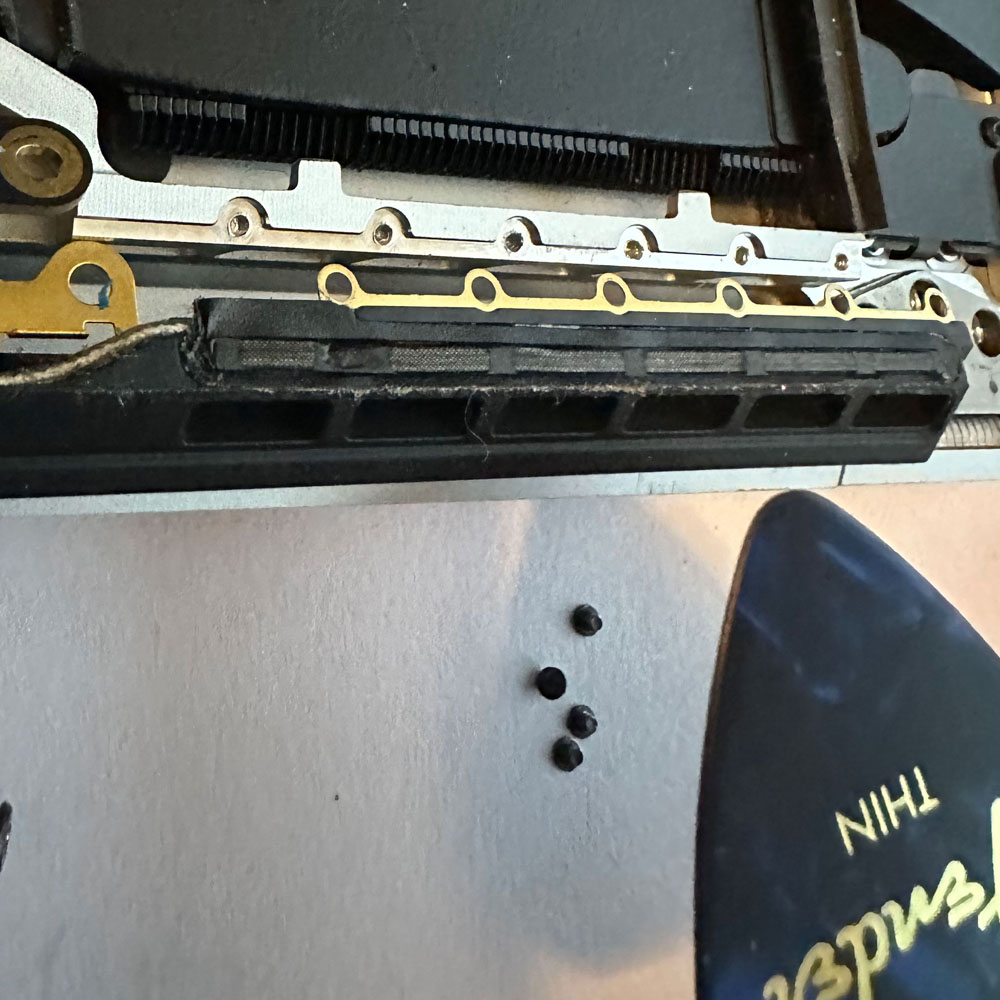
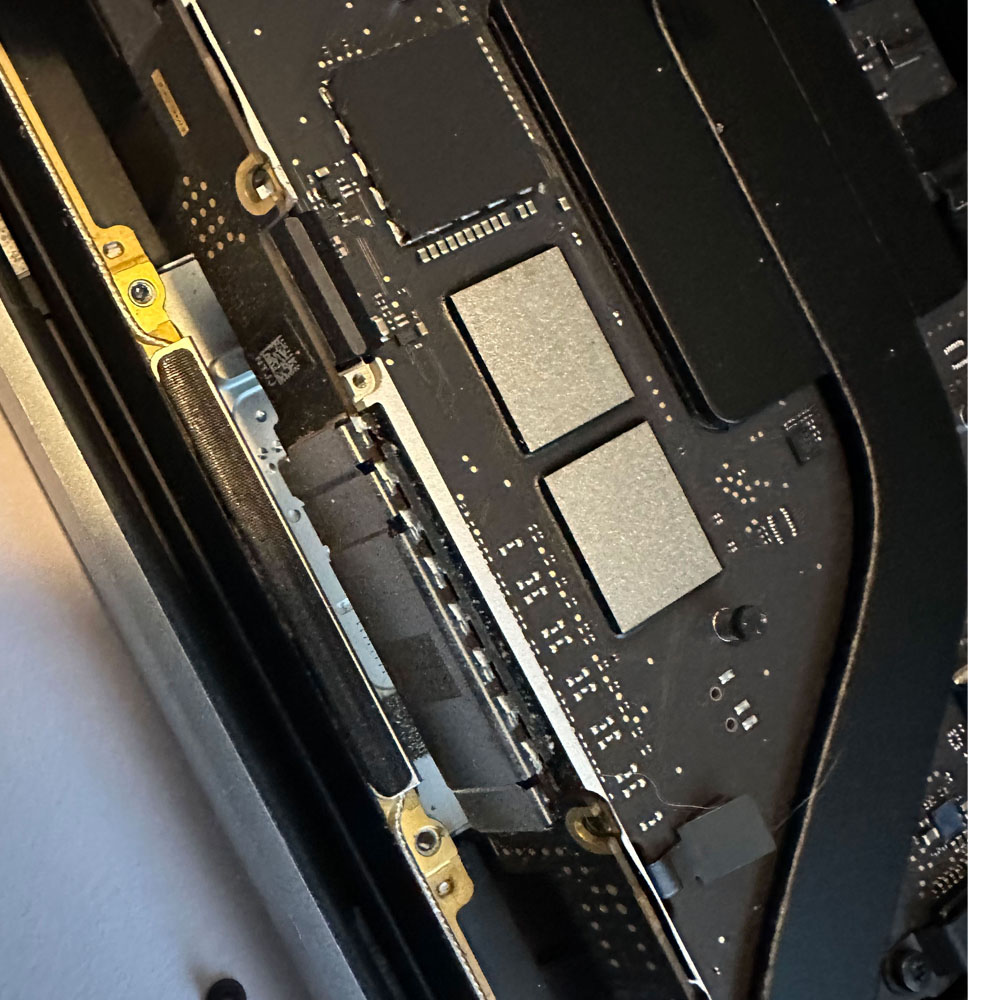
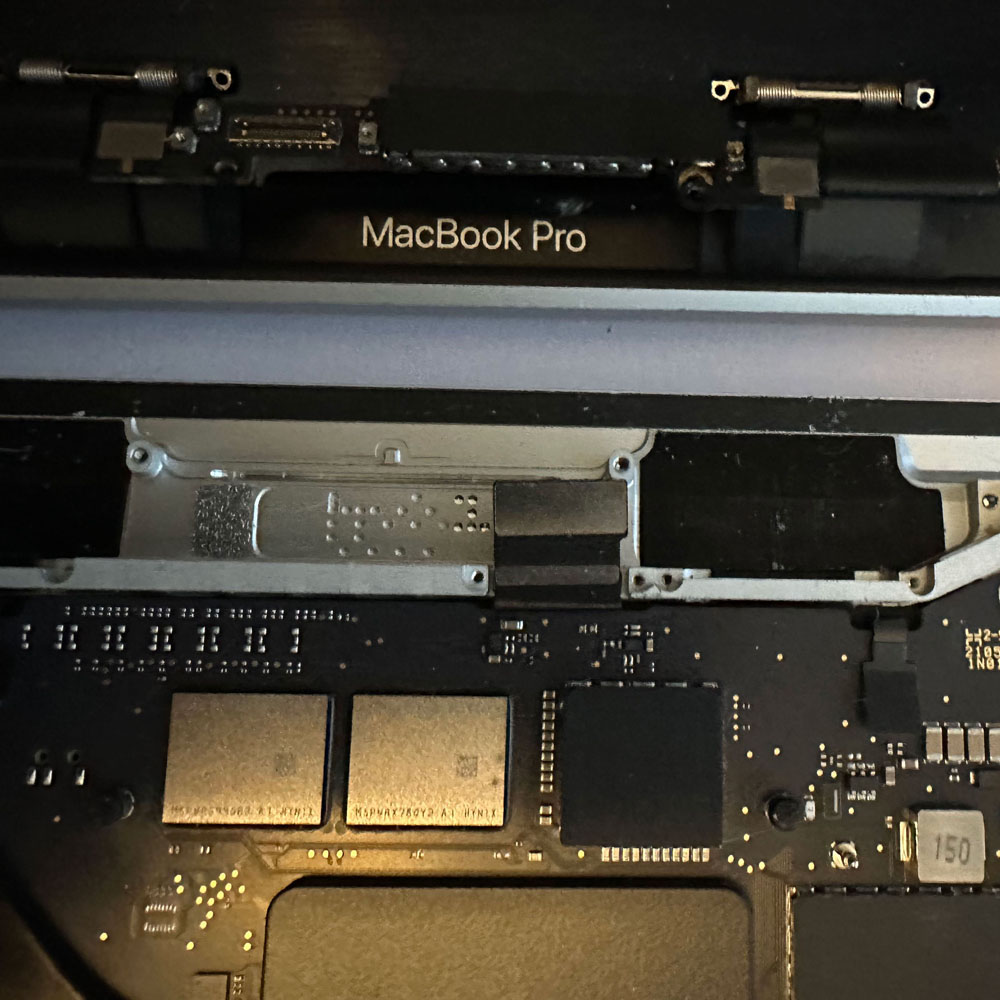
Ok, so we remove the glue, glass, and ultimately the touch bar on the front through the back upper. From here, easy peasy, we replace touch bar, careful to remove the backing which will adhere the touch bar to the upper case, flex cable in hand through the upper or touch bar bracketry and reassemble the touch bar cables and housing. We left the screen protector film on while we replaced all parts, as we continued the the rebuild process. Those images can be found below, there are a number of images; proceed with caution!
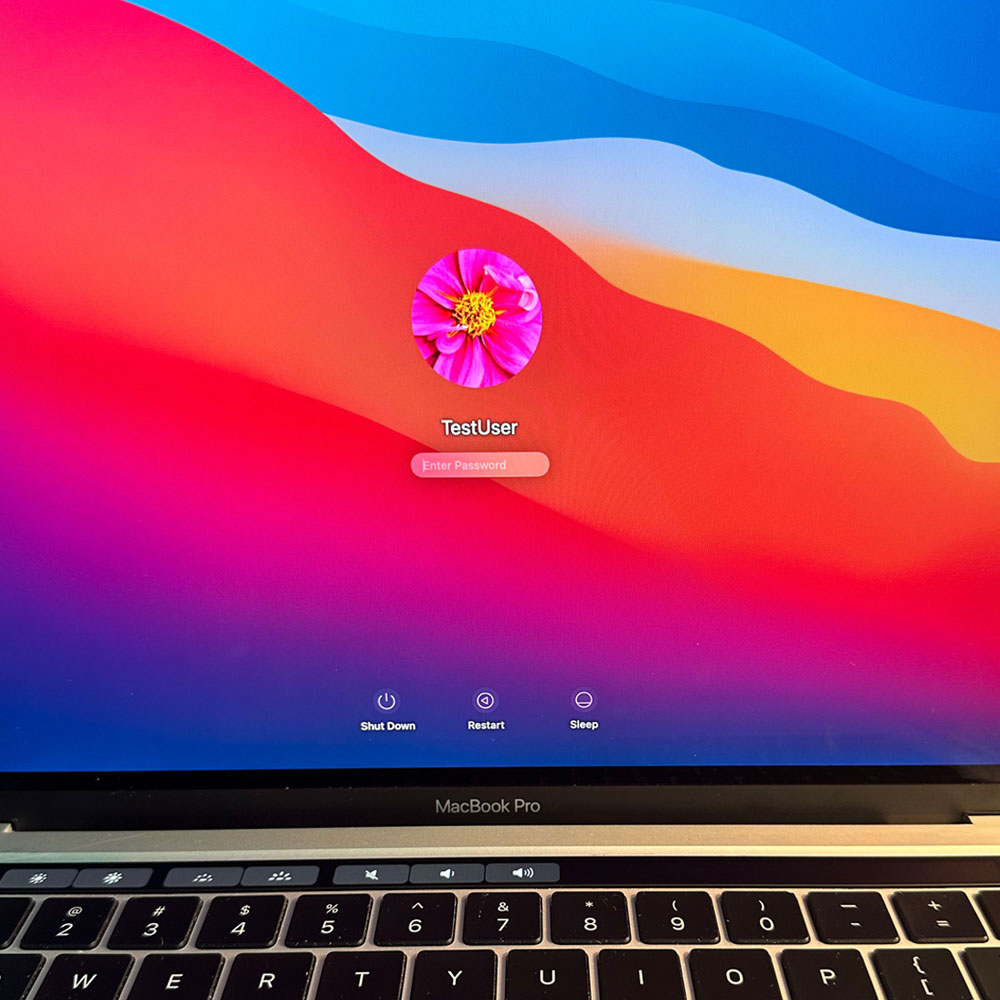
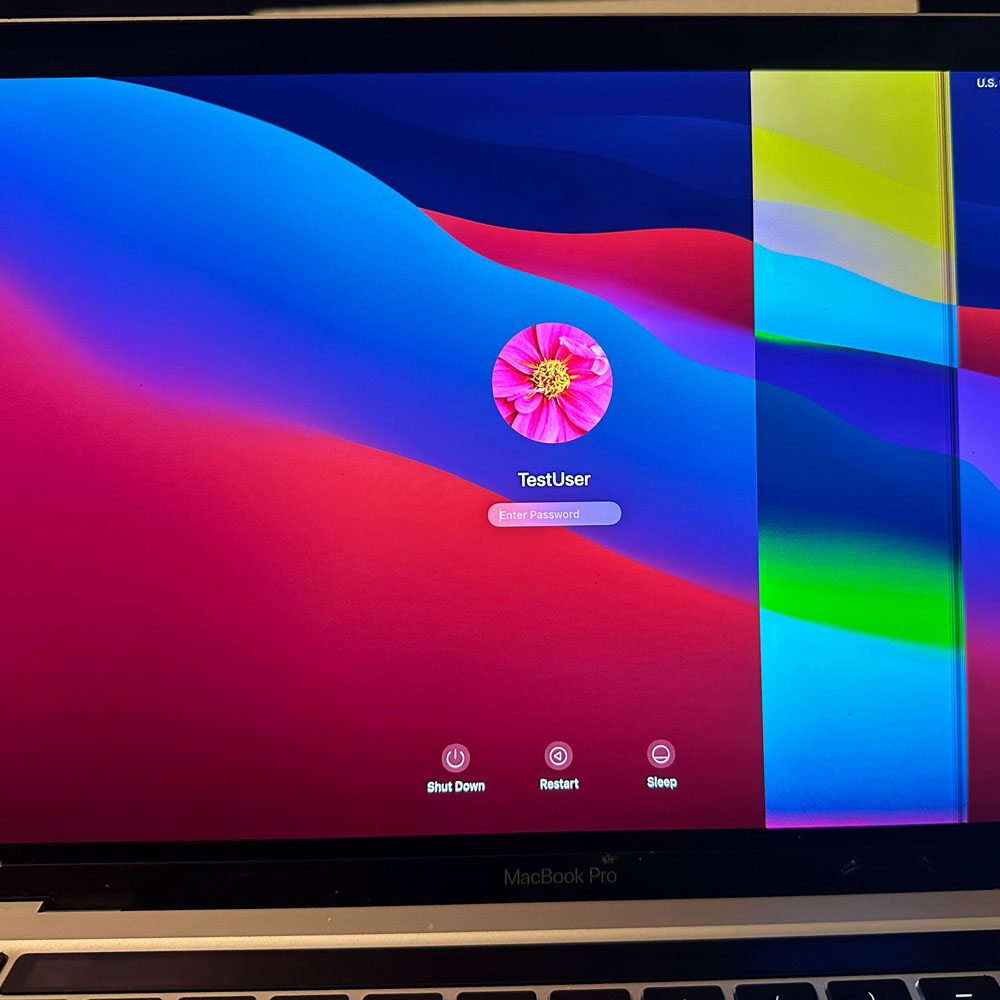
Phew, touch bar in, all parts, reassembled… let’s cover the conclusion. Once the machine is back together, a quick test is needed. We run the machine services mode, working with the drive, what’s on the drive etc. Wipe main drive, rename, rebuild and reinstall. Some quick terminal snippets and reboot. Once reinstalled. Remove any all software (bloat) we can, and we are off to the races. This laptop will be used at some point to run ham radio software if I can, hoping to install Linux on the main drive and use it as I do my previous machines. Well that concludes the refurb effort, if you have questions… send me an email, Cheers


M1 Screen & Keys
M1 Teardown – Screen & Keys
M1 Arrow Key, LCD
LCD and keys, can be tedious, be careful and be aware of the process; ‘teardown’ process.
The easiest part of the refurb are the keys. Keys, Screen/LCD and then the touch bar. Please note, the refurb process required two teardown(s) per say, I wanted to verify working parts and inspect the touch bar on it’s own. The process you can say is a 1 process job, however, I did this job in two parts for the sake of my own sanity. The key here, is this, I know if I could get the screen working, we would be in good shape. Cost aside, I was trying to avoid purchasing the M1 upper case which holds all parts associated with the computer. So, in other words, a no-brainer… Key, Screen, then touch bar.
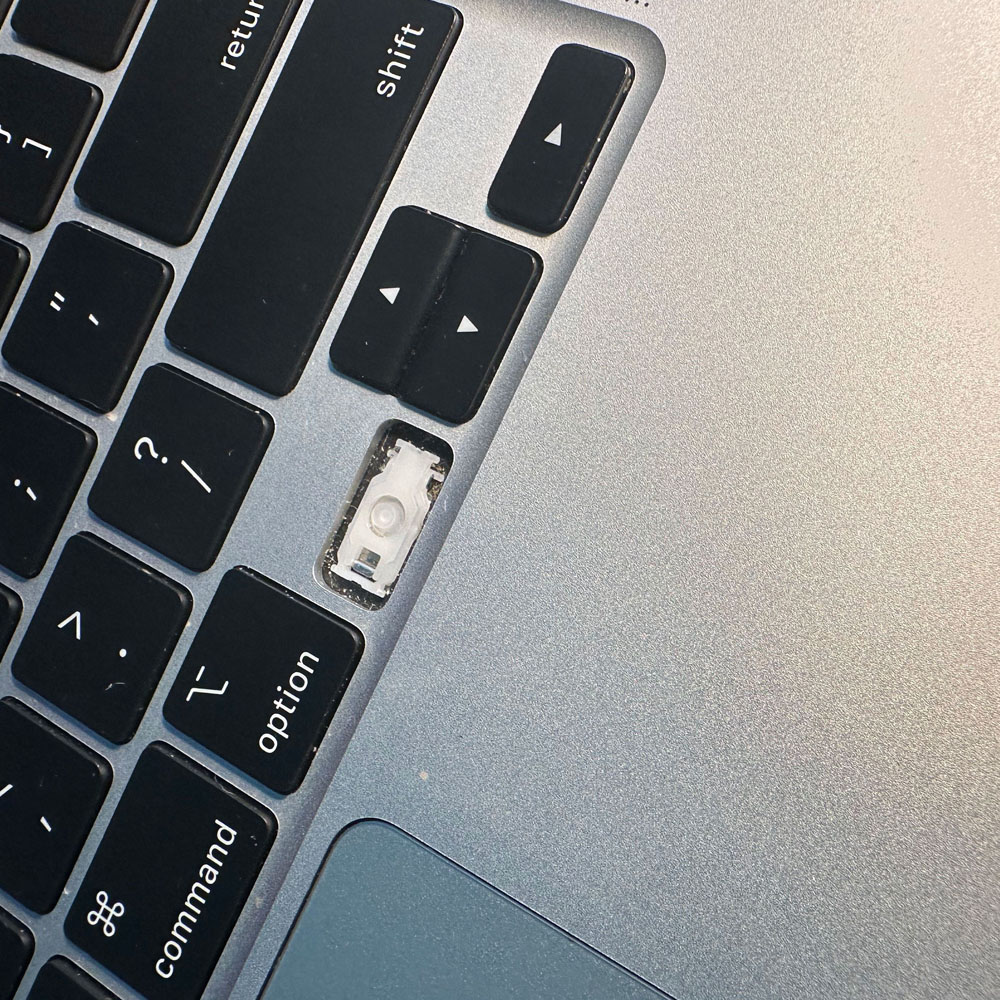
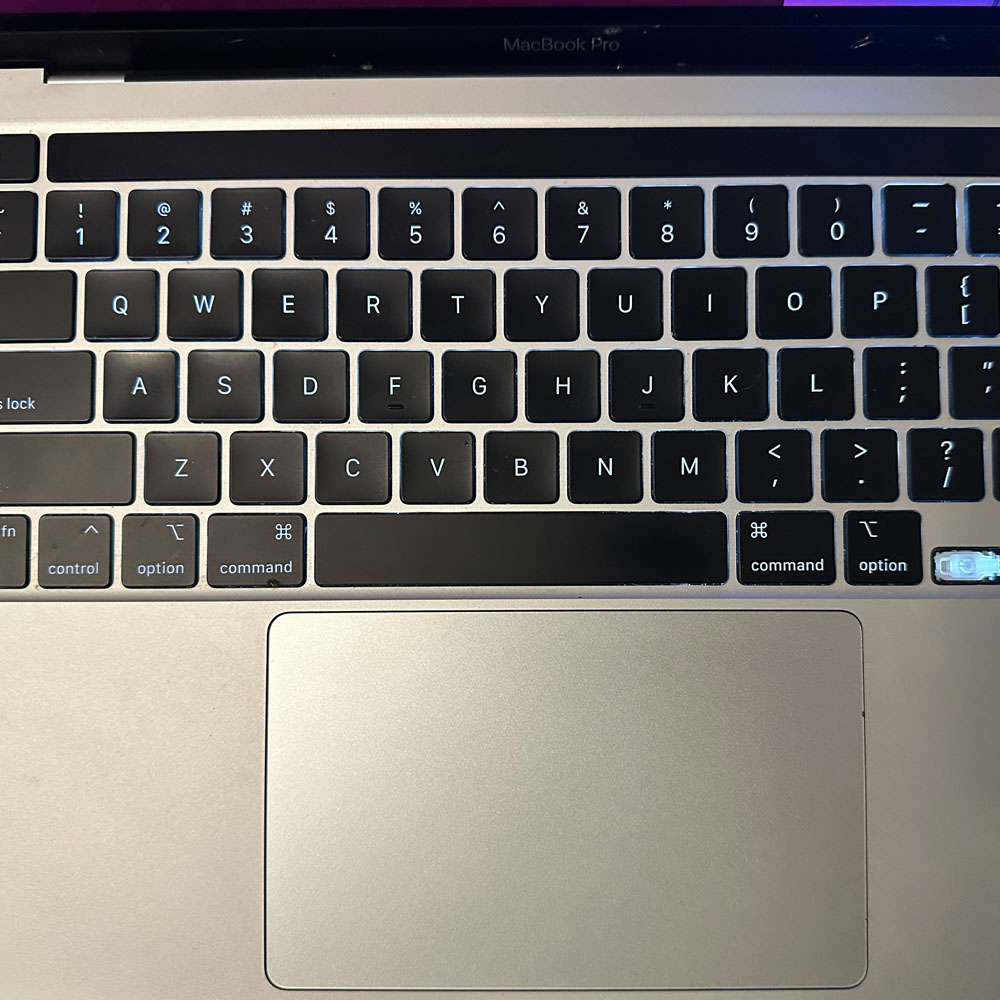
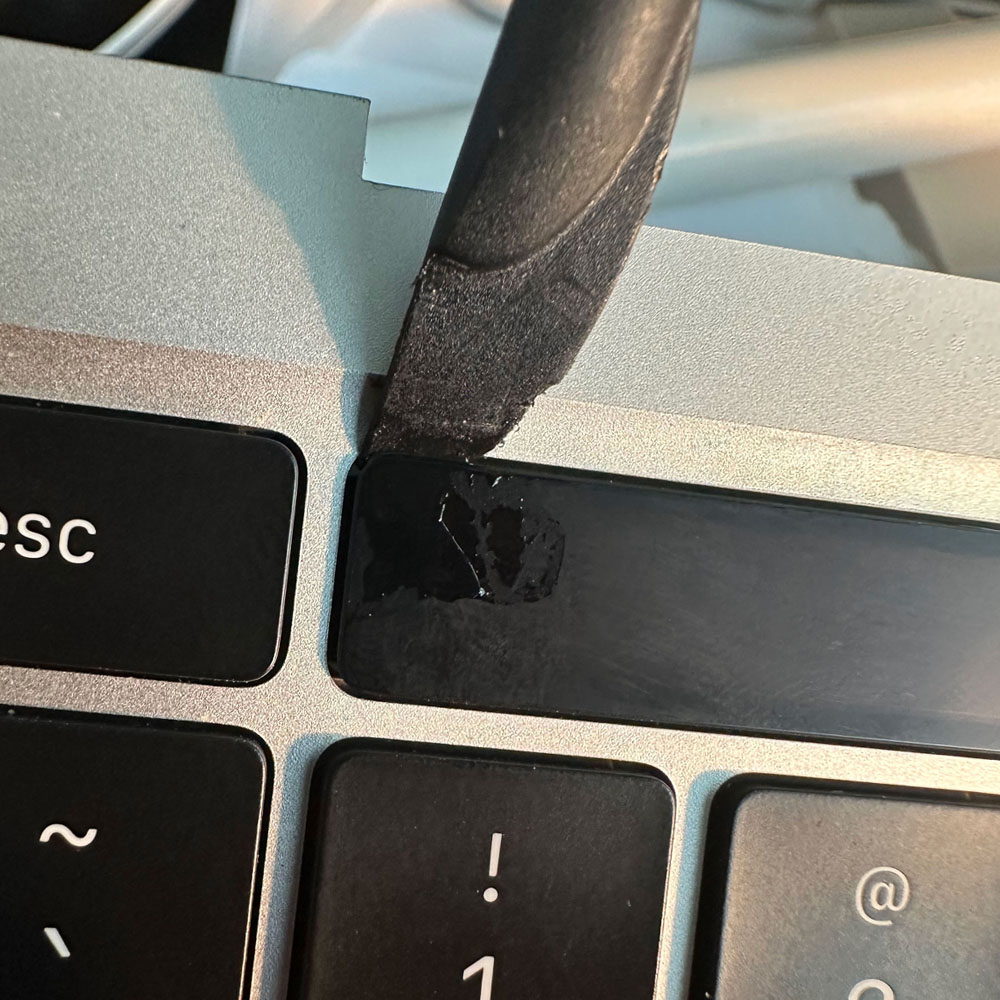
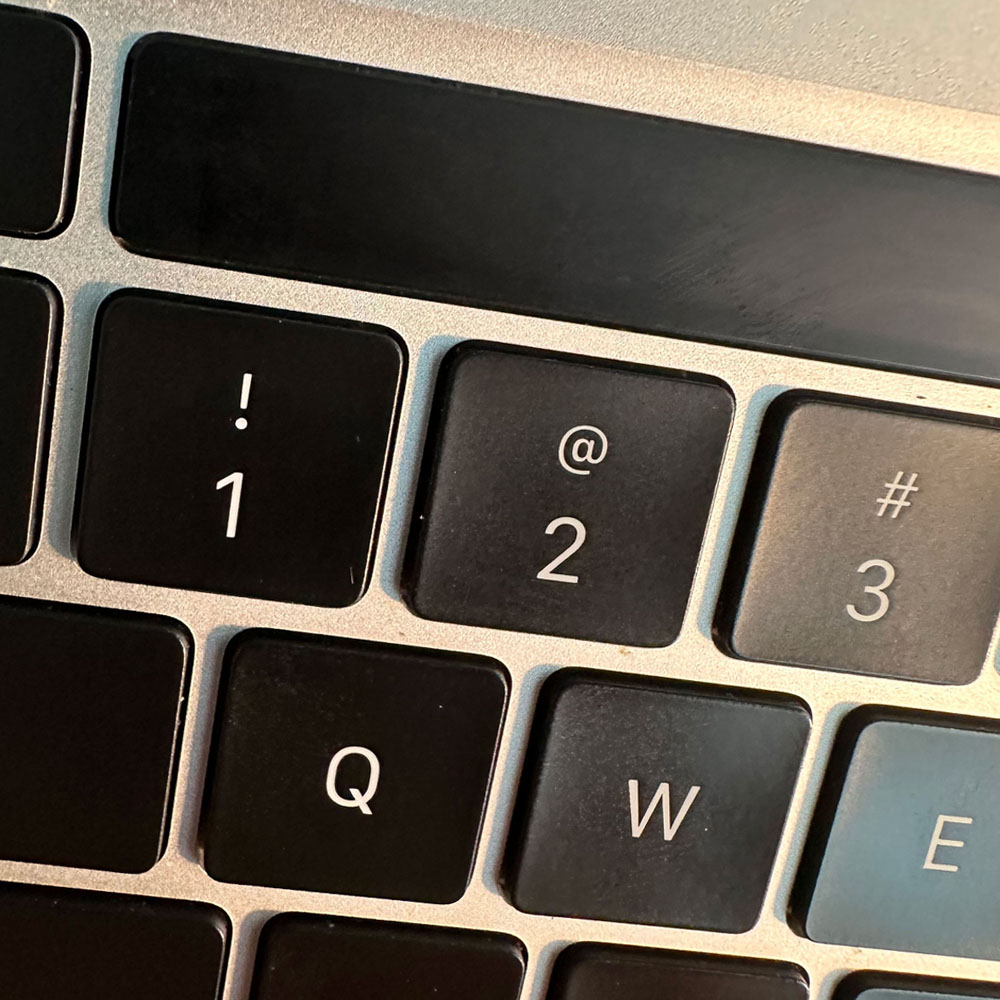
Start Teardown bell! We’ve completed our inspection, and we start the easiest of the three R/R (remove and replace) parts in this teardown. Keys can be tricky, please see the video below, if keys are ‘an alien’ concept, we just need the left arrow key. There are a few online resources to check out, below, Snazzy does a nice job, walking through the process in video form, we breeze through the key change. If you need more information, check out Snazzy Labs, quick video on how to replace keys. Please note – there will be some differences between model(s), M1 specifically; hence the video! The takeaway, quick snap key are handy, can be bear if you don’t know how the scissor clips work. I pre-purchase new keys (up, down, left and right – be sure to purchase the ‘left arrow’, purchase the correct key “left” arrow) slide and click, easy as pie.
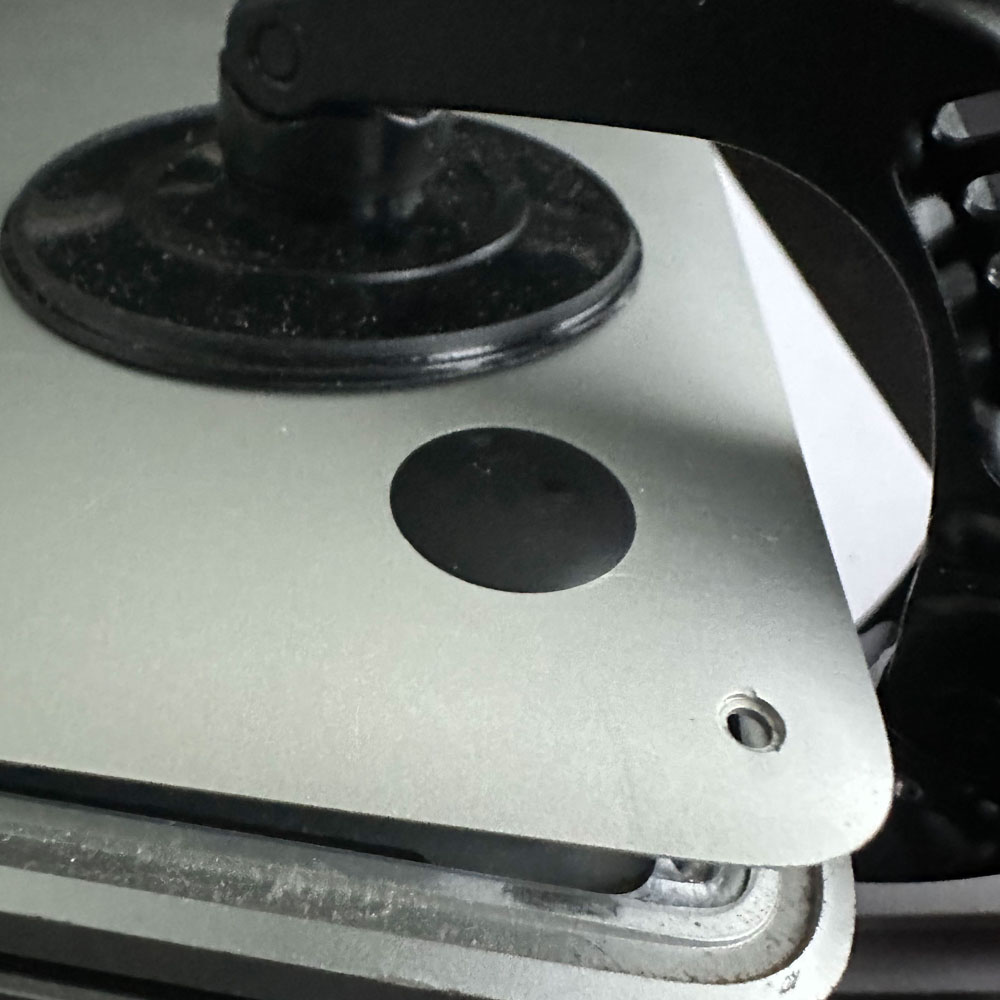
So, let’s pickup on the cracked screen… We get under the bottom case with a clamp tool and suction cups. Recommendation – iFixit has all kinds of ‘fix it’ stuff, from tools to parts etc. iFixit, we will come back to these folks here shortly, however, we’ve purchased a few items from them. You will need adhesive remover, can you guess where we got ours? This is not a paid advert, but there are some good tools there if you don’t have anything in the electric/technical toolbox.
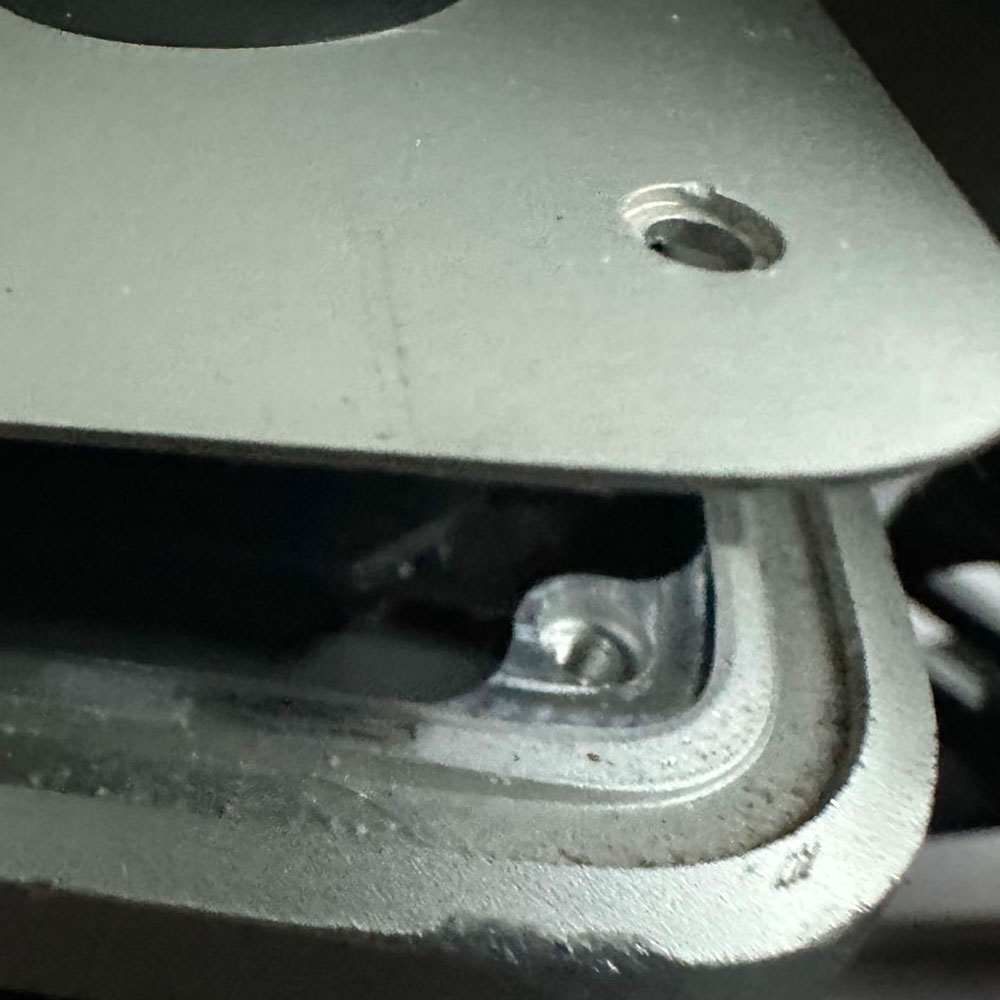
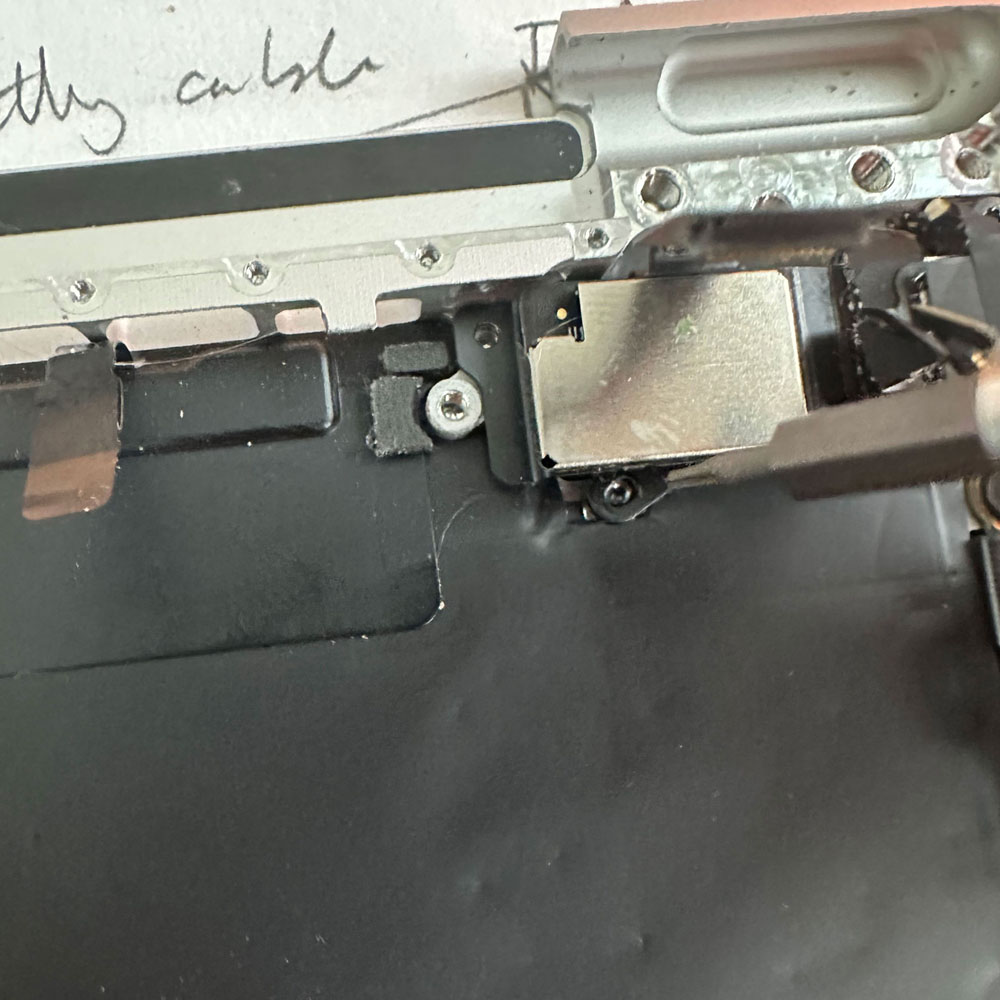
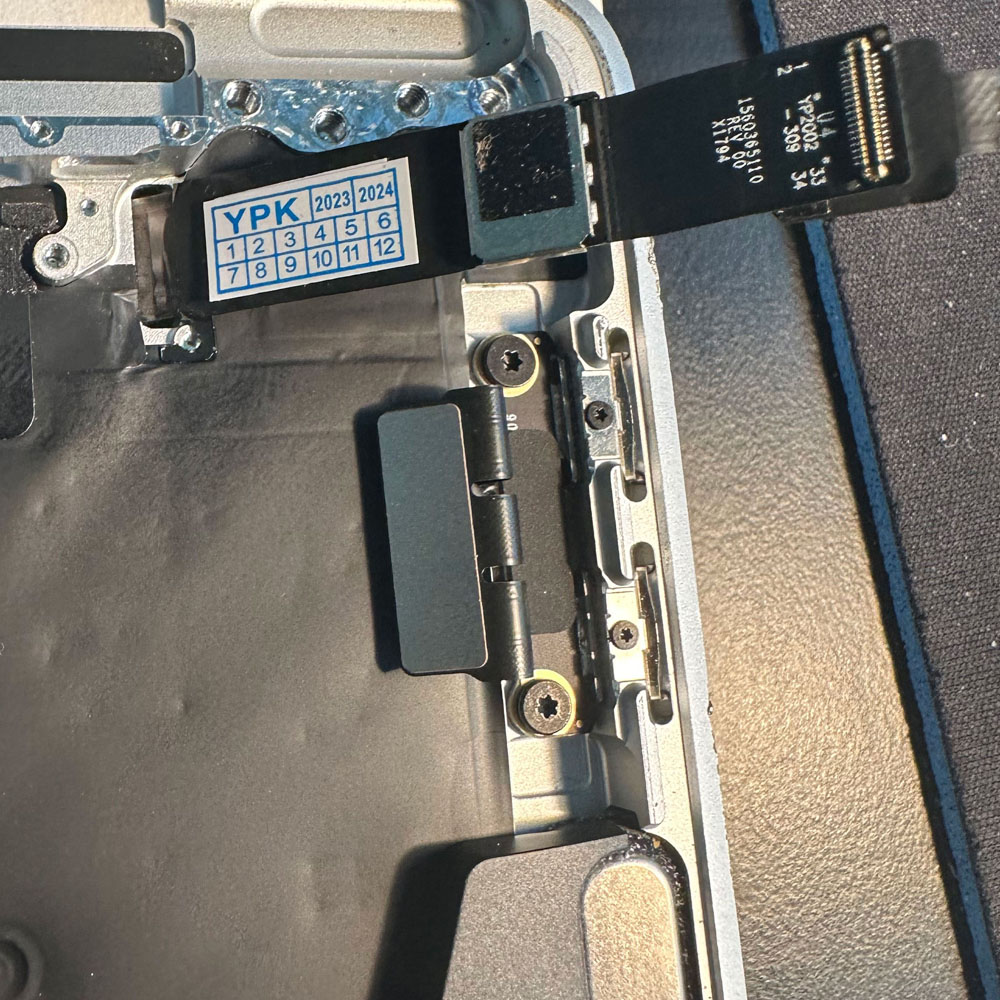
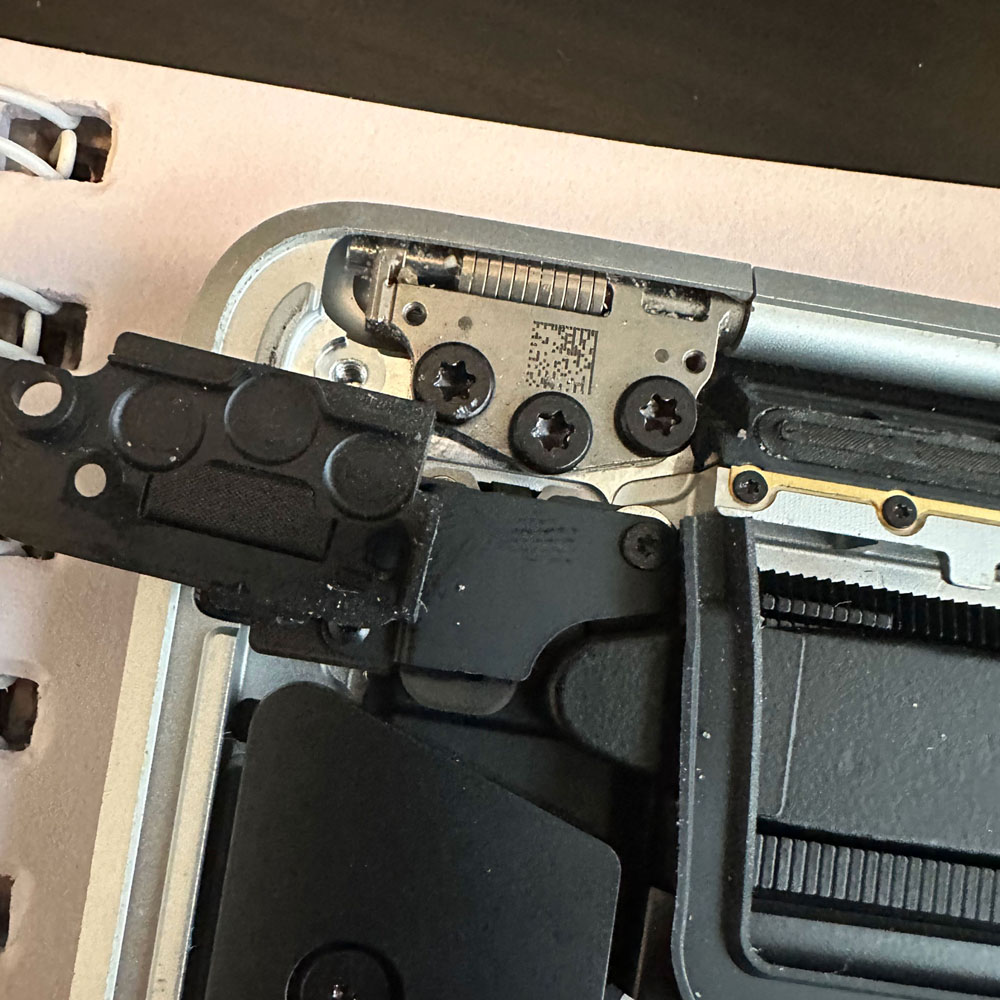
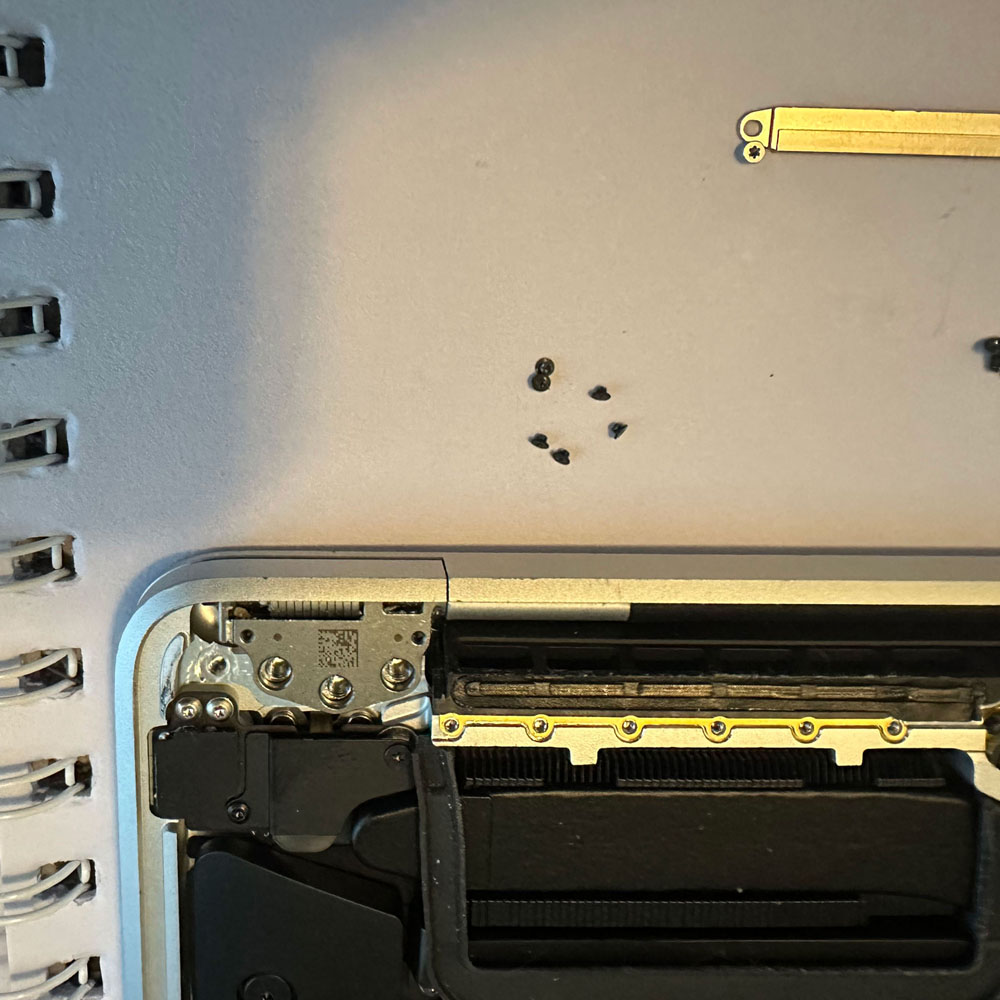
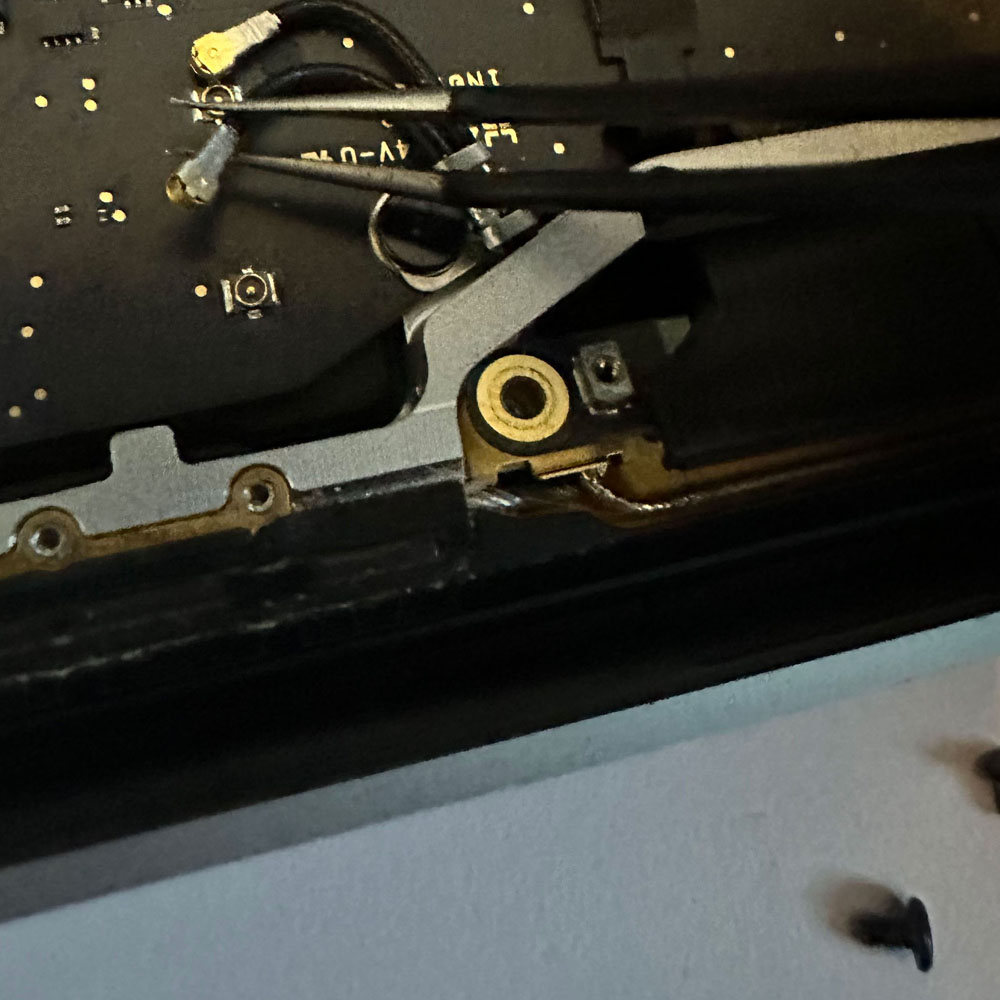
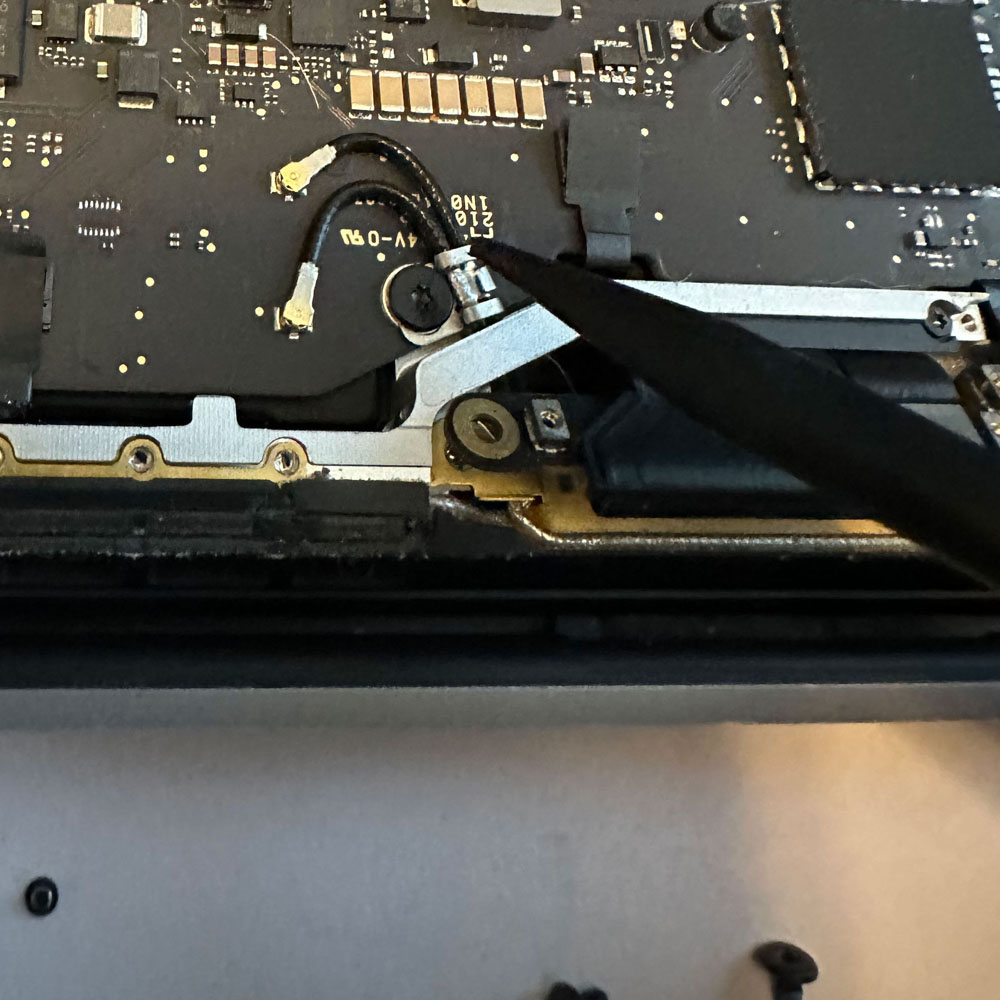
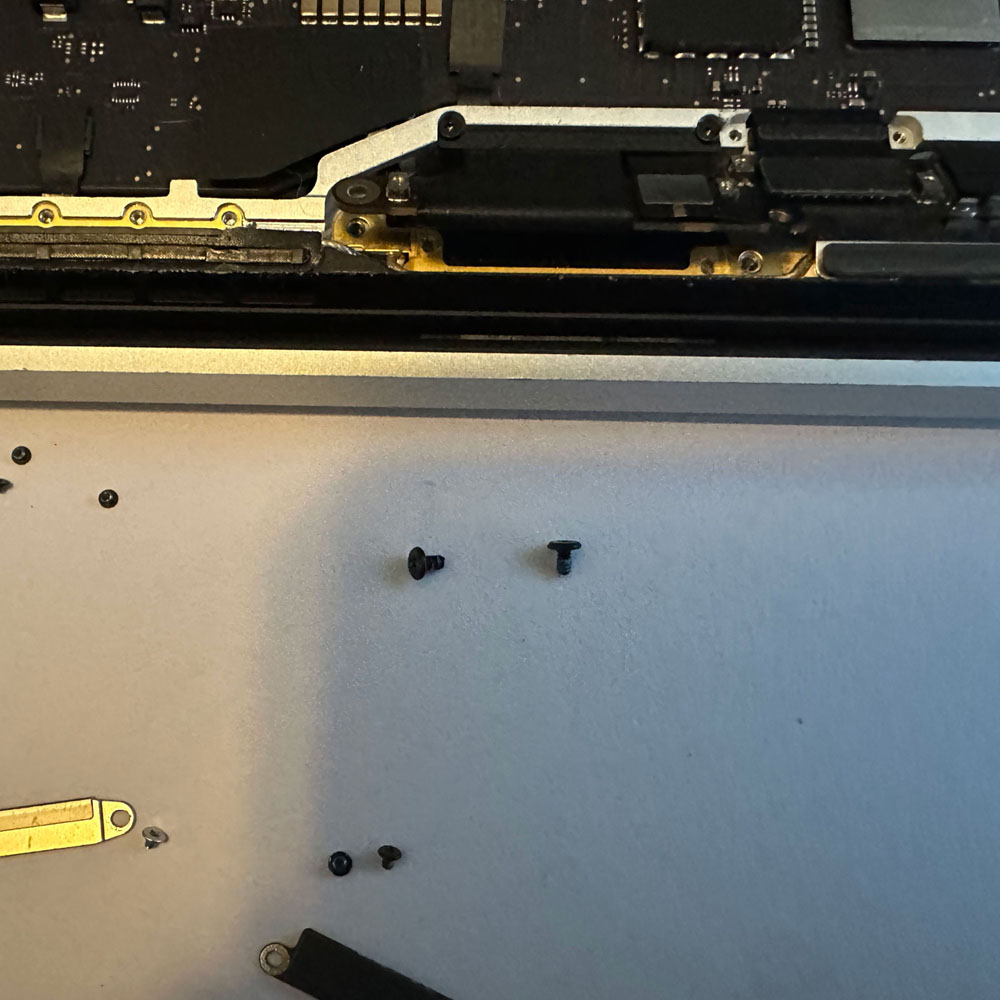
We pick up under the bottom case, starting with the battery cable, be aware, cables and parts are finicky and will break unless you are careful. So, cable cover, battery cable and screw. Honestly, the more nerve racking part are the variance in size, driver type and prying tools are needed to take on such a task (TORX, pryor(s), spudgers, tweezers etc). Anyhow, once batter cables and screws have been removed, we will unscrew hinge covers and start on the antennae. Good luck seeing the screws on the antennae!
The antennae will require a few more cables, screws and bars. All leading down to the antennae and LCD springs. Once, through those items, we will again remove the antennae wire cover and remove those wires as well. Be aware, or a little bit of caution, we try and leave the piece we are working on in better condition than the way we found it. So, covers, try and peel those back ever so gently, keeping glued areas clean and debris free (or as much as you can, we had some glass bits that required our attention).
Once, the antennae bar is clear, LCD hinge screws will need to be removed, along with the springs and mounting hardware. Voila, LCD has been detached. Noted above, we will continue onto the touch bar, we backtracked, replaced all screws and cables to verify LCD swap and key do in fact work as expected and the touch bar was inoperable. We will pick up with the touch bar, verification, wipe and clean in the next post. Stay tuned.


M1 Visual Inspection, Teardown
M1 Inspection – Screen, Touch bar & Keys
M1 Inspection Report
Time will be relevant here, take your time, clean up as you go; we will be replacing several items, the screen, touch bar and keys on the M1 MBP.
Let’s start with the inspection? Shall we begin? We shall start with the physical inspection. Then compute and gather the relative information to start the refurb. So, what the physical damage? Does this damage impact the computers ability to function or compute? In turn, we want to where the damage is and how the damage might impact the machines performance, compute power, UI etc…
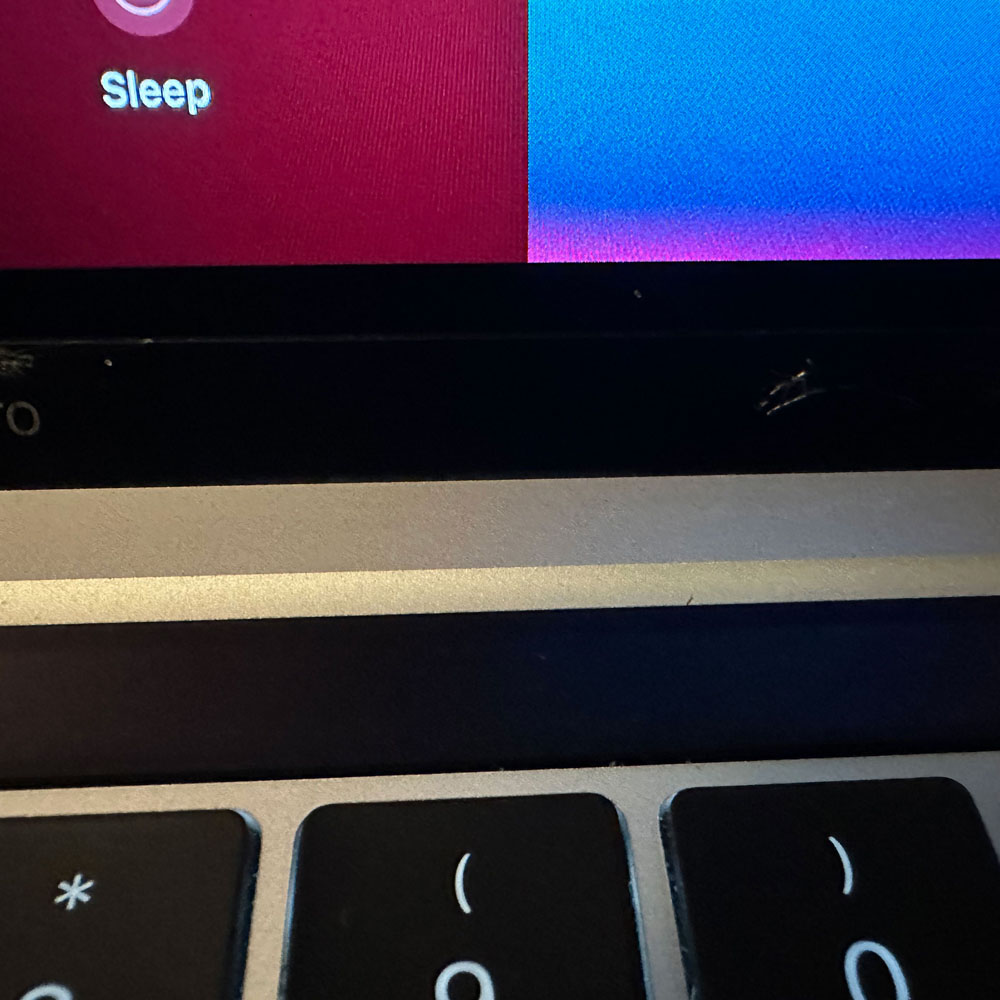
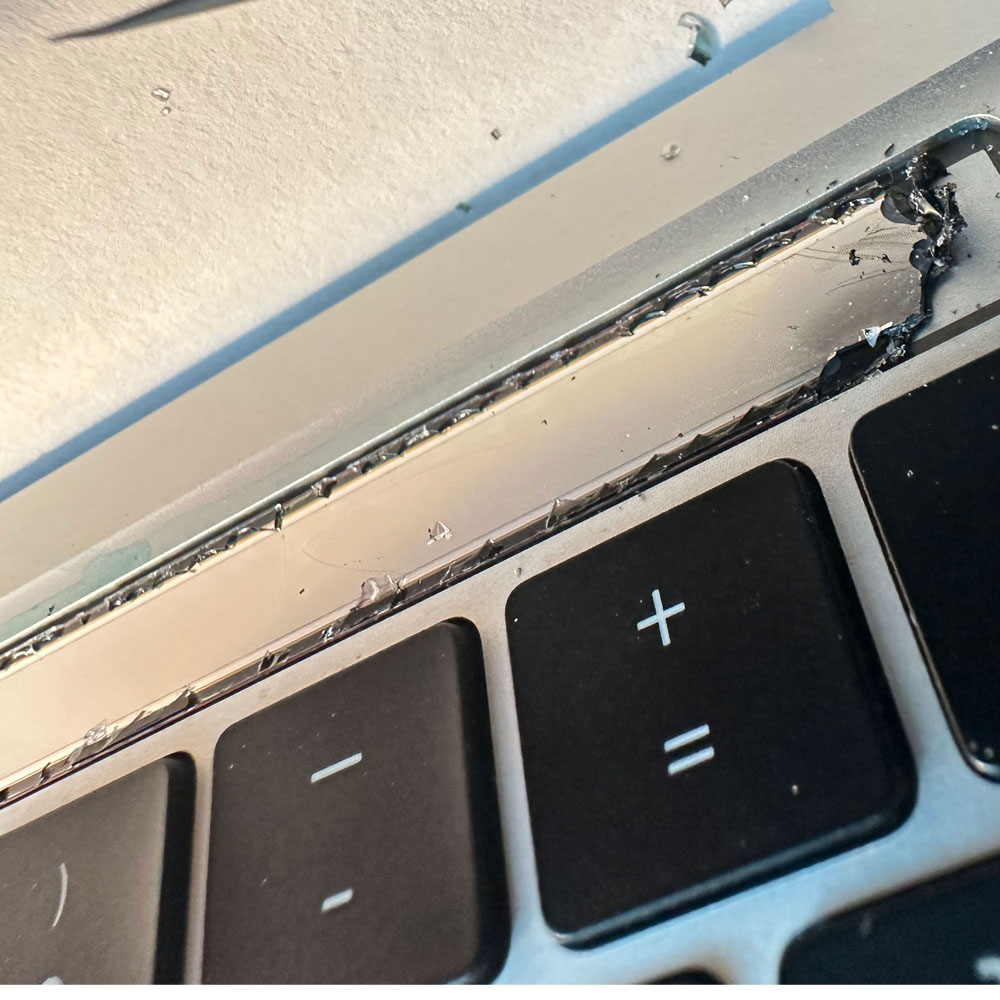
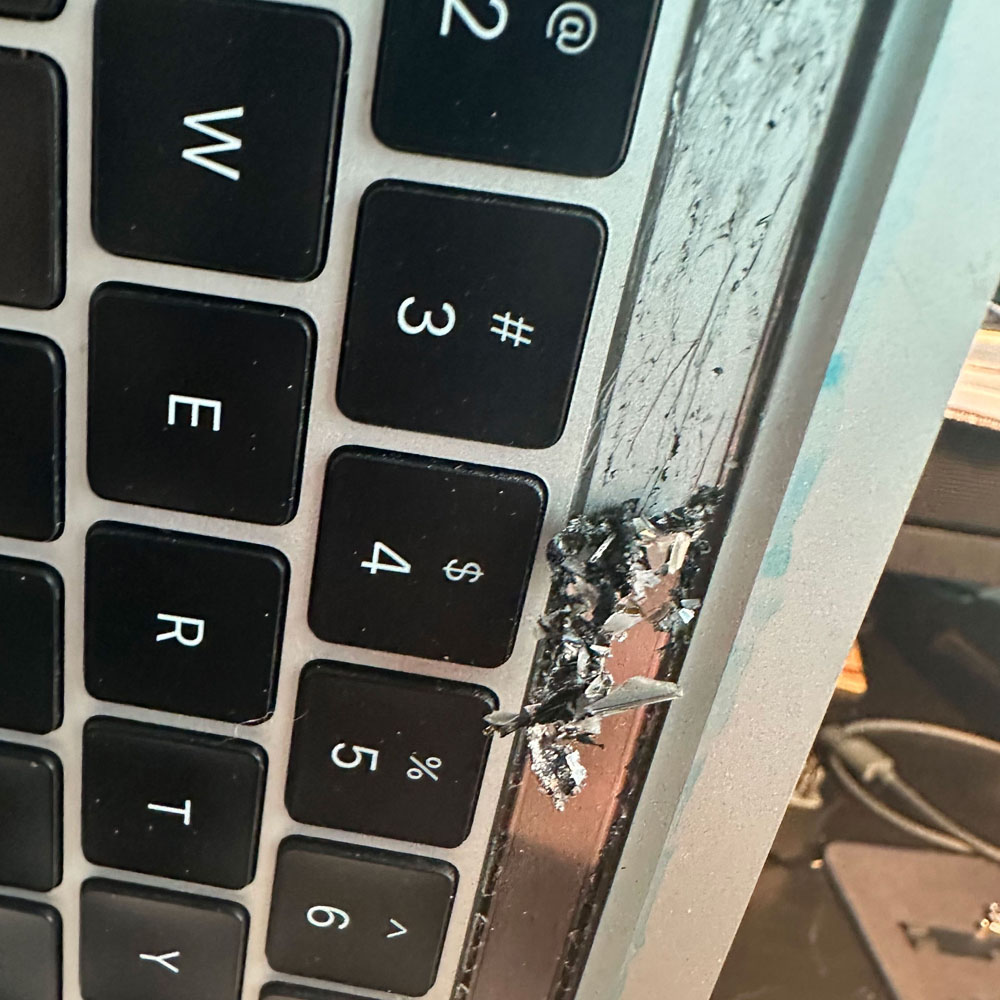
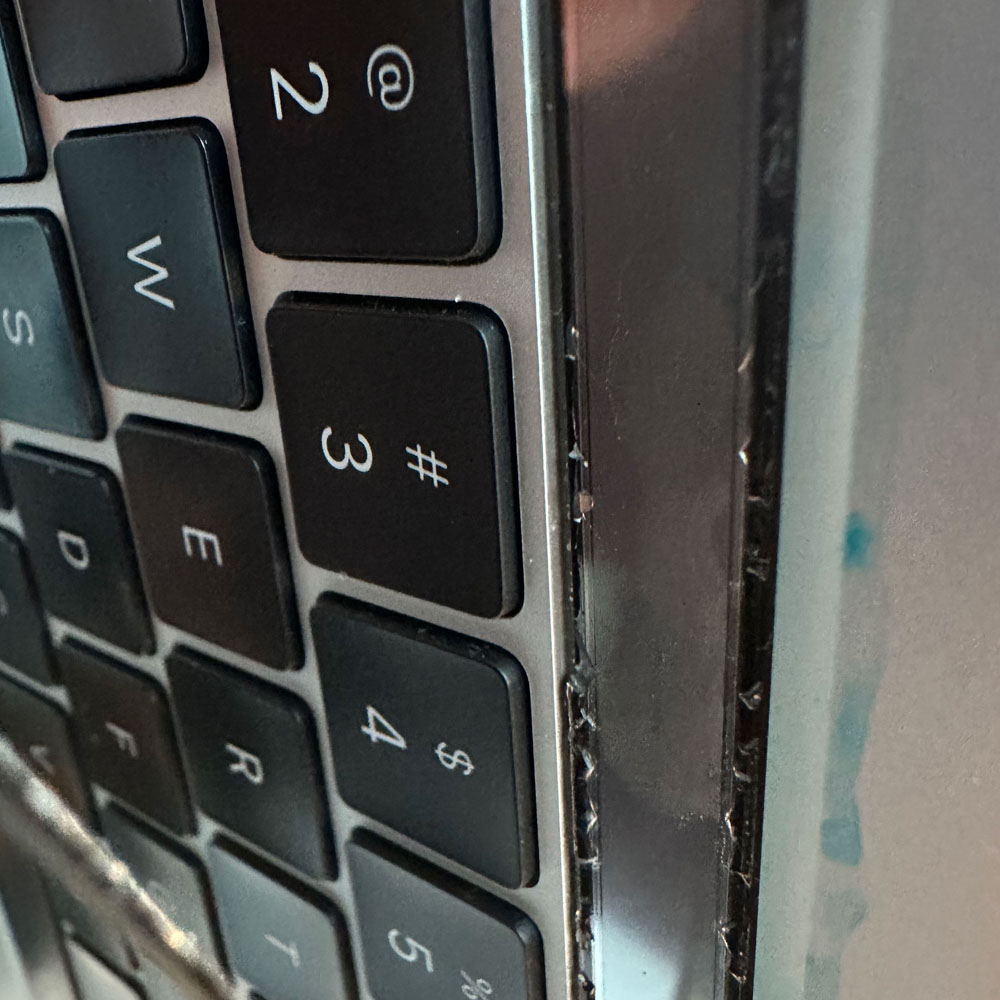
Next, we can see screen issues, or LCD issues where the screen is being manipulated by either glass that is broken or screen distortion that might otherwise not be there. Also, upon further inspection, there appears to be scratches and or broken/cracked glass in the black/sublayer of the LCD, at the bottom of the display, near the hinge and just above the touch bar. Perhaps some debris or object inside this key/screen area when the computer was closed. At least that is my hunch.
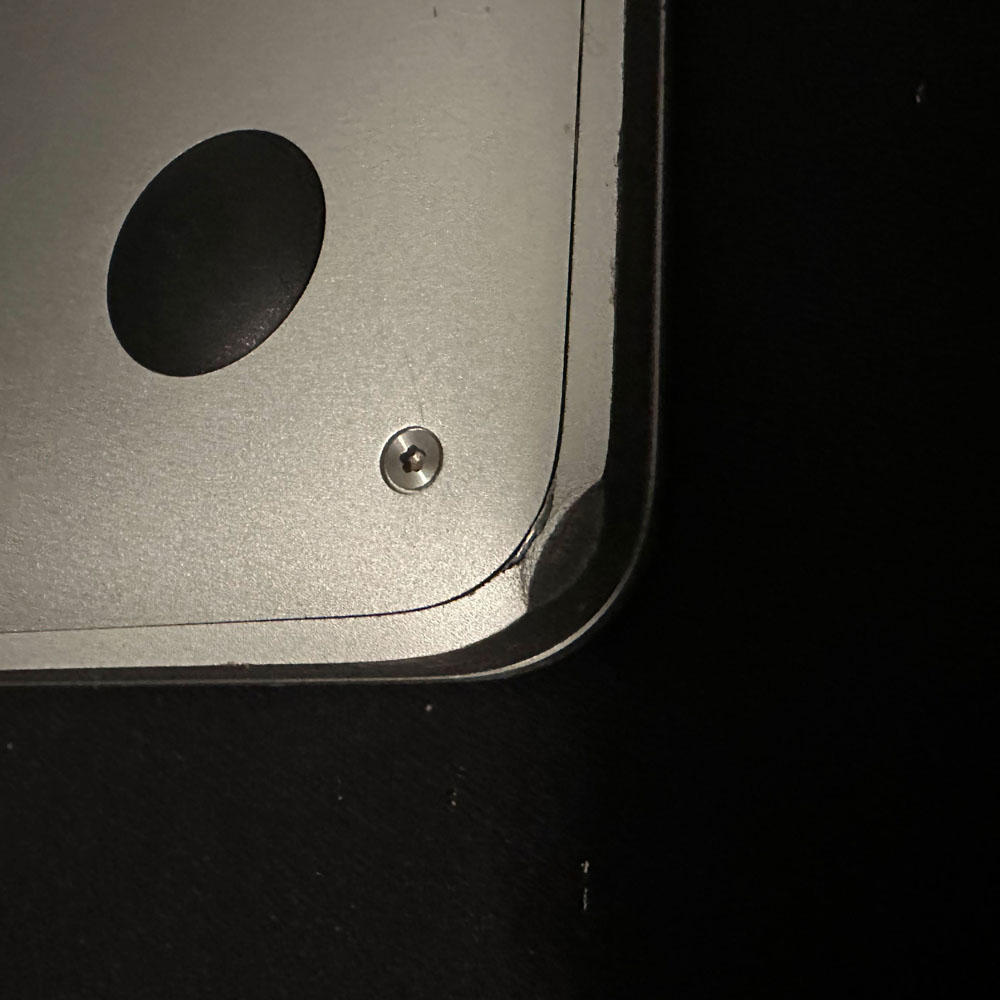
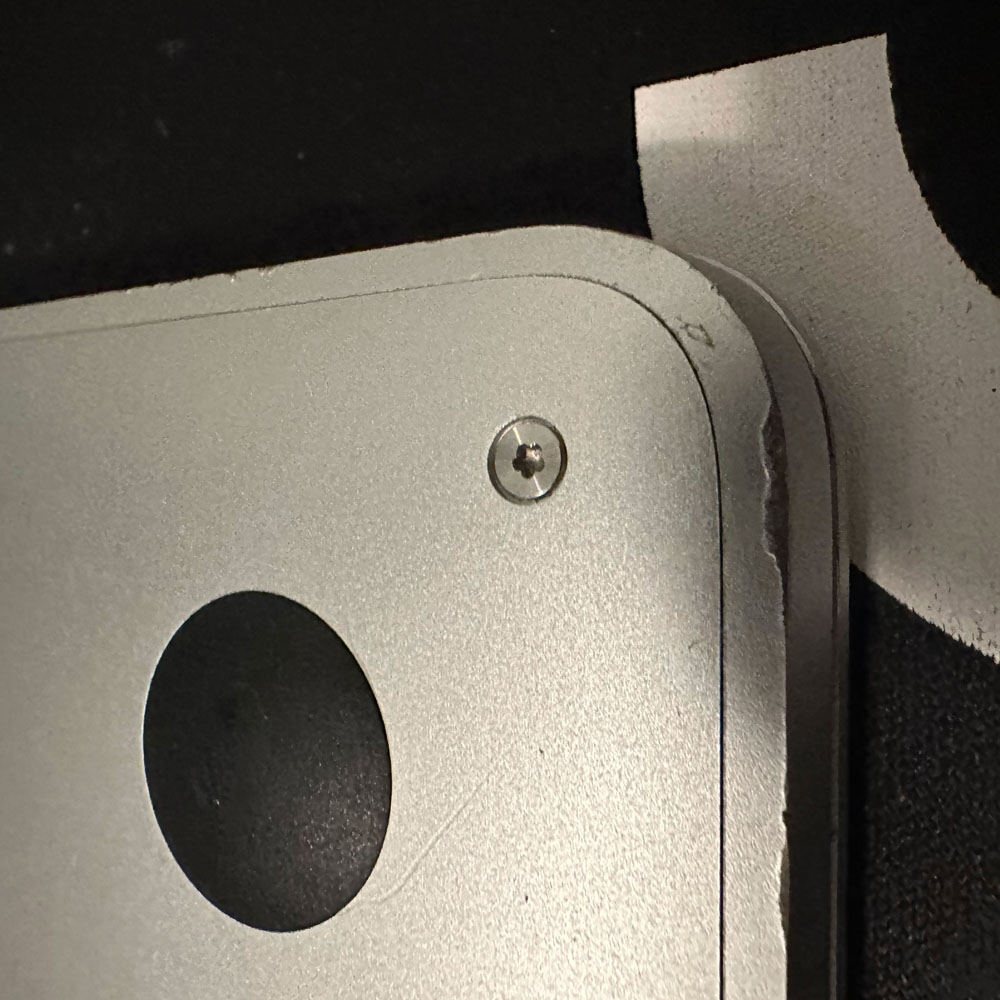
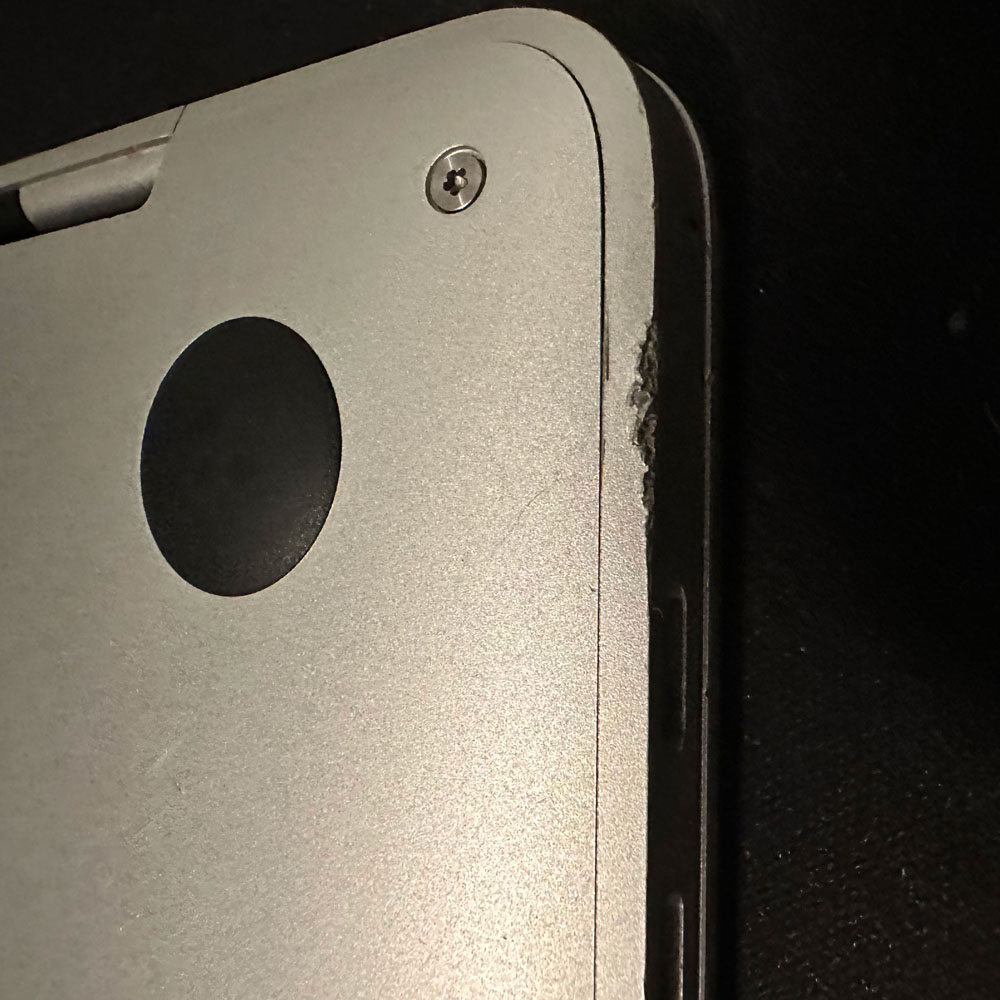
Now, the case, the metal case seems worn not out of the norm, all corners have some damage, scratches etc., seems ok (case did it’s job), nothing that might through a red flag (flag showing damage causing internal or computing issues).
Next, let’s inspect the keyboard, directional arrow is missing and touch bar is no longer illuminating… I wonder if the key came off and damaged the screen some how? Not likely, but something appears to have been closed in the laptop. Where the touch bar and screen would meet upon closing the laptop. Third takeaway, the machine may need an overhaul, or new upper (upper case, which can be extremely expensive as it to will have all parts ). Again, parting this out, or fixing each piece, piece by piece, is not recommended. Now, the disclaimer – this is my own machine, typically items under warranty will be processed through Apple via Apple Care. Utilize Apple Care, Apple+ where you can, assuming you’ve purchased the warranty/insurance. If not, things get expensive; there are resources out there as you can imagine, hopefully posts like this and those following help to provide some guidance in dire straights.
Ok, now that we got that out, let’s get to the first fix; this left arrow key and LCD screen.