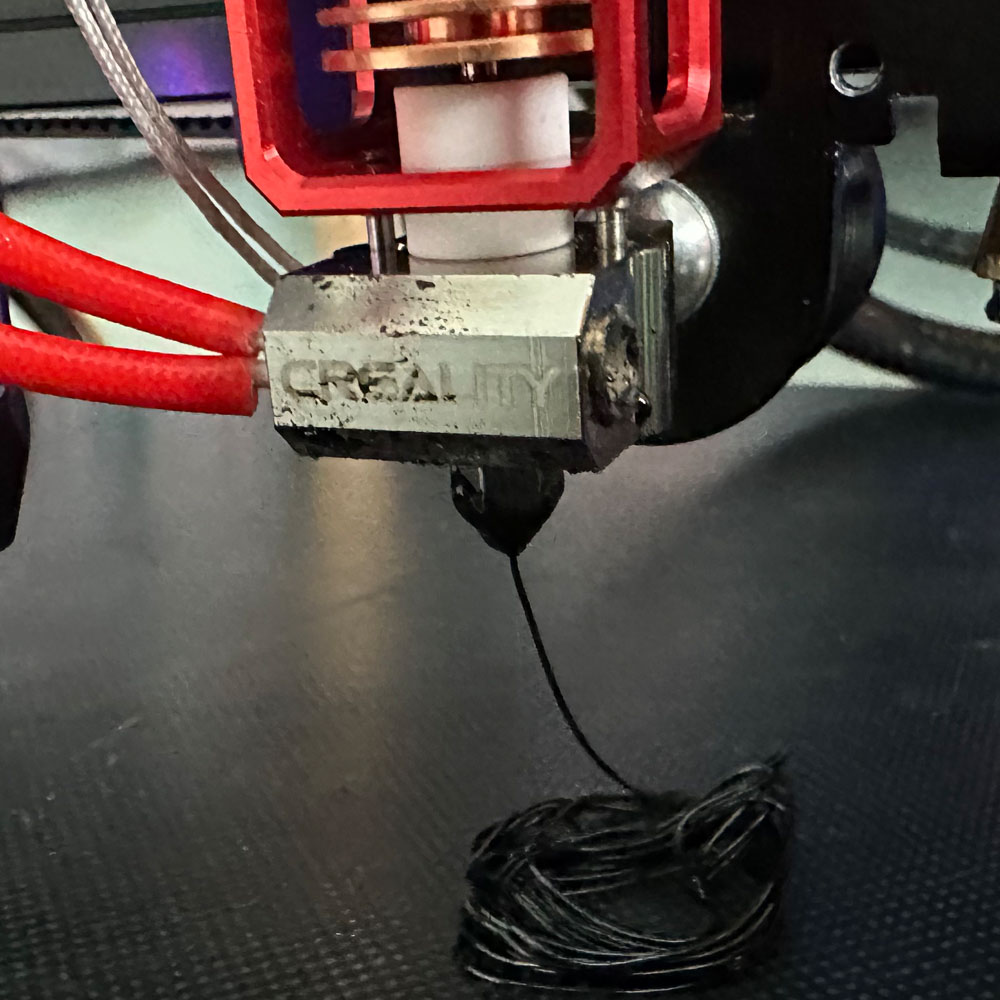
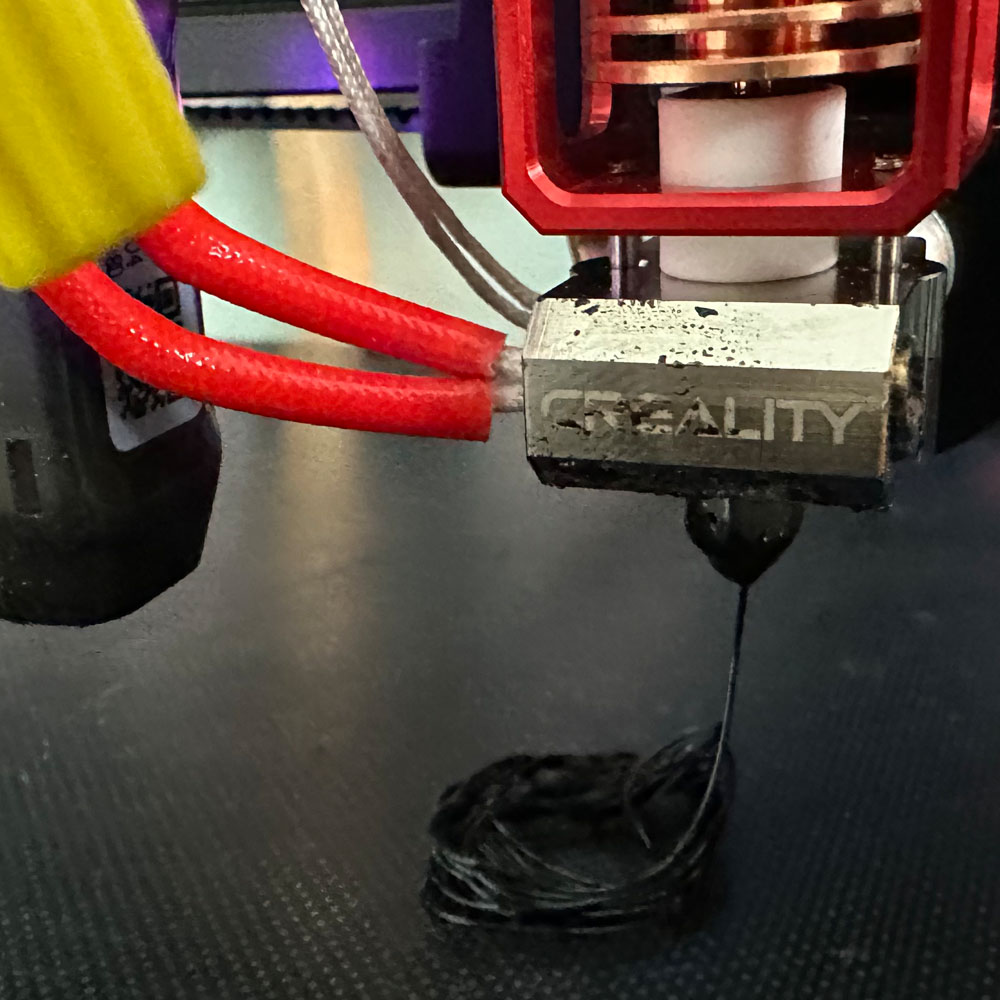
Rebuild(s), Sonic Pad Adjustments, Assembly, Part 5
Labwork – Upgrade Part 5
Finally, a moment to enjoy, a moment to enjoy success, what we’ve all been waiting for… a full print – Ender 3 Max Neo, Sonic Pad, Creality TPU. Full print, sans a dreaded motherboard upgrade.
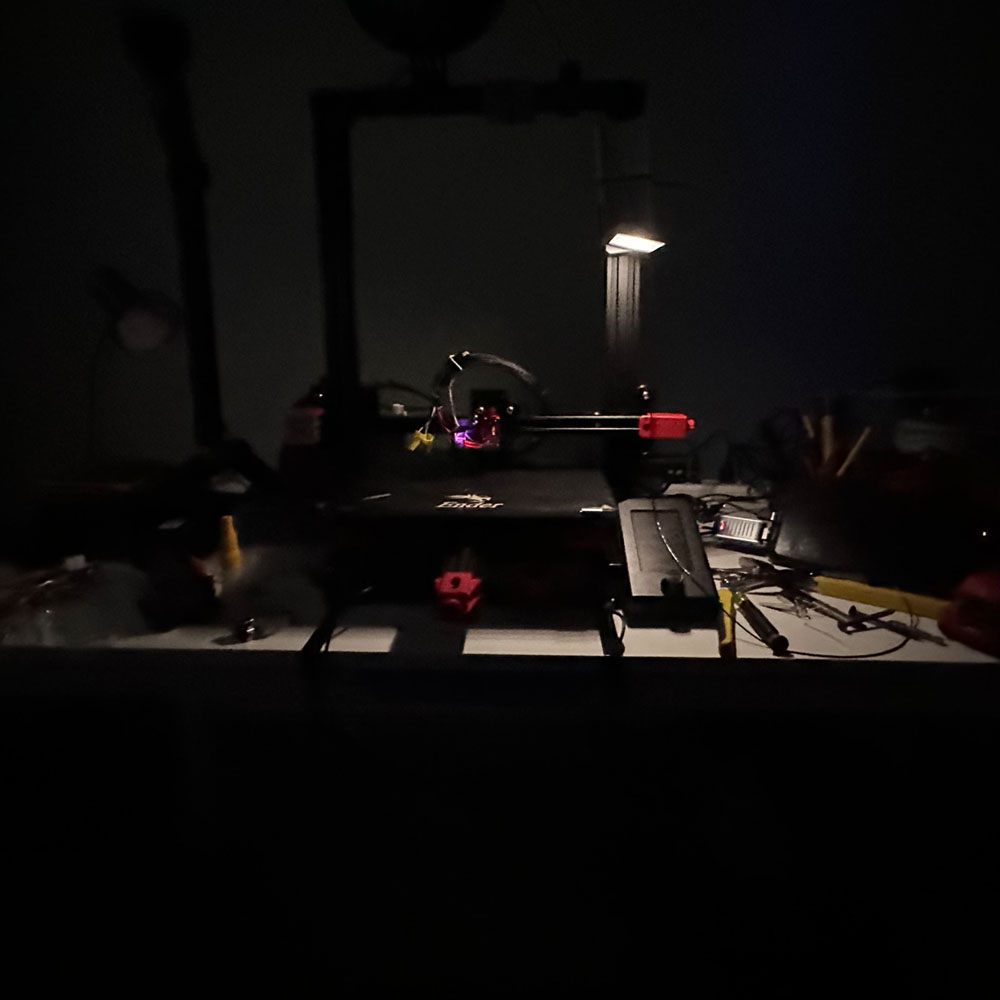
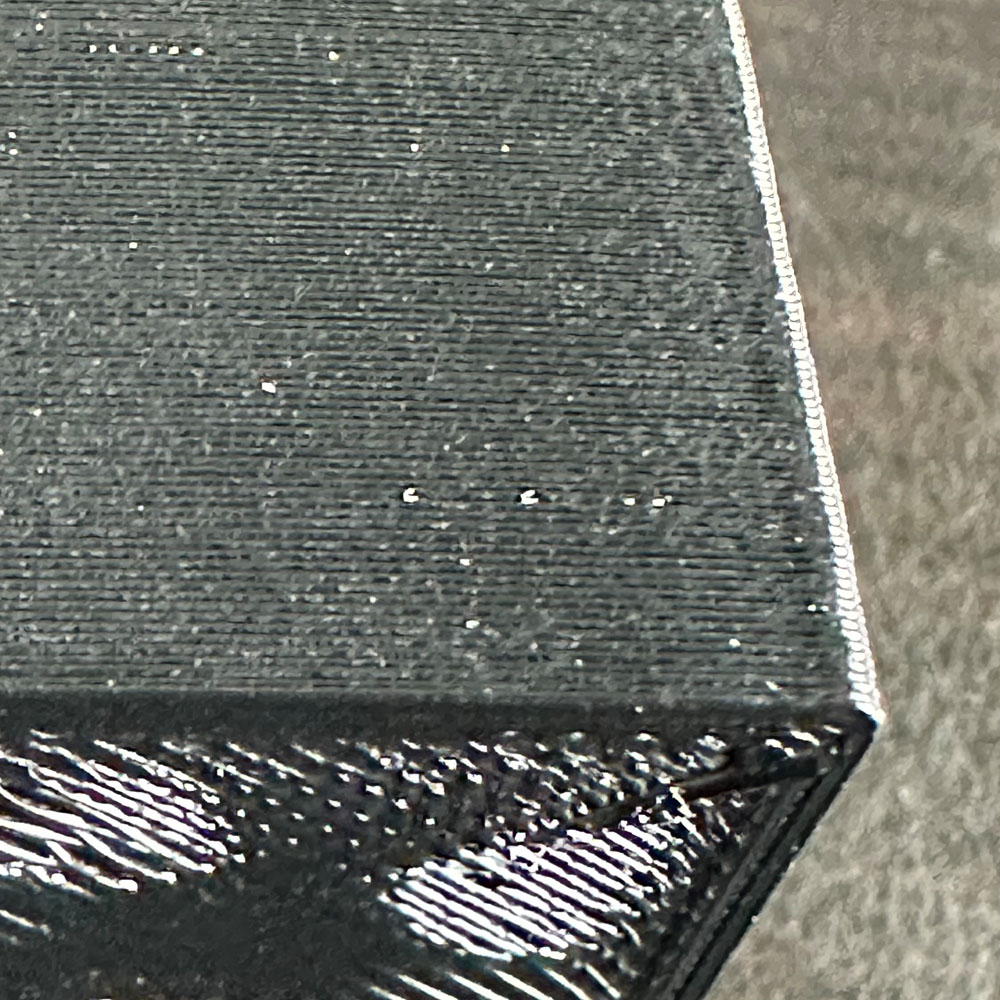
No motherboard upgrade needed at this time! Just need some more time to print and tweak; print and tweak. Success! A fresh print, an end-to-end cube test print… just look at the ironing, ‘it’s alive, it’s alive’. Perhaps some perspective, a small win, yes but it’s a win. The config/console looks correct, no supruses, I’m looking into a few more tweaks in the end. Let’s point out a few things, I wanted to get an update up on the site specifcally celebrating the print test win. After a very early start this morning (the pictures are included below) we’ve got the Ender 3 Max Neo kicking out TPU test prints with minimum blips/blurps, zits, stringing etc. All good things. Key takeaway, delta is extrusion settings… this controls the direct drive pressure on the filament, can be found -> advanced settings -> extrusion settings. Reminder, we are using the Creality Sonic Pad interface, those of you using the onboard interface, you’ll need to look at something called – steps or look to control the stepper. Which in laymans terms is the ‘pressure in steps’ to again push filament throught he extruder.
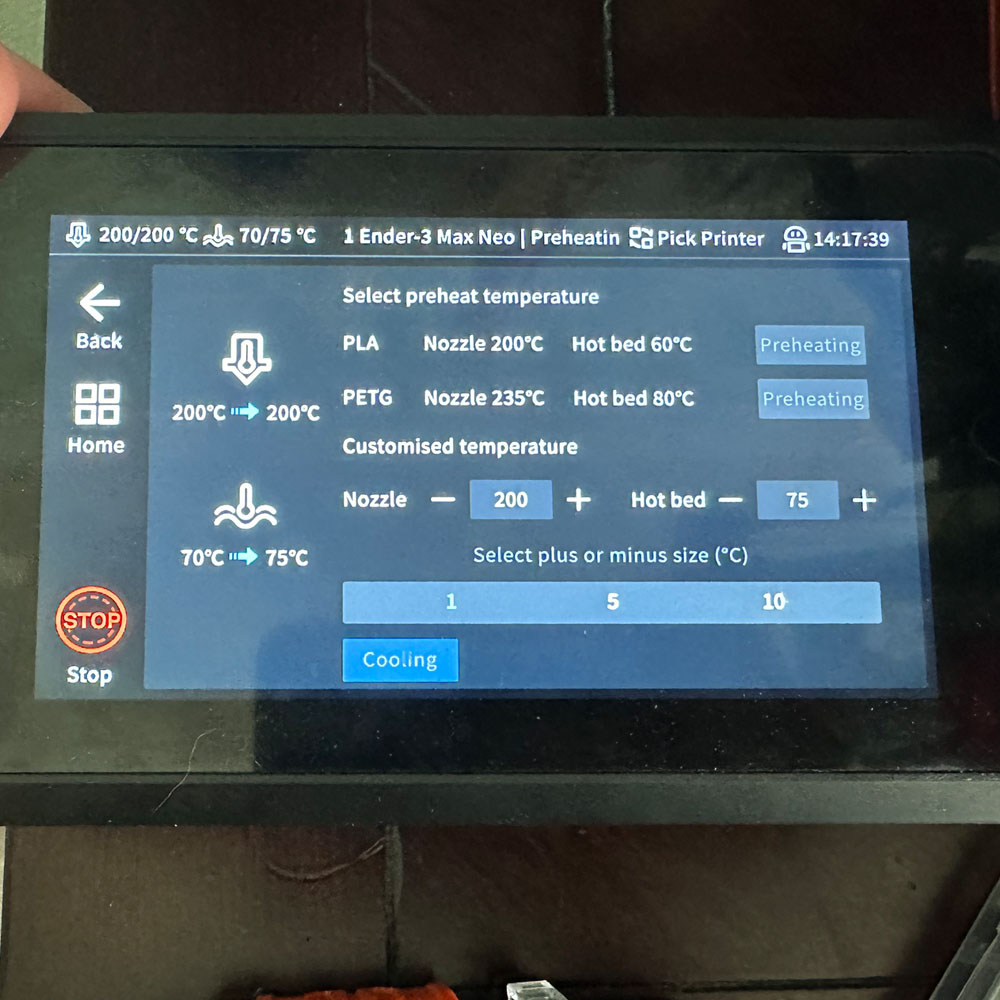
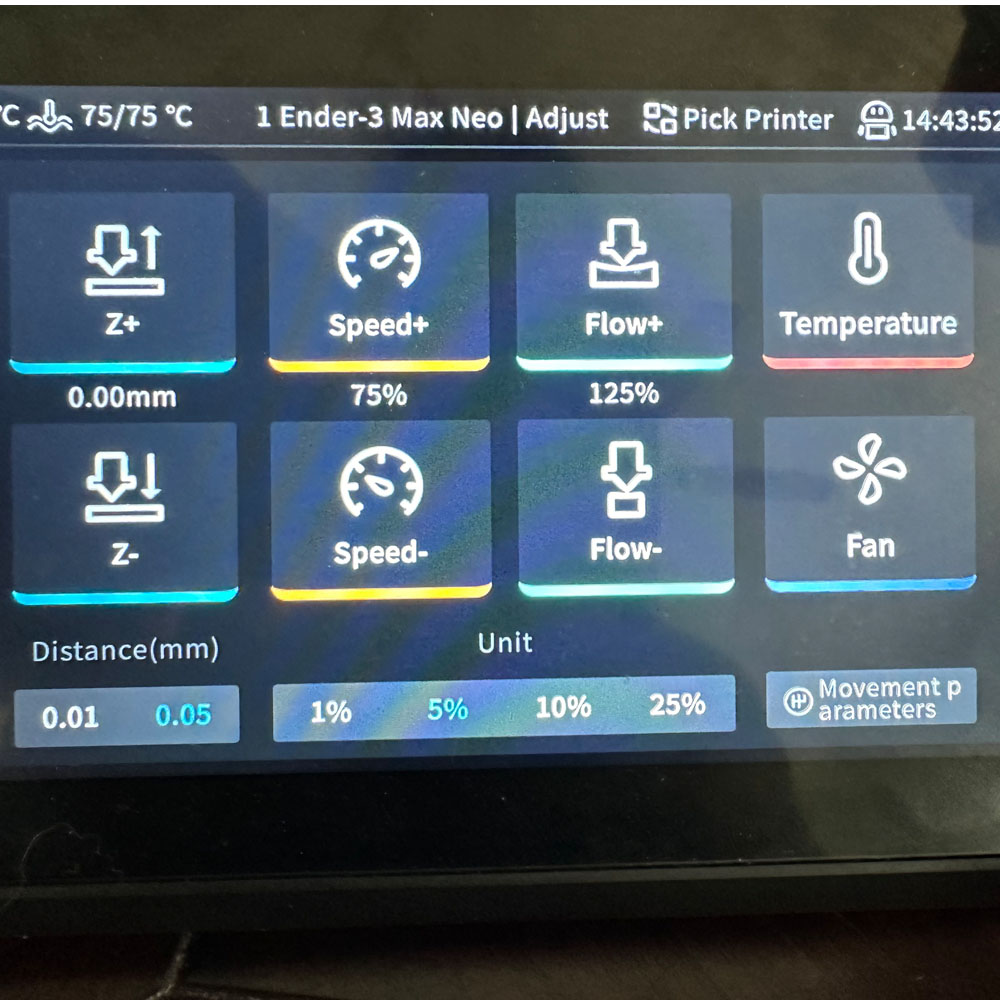
Two, while we highlight the exutrusion win, matching other minor tweaks such as heat at the tip, bed for adhesion, speed etc. in the effort to match the Sprite Extrusion settings. A few print temps do work, and we wil work through those 220 – 240 C, depending on filament type – Duramic or Creality TPU. A few other hightlights, we did increase the flow an additional 25%, bringing the flow rate to 125%, and knocked down the speed 25%, to ~75%. So -> 220C – 240C Nozzle – 75C Bed – 75% Speed – 125% Flow Rate – Sprite Extrusion Settings Enabled.
At the moment, a few more tweaks are being applied to movement settings, the Z height seems to need a few n/mm’s here and there, no idea why. Might be start layers vs those layers that follow the starting layers. 3d printers allow controls to be manipulated over three phases of print – start, middle and end.
One other item to note, I failed to mention this in my previous post, Part 4… bed adhesion remains an issue, could be the dark horse of issues in the mix, bed adhesion quick fix… For now, alcohol and paper towels to keep that adhesion plate clear and clean! Really get after it, scrub away any and all oil residue, filament, blips, dust, stringing, dog hair (Zeus), all the left-behind filament and whatever else might collect on the build plate in an average office environment. I don’t recall that it made a difference to keep the plate clean, cleaning the bed per say, but we’ve tried a few things – a clean bed, a taped bed (Blue Painters Tape), sprayed adhesive bed, all in the name of finding an alternative solution for prints shifting this way and that on the bed surface plate. We will post a few of build plate tests as well, working toward spray adhesives next. Might that be the answer?
A few tweaks of the Hex (Allen) keys, reset the rail wheels and we’ve got gold! In hindsight, not sure the build plate needed a scrub down in between PLA prints. I’ll have you notice in the picture, if you can, the Creality Sonic Pad is up and running as intended. Honestly, not sure I would have stuck with the generic screen that comes with the machine. Wifi, Cloud Printing/Slicing, direct printing and settings all main reasons to stick with the Sonic Pad. One item to note, on the flip-side, we have yet to get the Wifi Box 2.0 to work in the upgraded sandbox. More over, for now atleast, we will skip the Wifi Box 2.0 and keep that item aside until we can gain some clarity on the optimal print settings and adhesion consistency. Positivity, all within target, as we move to spin up a few larger format prints, including a few Tinkercad projects for a true test. Also of note, we moved the printer off the ‘bench’, the work ‘bench’/tabletop doesn’t provide the needed stability, ideally the shaking, vibration and the back-and-forth motions of the printer assembly.
All in all, it’s a win today, for the week/weeks we’ve had the printer on the bench. Upswing, new parts, new break-fix settings, slicing settings and a new place-setting for the 3d printer to live and work. For those of you who are interested in the what’s to come (next prints), I’ve got a backlog of TPU Max Neo parts – specifically a TPU threader, some technology ‘covers’, and one-off locking mechanism for a cooler/fish well, more on that later.
