Teardown And Rebuild
M1 Teardown – Screen & Keys
M1 Arrow Key, LCD
LCD and keys, can be tedious, be careful and be aware of the process; ‘teardown’ process.
Visual Inspection, Keys
Starting with the easiest part of the refurbishment process – what is the easiest part of the build? The keys. Keys, Screen/LCD and then the touch bar. Please note, the refurbishment process required two teardowns, so to speak. First, let’s verify the working parts and inspect the touch bar on it’s own. The process, you could say, is a one-step job. However, I did this job in two parts for the sake of my own sanity.
The key here, is this: I know that if I could get the screen working, we would be in good shape. Cost aside, I was trying to avoid purchasing the M1 upper case which holds all parts associated with the computer. So, in other words, it’s a no-brainer, keys on the keyboard, LCD screen, then touch bar.
Teardown
Screws and Bottom Case
Apply Suction
Visual Inspection
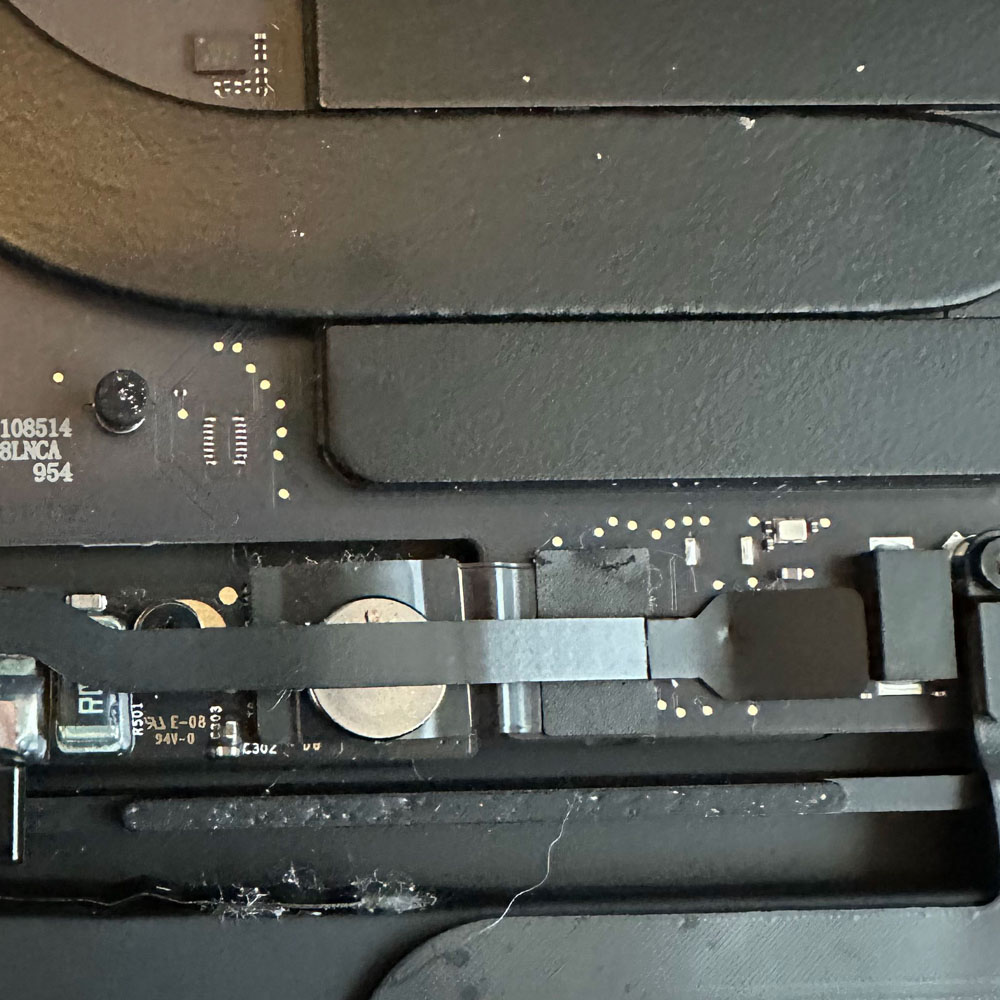
Battery Cable
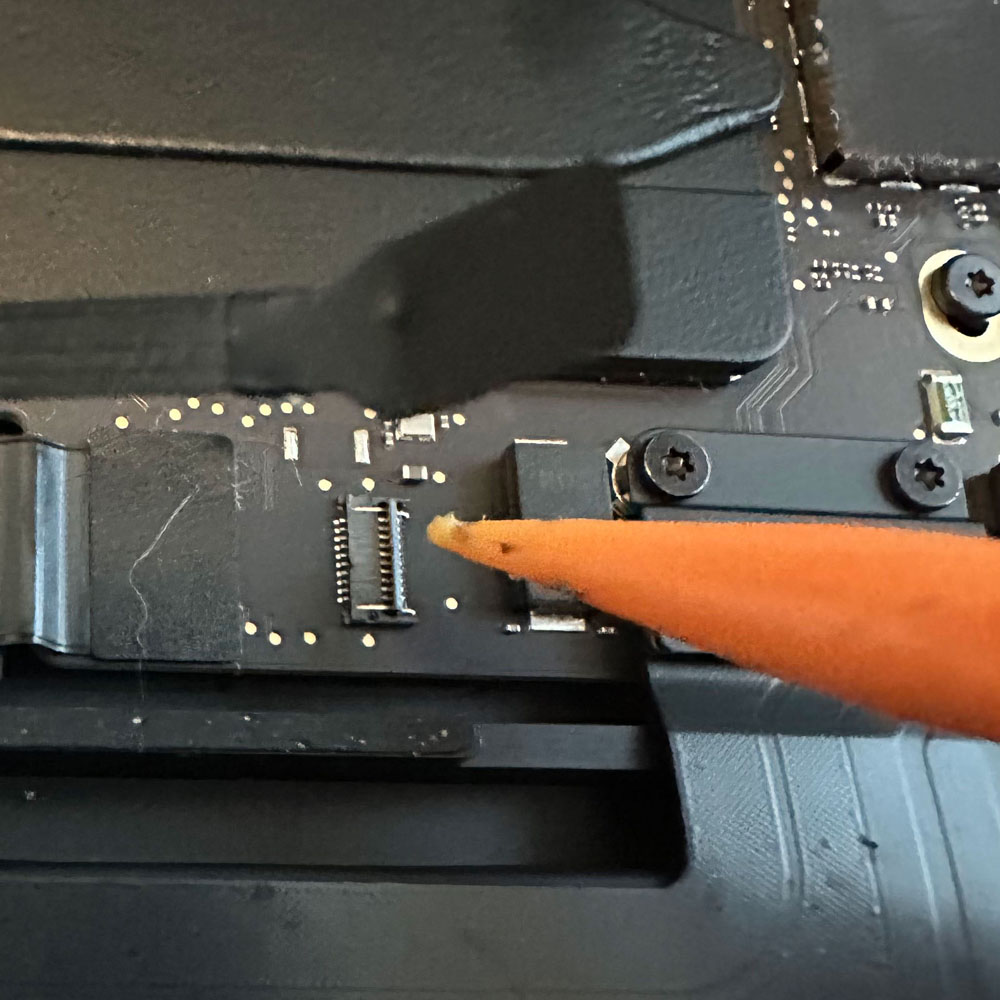
Remove Cable
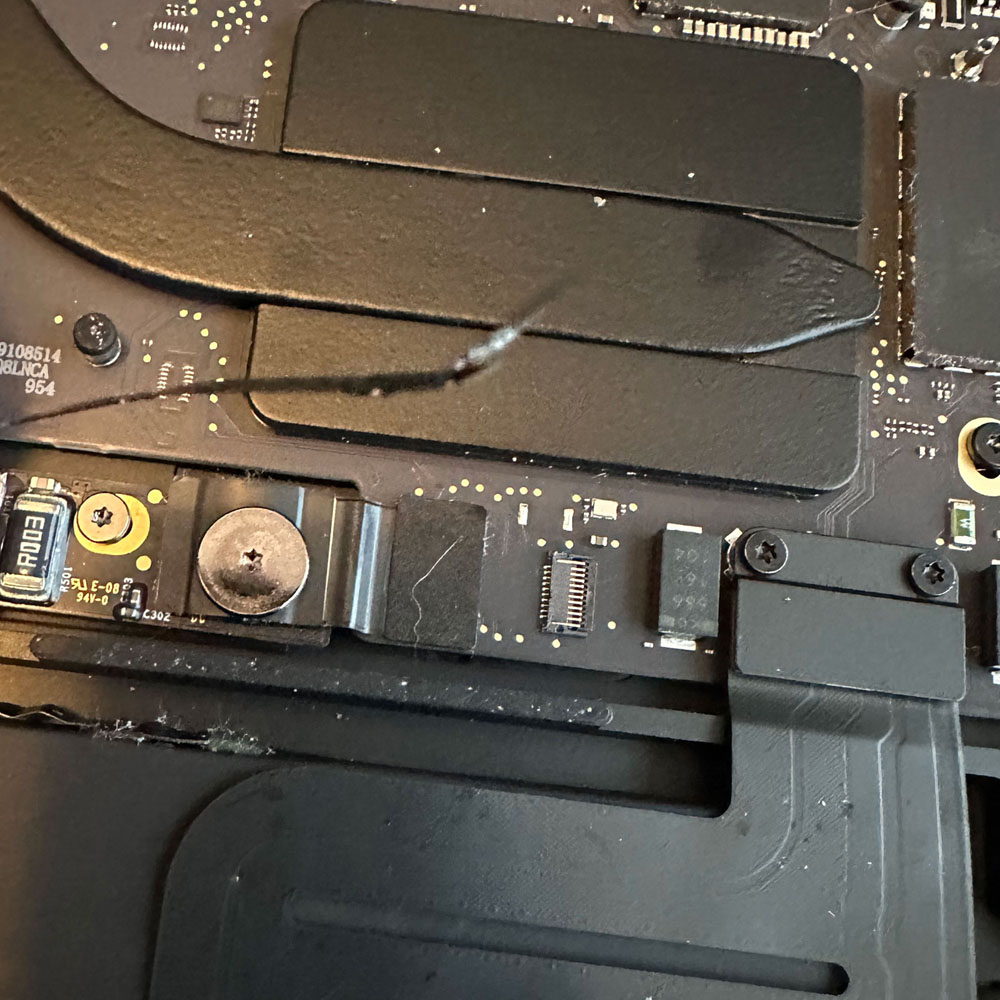
Board Screw
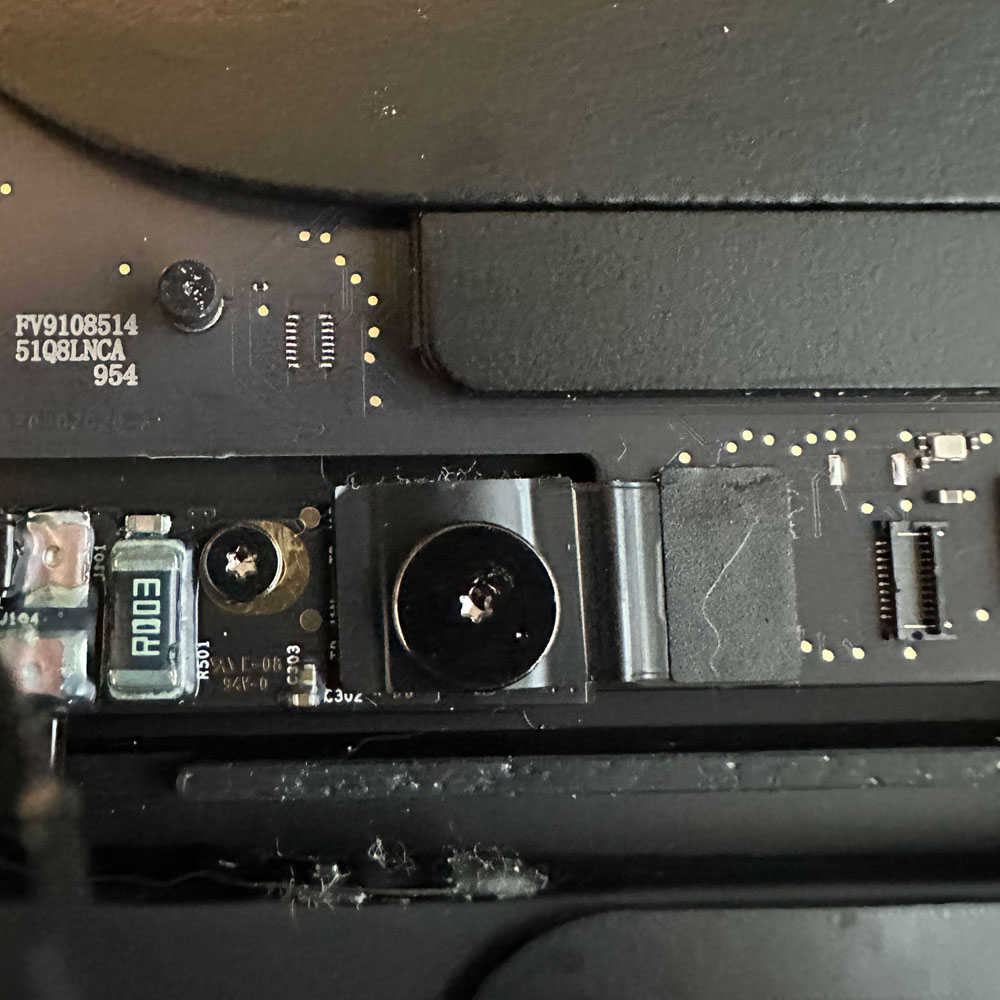
A Closer Look
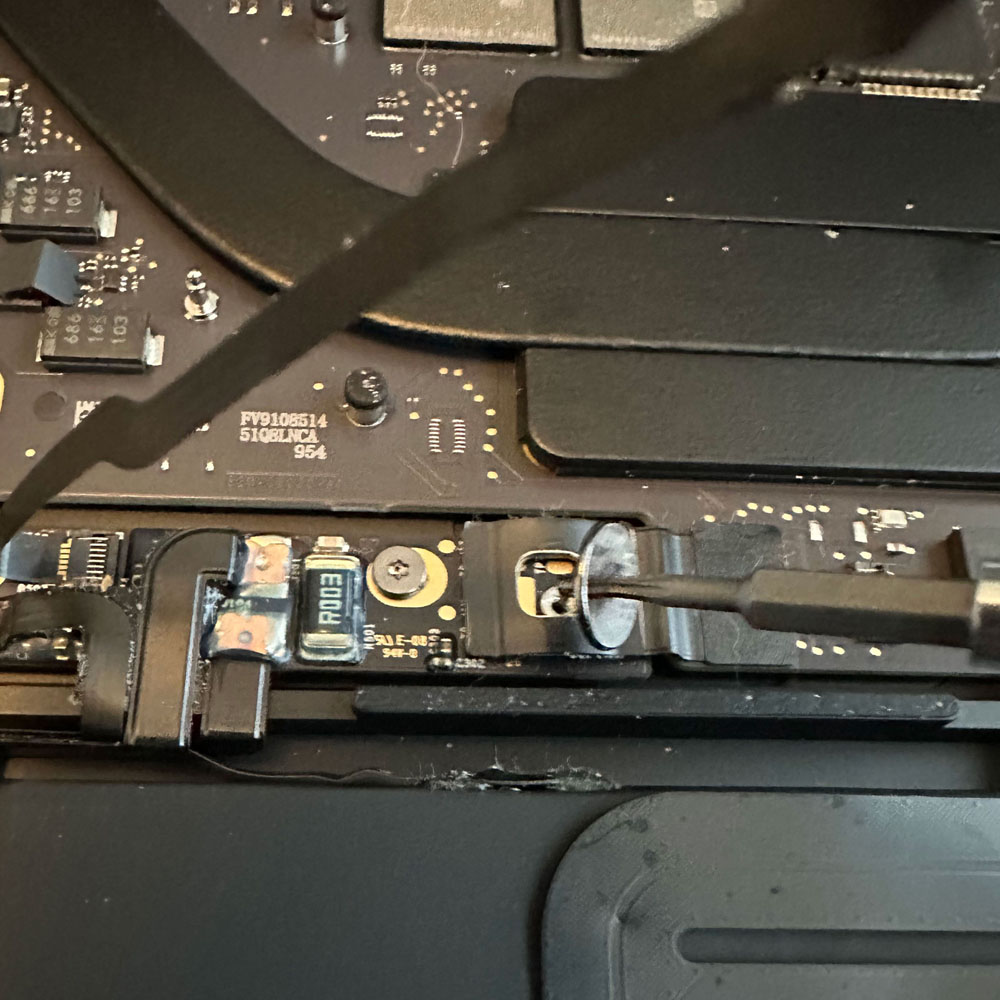
Screw Removed
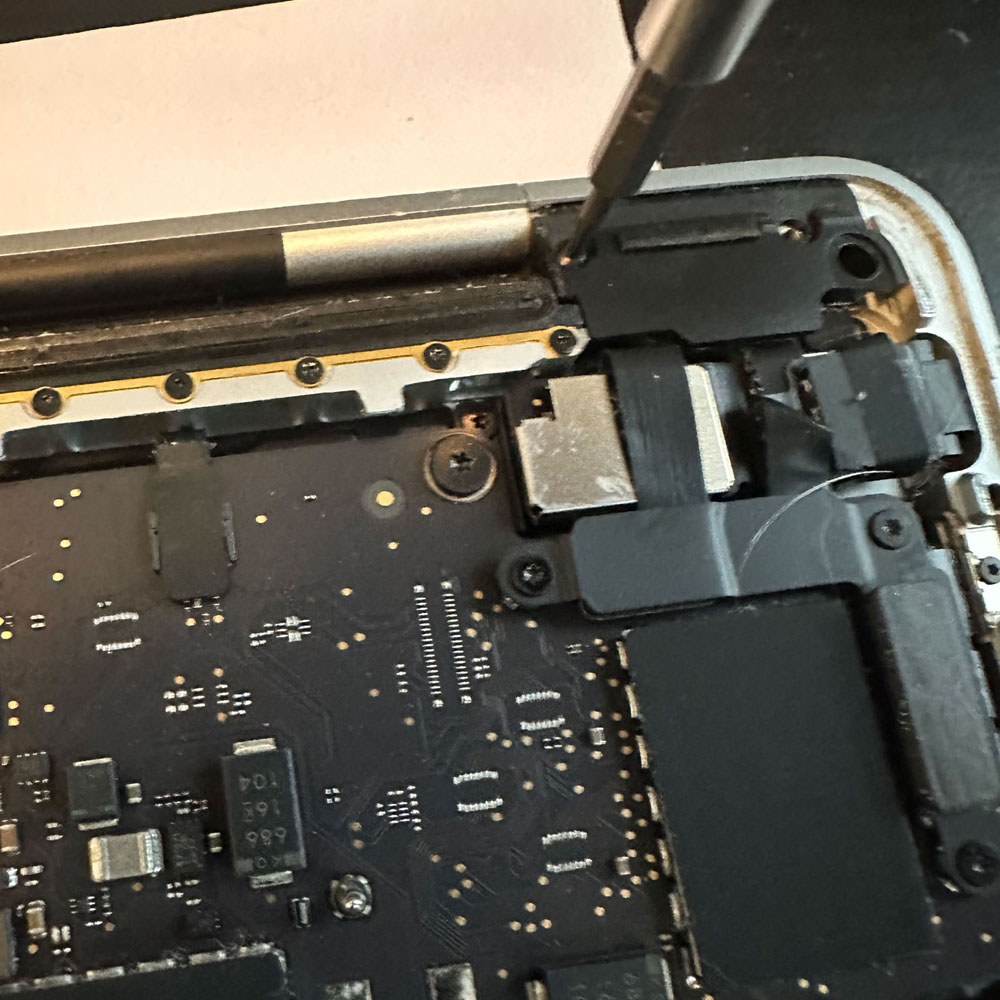
Hinge Covers
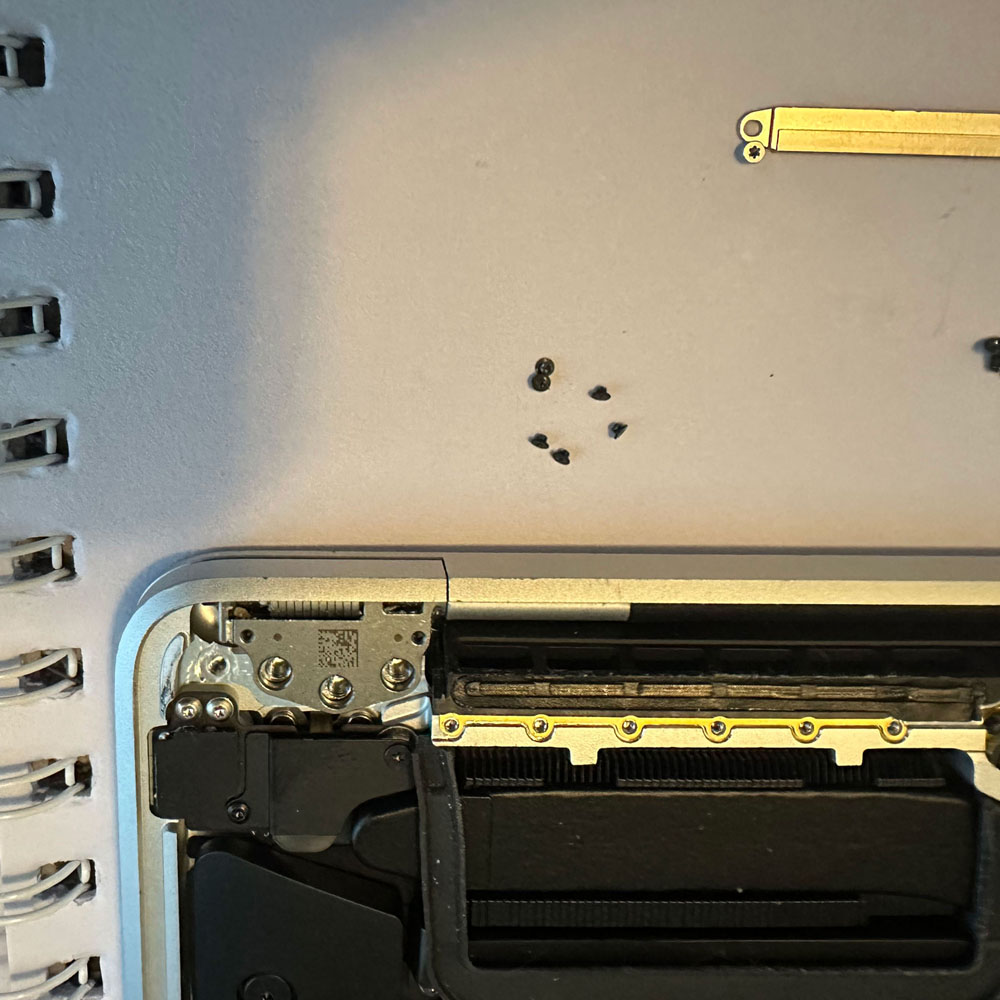
Cover Screws
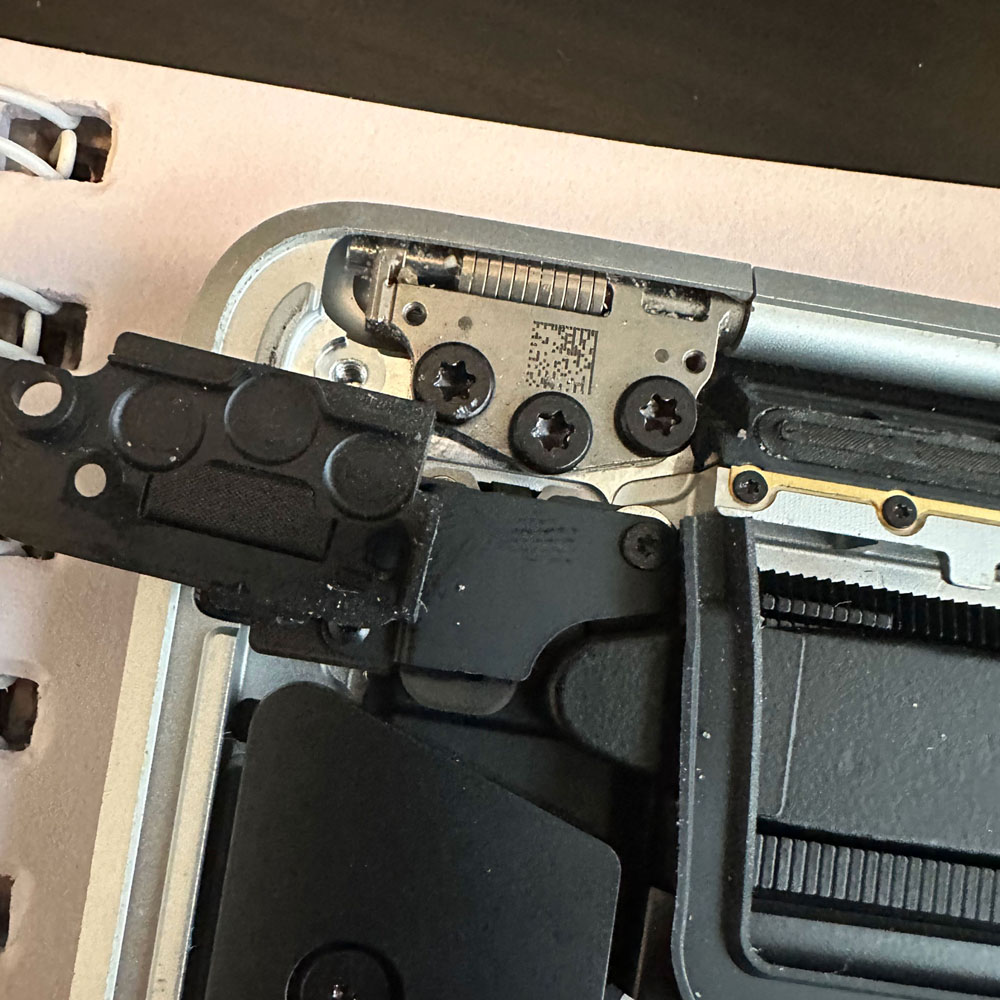
Left Main Hinge
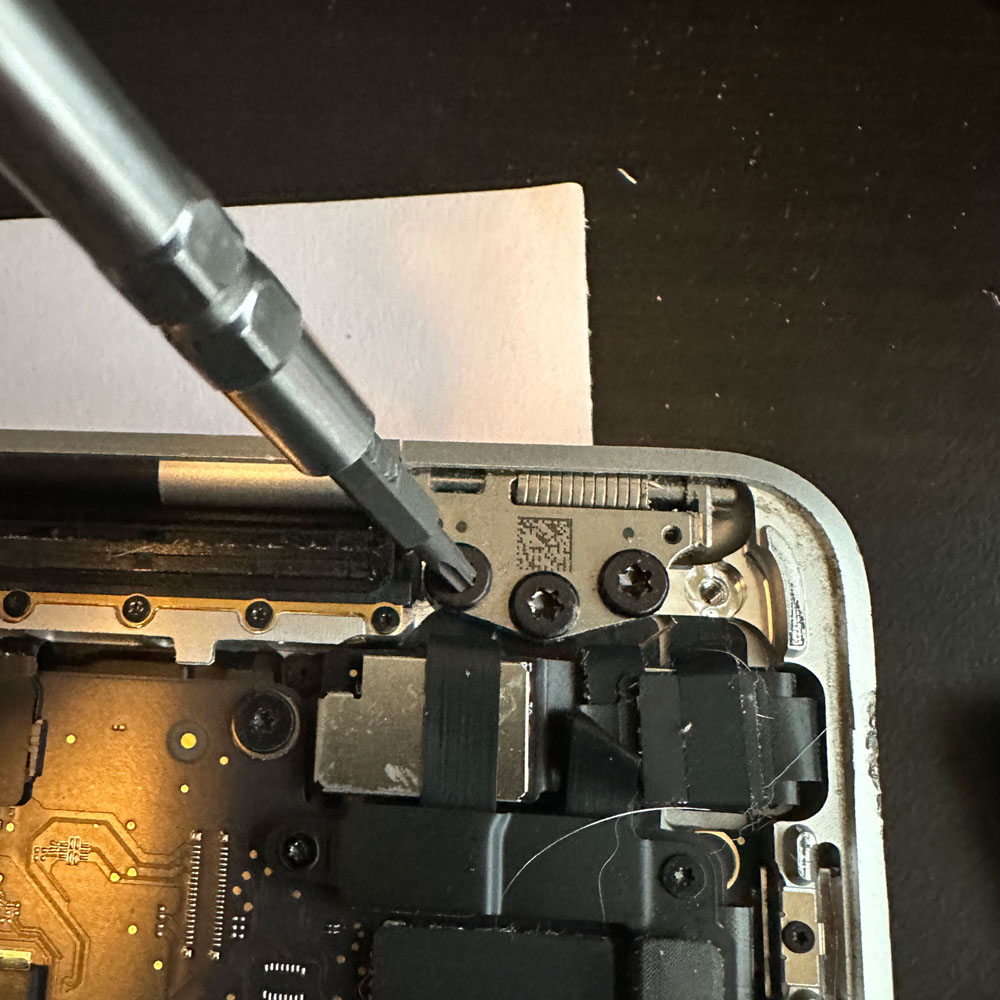
Right Main Hinge
Internal Repair, Replace LCD
Start the teardown bell! We’ve completed our inspection and are beginning with the easiest of the three R/R (remove and replace) parts in this teardown. Keys can sometimes be tricky, so if you are familiar with them, please refer to the video below. If keys are a confusing concept to you, just focus on the left arrow key. There are several online resources available for reference, with Snazzy providing a helpful video walkthrough of the process. We breeze through the key change with ease.
For more detailed information, you can also check out Snazzy Labs, quick video on how to replace keys. It’s important to note – that there may be some differences between models, especially the M1. That’s why the video is so helpful! The key takeaway is that quick snap keys convenient but can tricky if you are not familiar with how scissor clips work. I recommend purchasing new keys (up, down, left and right) – make sure to get the ‘left arrow’ key) for a simple slide an click installation process. It’s as easy as pie.
Moving On To The Display
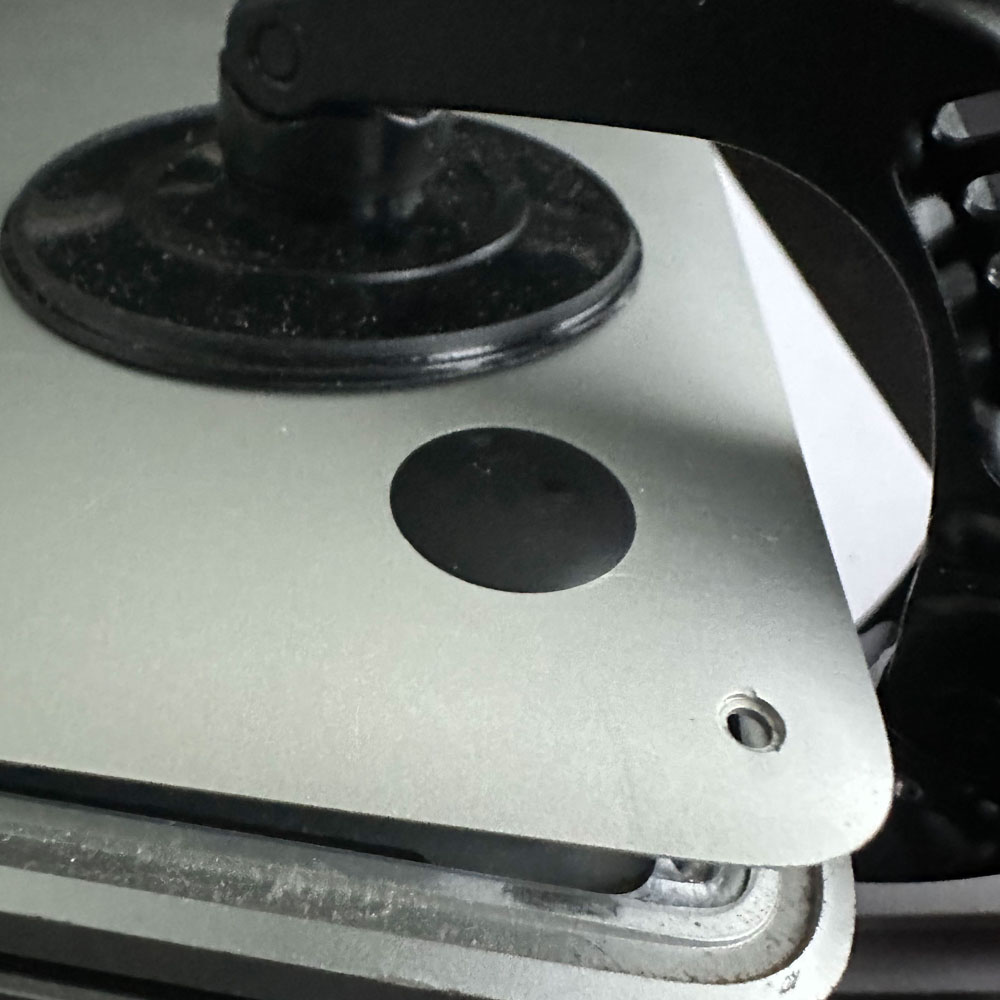
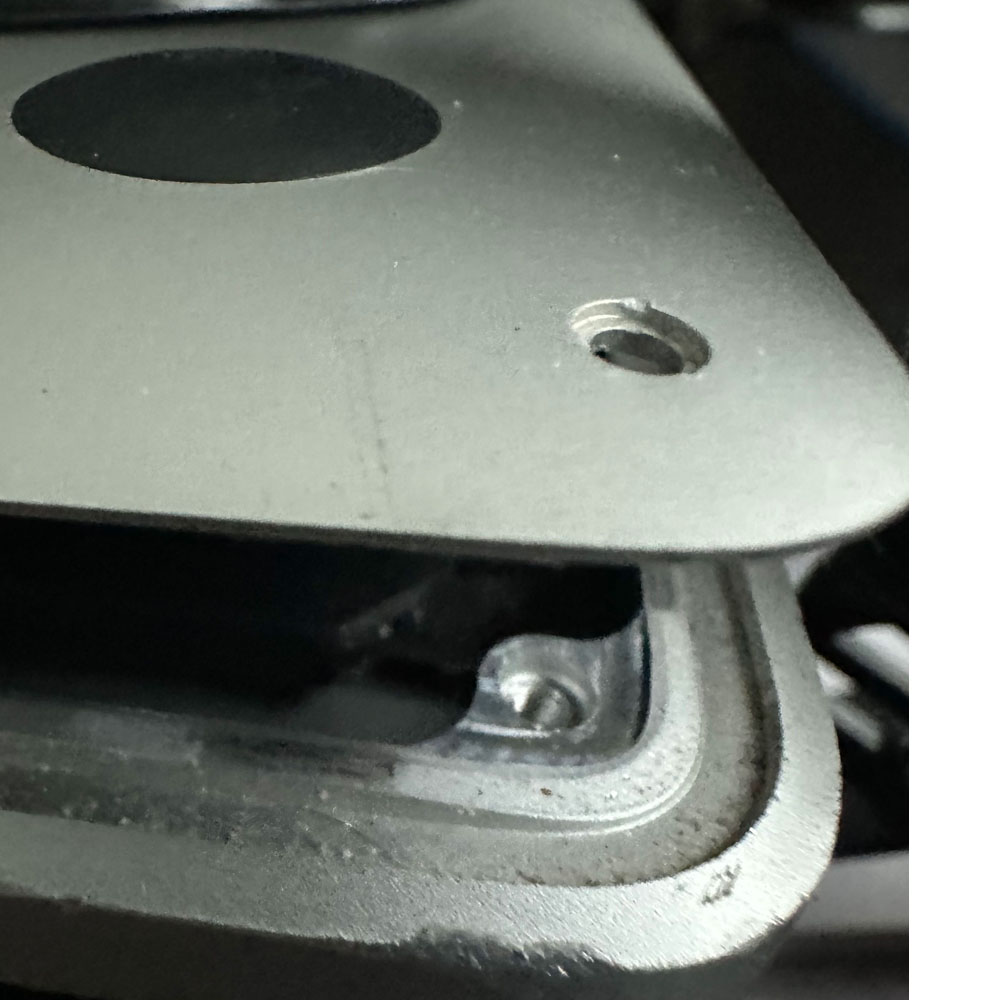
So, the cracked screen… We used a clamp tool and suction cups to get under the bottom case. A recommendation: iFixit has a variety of tools and parts for fixing things. We’ll talk more about them later, but we have bought a few items for them. You will also need adhesive remover, can you guess where we got ours? This is not a paid advertisement, but they have some great tools if you don’t have anything in your electric/technical toolbox.
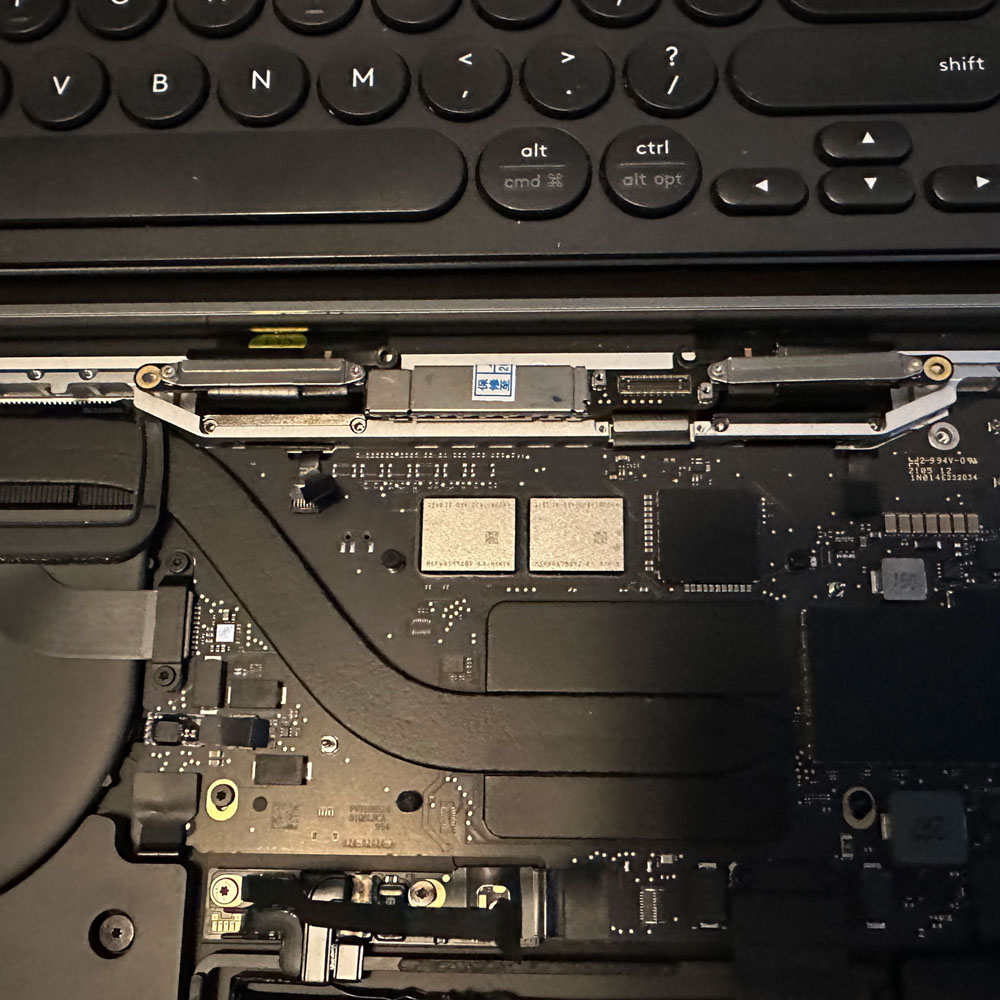
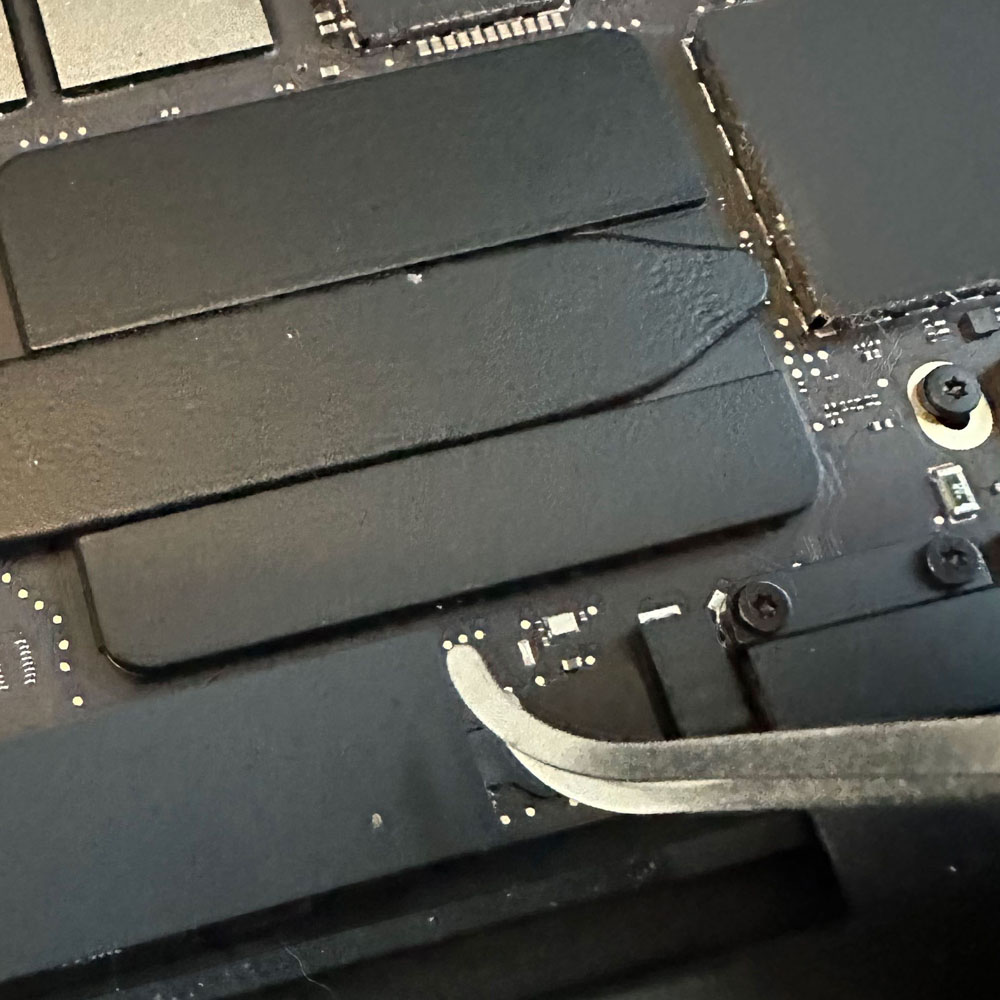
We start by removing the bottom case when replacing the screen. Beginning with the batter cable for the M1 Screen & Key’s fix, it’s important to be carful as cables and parts are delicate and can easily break. So, remove the cable cover, battery cable, and screws. The most nerve-wracking part is dealing with the different sizes of screws, types of drivers, and prying tools required for the job (TORX, pryer(s), spudgers, tweezers etc). Once the battery cables and screws are removed, we can unscrew the hinge covers and move onto the antennas. It can be challenging to see the screws on the antennas, so good luck!
Teardown Upper, Goal LCD Removal
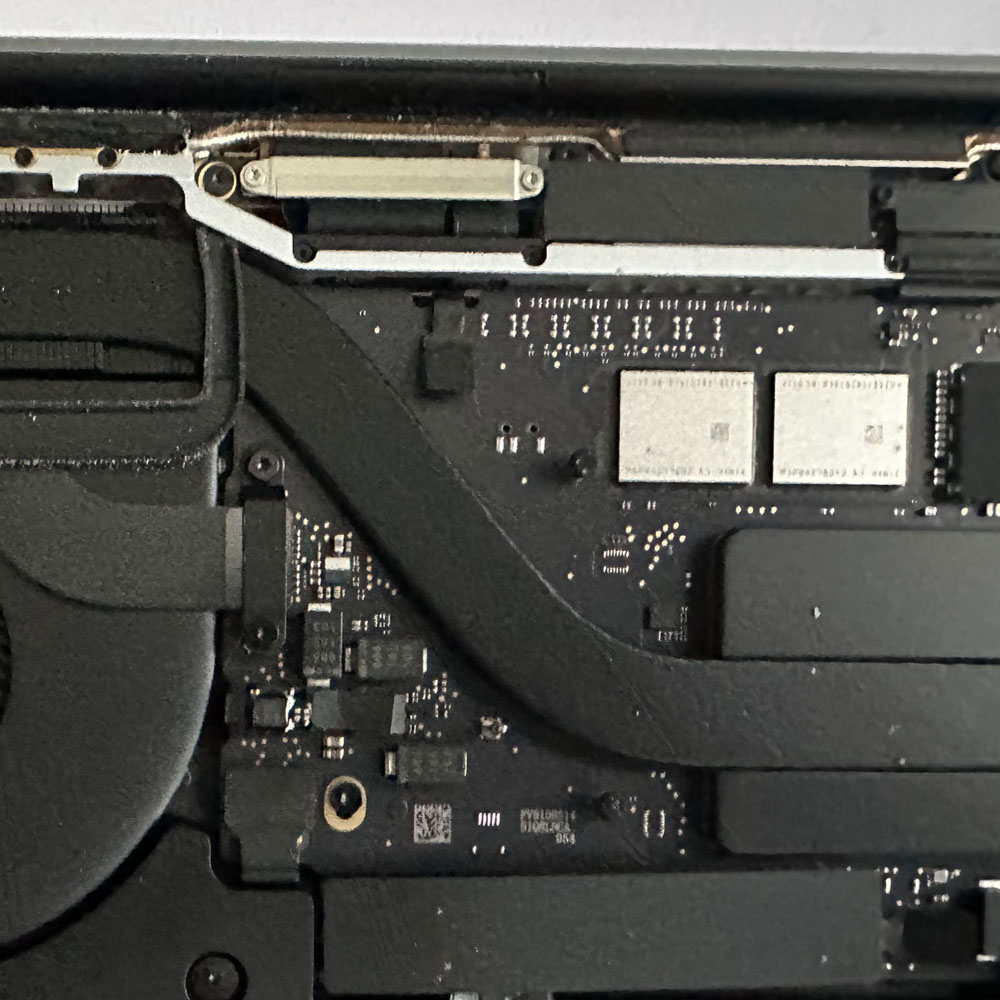
Locate Antennae Bay
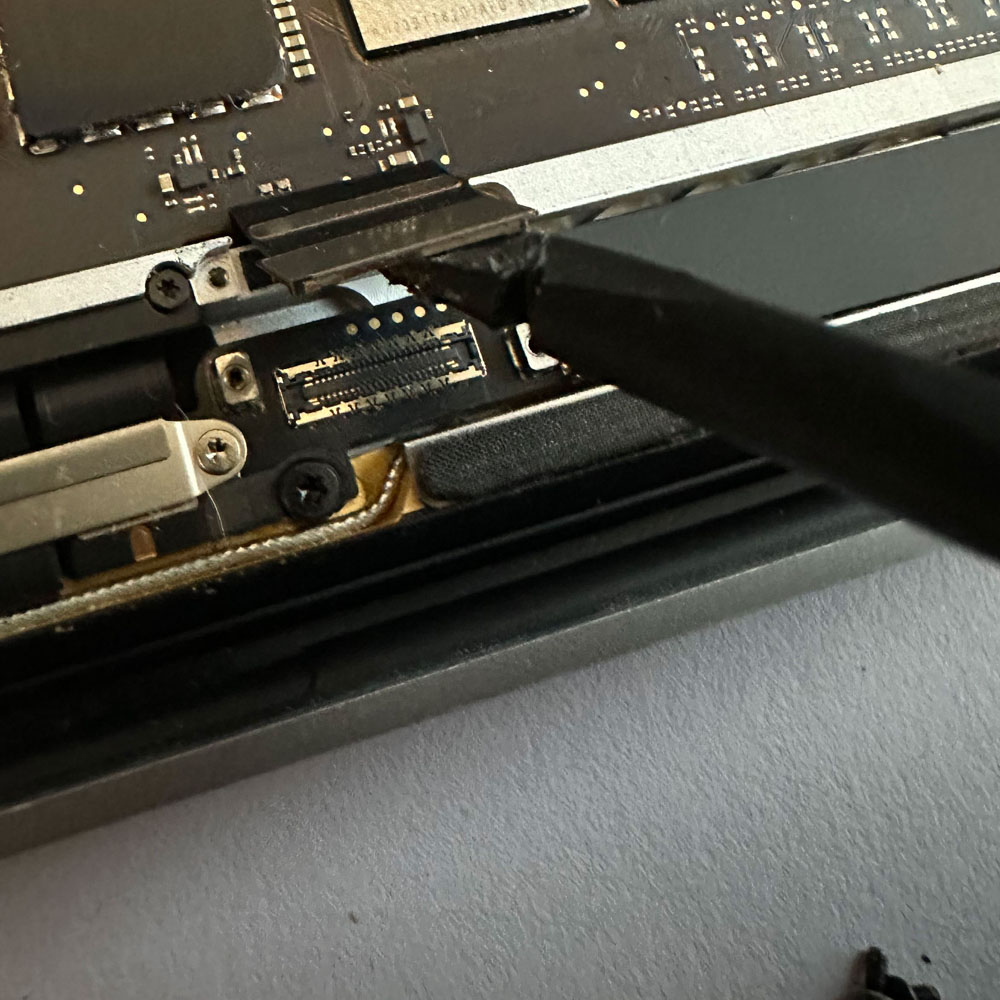
Remove Cable(s)
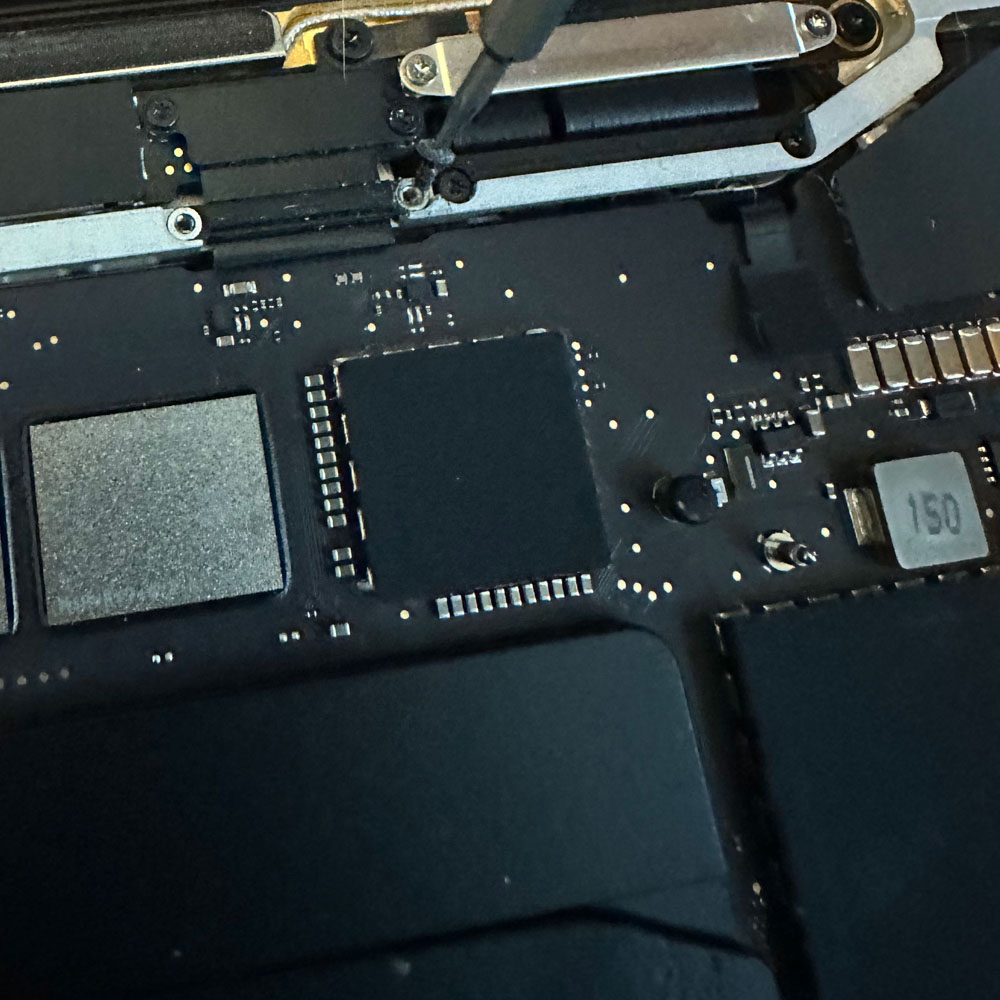
Remove Cable(s)
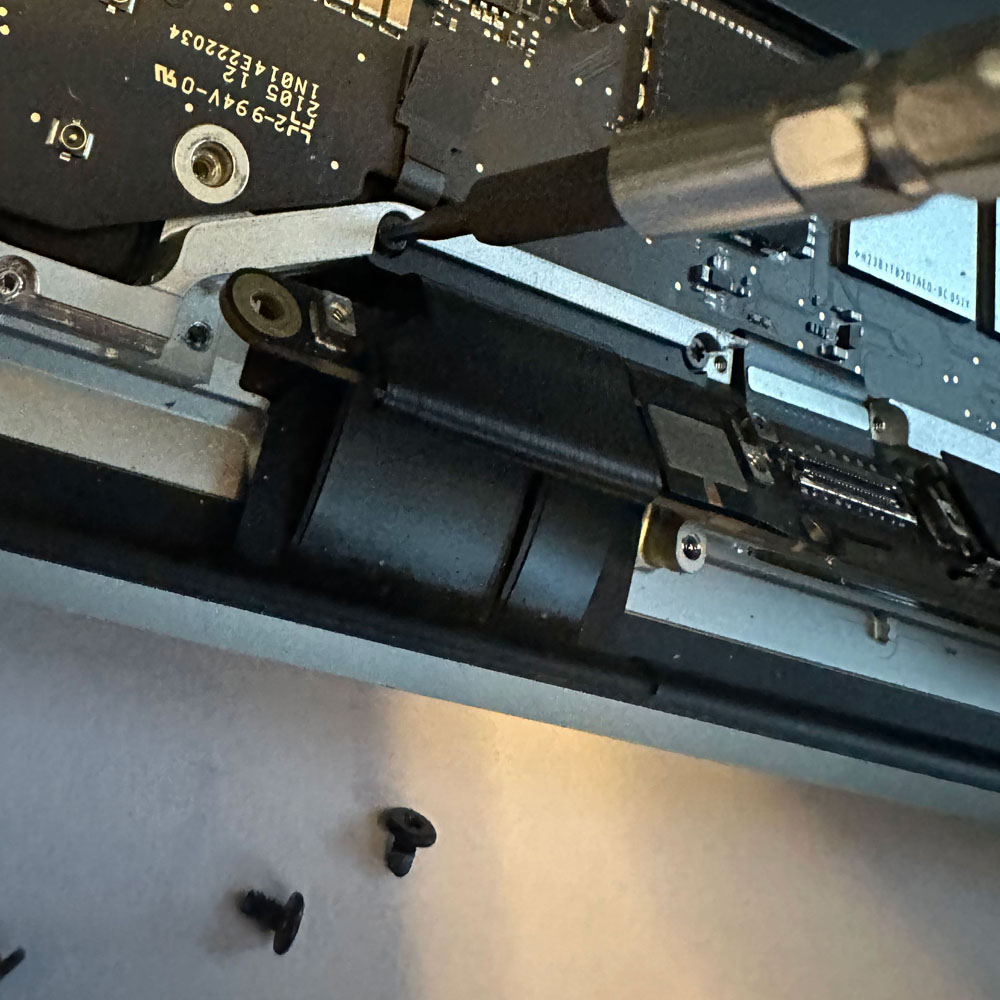
Antennae Screw(s)
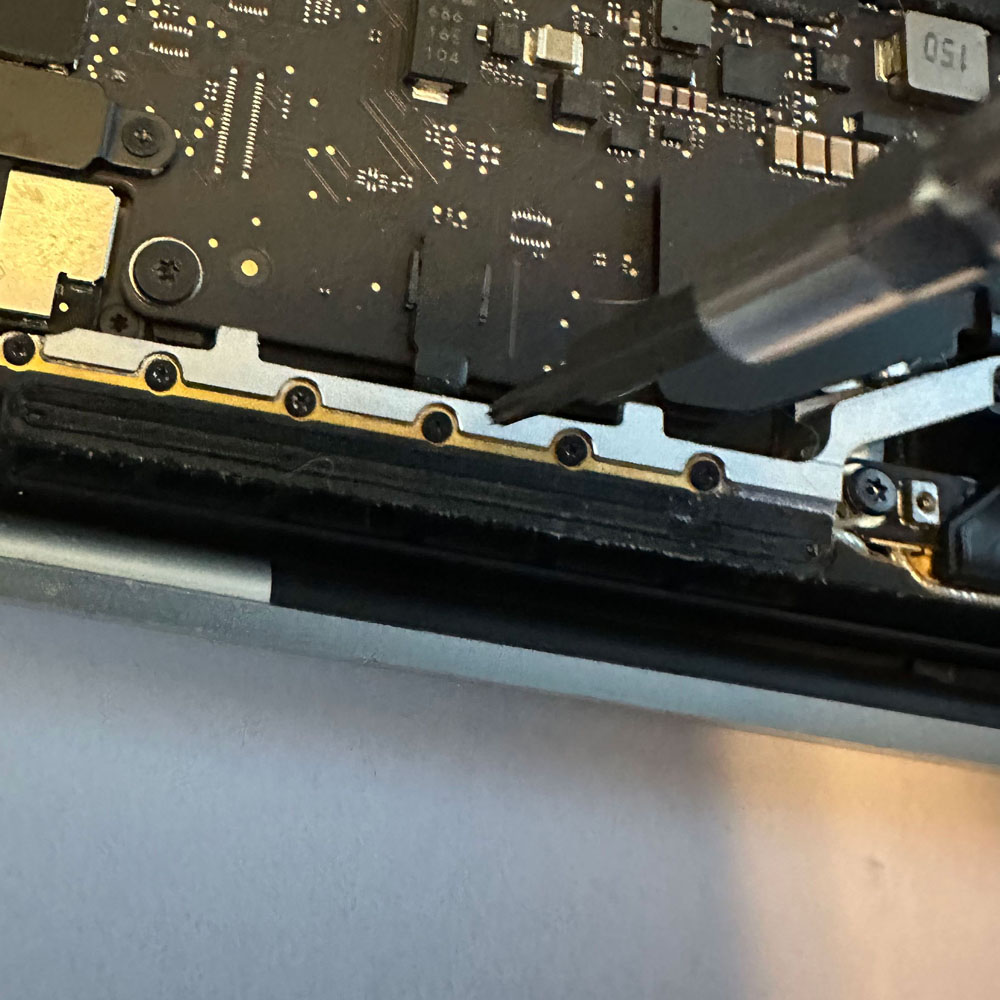
Remove Screw(s)

Antennae Screw(s)
LCD Removal and Replace
The antenna will need additional cables, screws and bars leading down to the antenna and LCD springs. After installing those items, we will once again remove the antenna wire cover and detach the wires. It is important to exercise caution and be mindful of leaving the piece in better condition than when we found it. When removing covers, do so gently to keep glued area clean and free of debris (we had to address some glass bits).
Teardown Continues With the Antennae and Cables
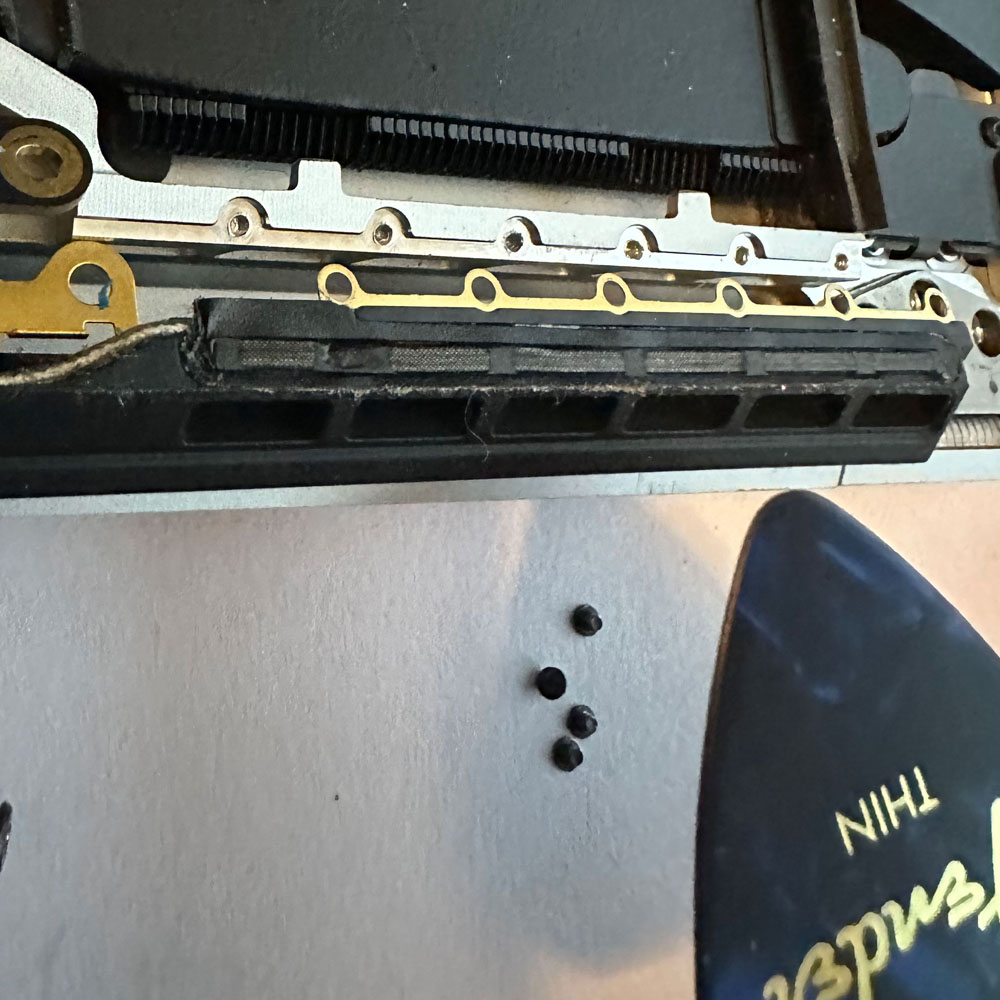
Prep Antennae
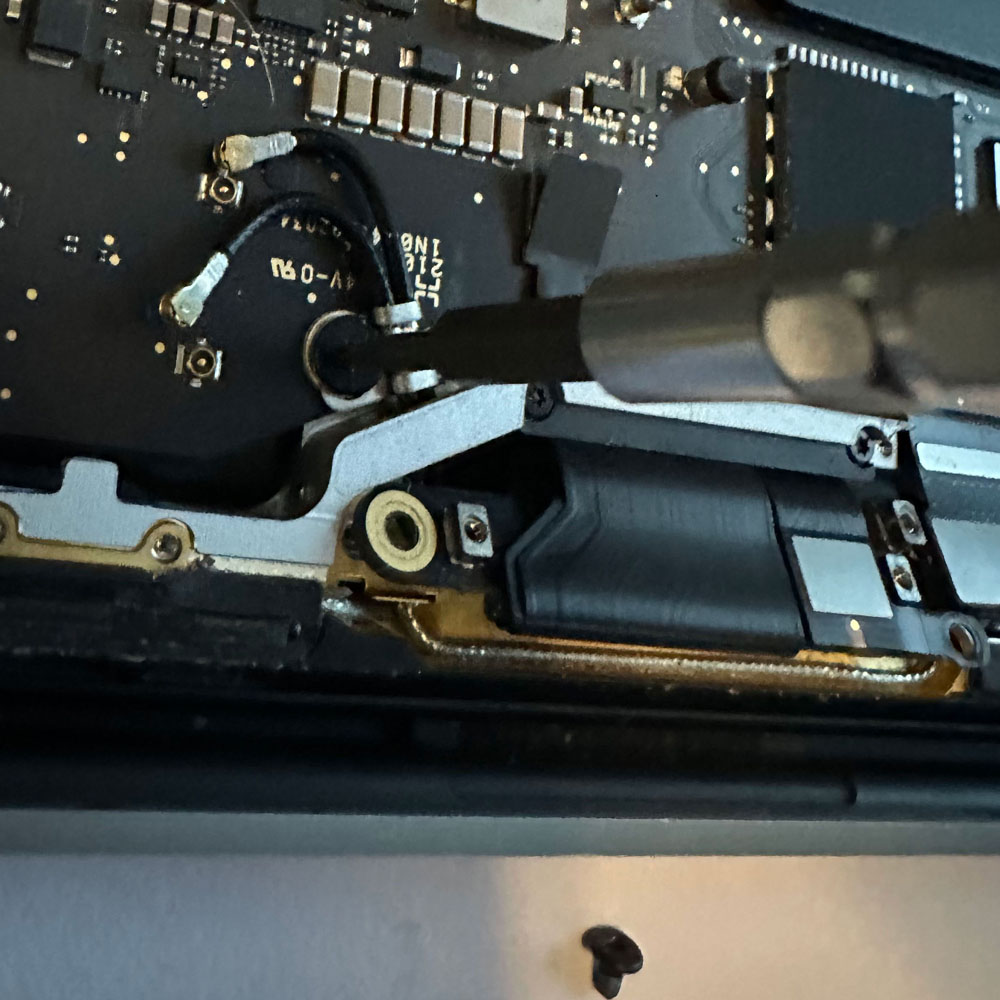
Antennae Screw(s)
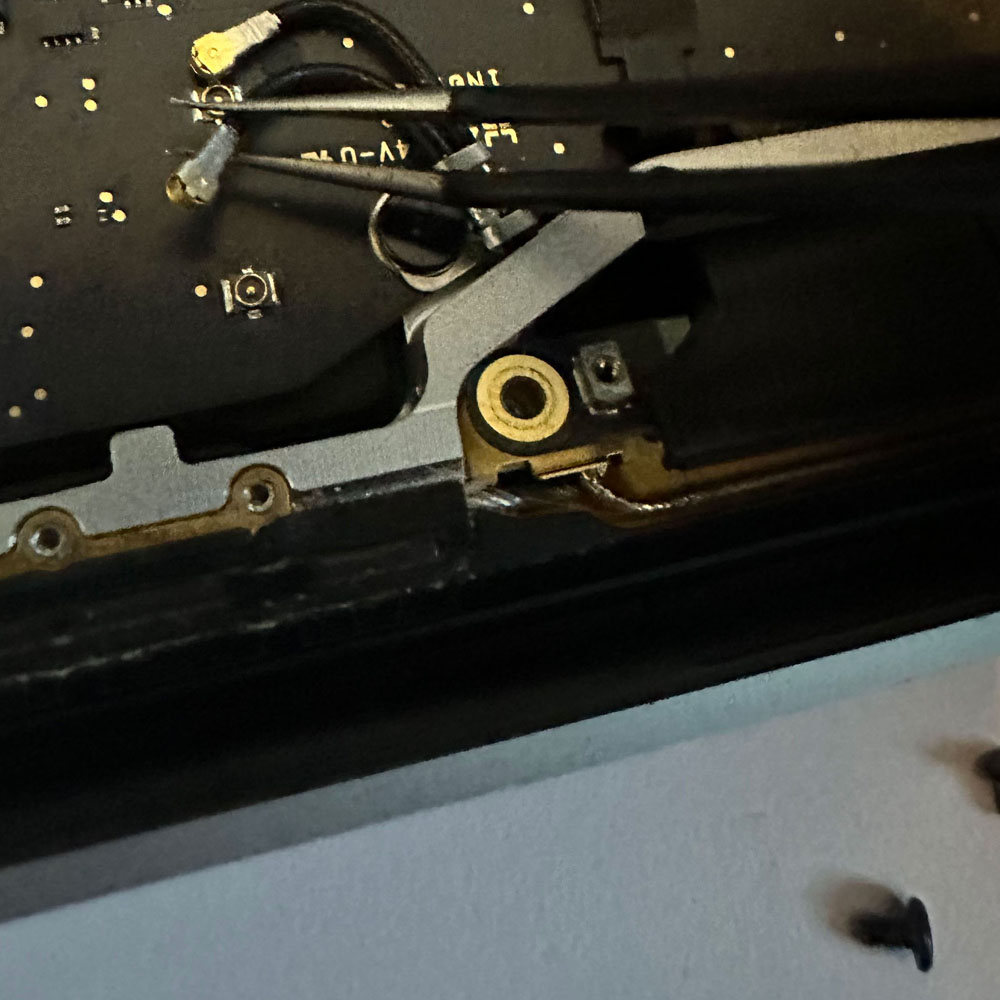
Remove Cable Connectors
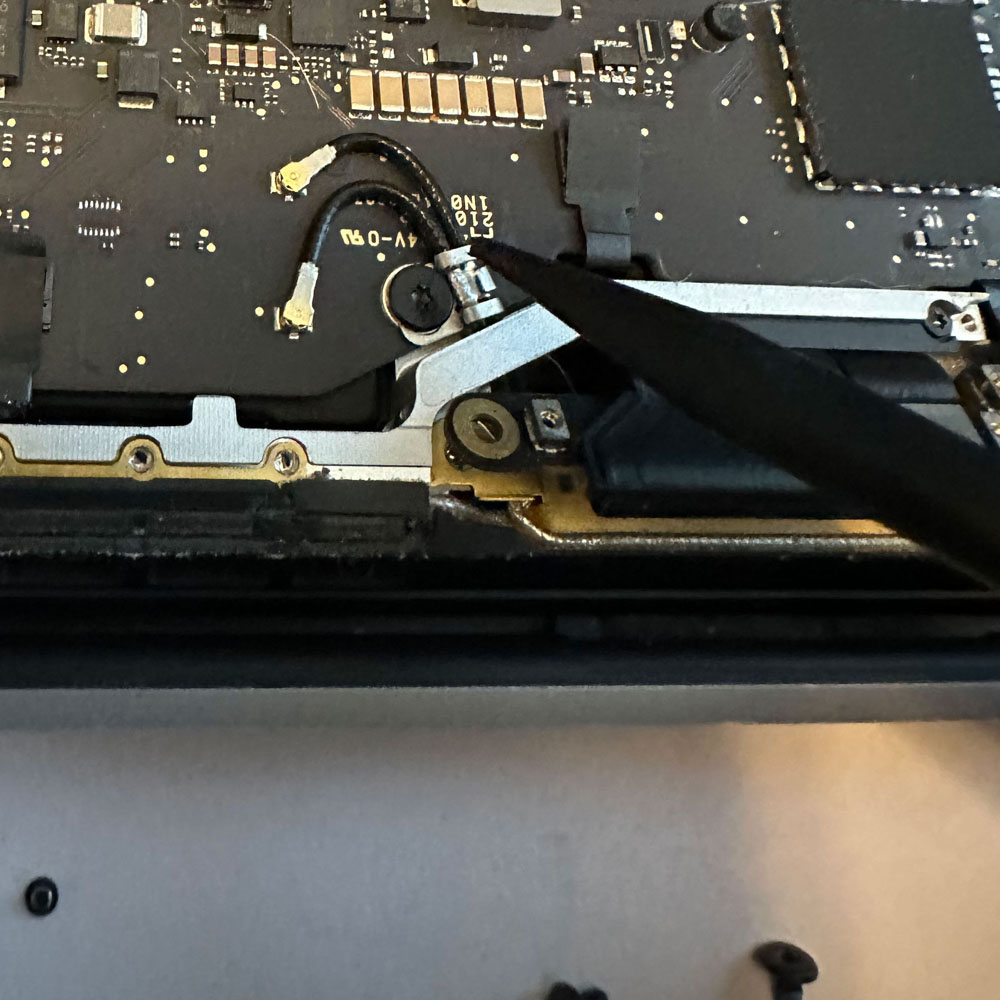
Antennae Cable(s) Removed
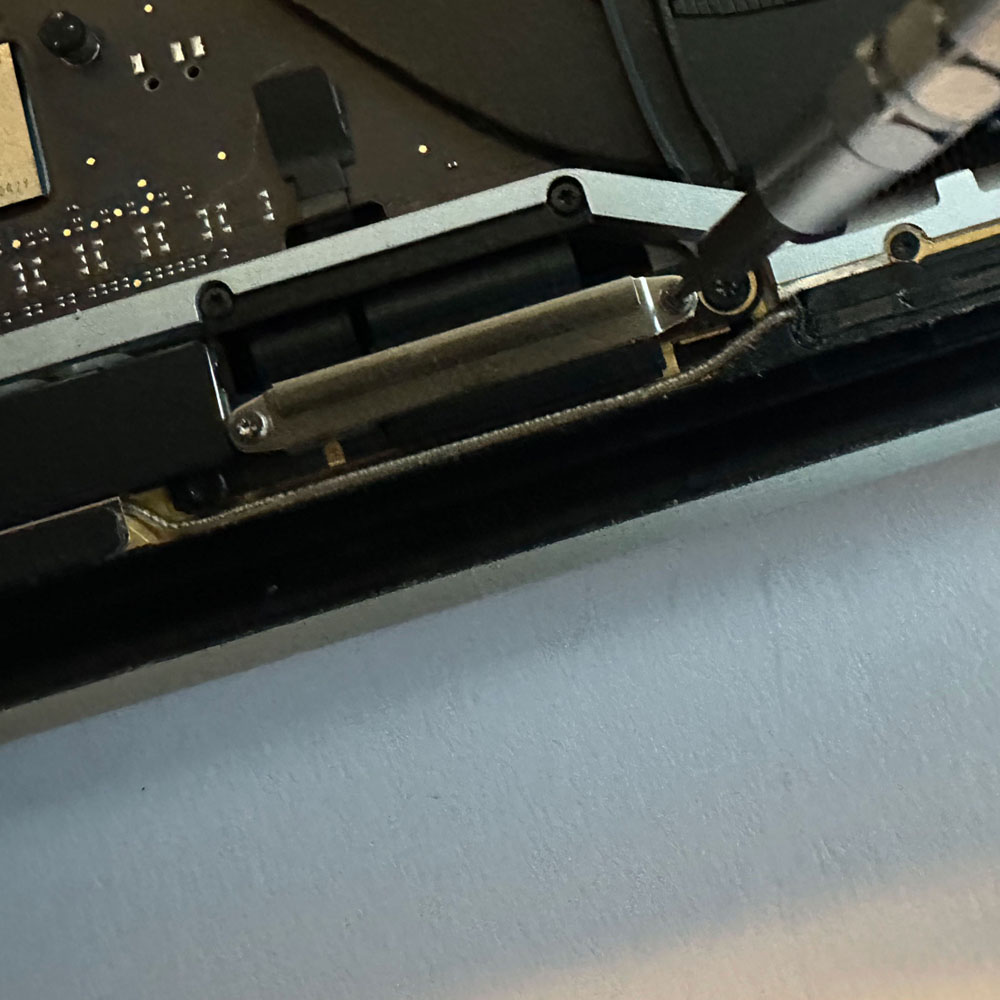
Hinge(s)
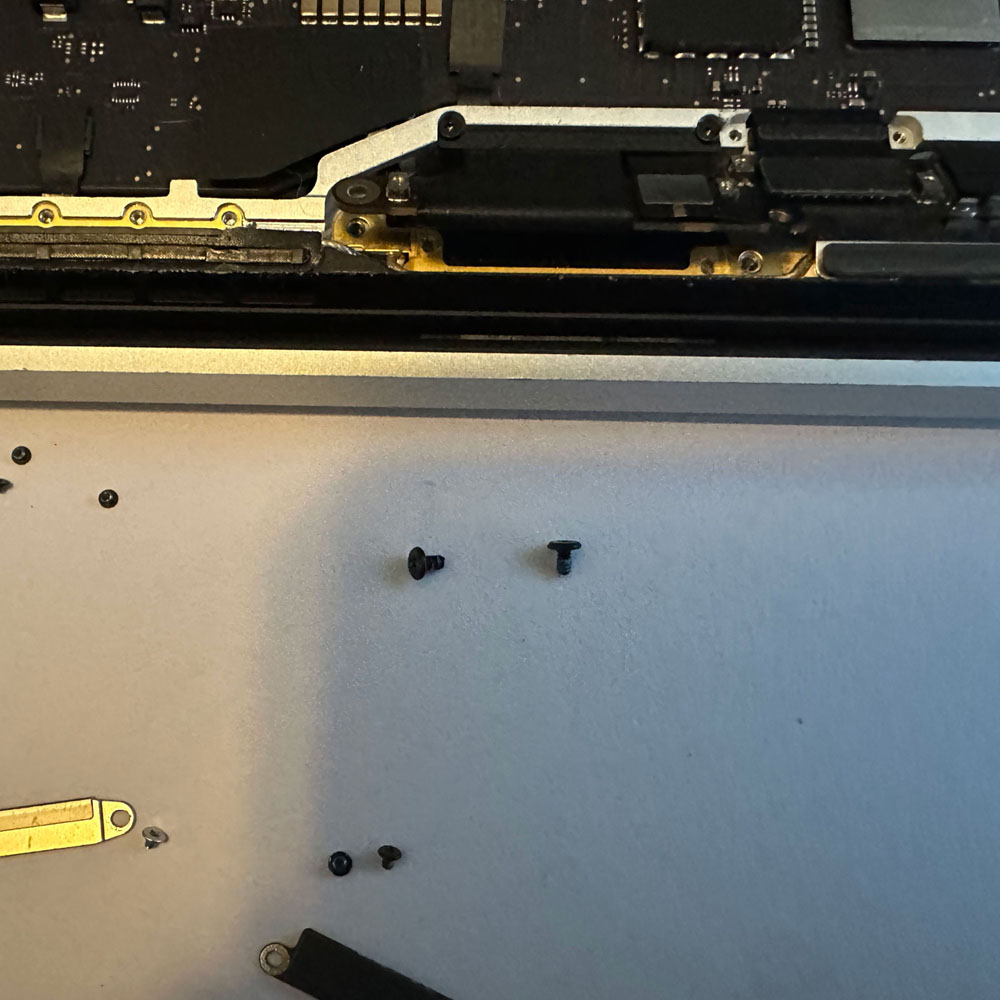
Antennae Cleared
Once, the antenna bar is clear, the LCD hinge screws will need to be removed, along with the springs and mounting hardware. Voila, the LCD has been detached.
Antennae, Hinges and Test LCD
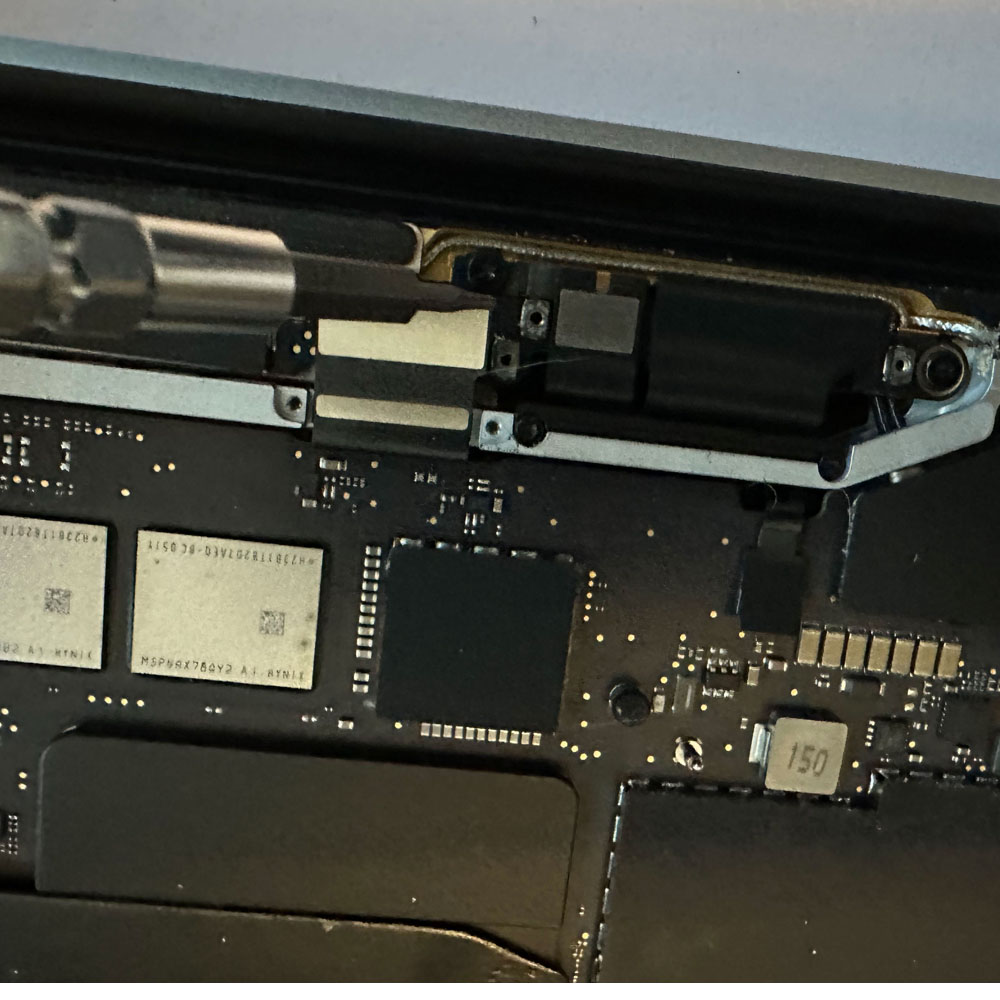
Remove Display
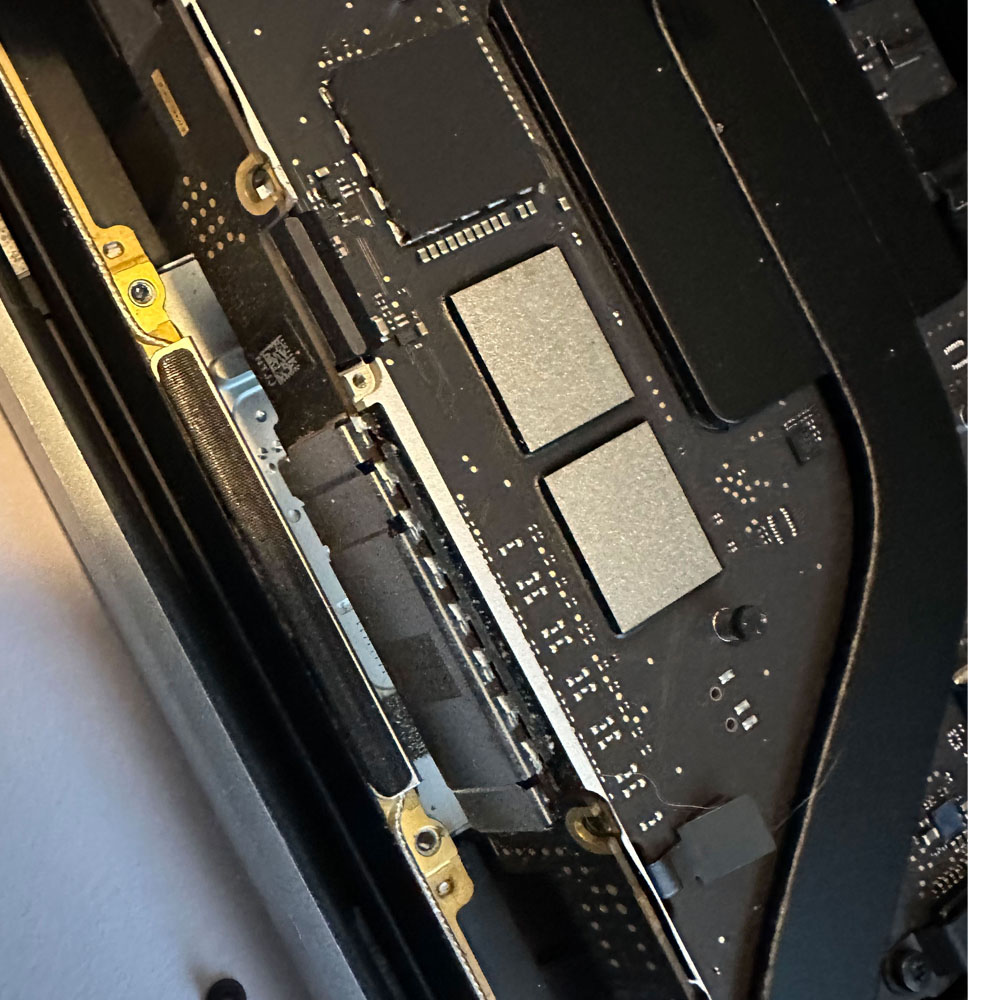
LCD Hinges
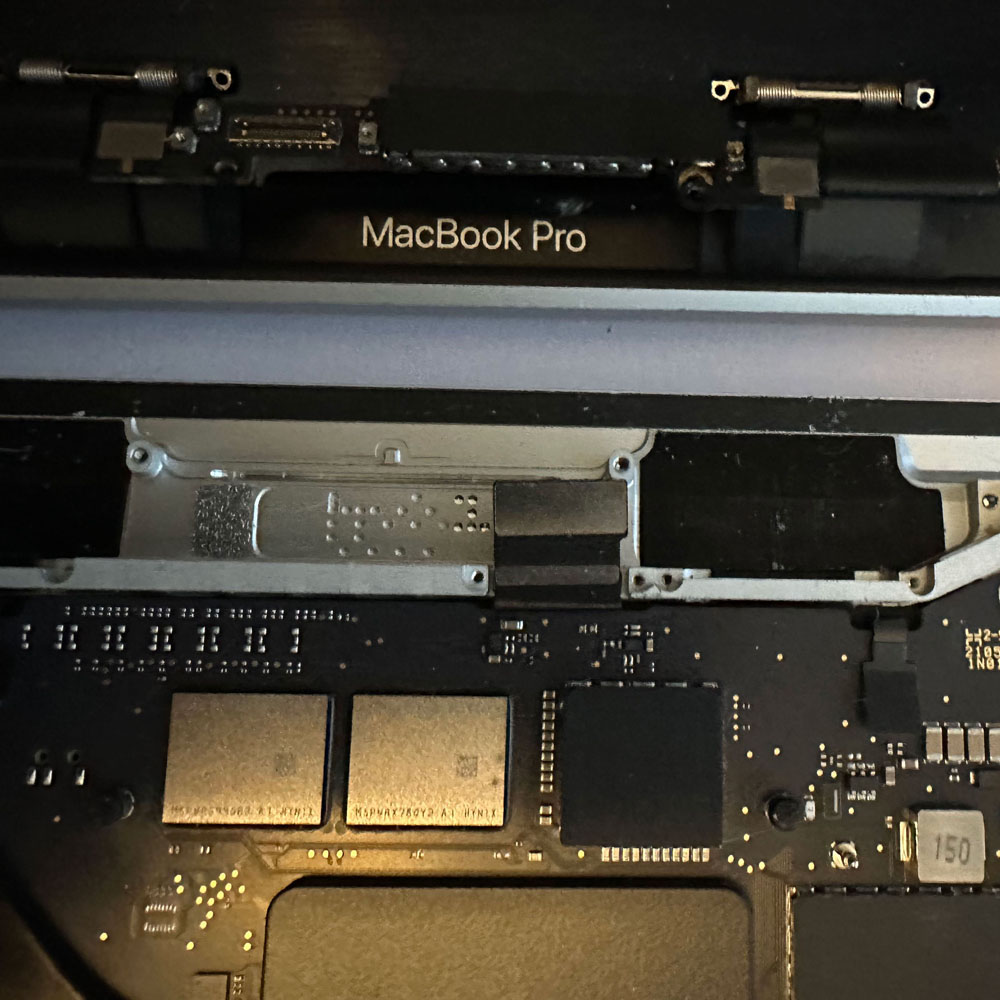
Reattach LCD
M1 Screen & Keys Wrap Up
This concludes the M1 Screen & Keys section of the refurbishment process. As mentioned earlier, we will now proceed to the touch bar. We went back, replaced all screws and cables to confirm that the LCD swap and key are working as expected, and we found that the touch bar was not working. We verified all parts (sans the touch bar) continued with wiping and cleaning in the following post. If you missed the first three articles, you can find those here: 1. Self Repair, 2. Refurb, and 3. Visual Inspection, Teardown. Cheers.
