TPU Upgrades and Updates
New Assembly and Drive Drive Extruder
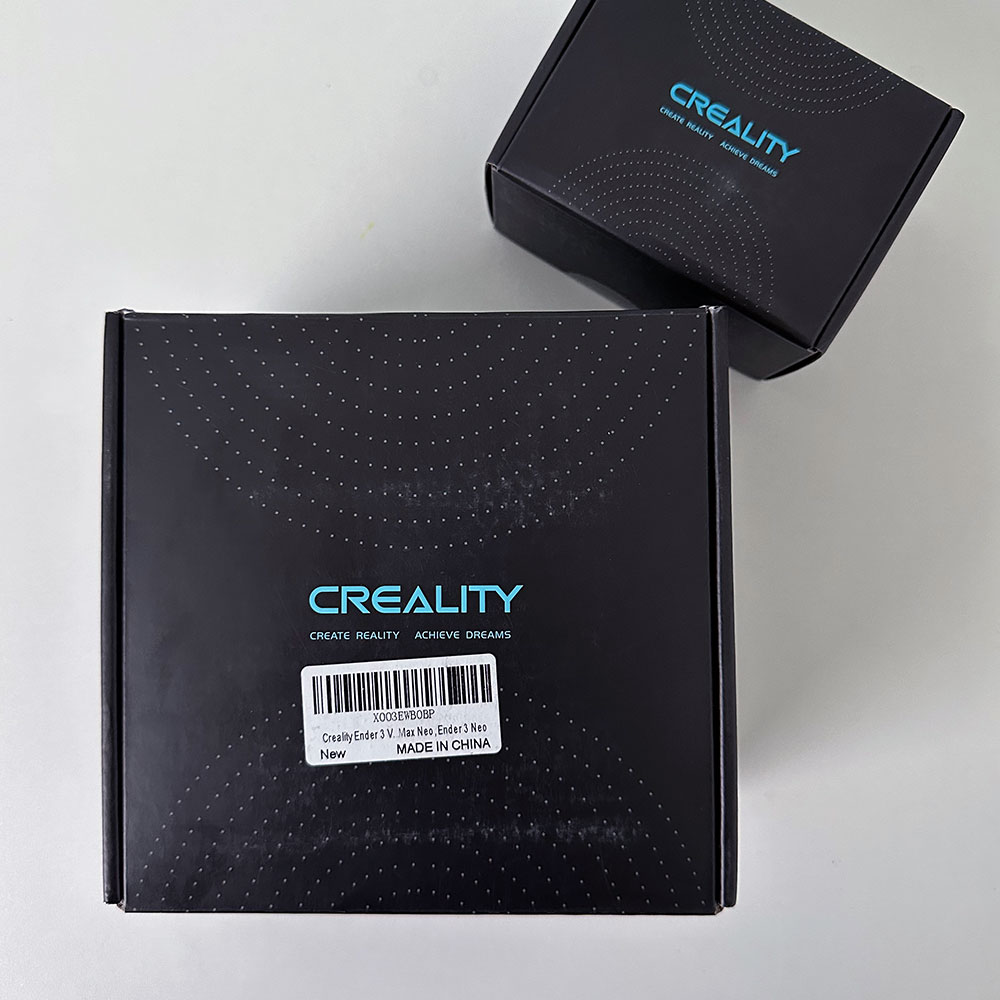
Lab Work – Bolt On Upgrades
We are updating the extruder – TPU Update. Adding a bolt-on direct drive upgrade and replacing the Series 3 full assembly body.
The TPU update is a go. First, PLA is great. TPU is better for certain applications. However, we start with PLA. If you need flexibility over rigidity it is assumed that you want to test TPU filament. First, we will replace the existing assembly body on the MAX NEO and bolt on the new extruder to address the TPU issues*. TPU requires more force to drive the flexible filament through the assembly and out the nozzle. The direct drive will help with ‘refinement’ and focusing on pushing and pulling the filament more accurately and precisely.
Creality Accessories
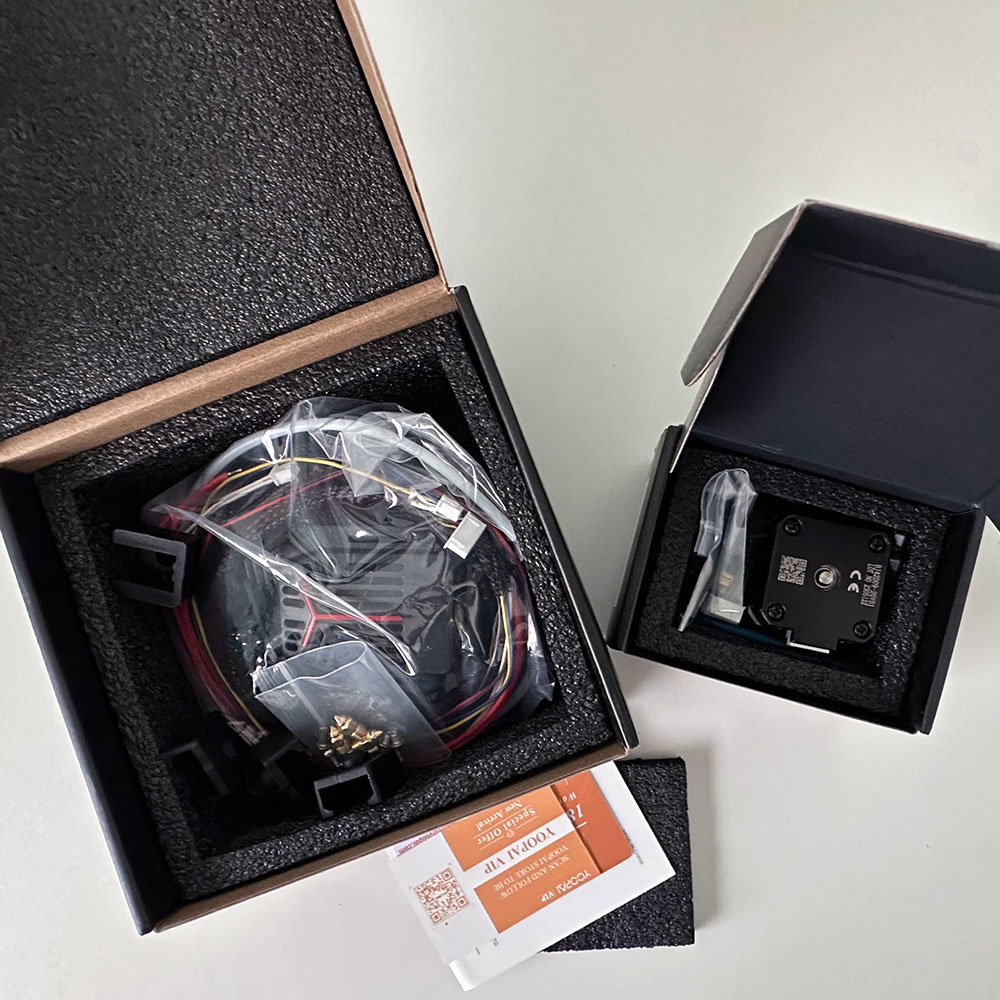
Unboxing
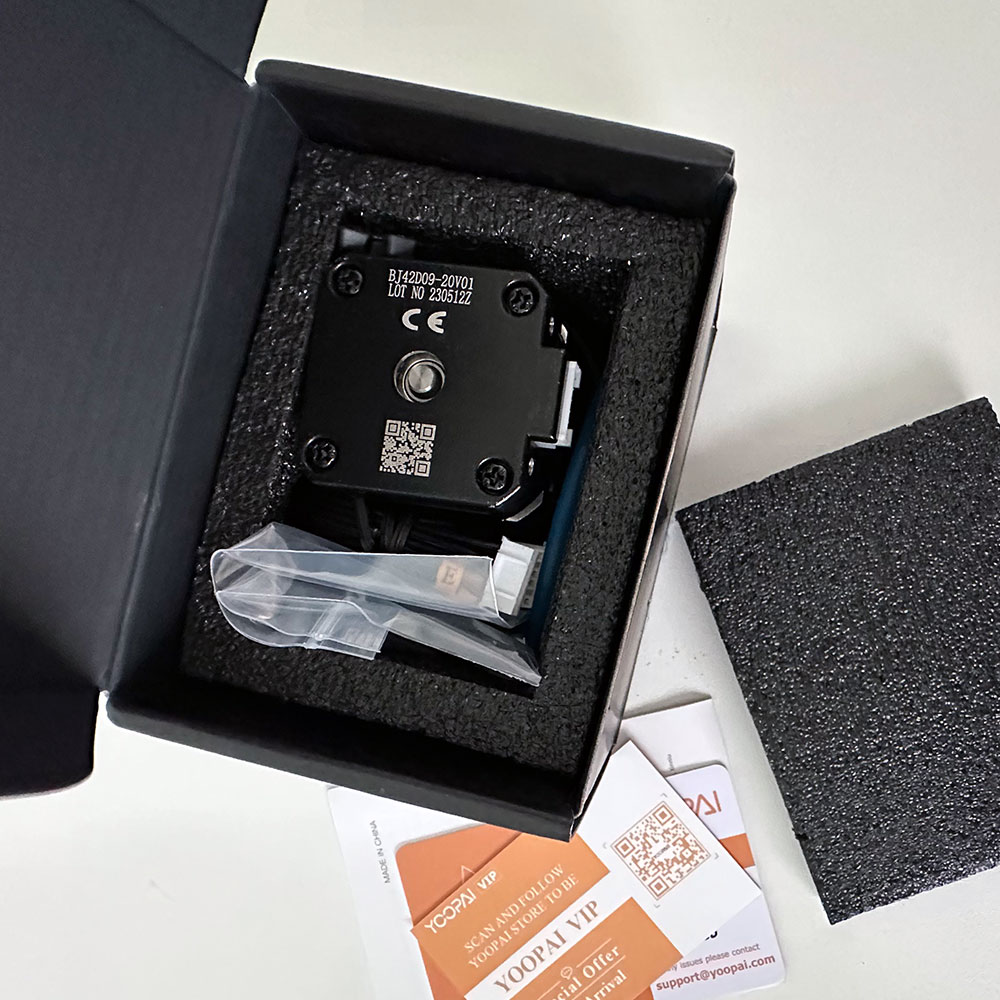
Drive Motor
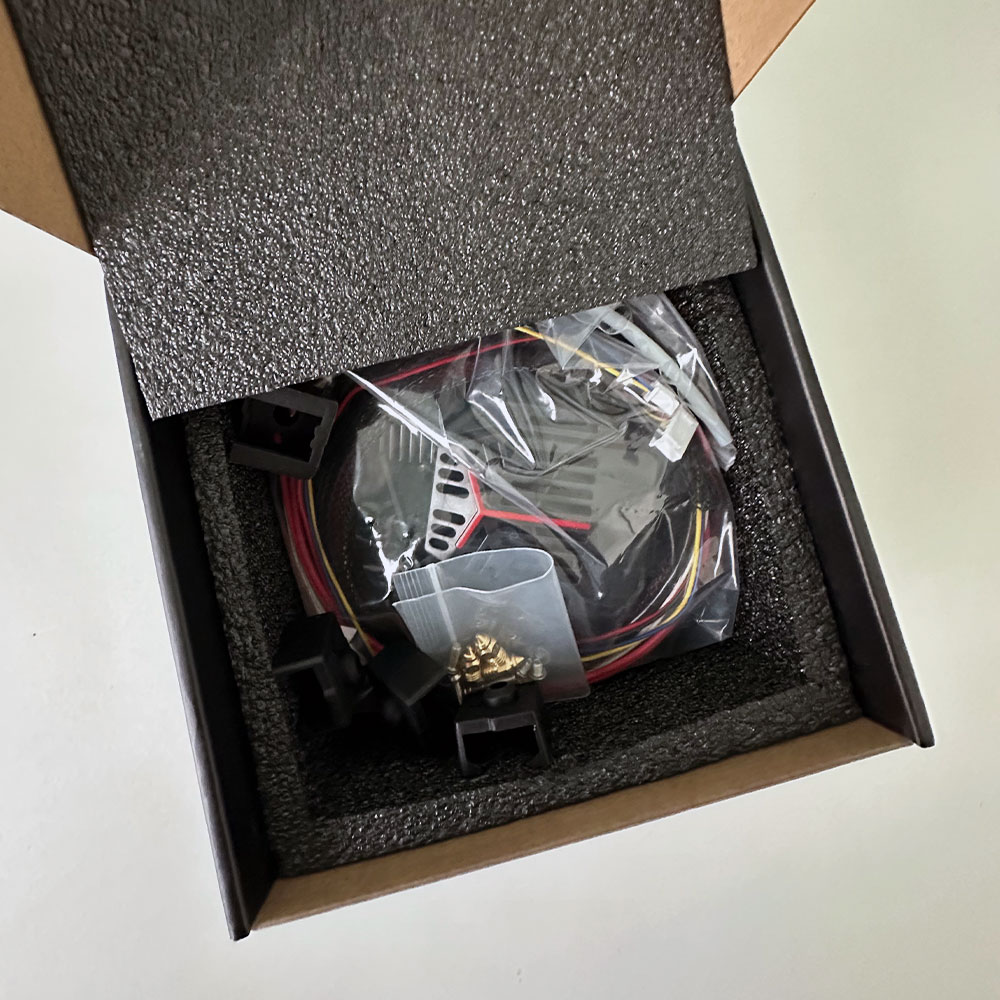
Assembly
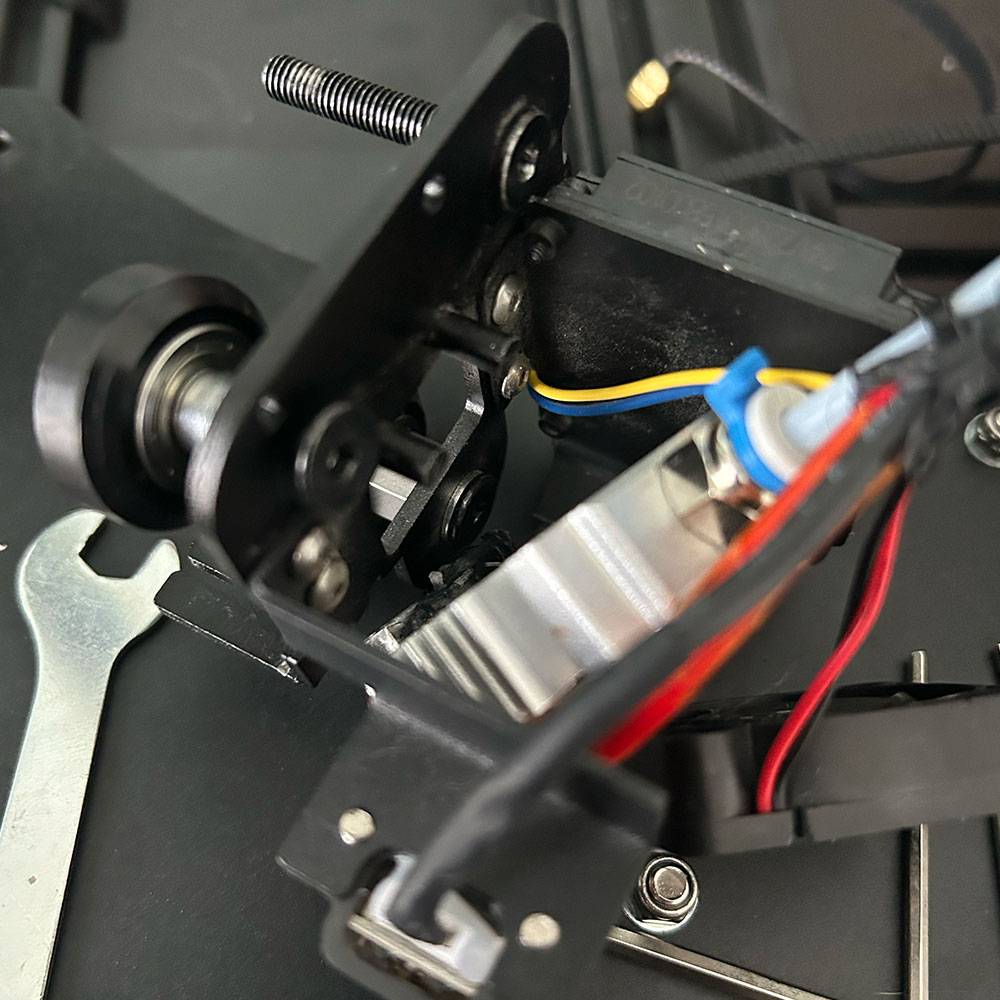
Remove Extruder
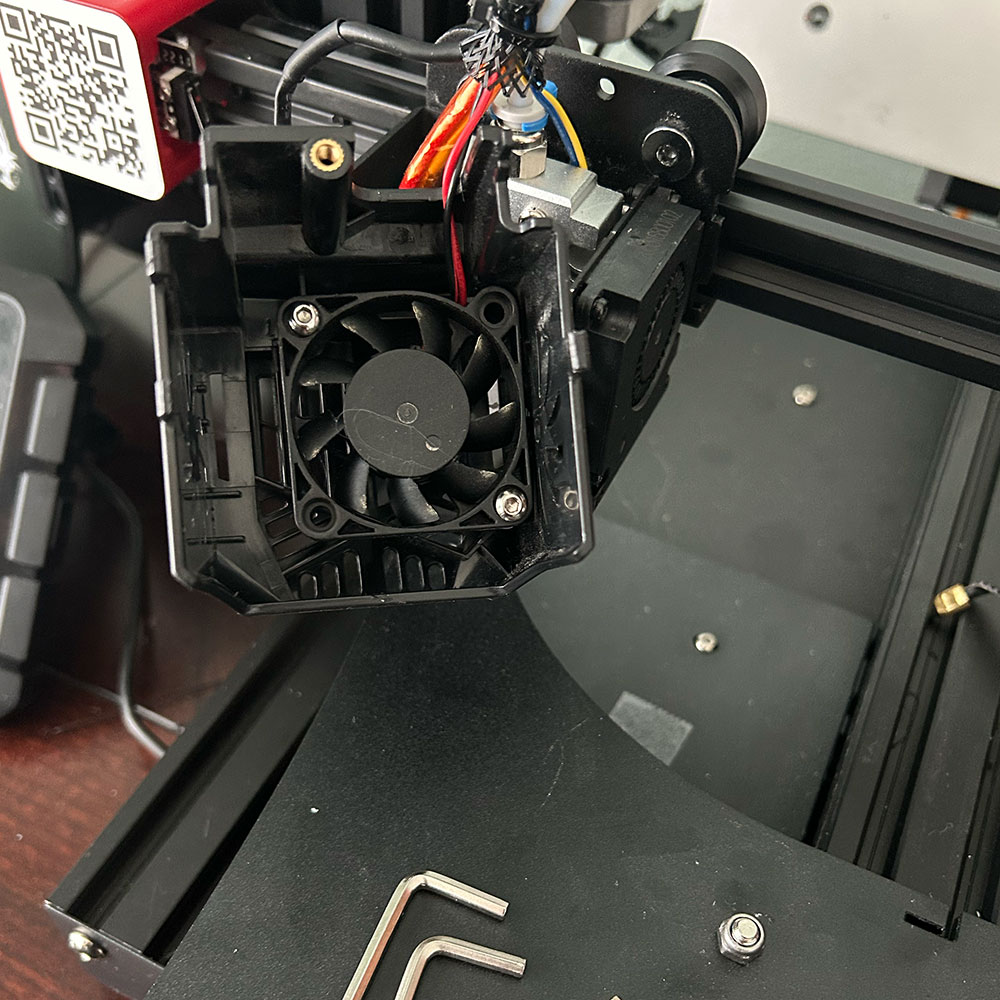
Unscrew the Fans
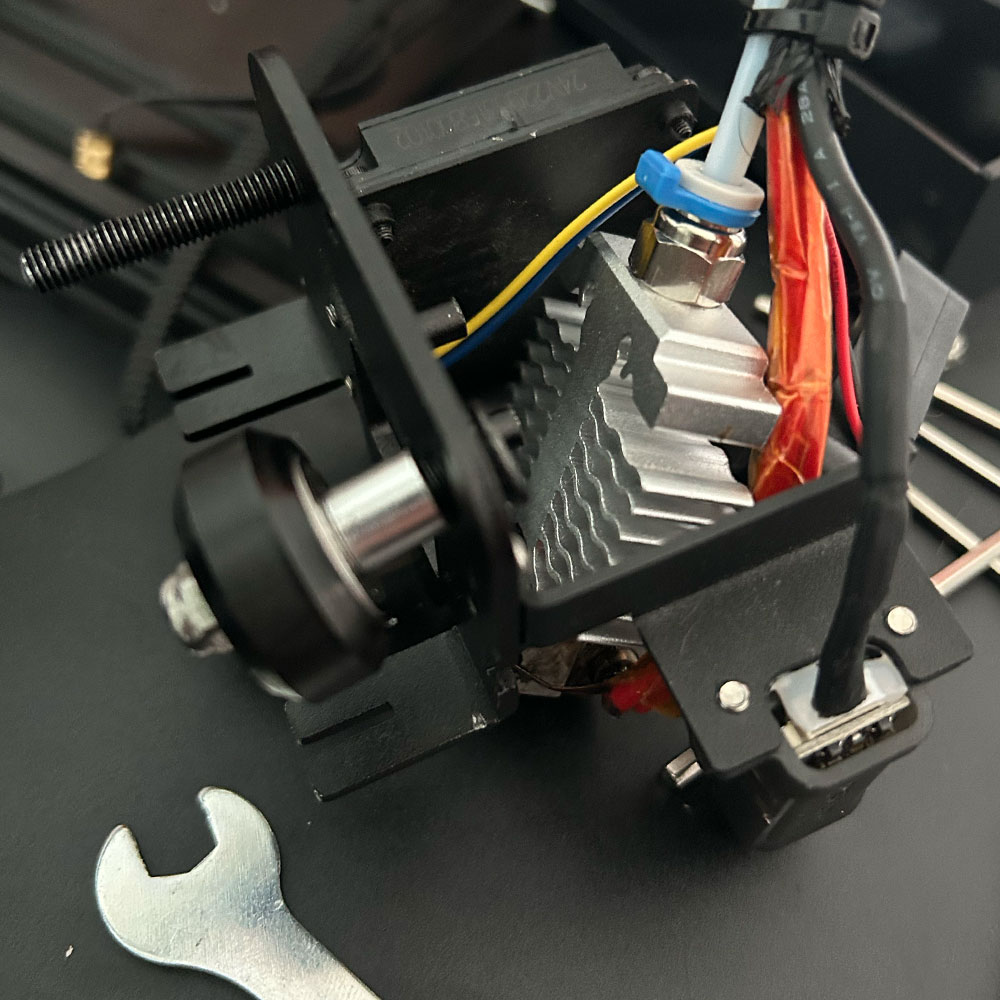
Assembly
Again, in terms of next steps and the TPU Update, the update is not a *requirement,. However, after seeing enough test prints, it’s time to make the switch. Here is the bolt on solution from Creality for the Ender 3-Series, MAX NEO. Moreover, what do I mean by ‘requirement’ above? In my opinion, it would be extremely difficult to print TPU printables using a Bowden drive. I’ve tried, and it doesn’t work well. Finally, the Bowden drive doesn’t provide enough filament force and direct force to the filament through the hot end, hence the need for a direct drive motor. So, I want to emphasize that there’s no need to buy a new machine for TPU printing. Simply, do the swap and you can print both TPU and other high-temperature filaments as well.
Quick update: since this post was shared, we have received the parts for the TPU updates, allows us to begin the direct drive build. TPU filaments and prints can now be done without the necessary upgrades. Let’s get into the build and upgrade action! Side note, before we move off the direct drive action, I’d like to share other Halot updates including the Halot LCD fix and other break-fixes when adding a resin printer to your arsenal.
Stay tuned for additional photos and mini-clips covering the installation soon. In the meantime, here is a brief unboxing and assembly tear-down. Thanks!
