
Full Install, System Inspection and Testing
TPU(Thermoplastic Polyurethane) Action – Sprite Extruder, Motherboard and Prints In Flight
Max Neo Upgrades: The Parts, the pain and TPU Series
Covering TPU Action, starting with the removal, adding modifications, clean-up effort, settings for successful prints and final production.
Why Upgrade, Pieces and Parts
Let’s start with the why. Why upgrade your Max Neo board, extruder etc.? The easy answer is successful TPU prints. Prints of high quality, with low errors (blips and globs), working usable prints and again, TPU. How long did the upgrades take, i.e. duration, to upgrade the required parts for successful prints? In short, the installation took 30 – 60 minutes, with tweaks taking an additional 2 weeks. The time to achieve successful and consistent prints was 2.5 weeks. This includes time for troubleshooting, adding/removing parts, multiple test prints (which might slightly affect the duration), and finalizing print settings within the Creality Slicer.
Slicer and Pre-Print Preview
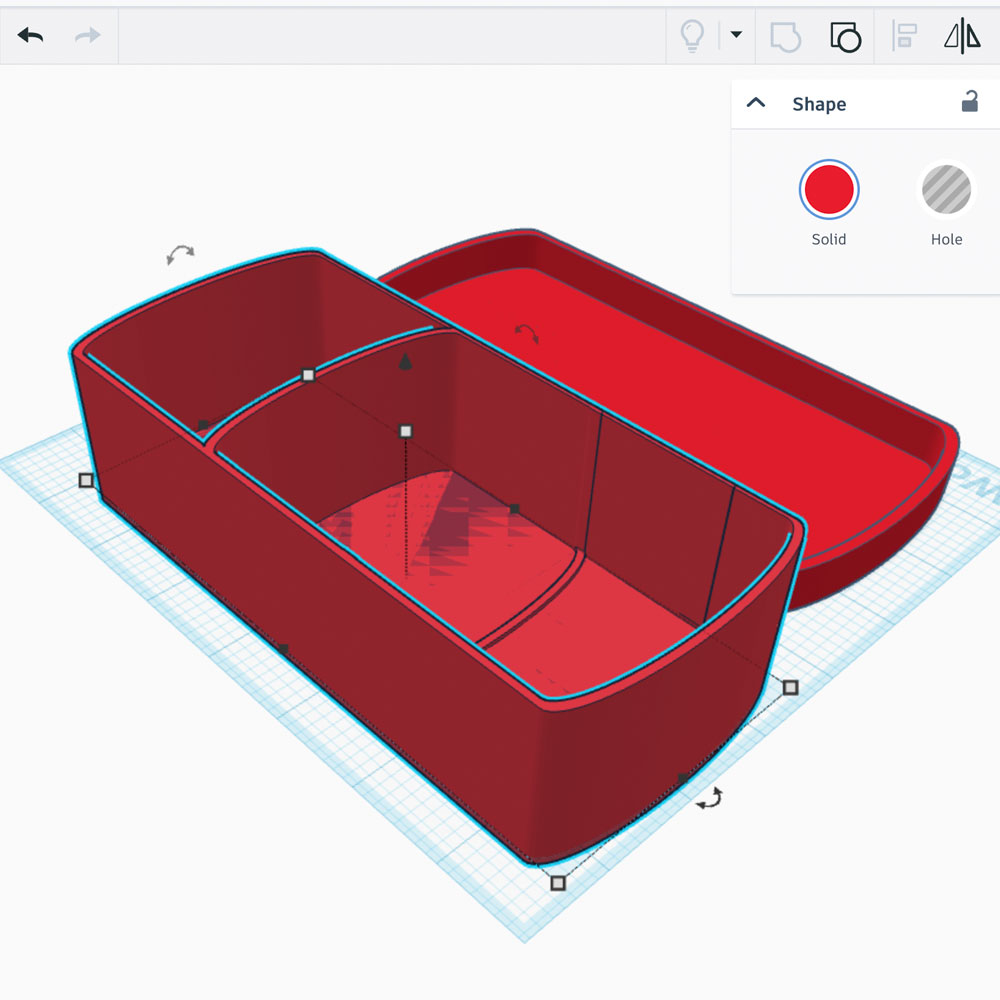
Tinkercad Design
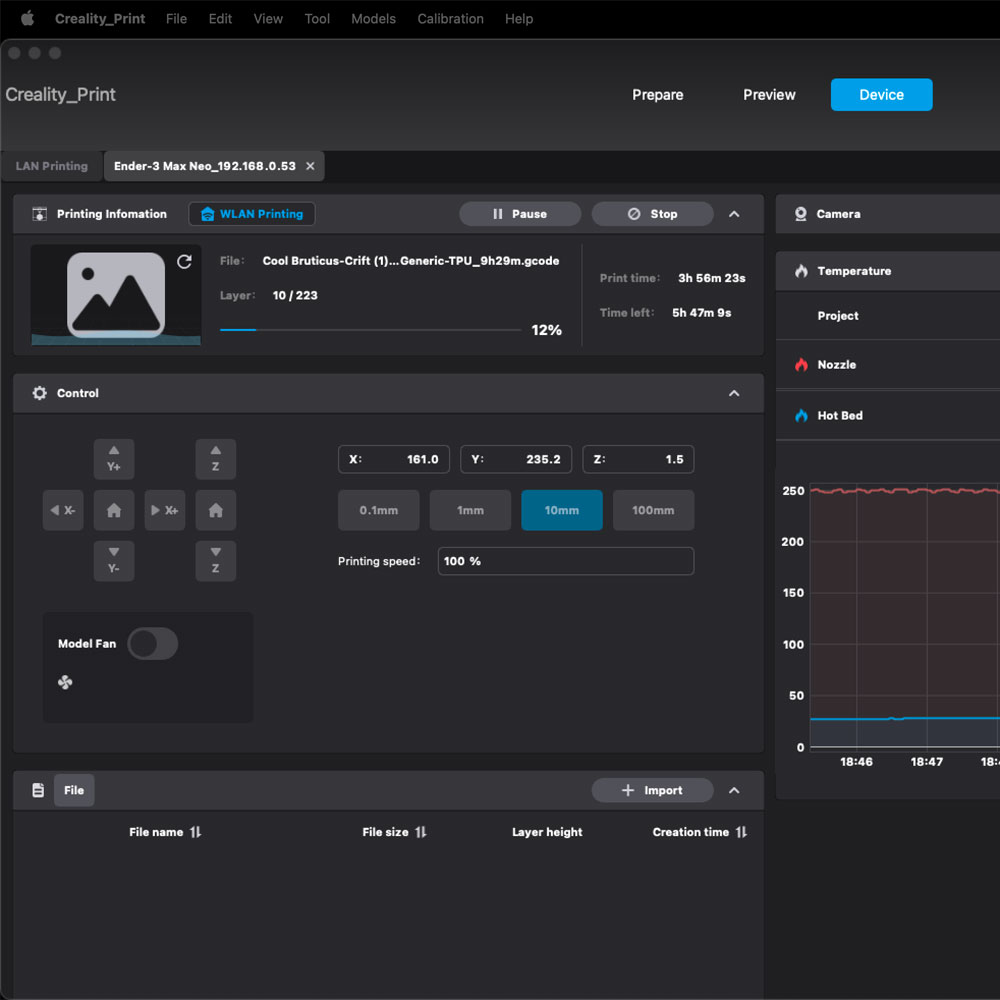
Creality Slicer 4.3.8
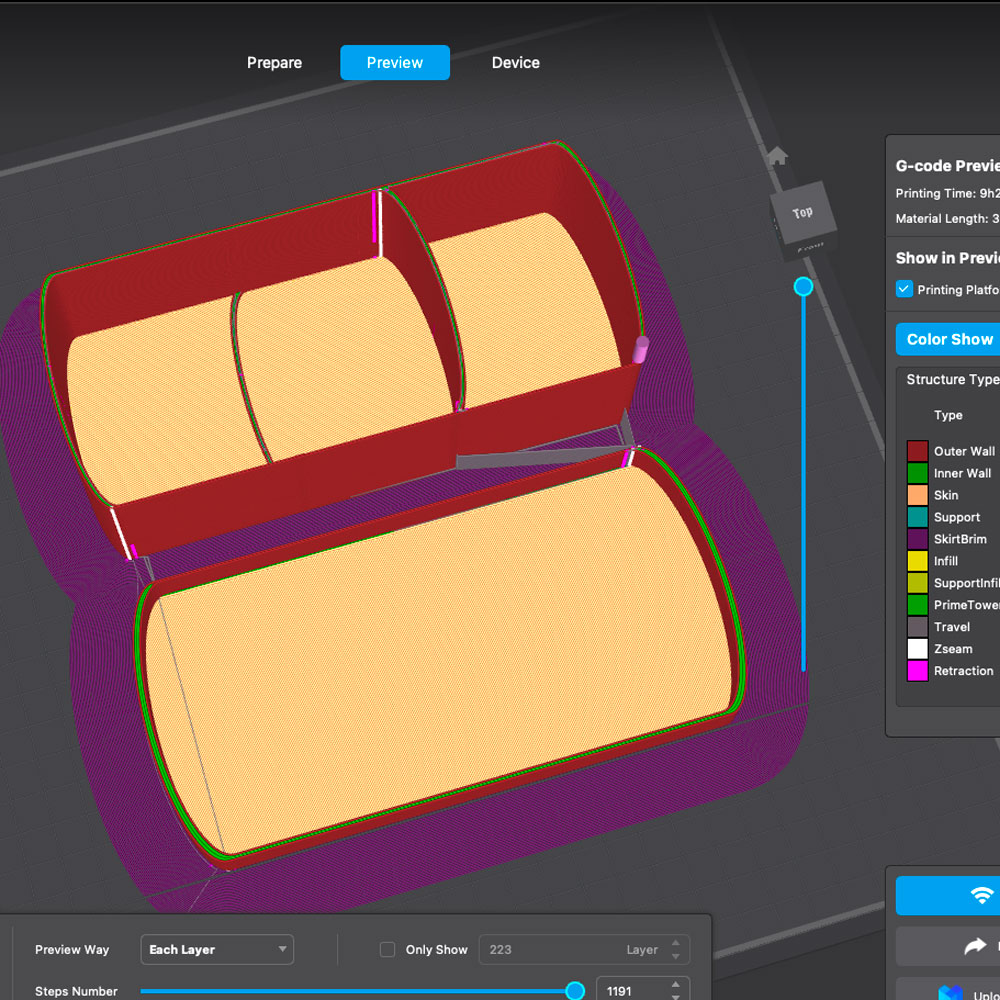
Slicer Pre-Build
If you have not checked out TINKERCAD yet, please do. This is where my drawings, ideas and digital designs come to life. It’s a web based application, specifically CAD (Computer Aided Design) software, used in the maker space and ideally in the global manufacturing industry. Tinkercad allows tinkers, students, and teachers to quickly learn, build and create in a simplified AutoCad environment. Tinkercad is like the younger sibling of AutoCad by AutoDesk. This web-based application is part of the AutoDesk software family which includes Fusion360, AutoCad, TinkerCad, and more. The point here is simple: if you’re looking for fun, easy-to-use CAD program, give Tinkercad a try. It’s free to sign up and create 3D designs, circuits and code blocks. It’s a very cool, fun, and free way to learn something new for #makers.
Next, let’s discuss the cost. It may be helpful to share the components that were included in this upgrade session – TPU Update. The parts are as follows, or you can skip ahead to the upgrade process in the second post of this series. Below, we will cover the parts list, Creality upgrades, Duramic 3D Filament and Wyze Cameras, for live video action.
Upgrade Shopping List – Electronics, Parts and Accessories
Sprite Extruder
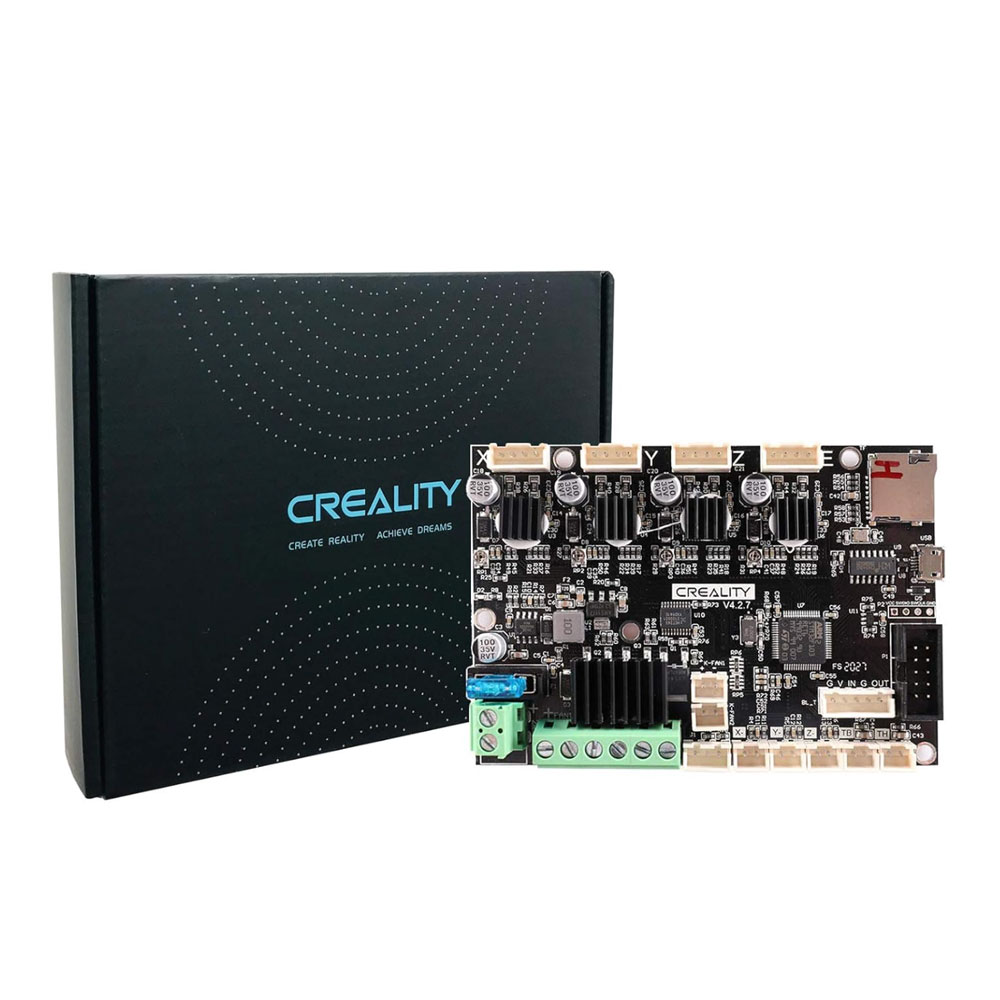
Motherboard v4.2.7 (Required)
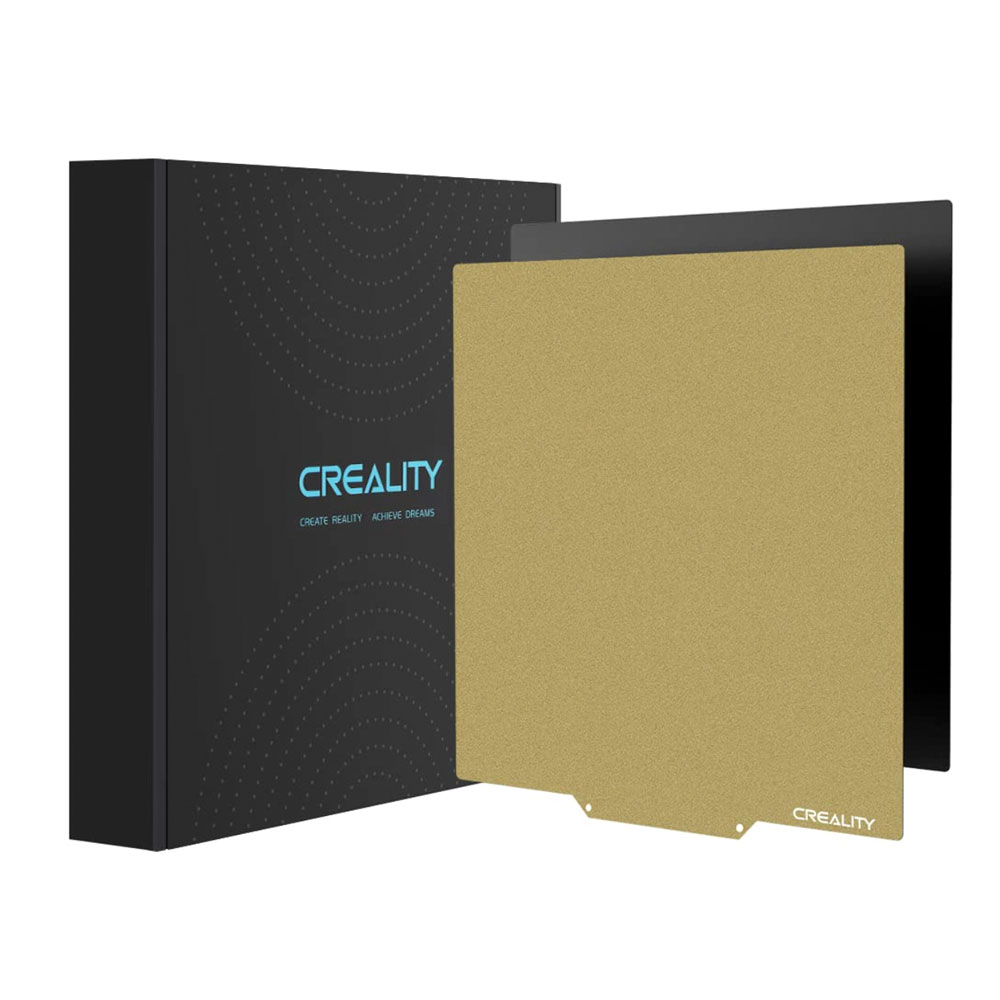
Bed Upgrade PEI

Digital Spool Rack
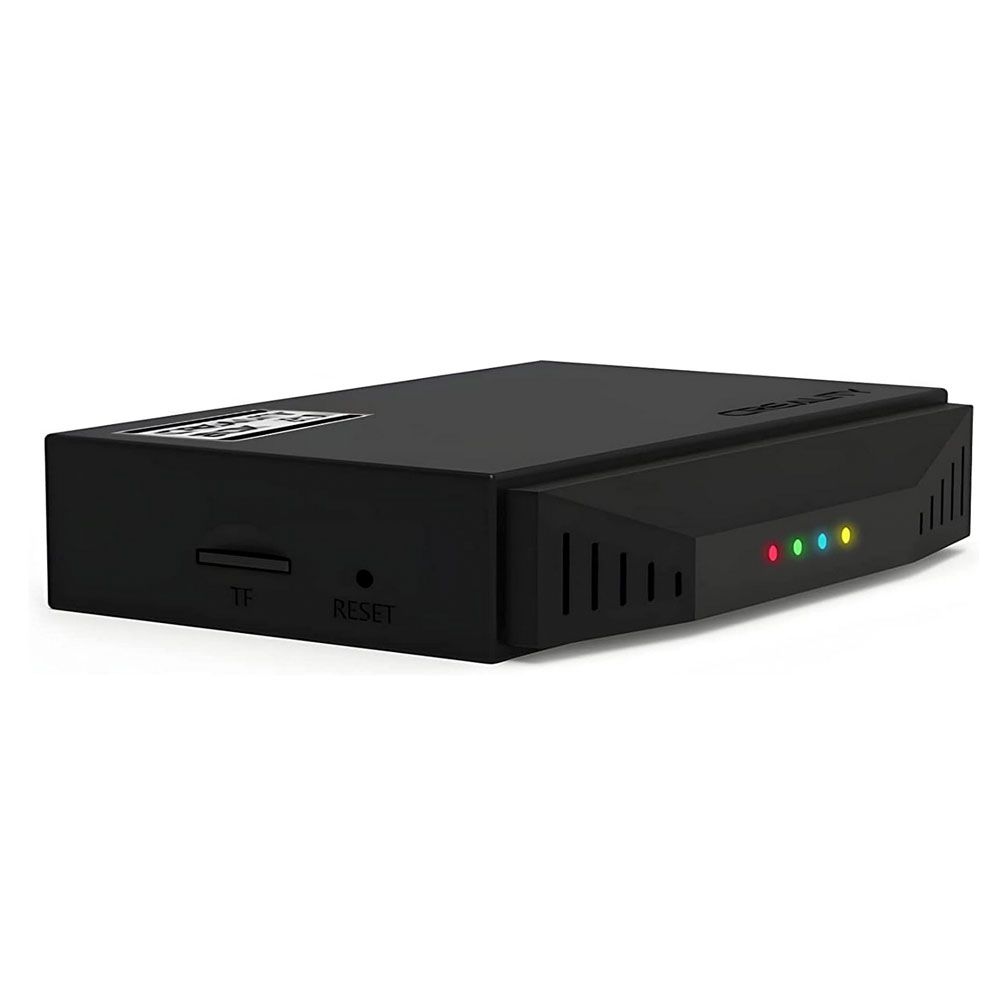
Wifi Box 2.0
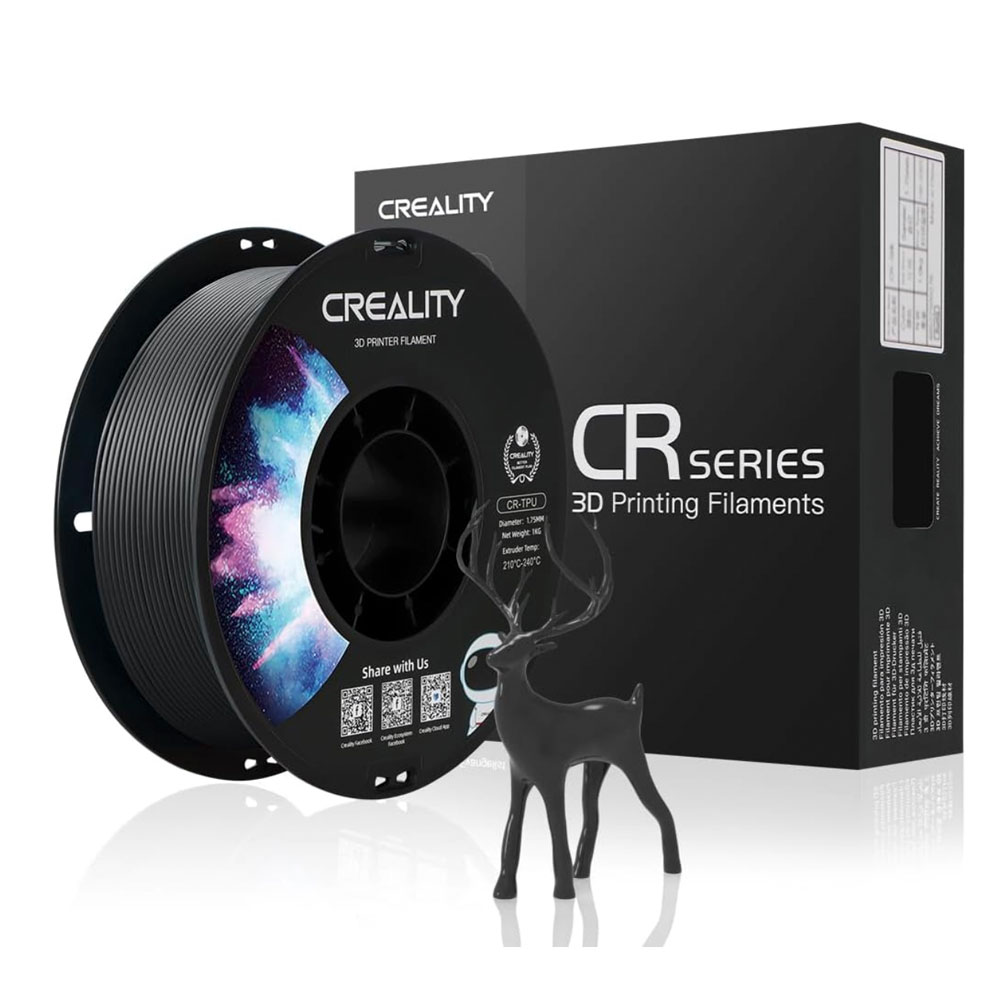
Creality TPU Filament
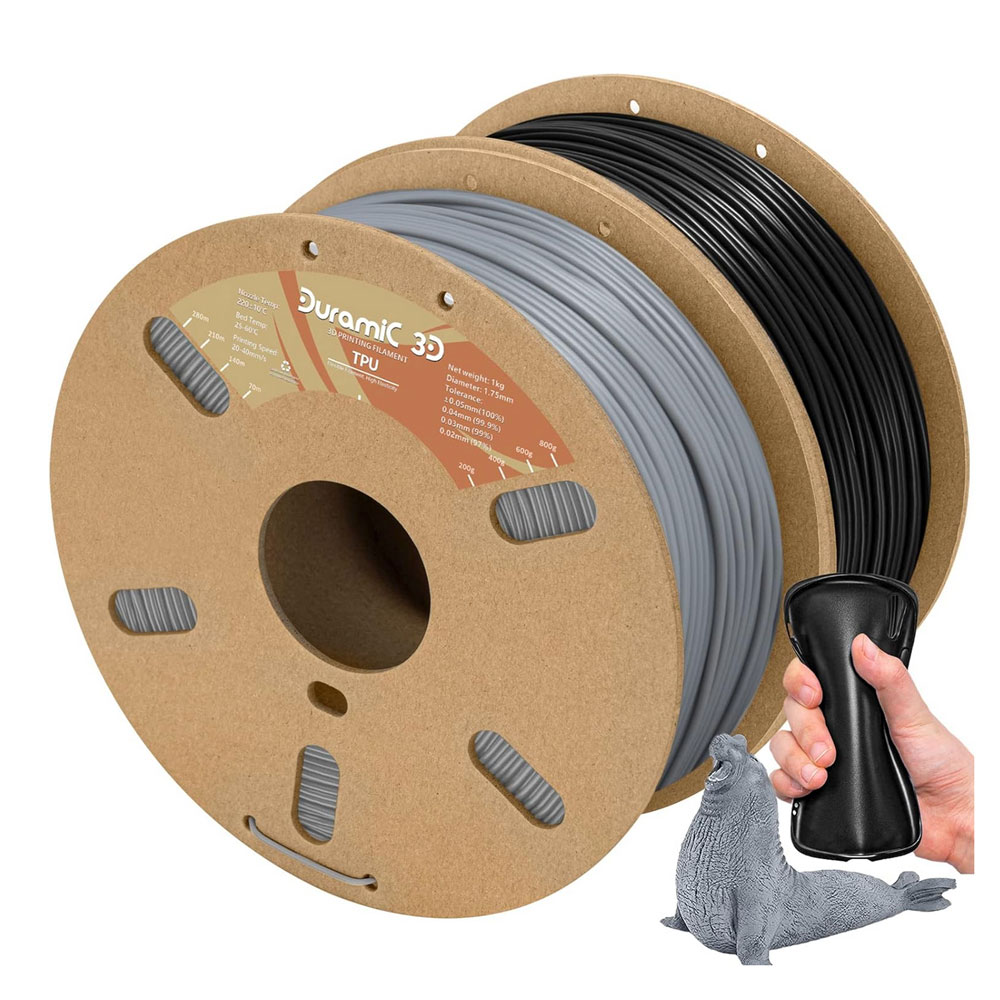
Duramic 3d TPU Filament
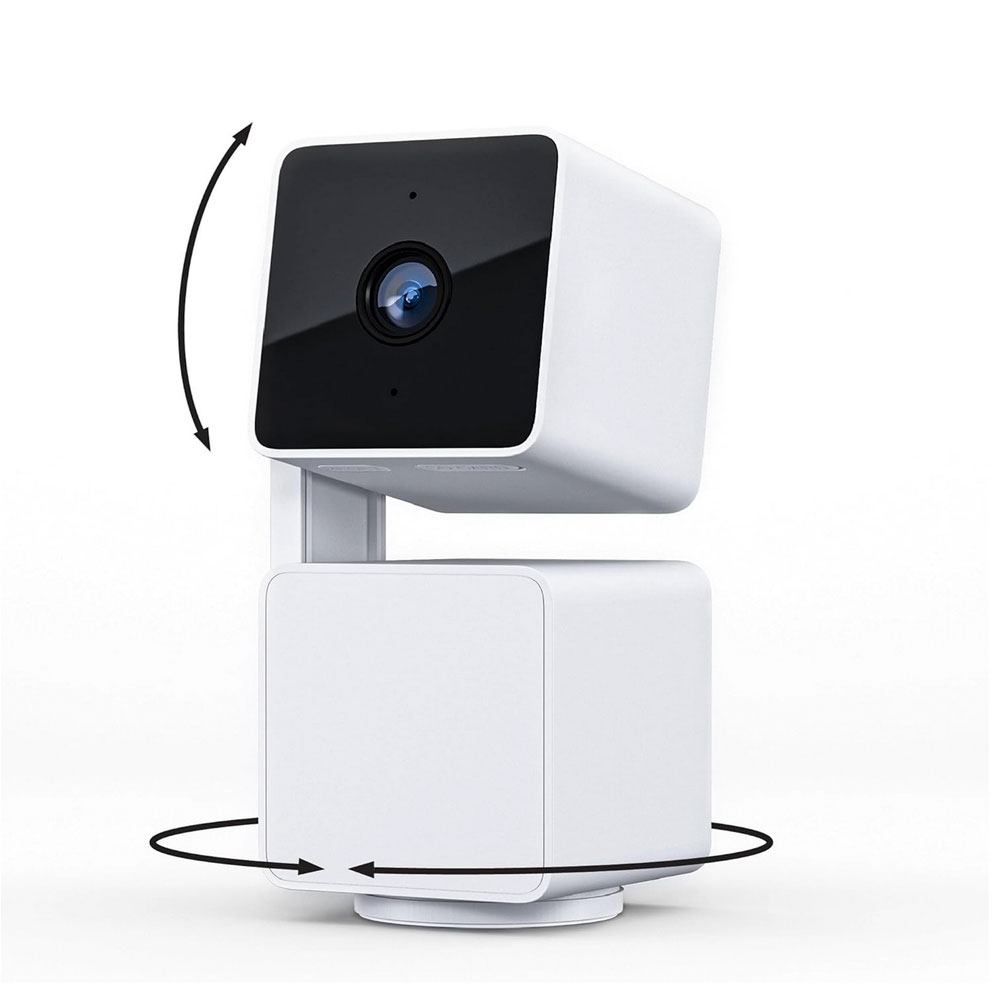
Wyze Cam Pan
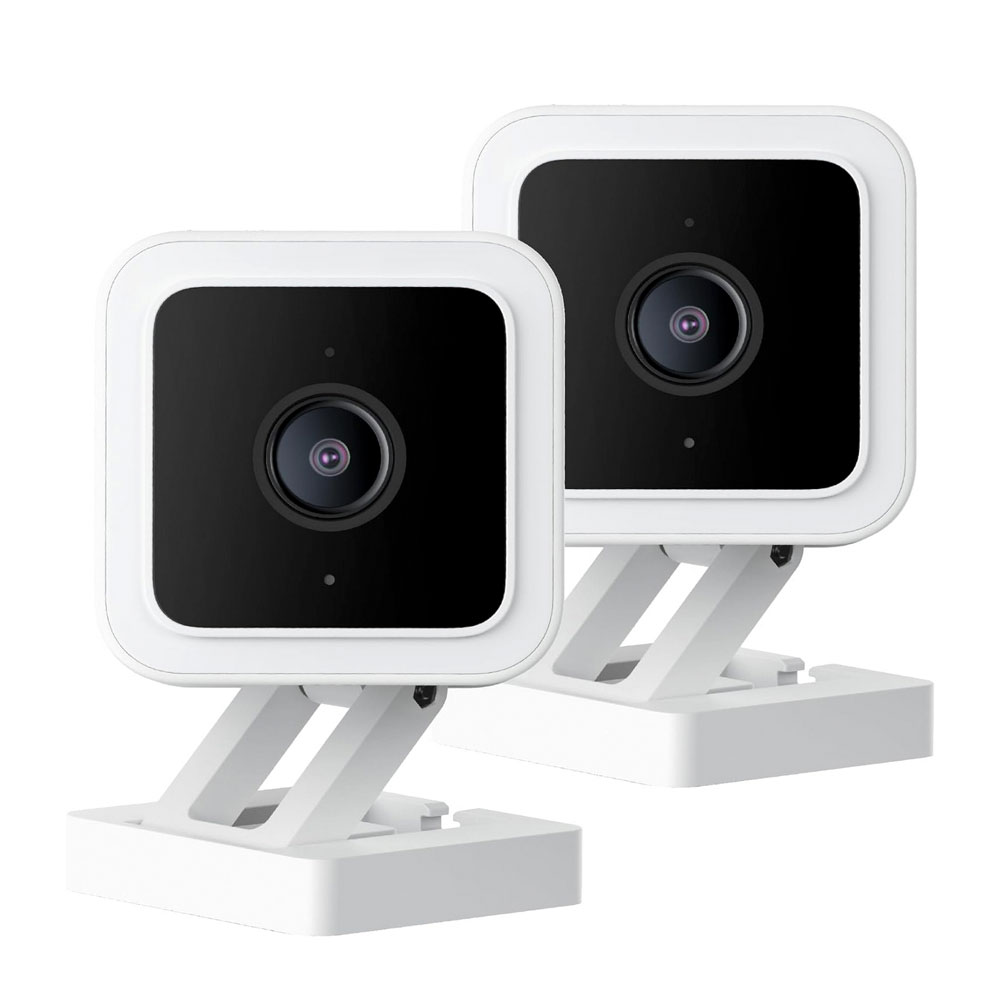
Wyze Cam v3
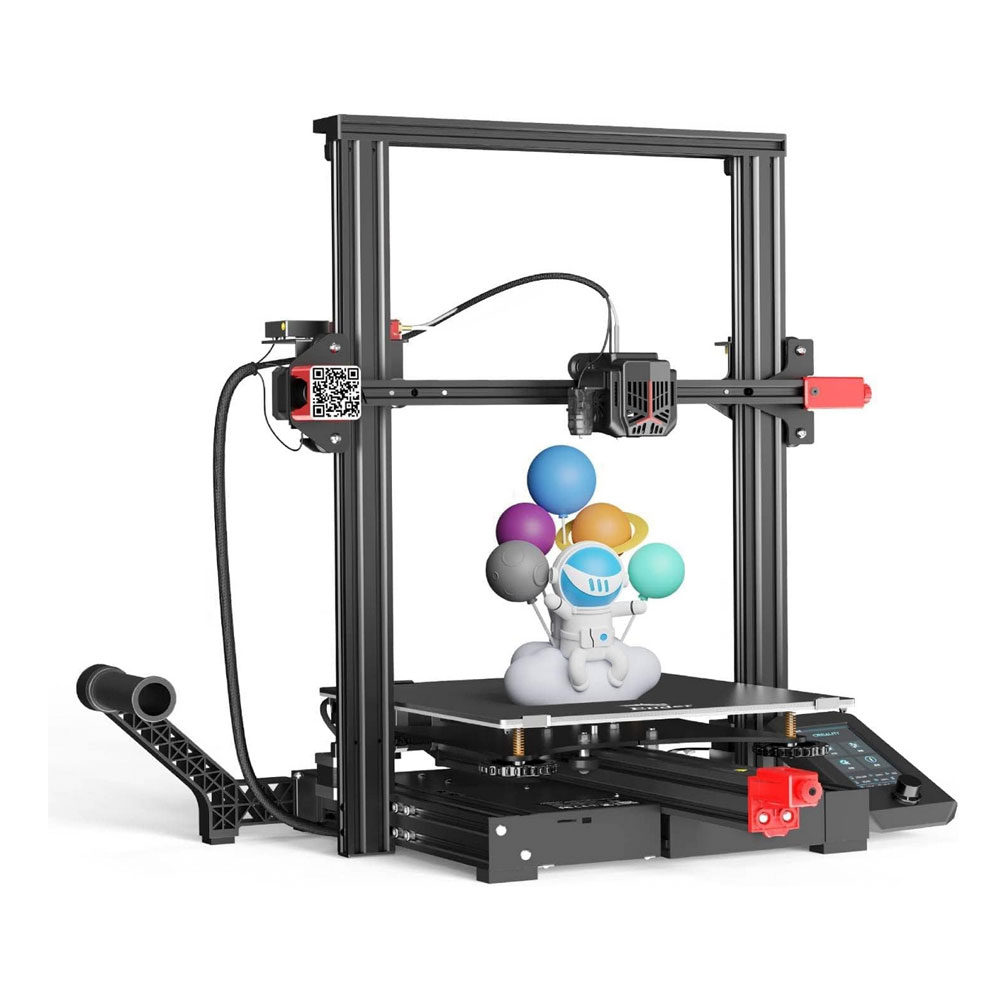
Refurbed Max Neo