Creality back plate note, be sure to tighten down bolts, axis bands so that back plate for the extruder assembly remains in line and centered.

Rebuild In Progress, Part 2

Pre-Assembly, Rebuild In Progress

Assembly & Direct Drive Rebuild, 2
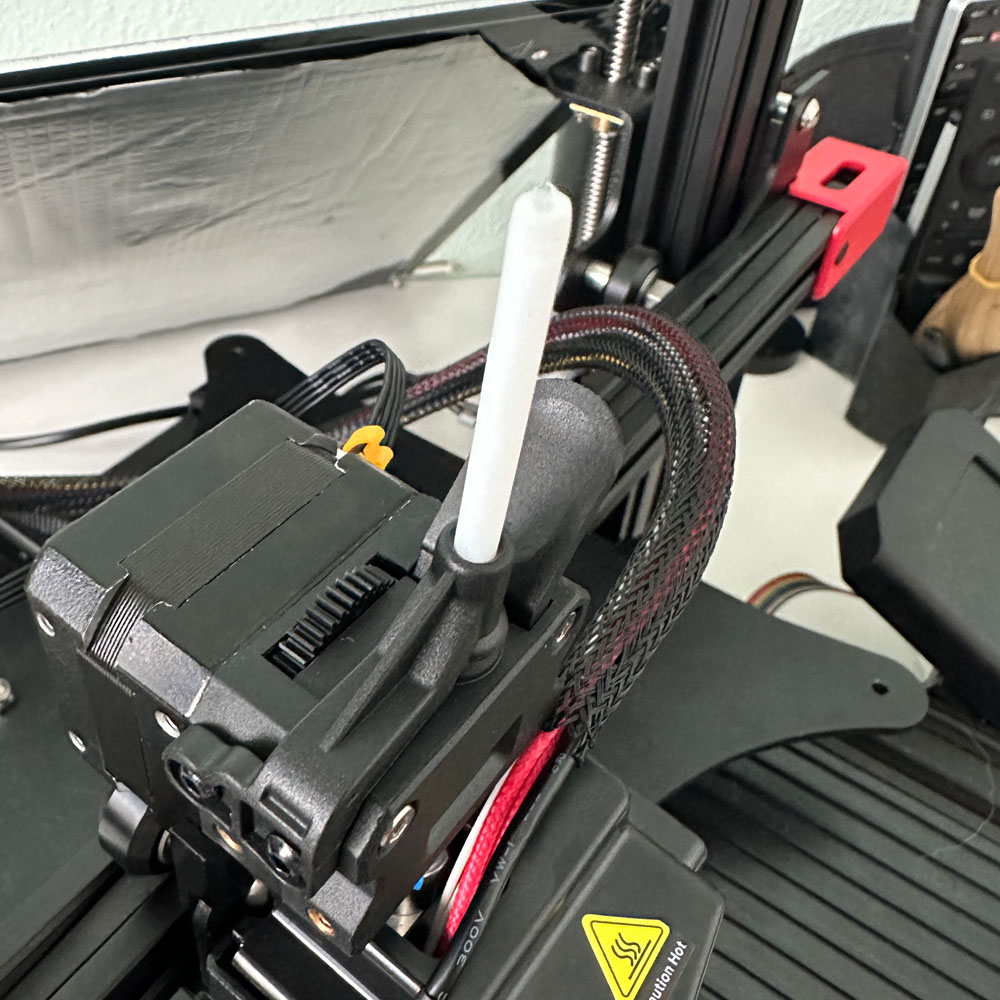
Ender Part 2 Direct Drive

Lab Work – Rebuild In Progress, Part 2

A few steps forward now, we pick up with the bold on extruder assembly and assembly backplate here in part 2. So, we continue the rebuild in progress, part 2

Focus, Removal Of Bowden Drive
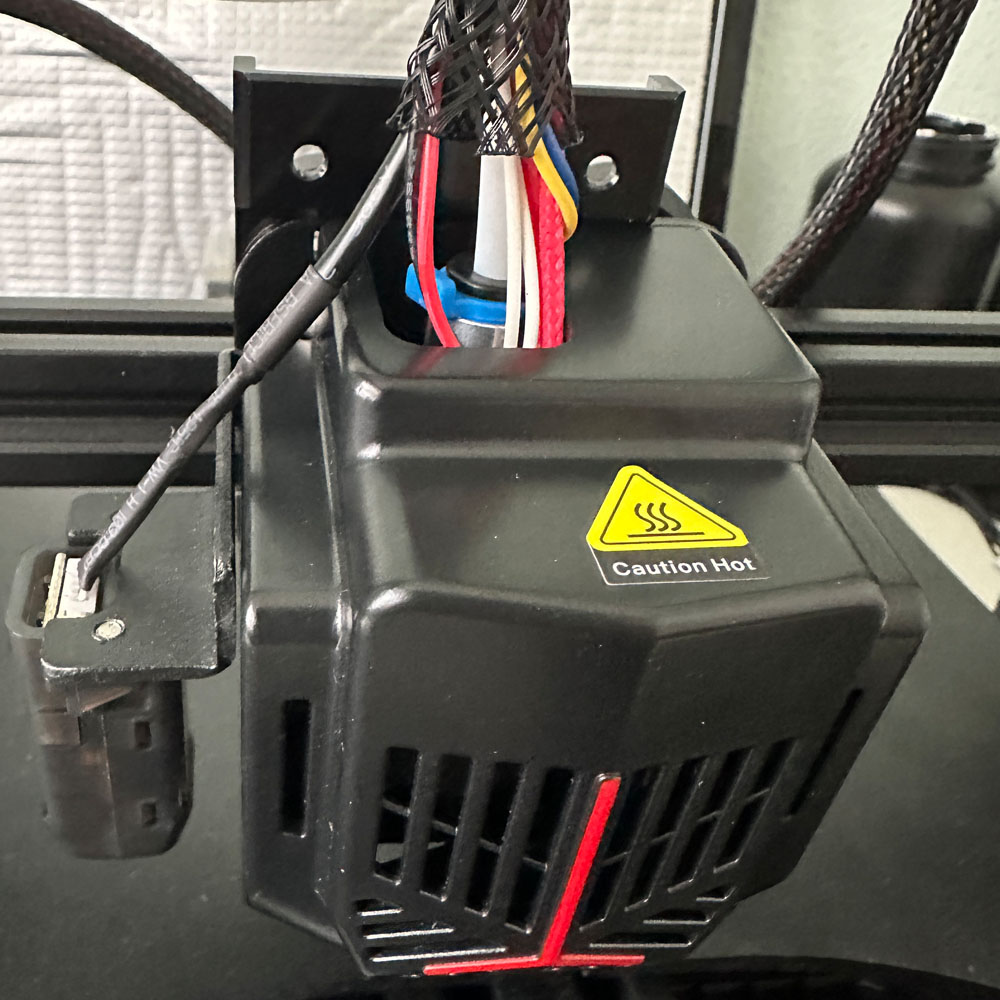
Fully Assembled

Fully Assembled

Remove Housing

Remove Housing

Extruder

Extruder

Remove Fans

Remove Fans

Remove Extruder

Remove Extruder

Disassembly

Disassembly

Hot End<

Hot End

Clip Tubing

Clip Tubing

DD To Extruder

DD To Extruder

DD Tubing

DD Tubing

Motor Clips

Motor Clips

Motor Control

Motor Control

We continue with the Rebuild In Progress, Part 2, following on from the previous article in the series, Rebuild part 1. We are discarding the original backplate and incorporating new assembly hardware (correction, new back plate needed see that update here). Unfortunately, the new OEM plate was not compatible with my setup, so I will salvage the new wheels, screws, tightening washers, bolts, and spacers where possible. I quickly performed a dry-fit of all the components, including the screws, spacers, wheels brackets, probe (a black, narrow plastic piece with a probe), side fans (with yellow and blue wires), and heating element (comprised of a heater, heat sink and extruder).

For the final step, make sure to tighten the wheel screws, fan, drive belts, and extruder before installing the heating element. The order in which you do this is important, just like when removing the Bowden drive, brackets and extruder tube. We will reuse some of the old tube to guide TPU filament into the new direct drive extruder. Next, install the extruder fan (red and black wires). Now,  you can unscrew the two top wheels and install the new direct drive platform, secure it, and snap on the carriage case (note: the hot side should be on top).

Next, attach the direct drive by clipping it onto the tube provided tube, then  snip the tube after a fitting or two. Ensure, the fit is correct. Screw in the direct drive platform from the backside of the plate, which should be installed on the last step. After securing it, connect the direct drive motor to the main line by passing the frame platform where the old extruder motor was located (refer to the last couple of images) and place the harvested tube for the filament.

Easy, right? Part 3 will be coming shortly. We will cover that tomorrow. We need to replace the heating plate, power on the machine and change the step movement.

Ender Teardown

Let’s Kickoff the Rebuild With A Teardown

Ender Teardown, Rebuild – Start

Unpack - Ender Internals

Lab Work – Teardown Part 1

A few steps into the Ender Teardown – follow these steps to open the 3D printer housing or bottom hatch. Replace extruder wires, internal fan wires, jumpers etc. Check out the timeline below presented in editorial form.

Step One
Motherboard

Motherboard

Old Wires

Old Wires

Remove Hot Glue

Remove Hot Glue

Fan Ports

Fan Port

Rewrap

Rewrap

Reattach

Reattach

Power On

Power On

Next Steps, Step 2

Voila! The first phase (teardown) is complete, and  we are moving onto Rebuild Part 2, which will be more challenging. This part of the build will involve swapping the extruders from Bowden to Direct Drive and potentially replacing the back plate depending on the hardware and tools required. It’s important to note that the back plates are not identical and will need some adjustments. We plan to proceed with the swap and salvage the old plate. It shouldn’t be too difficult, especially now that we have completed part 1. Removing the hot glue can be tricky, but once you get past that and the screw, everything should go smoothly.

This seems like a good place to end. I will post another update on the tool set we used to complete the Ender Teardown. I have recently added a Klein driver set, a handy multitool to complement the new Tekprem Torx set. Check back soon for more updates in round two!

Max Neo Back Plate

Wrong Parts, Wrong Parts Received

Back Plate and Rail Wheels

Old Rail Cart

Lab Work – Working Through The Challenges Associated With 3d Printers, Printing, Upgrades and More

Relieved my Max Neo Back Plate, the long awaited parts are on the truck this morning

Quick update, all the parts needed to update the Ender 3 Neo Max to run TPU filament through the new, upgraded parts are in. They are within arm’s reach and ready to be installed to complete the initial TPU build.

Unfortunately, I want to go on record and share a warning. I will post the tear down at some-point. So, the essence of the warning is to be careful what you order. Makes sense, right? Cross reference and cross-check OEM parts, refer t your 3D build, and ensure fit and compatibility.
 
Build progress has stopped because we have the wrong assembly cart, ideally we should have the Max Neo Back Plate, or back plate. The plate configuration (proper mounting holes, size, shape) is off. If you’re new to the site, check out the Max Neo challenges in the Output archives… For those who just want to see the TPU rebuild go here, but understand his – we had a few prints that went sideways. By sideways, I mean the extruder was found buried in filament, grinding away at the build plate.
 
What’s Next
Ultimately causing a meltdown, and plate parts found elsewhere etc. Prior to the blow out, we have a few successful TPU test builds are in hand, but are error pron. More like the standard build (Ender 3 Neo Max Bowden Extruder setup, standard build from the factory) minus the upgrade, if you can believe that. Please note that sometimes you have to ‘break’ things to truly figure out the right path or change paths, so to speak.
 
Anyhow, not to belabor the point here, but, we have all the necessary parts to start rebuilding this machine with the correct parts and extruder. This will allow us to build more ‘things’ with an array of filaments.