Glue And All
Teardown and Rebuild M1 Touchbar
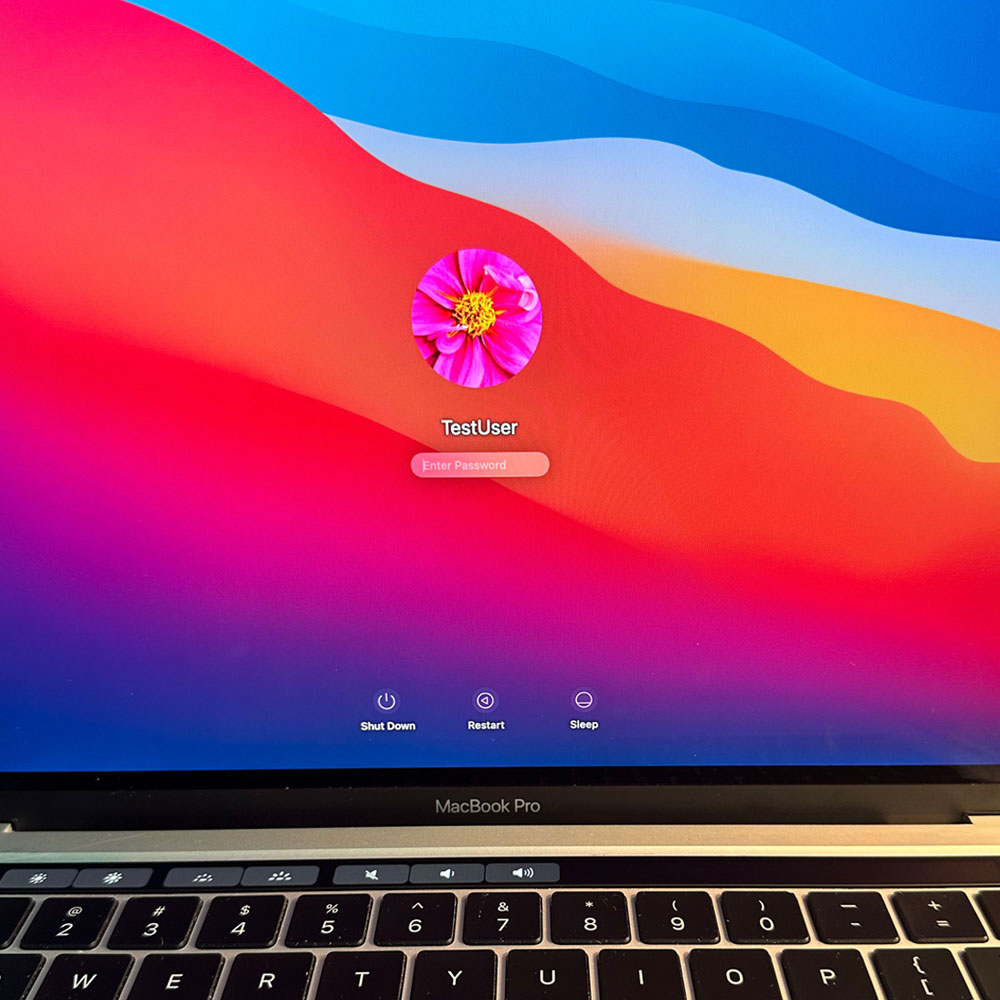
M1 Update – Touch bar
Take your time! I can’t stress this enough. This process of building this feature article, the M1 Touchbar, will require time, patience and a steady hand. It is important to take your time and proceed with caution. The article includes over 50 steps, so proper case is essential. If needed, consider seeing a professional help. There are easier alternatives available, but they may be more expensive.
For example, you could purchase the correct make/model upper case where the touch bar does not need to be removed and replaced. However, finding the right parts may not be as simple as it seems, especially for a model that is just coming out of warranty. This challenge is common when repairing newer or cutting-edge electronics. In some cases, it may be easier to purchase a new computer, second-hand computer and replace only the parts from the existing machine.
Keep Your Work Area Clean, Clean As You Go
We clean up as we go, there were glass fragments before, during and after this process. Handle with caution and care. Glass and debris (dirt, hair, fuzz etc.) must be cleaned up as you go. The goal is to leave it better than the you found it! Ditto on Teardown. The same goes for the battery, battery cable, main screw, hinges, LCD cables, display, display hinge covers, cables (springs), antenna cables and assembly, LCD, remove antennae, main hinge screws, and remove LCD. First, perform an LCD check to ensure the new LCD works.
Disassemble Upper Cables
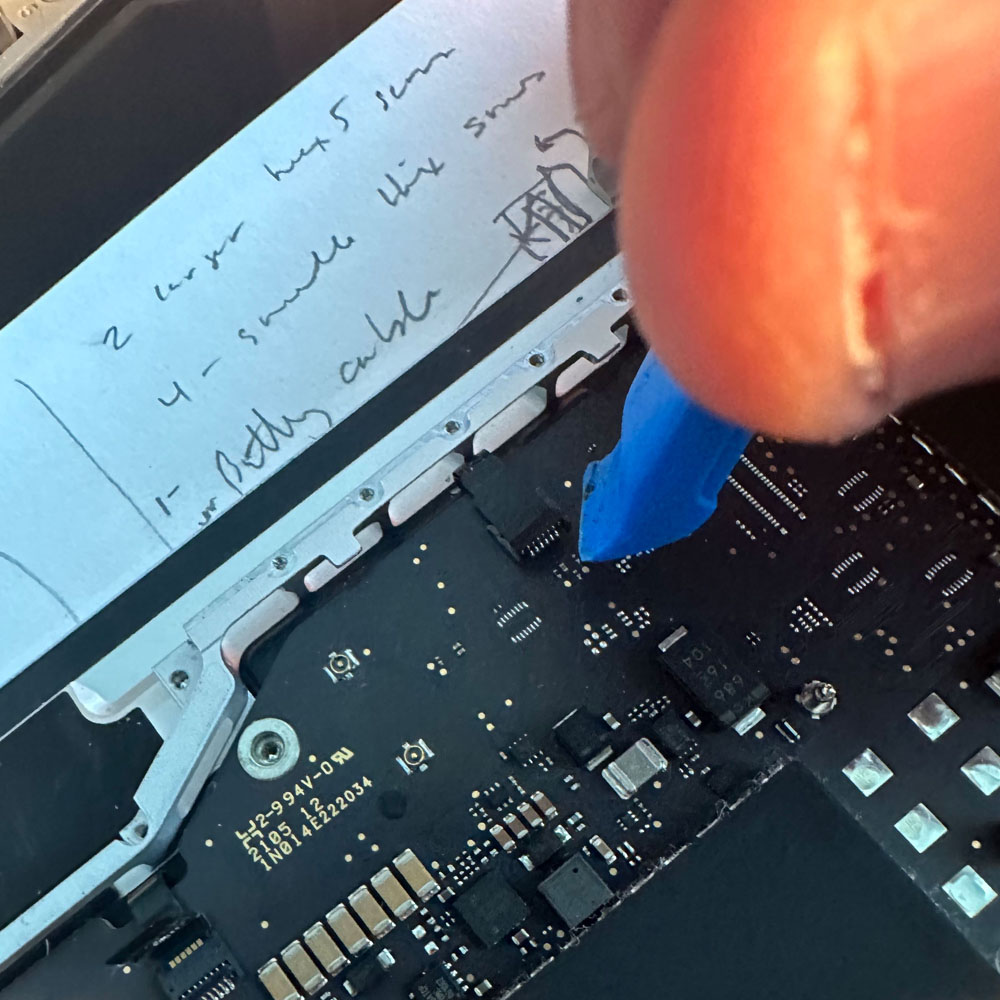
Board Cable(s)
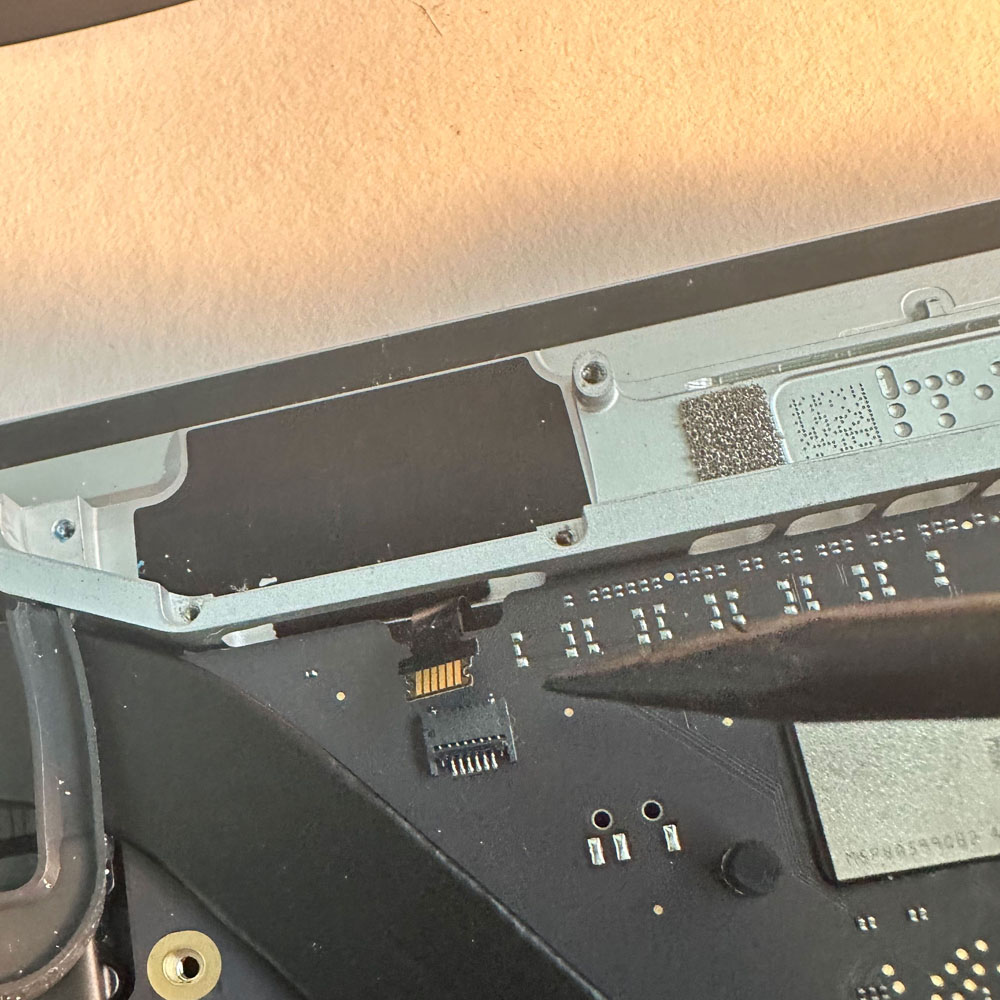
Disconnect Board Cable(s)
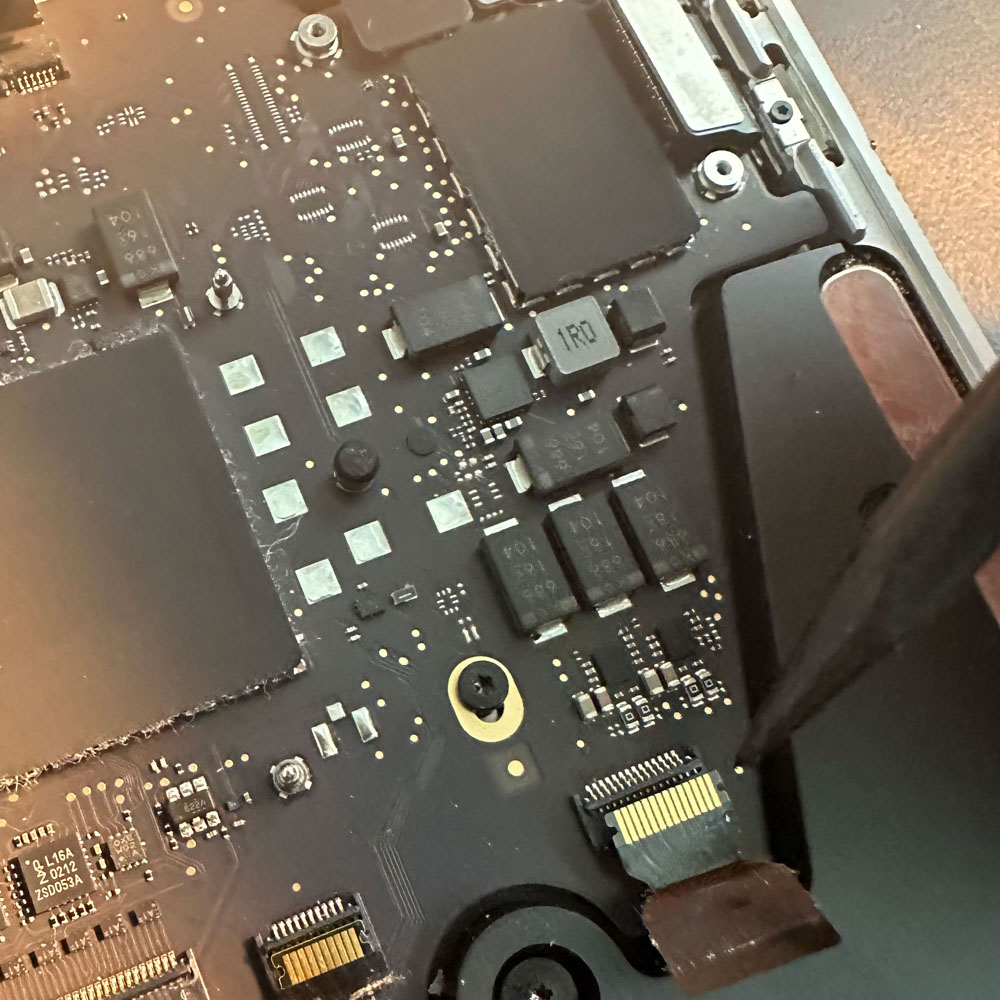
Unplug Connectors
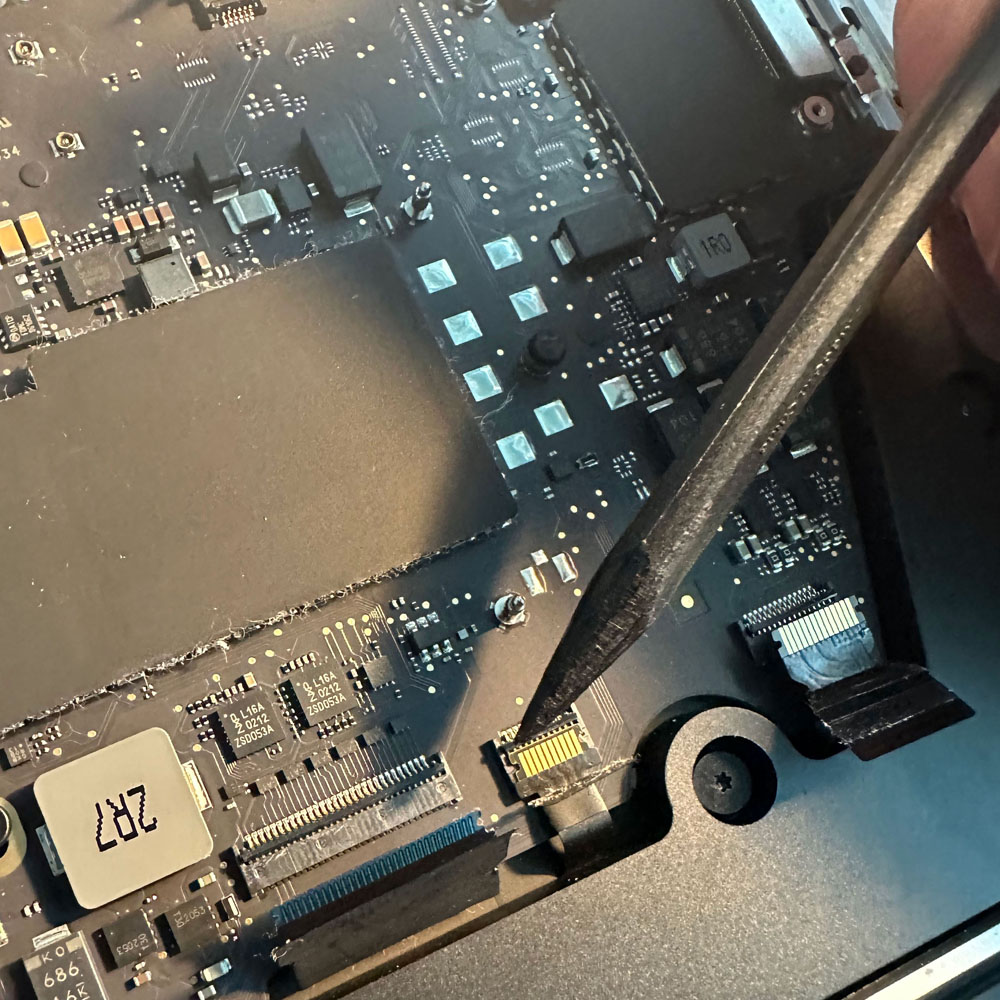
Disconnect all Cable(s)
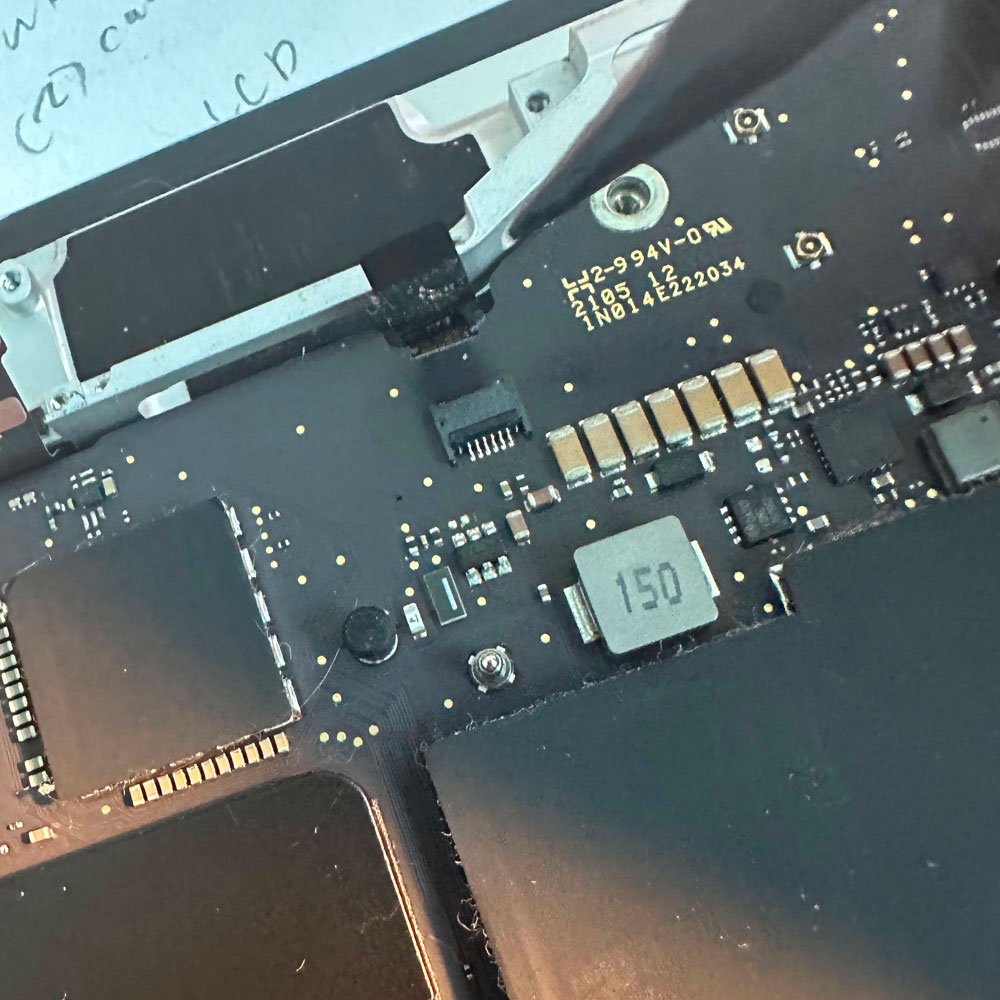
Board Cable
Starting here with the upper disassembled, we have the main logic board, power brackets, cable brackets. We need to disconnect the trackpad, speakers, logic board flex screws and cables. This is where we can begin the touch bar assembly replacement. Everything is bundled up, with covers, varying screws, and electronics tape. It is important to have your replacement ready once you have removed the main board, speakers, and trackpad. This is where things get tricky!
Continue Disassembly & Board
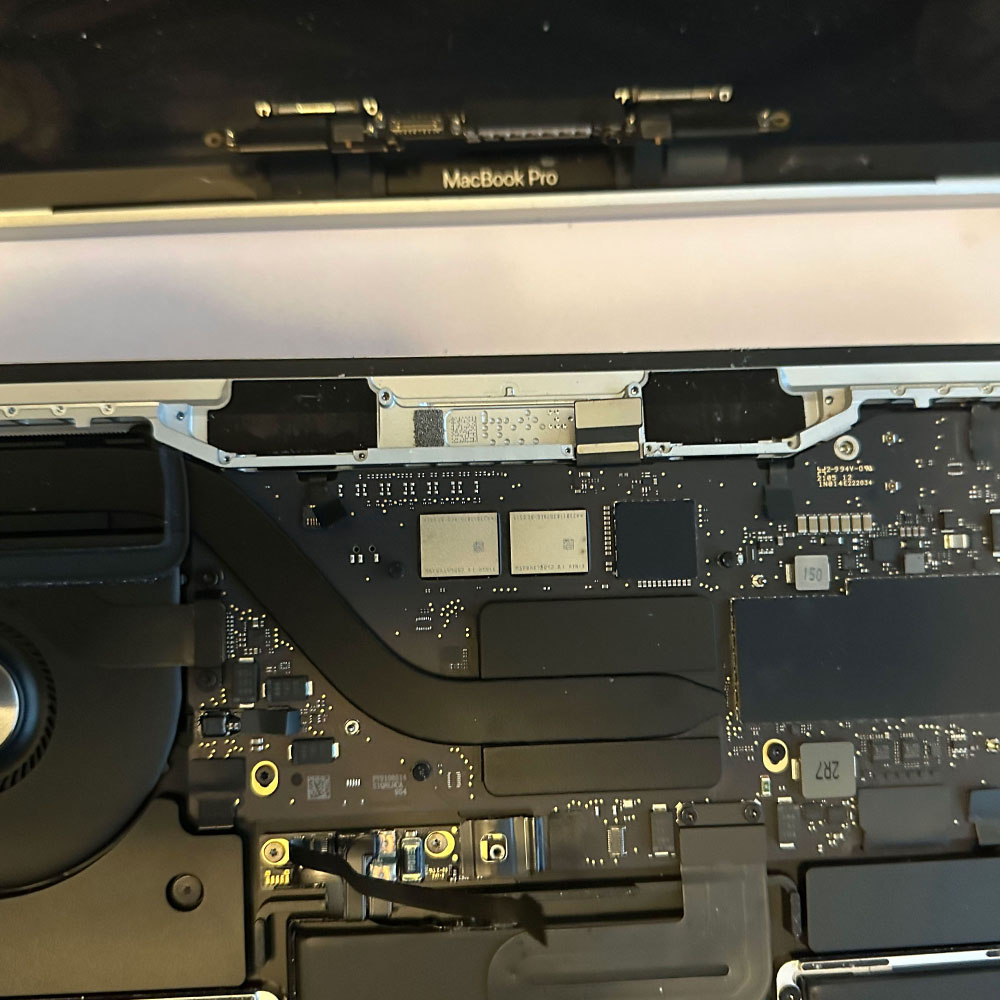
LCD Removed
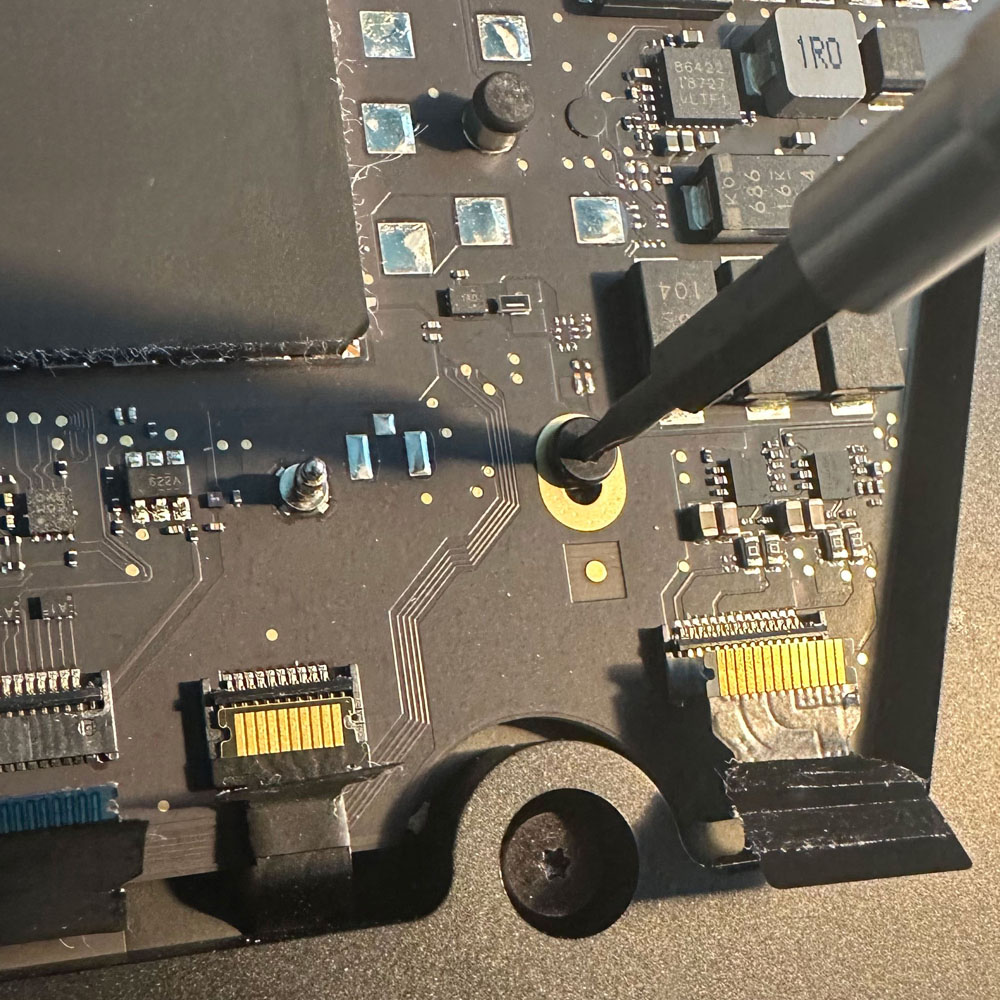
Board Screw(s)
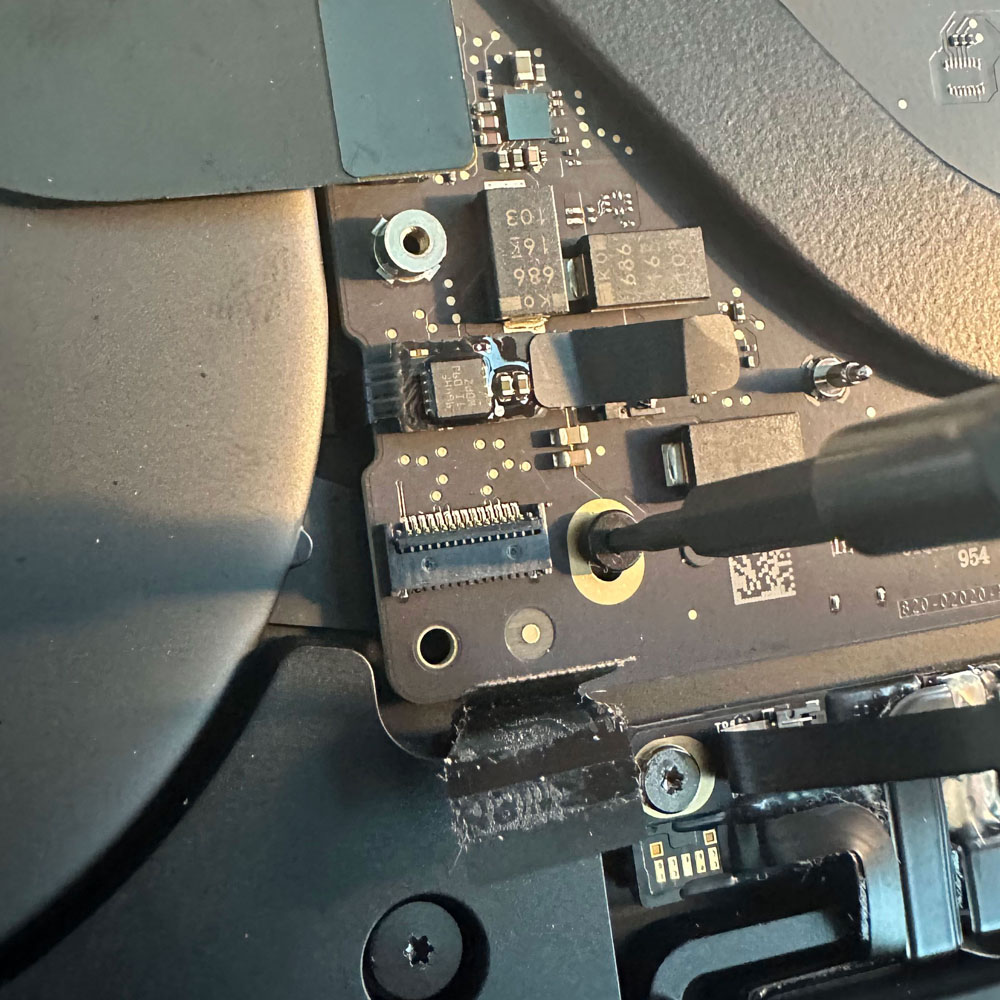
Continue Disassembly
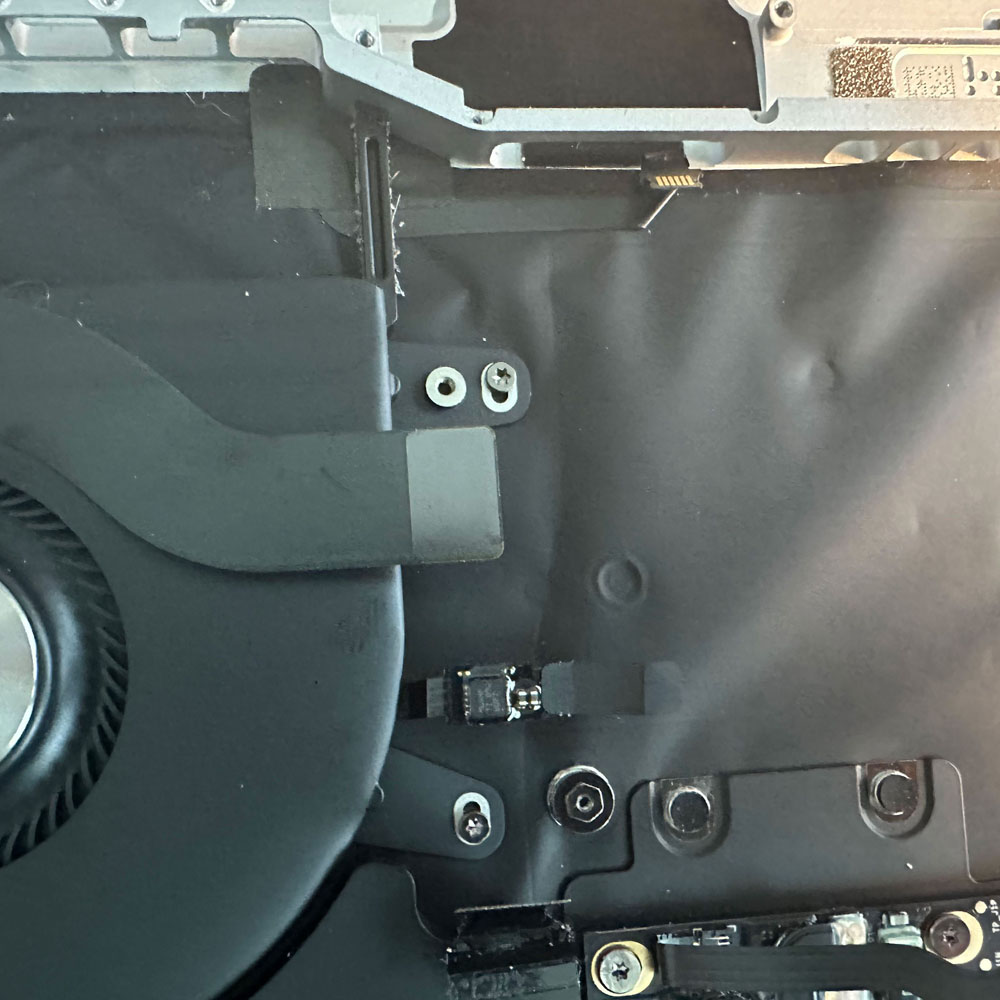
Motherboard Screw(s)
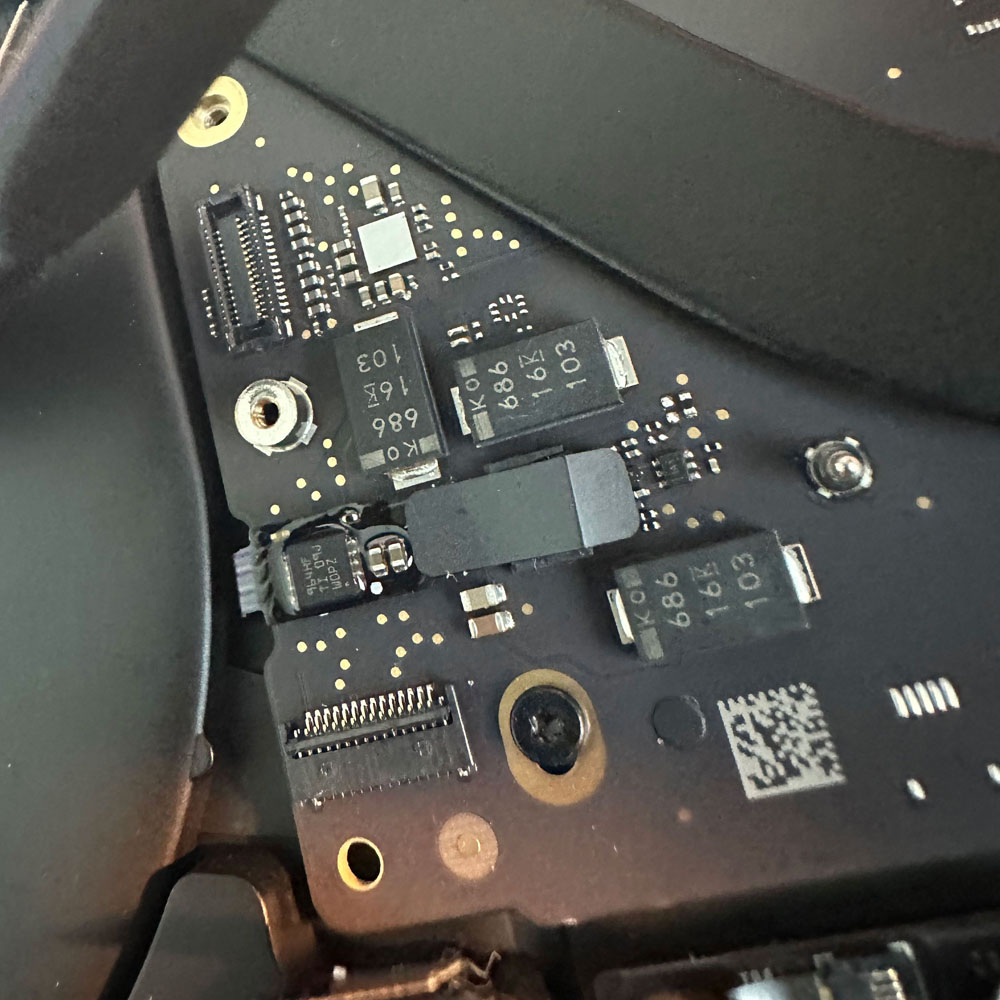
Board Cables
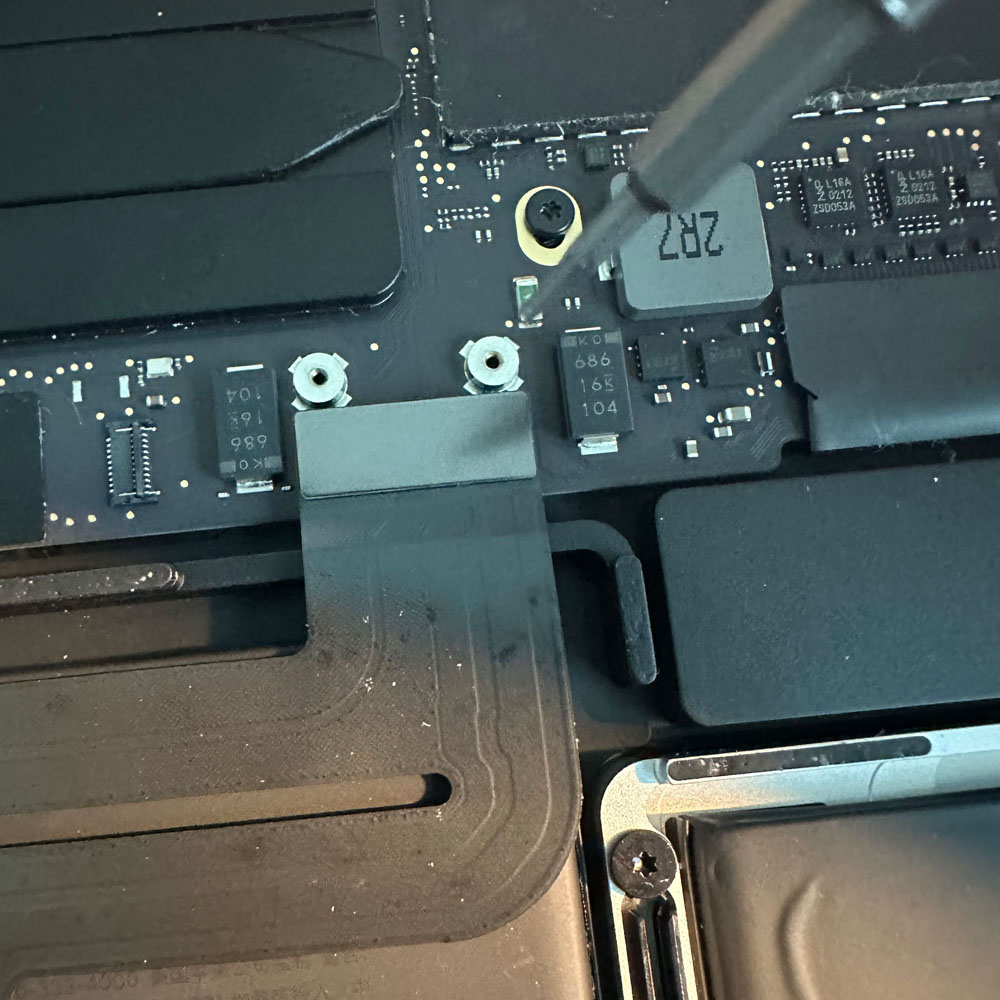
Additional Screw(s)
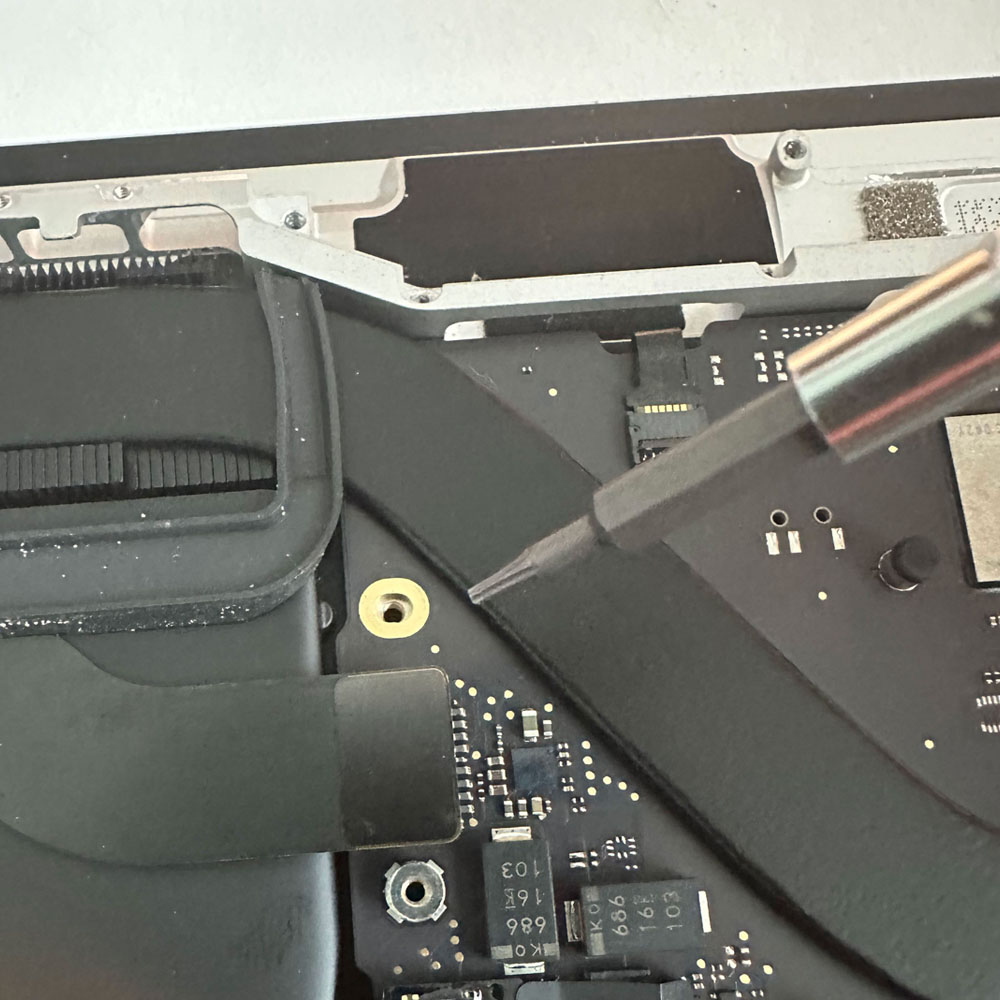
Clean Motherboard Space
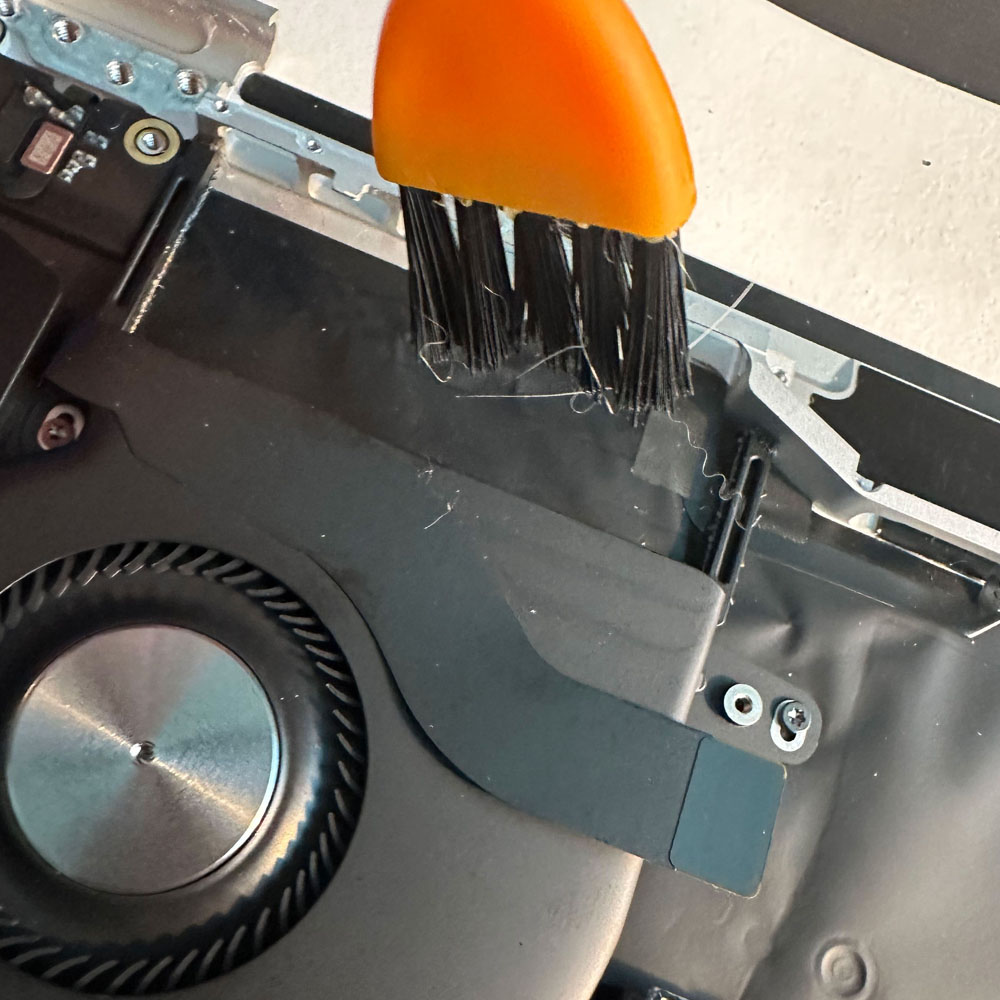
Brush Debris
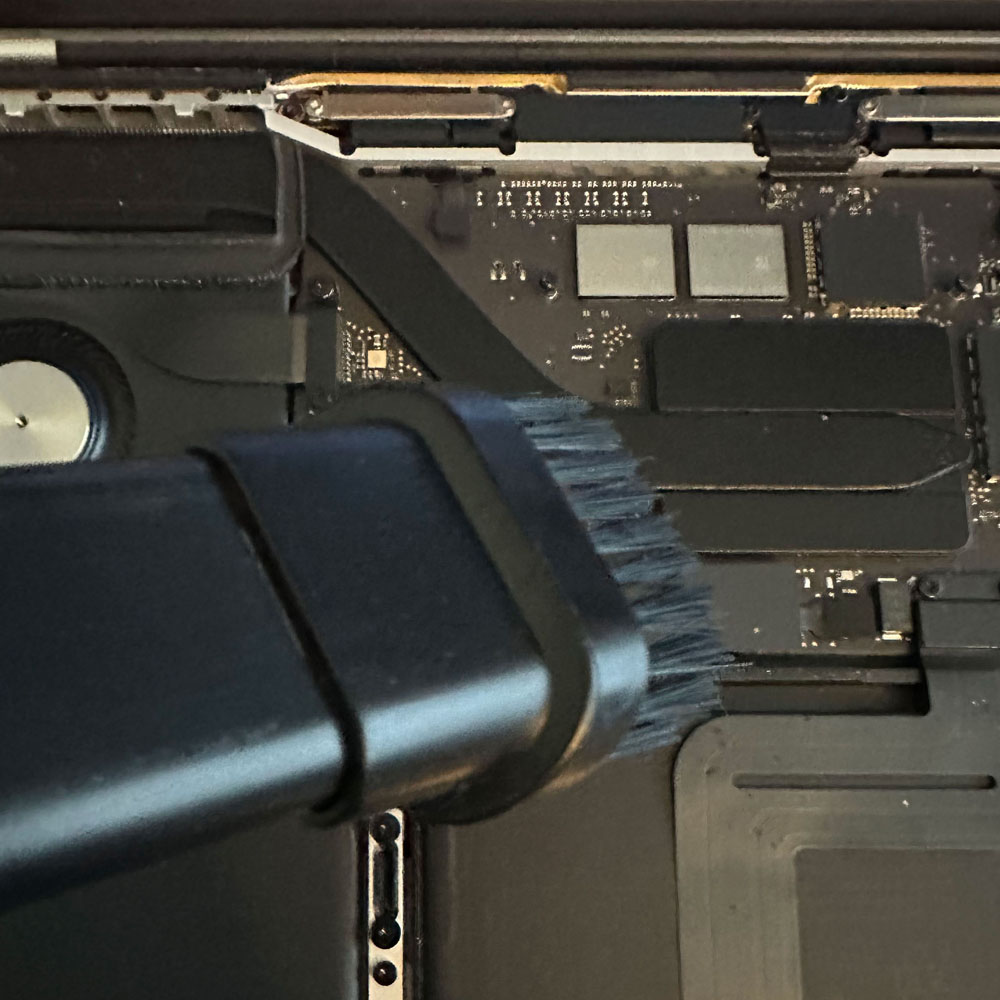
Vacuum Debris
It’s handy to have your tool kit out. If not, give Amazon a quick call or pull up iFixit and scroll. You’re going to need adhesive remover, gloves, and glasses you know, the essentials when working with glass, and chemicals on small electronics.
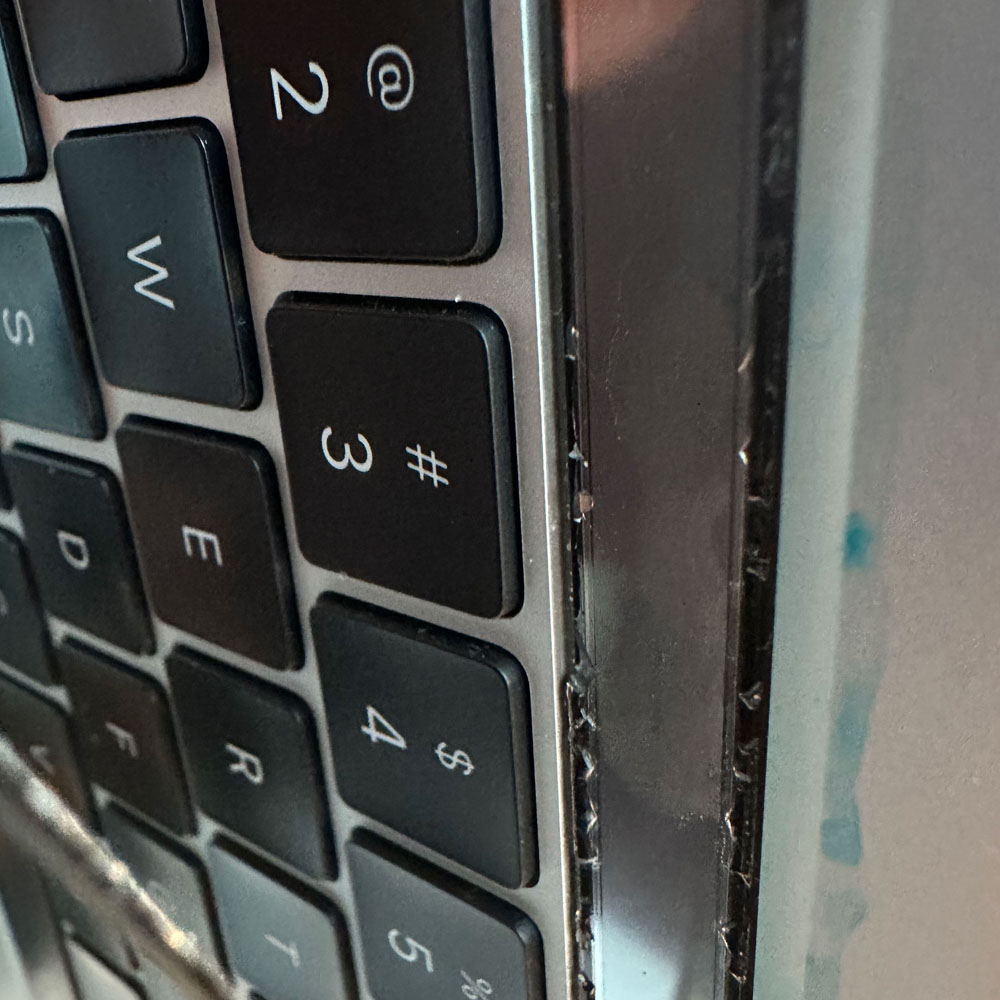
We will start with the flat pry bar on the front (assuming all touch bar parts have been dismantled or ‘torn down’). We will slowly pry and spray our adhesive remover down behind the touch bar glass and the metal upper. It’s more fun if you have more adhesive remover than what we had during the refurb process. Not much left after the mobile device teardowns a few months back.
Touchbar
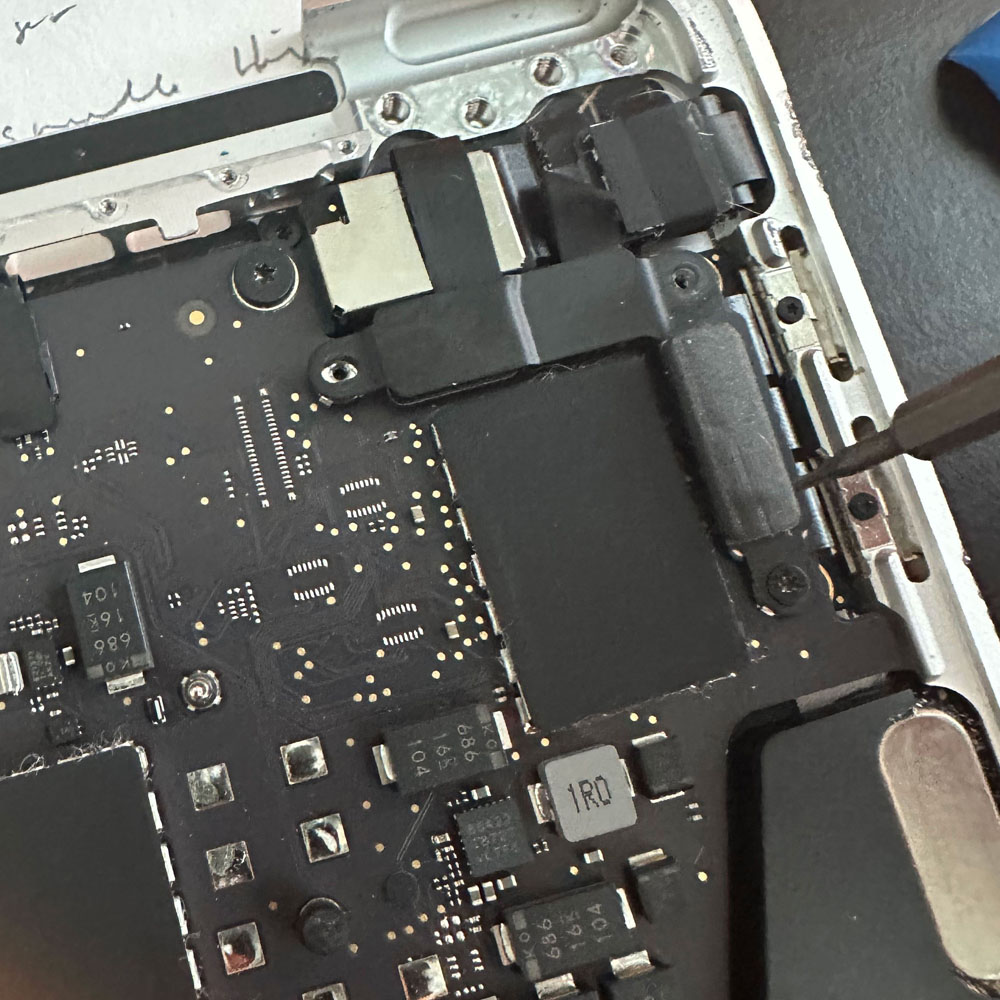
Touch Assembly
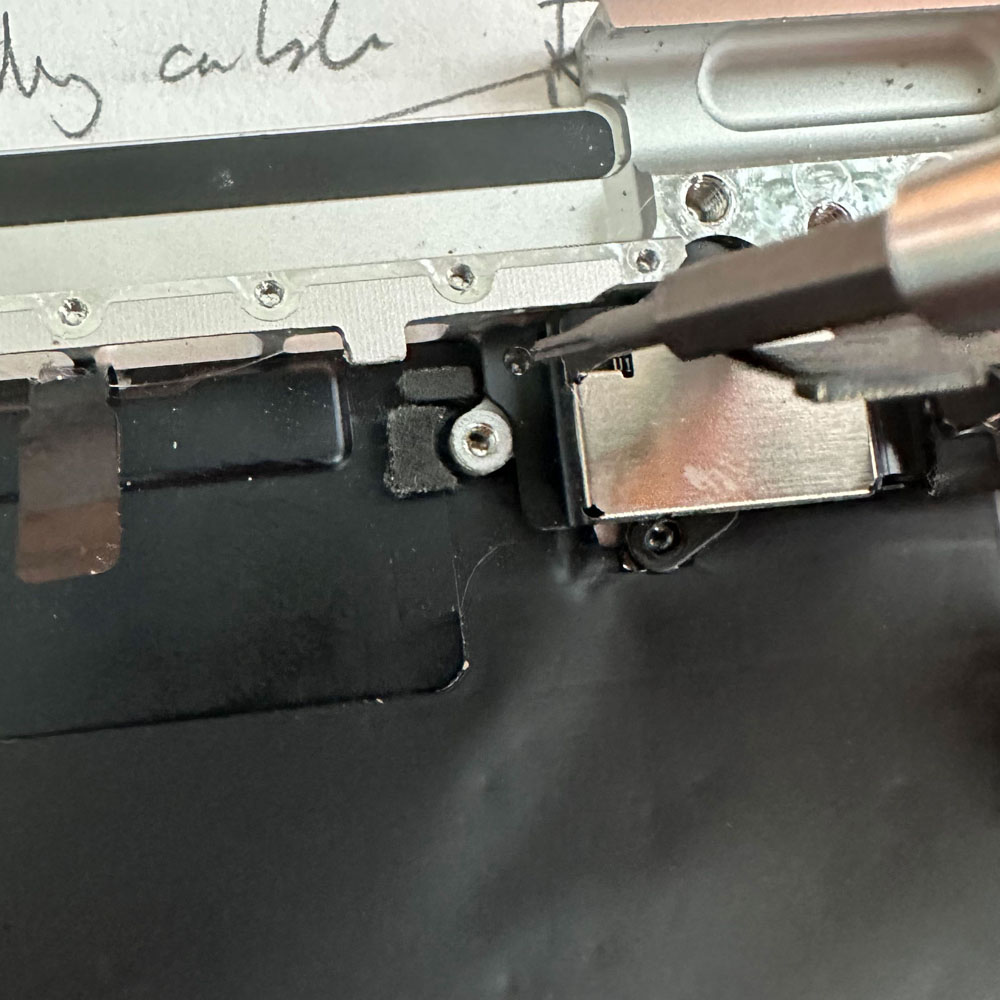
Touch Cable(s)
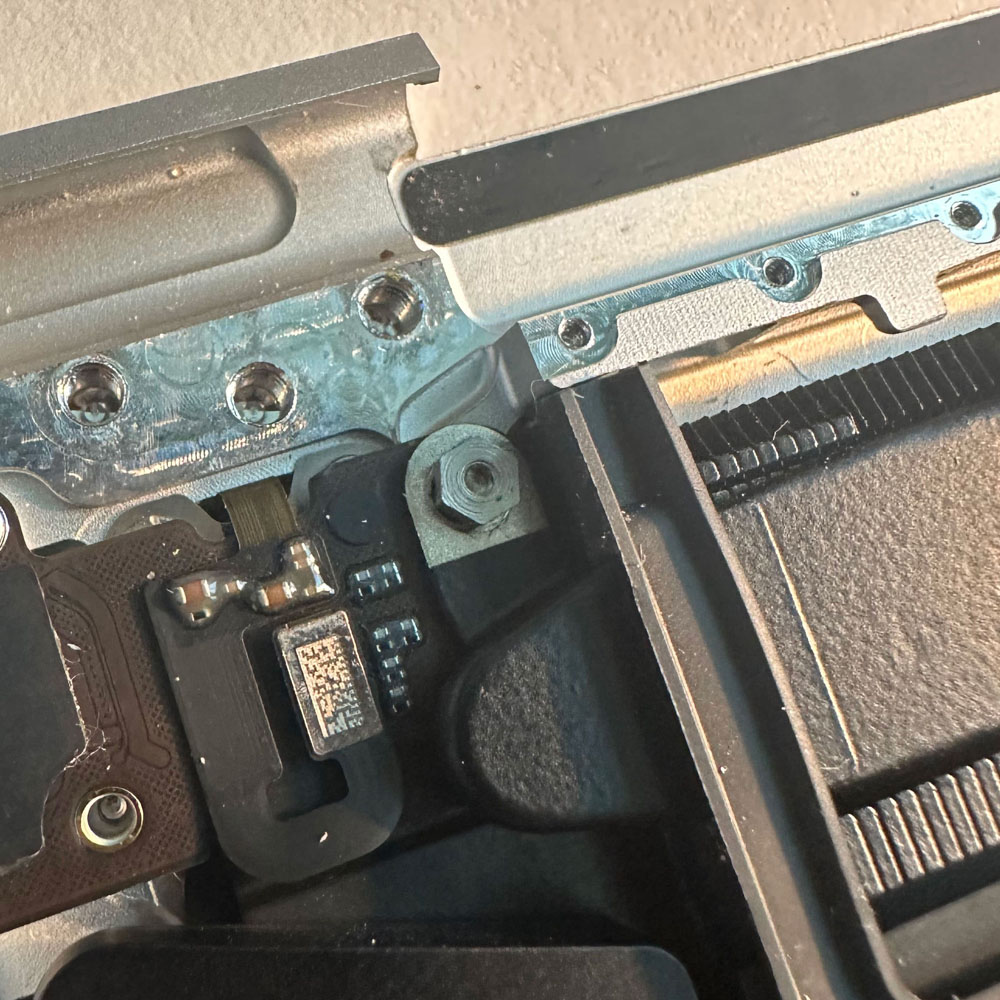
Touchbar Cable(s)
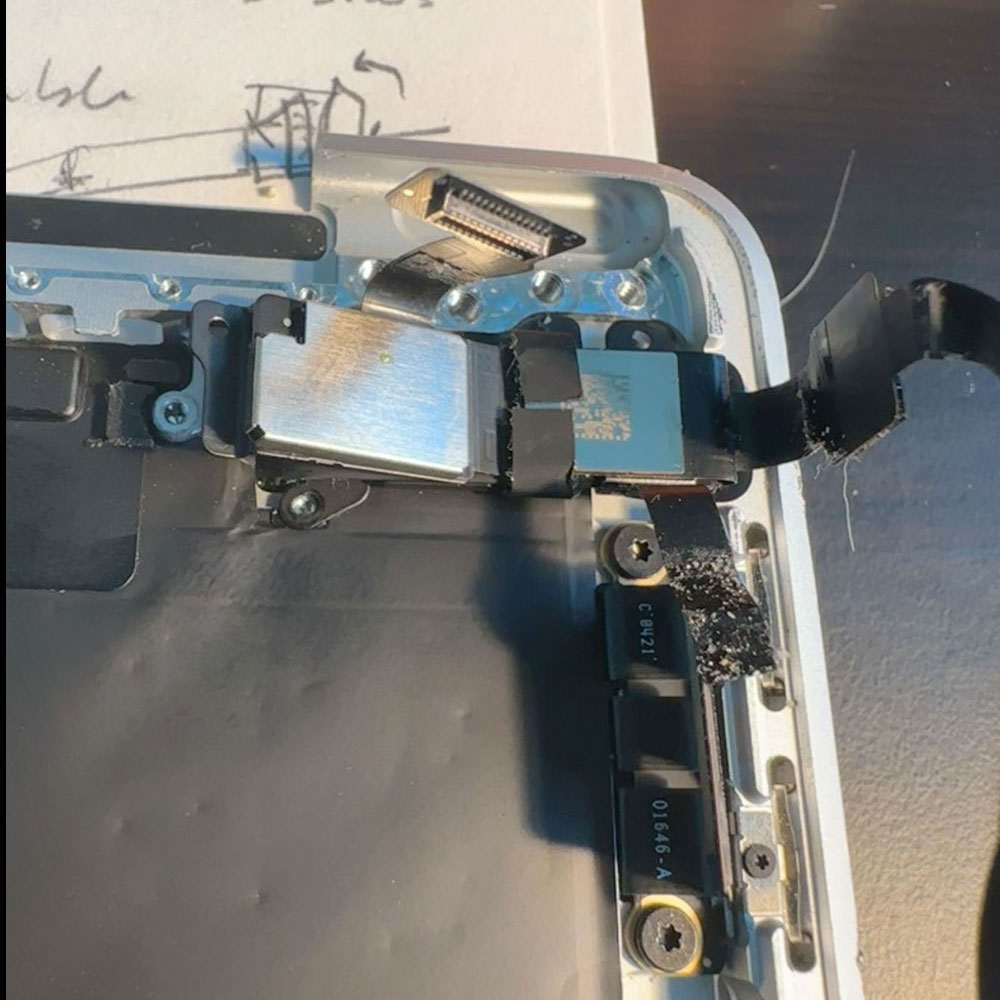
Unfold Flex Cable(s)
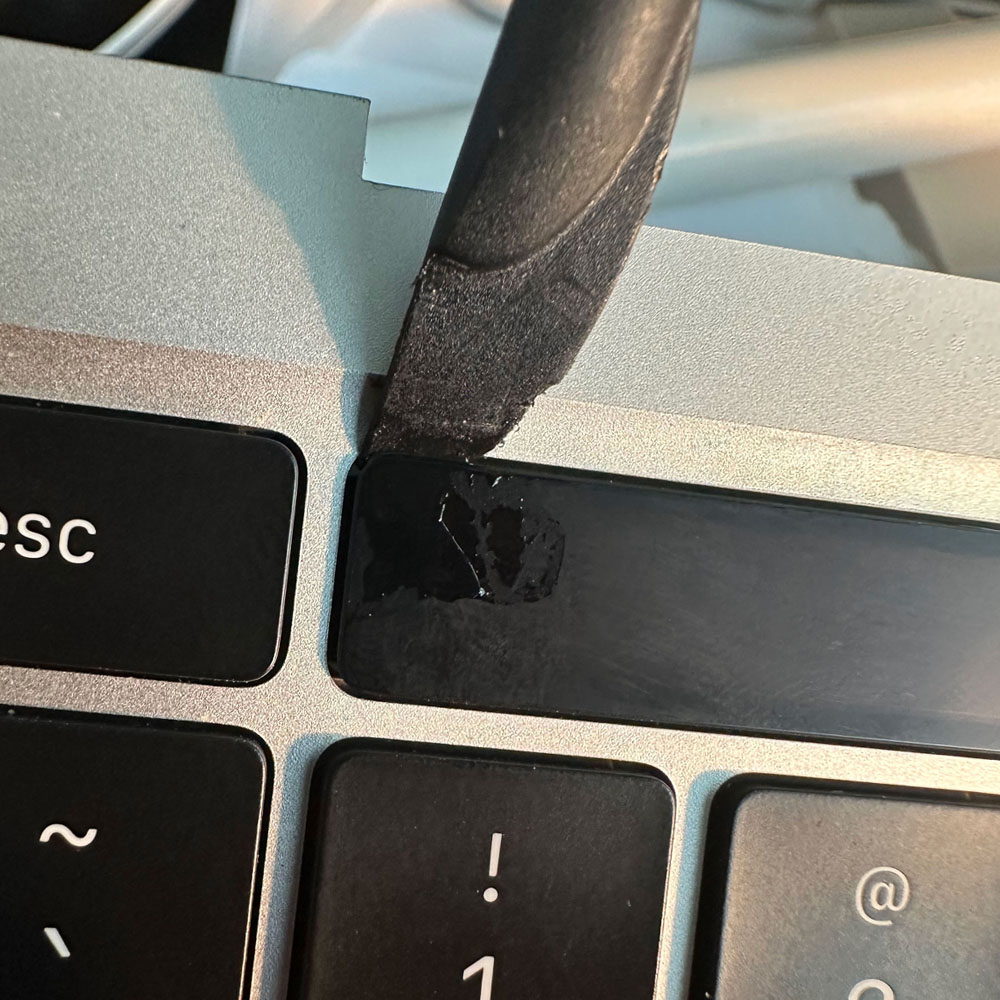
Glue Remova
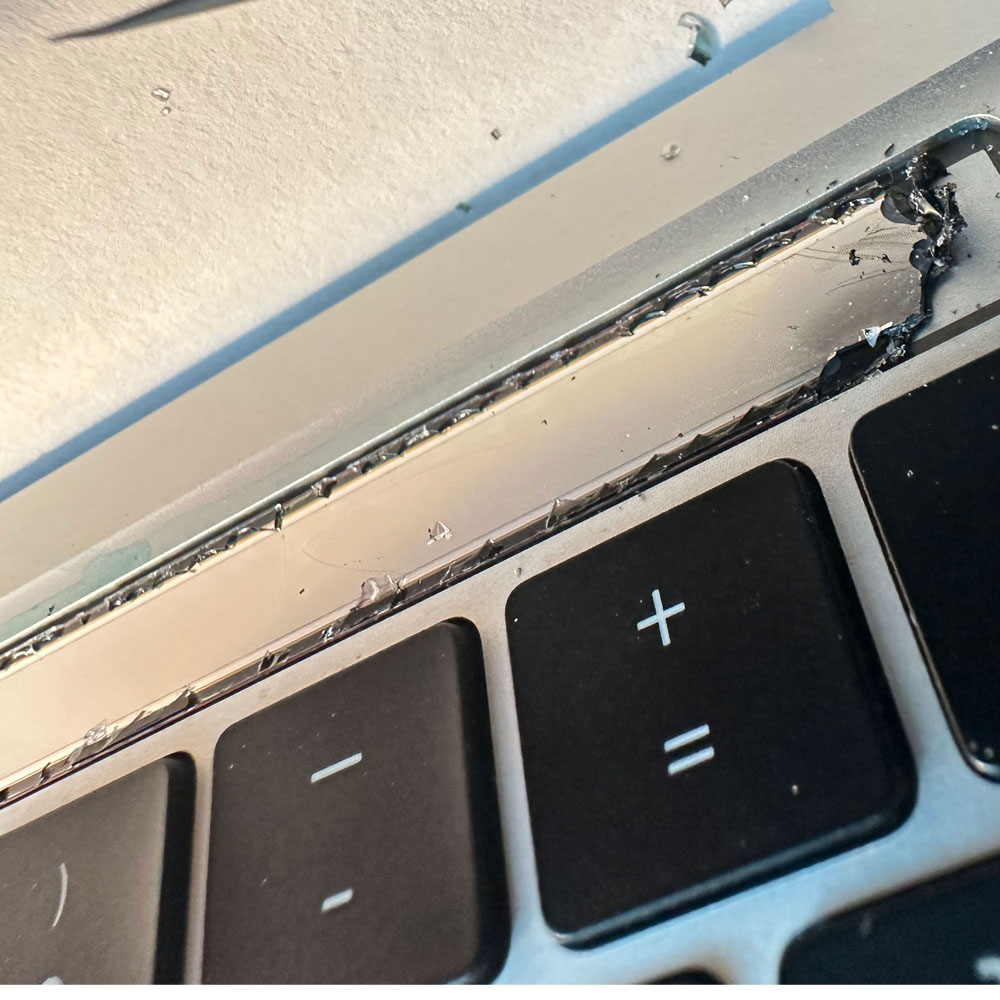
Glue Release
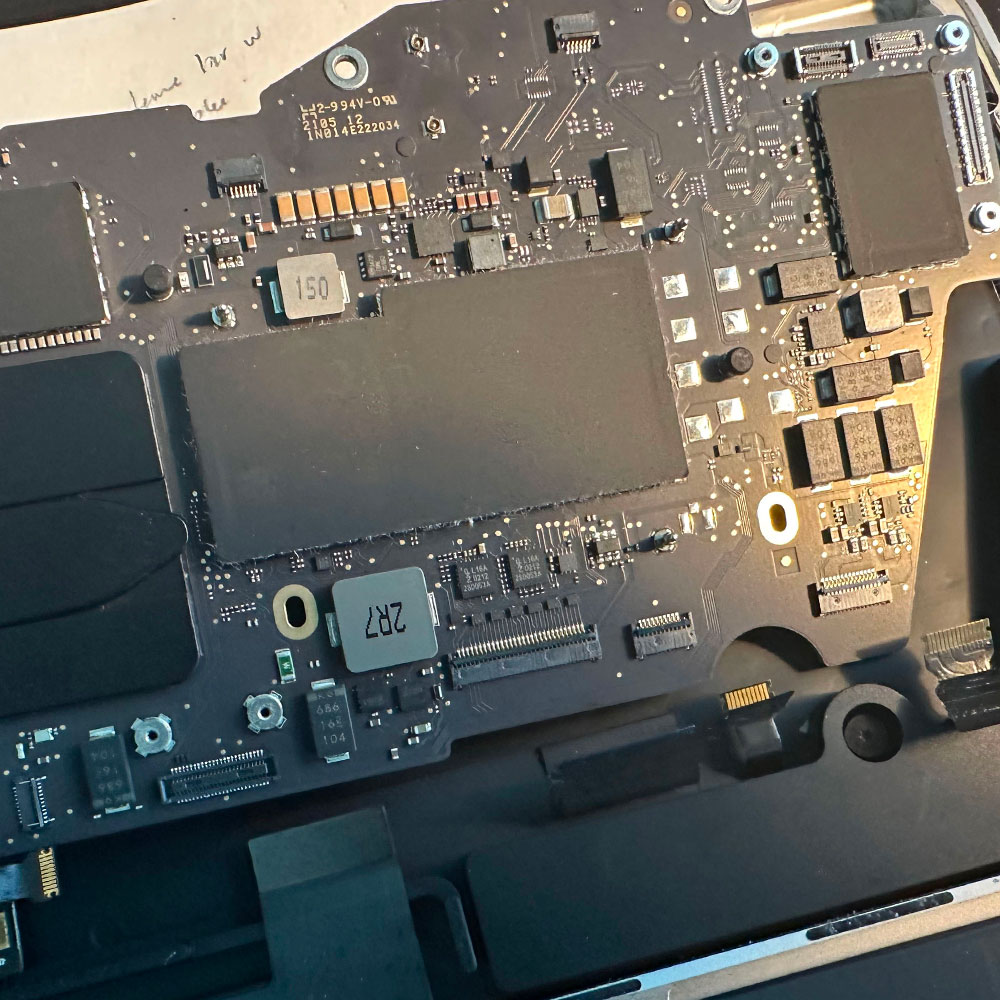
Touch Removed
Attach Touch Cable(s)
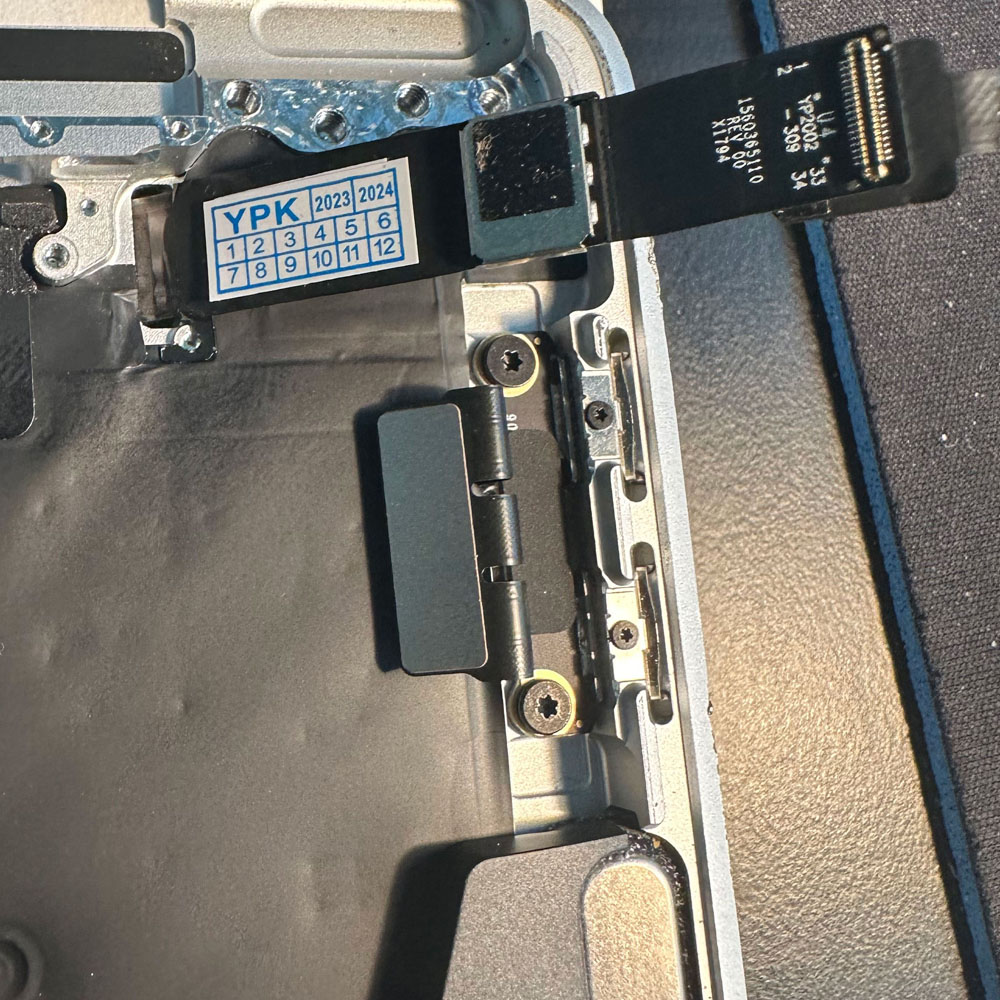
Unfold Flex Cable(s)
Ok, so first we remove the glue, glass, and finally the touch bar on the front by accessing it through the upper back. Then, it’s a simple process of replacing the touch bar. We need to be careful to remove the backing that will adhere the M1 Touchbar to the upper case, flex cable in hand through the upper or touch bar bracket and reassemble the touch bar cables and housing.
Throughout the rebuild process, we kept the screen protector film on to protect the screen. Below, you can find a number of images documenting each step of the process. Proceed with caution!
Touchbar Verification
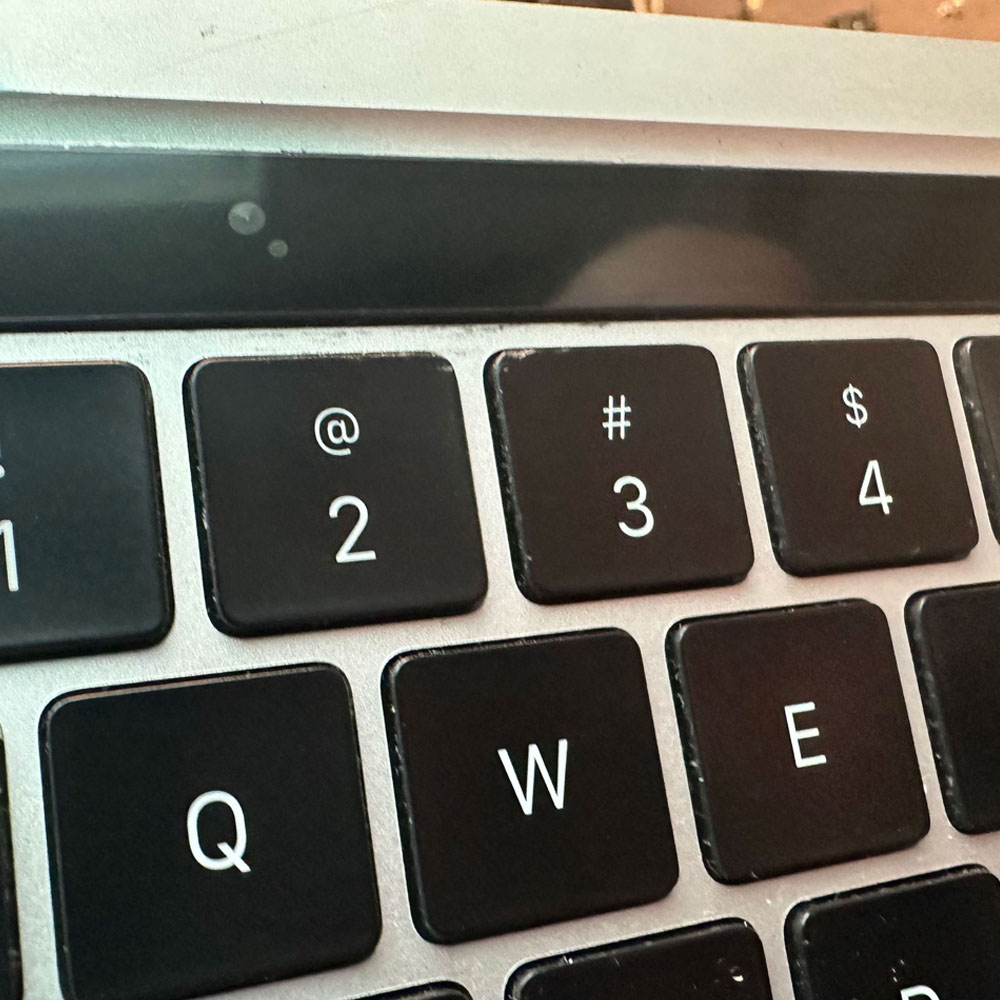
Remove Cover
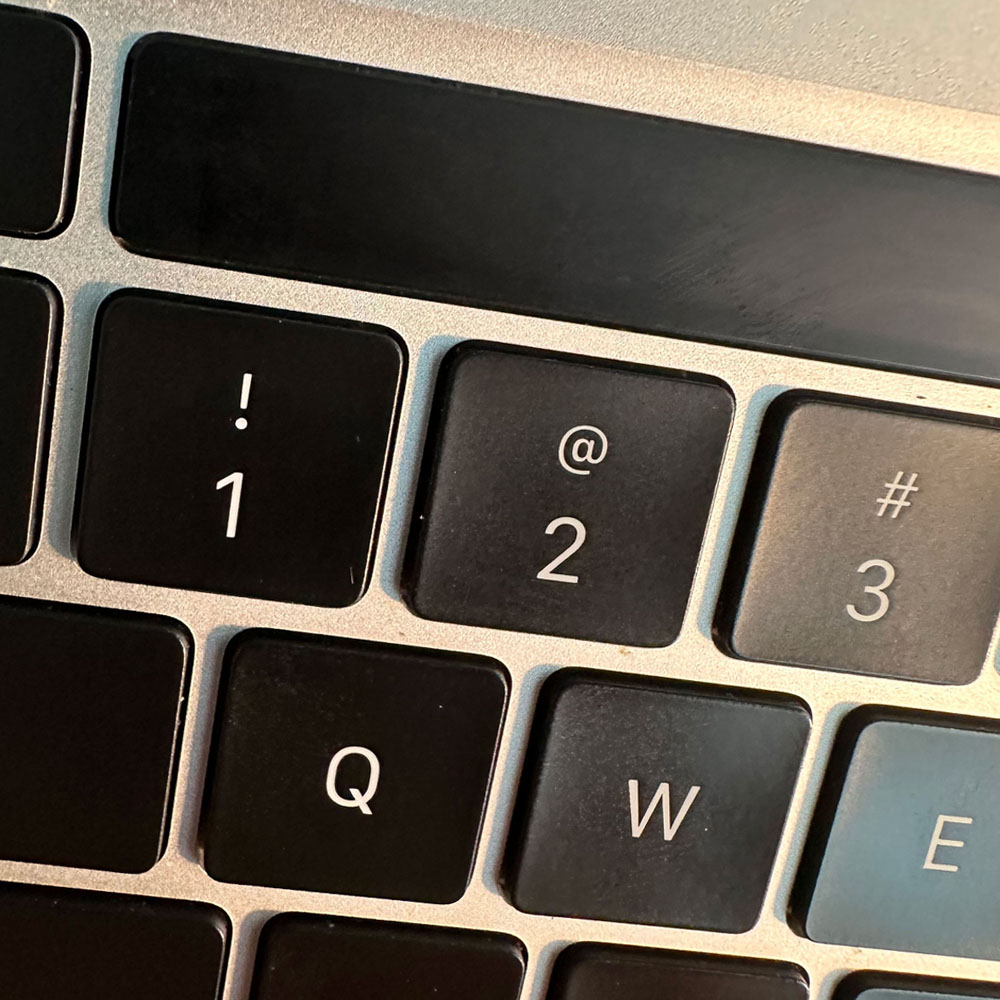
Cover Removed
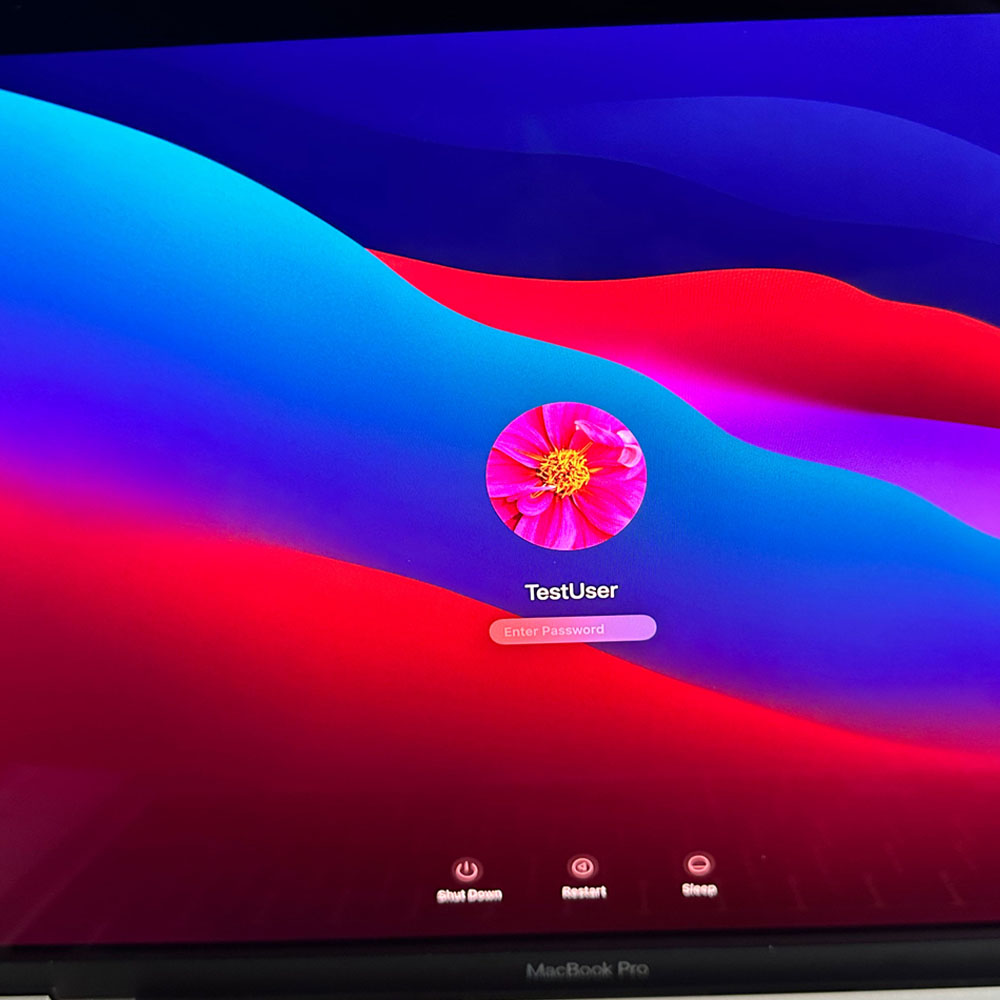
Power On
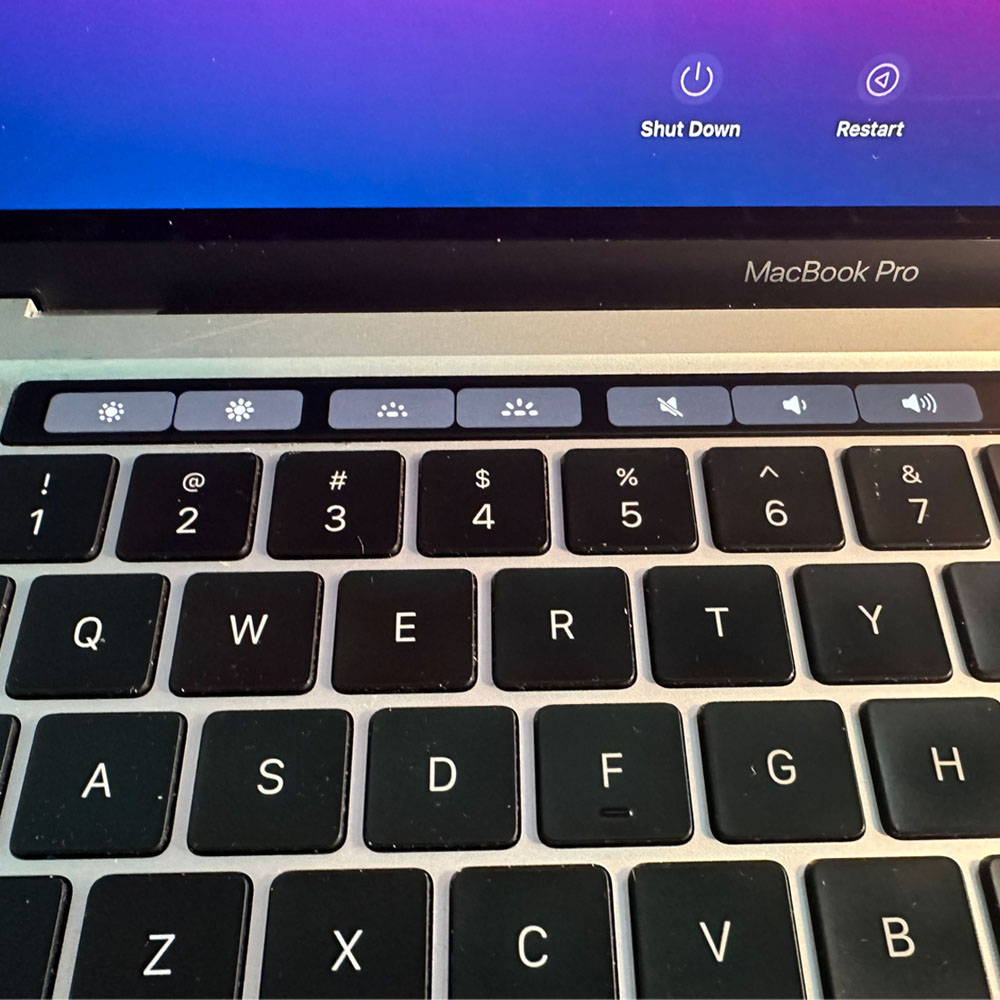
Touch bar Test

Log In
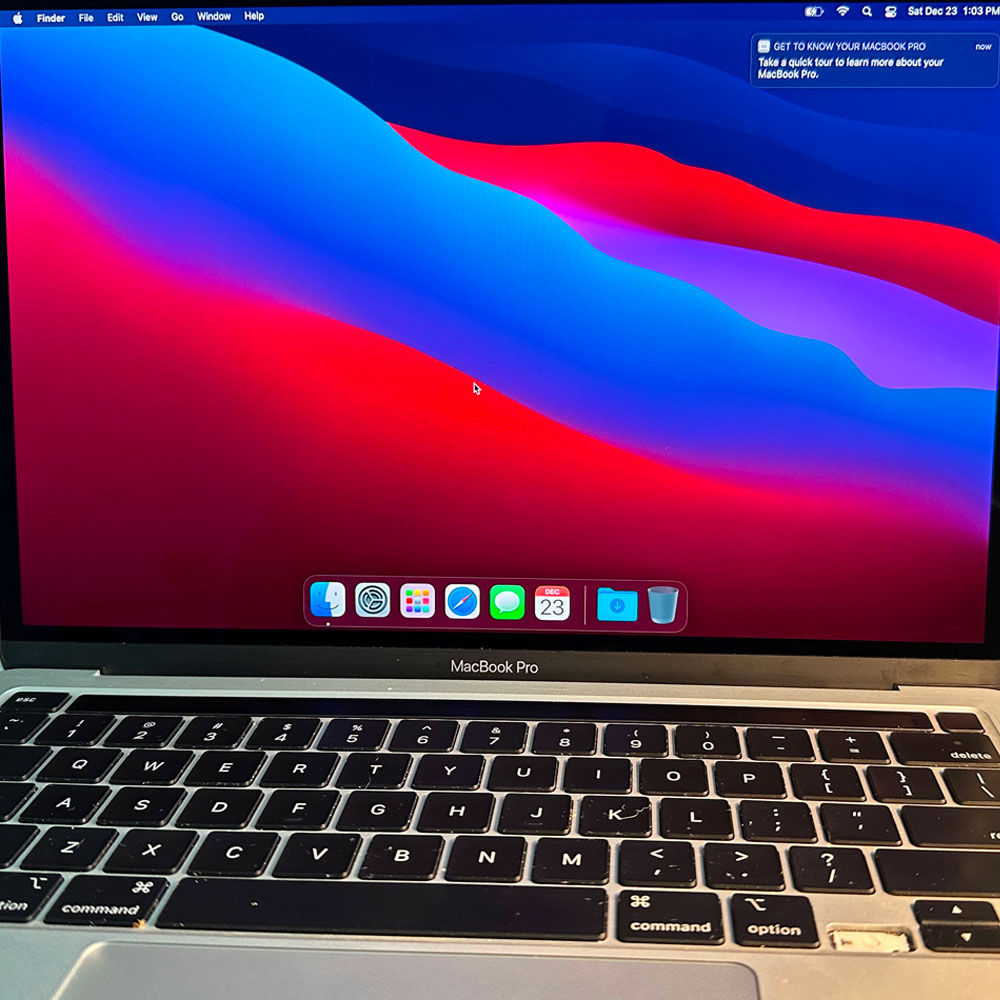
OS Testing
Wrapping up, the M1 Touchbar has been installed, and all parts have been reassembled. Now let’s cover the conclusion. Once the machine is back together, a quick test is needed. We run the machine services mode, working with the drive, and checking what’s on it.
We wipe the main drive, rename it, rebuild it and reinstall it. Some quick terminal snippets and a reboot later, the process is complete. Once reinstalled, we remove any all all software (bloat) that we can, and we are off to the races. This laptop will be used at some point to run ham radio software, so I am hoping to install Linux on the main drive and use it as I have done with my previous machines. Well, that concludes the refurbish process/effort. If you have any questions, feel free to send me an email, Cheers
Series Complete, Review Previous Posts
Lastly, good luck with your own Self Service Repair, and the same goes for the Parts catalog -https://selfservicerepair.com/en-US/home. The build continues on the M1, so be sure to check out the subsequent articles (5 in total) M1 Refurb, Visual Inspection and Teardown, M1 Touchbar, and Screen & Keys. Enjoy! A friendly reminder, It’s vital in my opinion to use OEM parts. IMO (in my opinion), if you can’t, consider second -hand options via Amazon or eBay. Additionally, the parts list is very helpful for those familiar with the process. If you’re not, don’t hesitate to reach out if you’re in a pinch. I’m happy to help or help guide you to the right support method or service.
