
EMAX Repair Start
Hack-A-Thon Part 1
Lab Work – EMAX Fix – Part 1
On The Bench – TH2
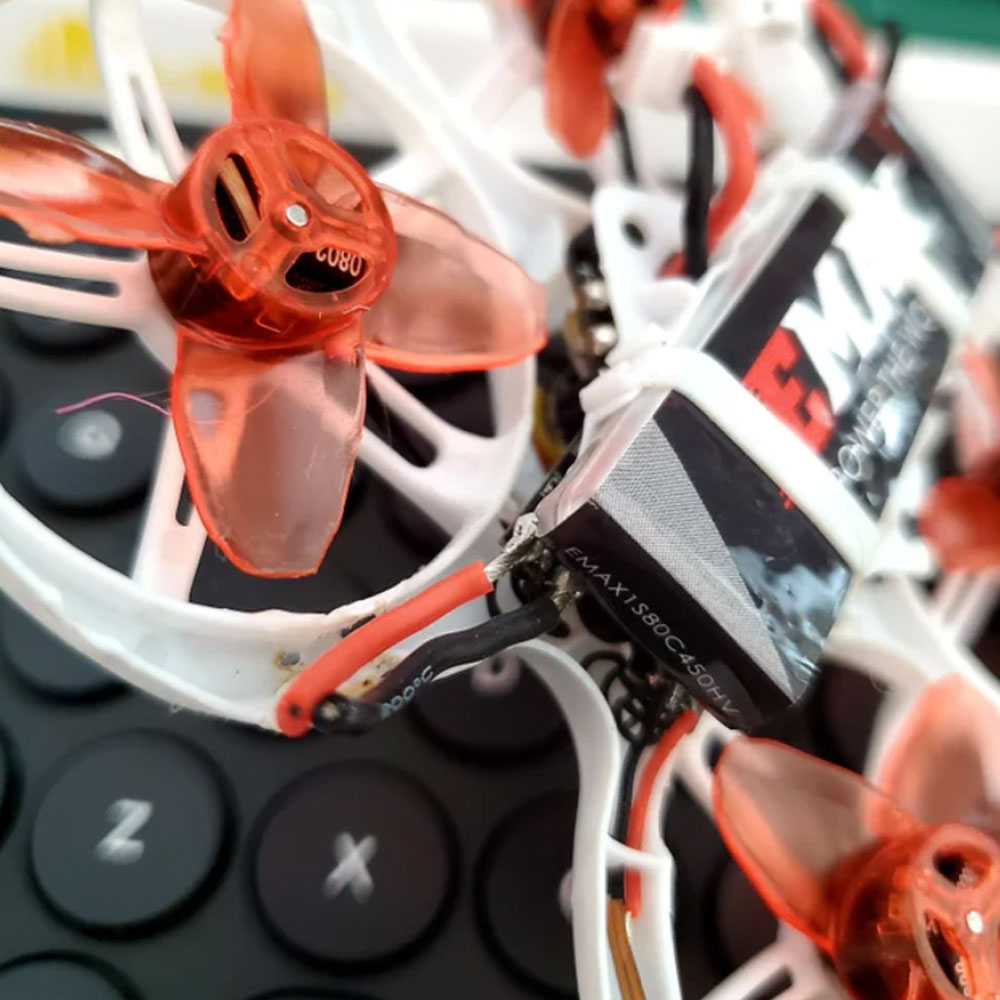
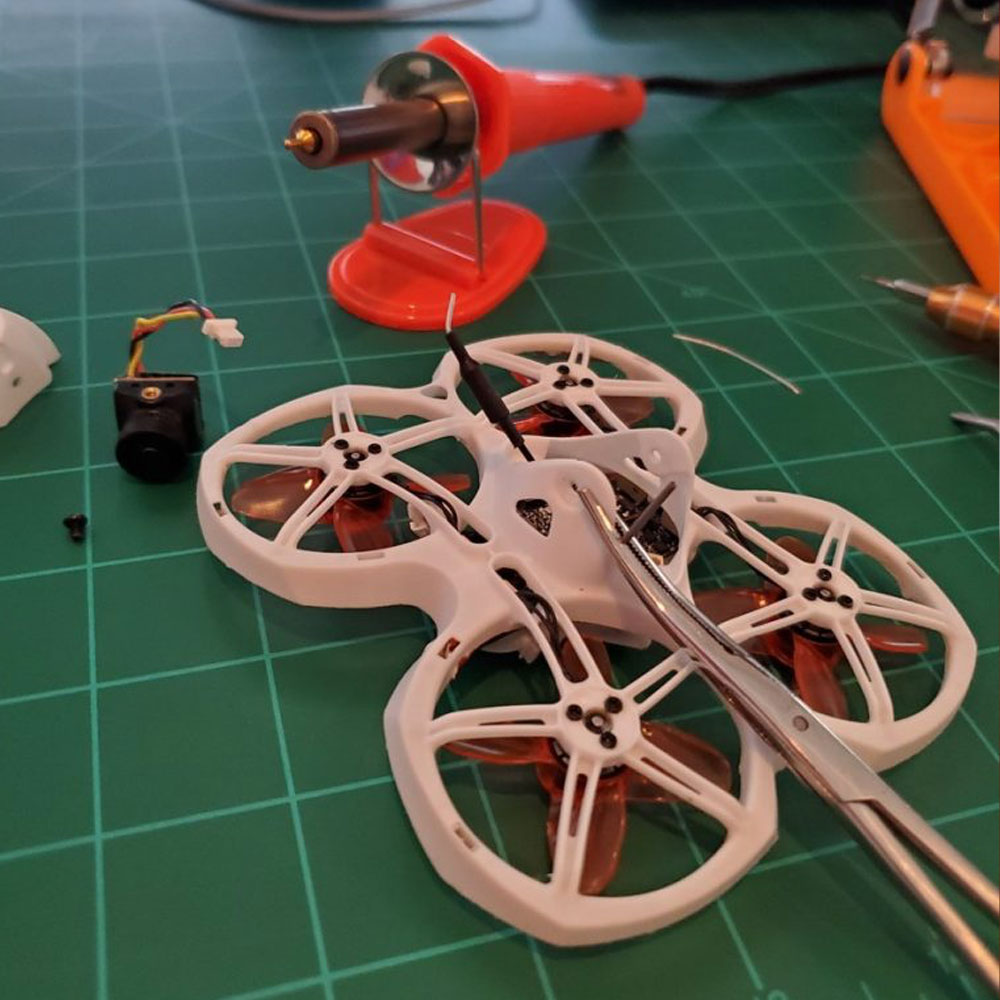
Assess The Damage, Teardown
Back from the airfield, EMAX Fix – part 1. Be sure to check out the rebuild of in this series in the EMAX Quad Motor Rewire Video posted just before.
The airfield was clear, with no traffic, especially over in the helicopter and quadcopter area, so we were good to go. I unpacked the TH2 from its flight bag, got it out and up in the air with no problems. After a final check of the batteries and controller, we were ready to go. The weather was clear, and according to the flight radar, it was a clear day with mild temperatures and wind gusts of around 2-5mph. So, up we go!
Teardown
Reattach Antennae

Solder Antennae
Antennae Position
Lift is good, strong, and perhaps the easiest part of controlling the drone in flight. These drones when properly tuned , offer a smooth and vanilla flight experience. Be sure to check out the binding process using BetaFlight to bind/connect the flight controller to the remote.
There are a lot of things happening at once when flying the EMAX drones. You have to be mindful of your location, both as you ascend and descend. The flight went well, as planned/expected. I did a few loops, full power, turns, and hard bankings just to set the pace. Don’t forget to check the battery warning before your flight.
Power Leads, LED’s
Clip Leads
Resolder Leads
Clean Power Leads
Set Leads Properly
LED Seated
Now, at this point it was time to bring the TH2 home safely. As you can imagine, trouble came knocking. Damage report, minor issues included 2 LED strips out, severed antenna, severed power leads loose (+positive lead), and burned or malformed poly-frame. We fixed the issues by clipping and prepping for new wires, ordering new LED strips and poly frame, replacing the antenna, re-soldering leads, and shrink-wrapping wires where applicable.
Similar Emax status update, time has moved on since the original article and I wanted to share additional Emax content where applicable. If you’re looking for Emax content, give these a shot (in reverse order from this postings date) – ReFit Emax Flight Controller, Emax Fix Part 1 (this article) and Part 2, Quadcopter Rewire, and the TinyHawk 2.
Wrap Up Part 1
Find EMAX parts, and more, through our Amazon Affiliate links, or visit the EMAX – US Store. For additional reference, check out the UAV Performance software used to update and run the EMAX TH and FRSky Taranis QX7s controller or more from the devs of Betaflight. Own it and have fun!