
Maytronics Nautilus CC Plus Repair Update
Dolphin On
Lab Work – Maytronics Repair, Dolphin On, Post Hurricane
Parts are in, Dolphin Has Been Repaired, Cleaning Away
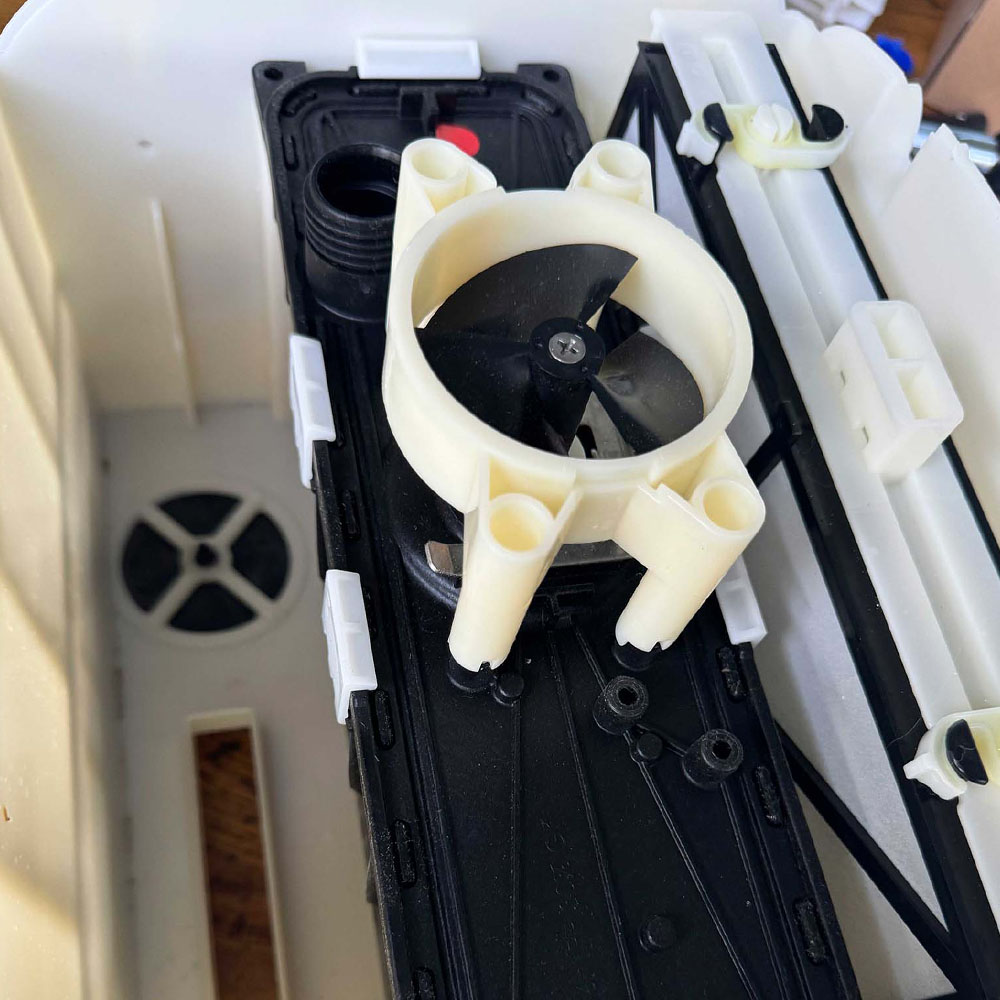
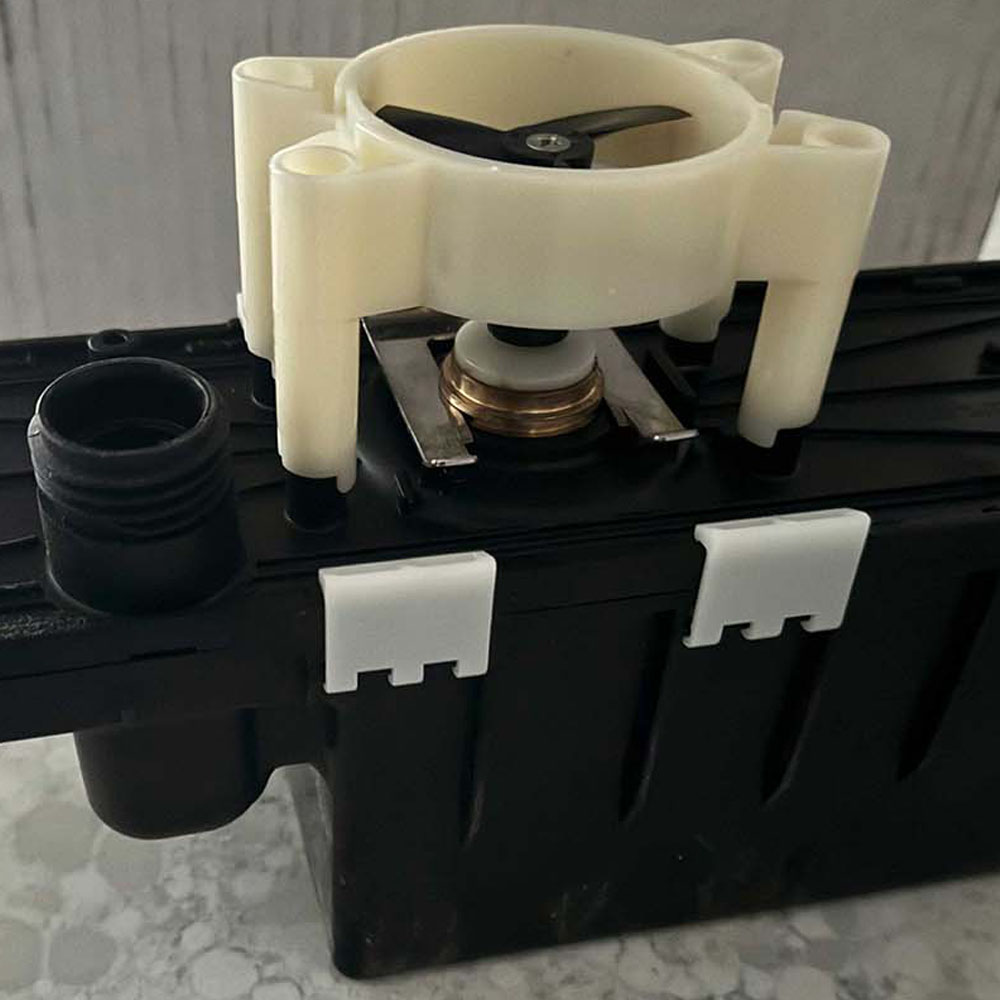
Let’s take a closer look at the process. Upon further inspection, I found corrosion around the motors. The seal around the power cord also appears to be in poor condition. So, I proceed with a teardown, replacing the power unit, and tread ball bearings to restore the robot back to full capacity with genuine OEM parts. A self-test was performed as need, I conducted a number of in-water and out-of-water tests which worked perfectly. As it should, under normal power. Next, I replaced all parts and picked up where we left off on the last article Nautilus Down (check that out if you missed it).Pre-Check, Install and Test
Check all cogs, ball bearings, drive pin, and wheel/hub parts. Make sure ball bearings are moving freely and free of rust or degradation. Replaced any parts showing degradation or major rust. Filled electronic parts and pressure seals with pool lube and reconnected parts, careful to screw-down fasteners and plastic nuts with appropriate tension. Dolphin On. Additionally, both out-of-water and in-the-water tests performed as expected. Time for a swim! Cinched down any screws, or screens, package up the robot and ran the clean cycle.
Robot Build
New Unit

Unit Connector
Dry Fit
Tread Check
Proper Fit
Motor Check
Dry Test
Post Test
Brush Down and Toggle The Dolphin On
If you can’t tell, the pool has sand, debris and dragonflies. Before we toggle the Dolphin On, let’s do a quick brush down of the pool to encourage removal. You can kind of see here the pool was a bit dirty, as the hurricane kicked up enough debris for the Dolphin to clean. There was no pool cage carnage, or aluminum part failure, which is great. Minor screen damage only.
Maytronics Documents and More
Finally, following the test cycles, Dolphin on, put in the water and cleaned the pool well. In most cases, the vacuum actively cleans on stage 1, please the Maytronics manuals. Find Stage 1 testing and more robot testing features under the Nautilus CC Plus section. I hope this information helps, how to get your pool robot fixed and Dolphin On. If anyone out there needs assistance, please contact me I am happy to help. Thanks! As usual leave a comment below to let us know what you’re thinking!