Delete. Whether it’s to delete accounts, ‘delete me’, social, online activity, ip address, clear cache, history, iOS/Android anything. Just Delete Me can help!

Tech | Tools – JUST DELETE ME
Need to delete an account, permanently? Could be difficult, for some, the process might be virtually impossible.
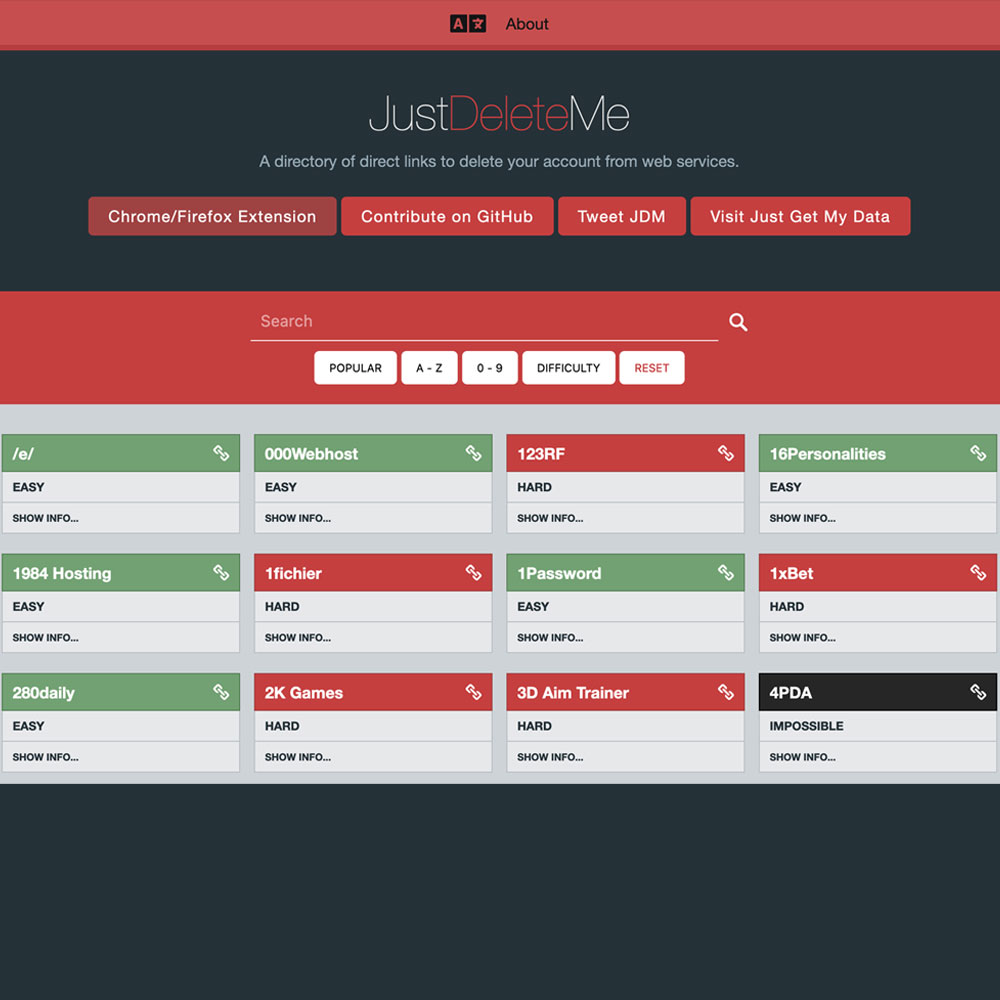
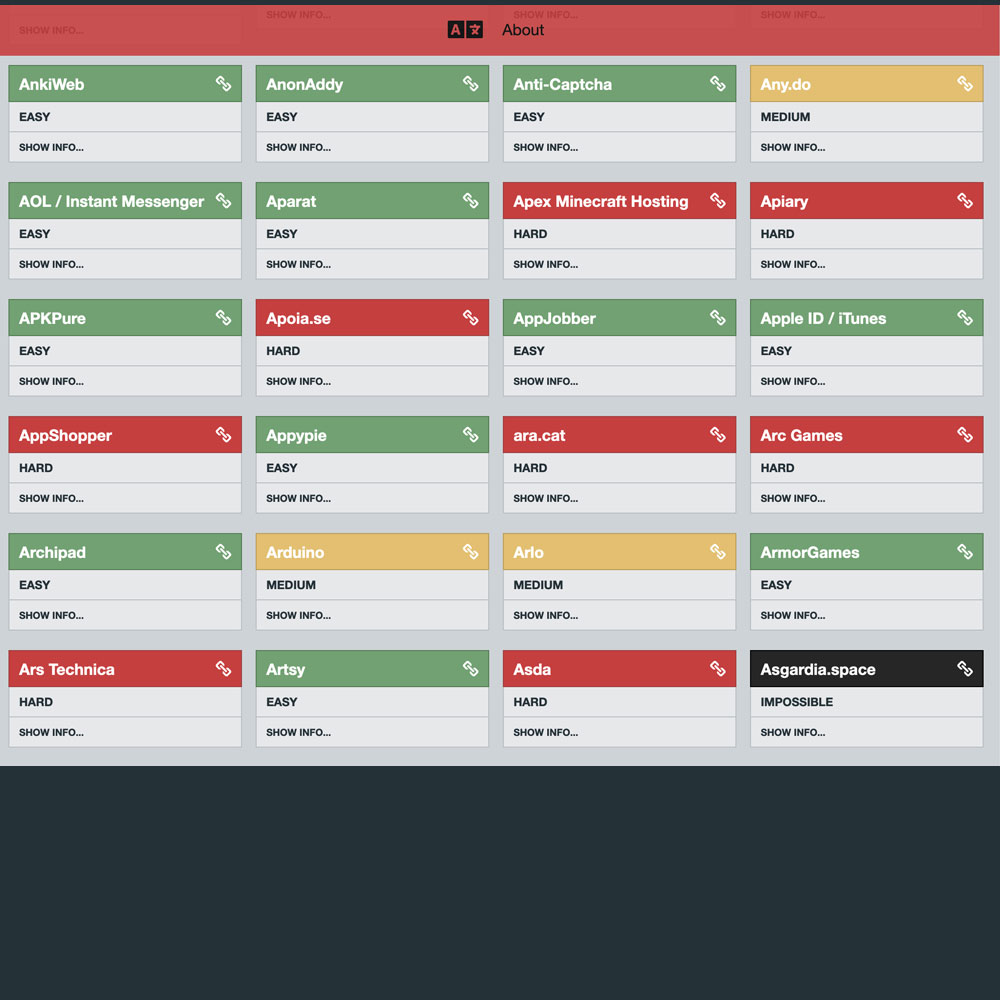
Close accounts, Sure, try Just Delete Me. I’m not sure how long the sites has been around, but I’ve used it numerous times, especially in late 2012 and late 2018. Sometimes you just need to purge your accounts, to gain some sanity online. Have you ever thought about how often you sign up for an account that goes dormant indefinitely? And what about when you download a game like Candy Crush or Crash Of Clans and want to completely wipe the data, account and interaction with that company? Just start with Just Delete Me. Although, there are many ways to perform this task, JustDeleteMe helps with all of them! Notice the color palette (Difficulty Scale), the ability to perform the ‘deletion’, and the help pages provided by your selected account or entity to purge. Give it a shot and get rid of your accounts! It’s a great time to purge your accounts.
For the purpose of this post, we decided to try out the site ourselves, aiming for account freedom and liberation from Basecamp. Enjoy!

Tech | Tools – More Reference Than Tool, MacOS Flush DNS Cache
A few things to note: from time to time, you may need to flush your DNS cache, understand how your IP address is acting and how to dump, secure, or authorize computer code to start fresh.
Flush DNS Cache – MacOS
- Plain text: sudo dscacheutil -flushcache; sudo killall -HUP mDNSResponder; say cache flushed
- Or
- 1.
Command + Spacebar
- 2. Type
Terminal, strike enter
- 3. Select to Open ‘Mac Terminal Application’
- 4. Type
sudo dscacheutil -flushcache; sudo killall -HUP mDNSResponder; say cache flushed, strike enter
- 5. Terminal will request “Sudo” password, enter Sudo password, and strike enter
- 6. Assuming the password given is correct, the system will state “Cache Flushed as indicated in the terminal command
- 7.
Command + W to close Terminal window
- 8. Strike Enter to close out window
Flush DNS Cache – Windows
- 1.
Ctrl + R Run Windows Terminal
- 2.
ipconfig /all directing the system to flush all. For more information, you can look up more information by inputting ipconfig?
- 3. Assuming no superuser credentials needed, strike enter
- 4. Terminal will confirm, all released and renewed
- 5.
Ctrl + W to close Terminal window
Although this post may seem basic basic, at it’s core, it is. The command has been available since the dawn of the internet allowing users to reset the system as needed. This post will focus on the process of flushing the MacOS DNS Cache. I have included a snippet/script for resolving connection issues, tailored for both MacOS and Windows users who may come across this post.
Experiencing lag? Before we proceed, please note that these terminal commands have been used for a while with limited changes over time. The only differences might be MacOS specific, directing the system to ‘speak aloud – Cache flushed’ when the command has been completed, among other actions. Flushing the DNS cache might just be the trick for your Mac. What exactly is this DNS flushing business? It involves skipping the process of physically deleting your local cache (not internet cache/cookies etc). I’ll also post something about that.
So, we are talking about flushing the DNS? Let’s begin with a brief explanation of DNS – Domain Name Server. If you need more information on DNS, you can check out Cloudflare’s Definition of DNS to understand how it works, and so on. Essentially, the DNS translates domain names into IP addresses, which are essential for navigating the internet. Without DNS, web browsers wouldn’t be able to load websites. For a more in-depth look, I recommend reading the Cloudflare article for more details.
In a day or two, I will follow up with a post on WhatIsMyIPAddress about deleting ‘local user cache’ files on your Mac. It will make more sense in a few days if you haven’t a chance to troubleshoot your own computer issues related to internet speed, lag, and connections.
Rid Yourself Of Search and Location History
Your Google Activity, What You Need To Know

Lab Work – Manage Your Online Activity
I thought I would throw this out there, for those of you who don’t understand internet ‘activity’ and how to quickly review, remove, delete and stop activity in it’s tracks.
Stop Data Collection via MyActivity.Google.com
Quick and easy, get rid of and delete My Activity now. Simply go to myactivity.google.com on your computer, assuming you have a Google account. If you’ve new visited this site before, please take the time to do so and research how to disable your data collection if you want to stop the tracking. Additionally, as part of the My Activity removal process, I recommend removing your current account. Followed by creating a new one with all tracking features turned off.
Listen, more people, than you would think have no idea that these devices are collecting information. Specifically, they are collecting health, location, biometric and search data. My Activity is where the important stuff or tracking can be muted, disable and deleted.. Again, that address again, myactivity.google.com. Have a look, good luck. Same can be done on your mobile devices, for either Android or iOS. I’ll post those items in the next few weeks.


