Cut, Fit & Refit
EMAX THS & Flight Controller Board
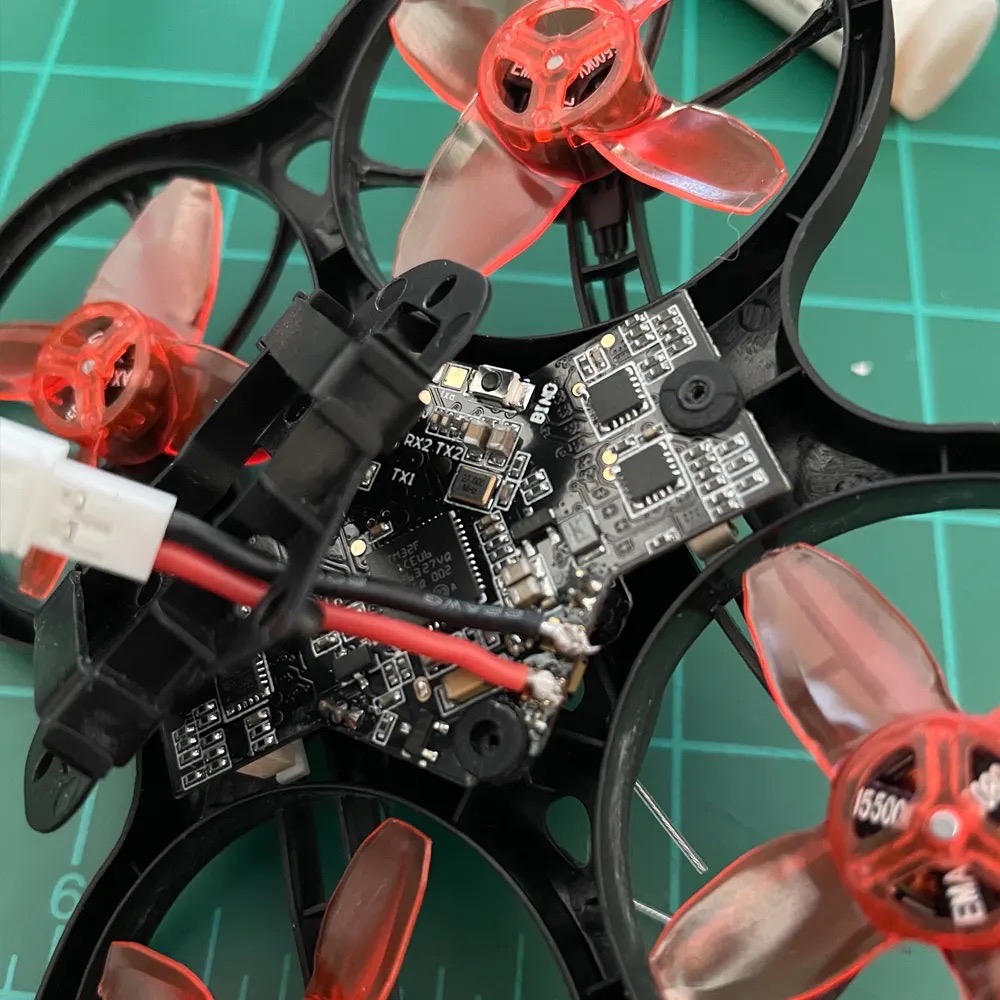
Lab Work – EMAX Flight Controller
ReFit EMAX FC
I thought we could revisit the EMAX FC repair on the EMAX THS. I’ve want to follow up on the previous post, focusing more on the specific, showing the repair process and refitting the EMAX FC. Along the way, I’ll share additional photos of the process as well (in case you come across this article and are in a similar situation with a failing FC). Let’s cover the entire process from start to finish – disassembly process, cutting soldering, and test flight. Once again, soldering/replacing the EMAX AIO FC. Enjoy the photos.
Drone Repair Photos
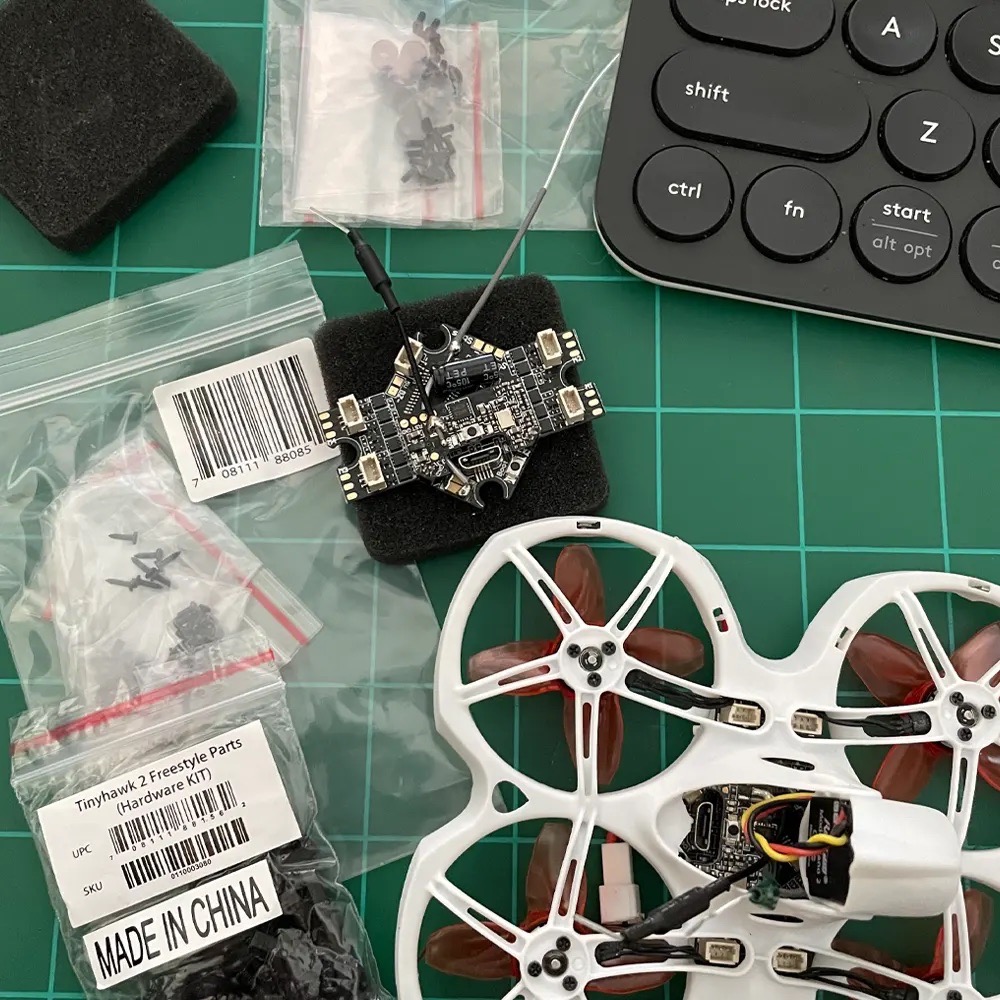
New Parts
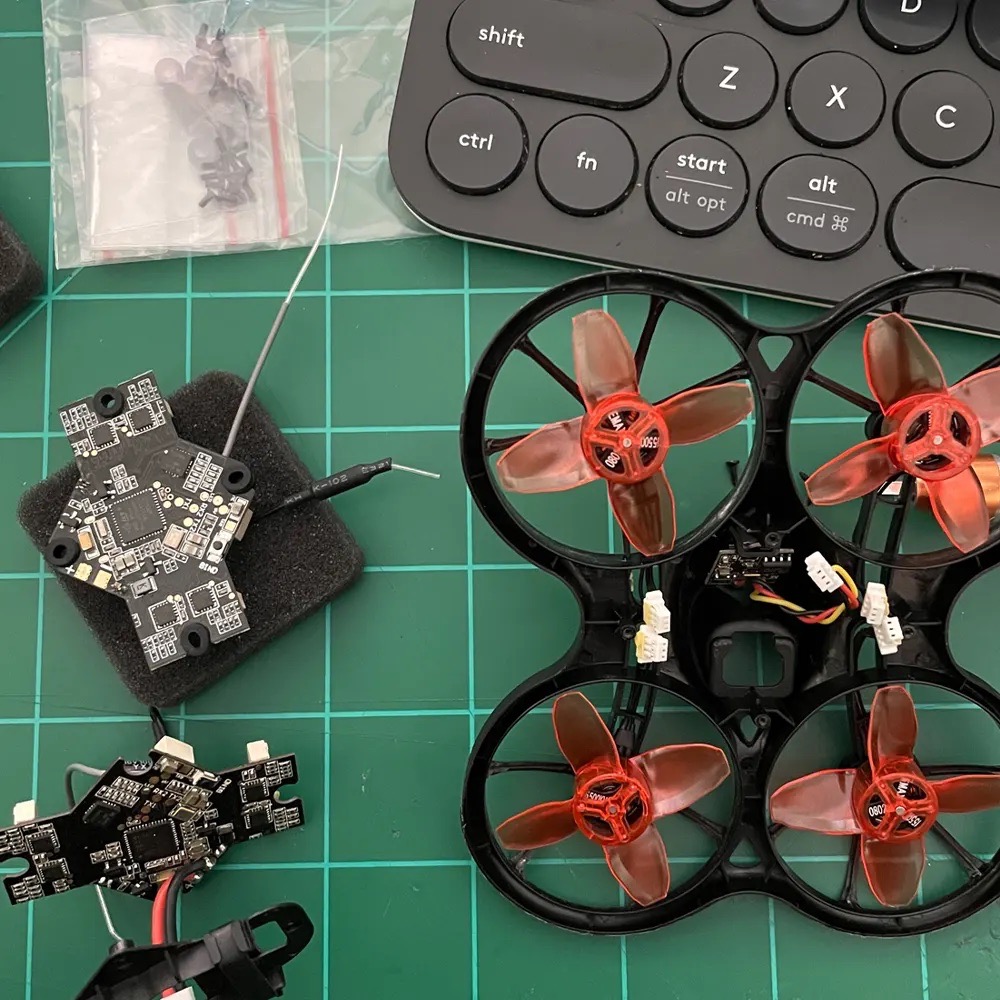
THs
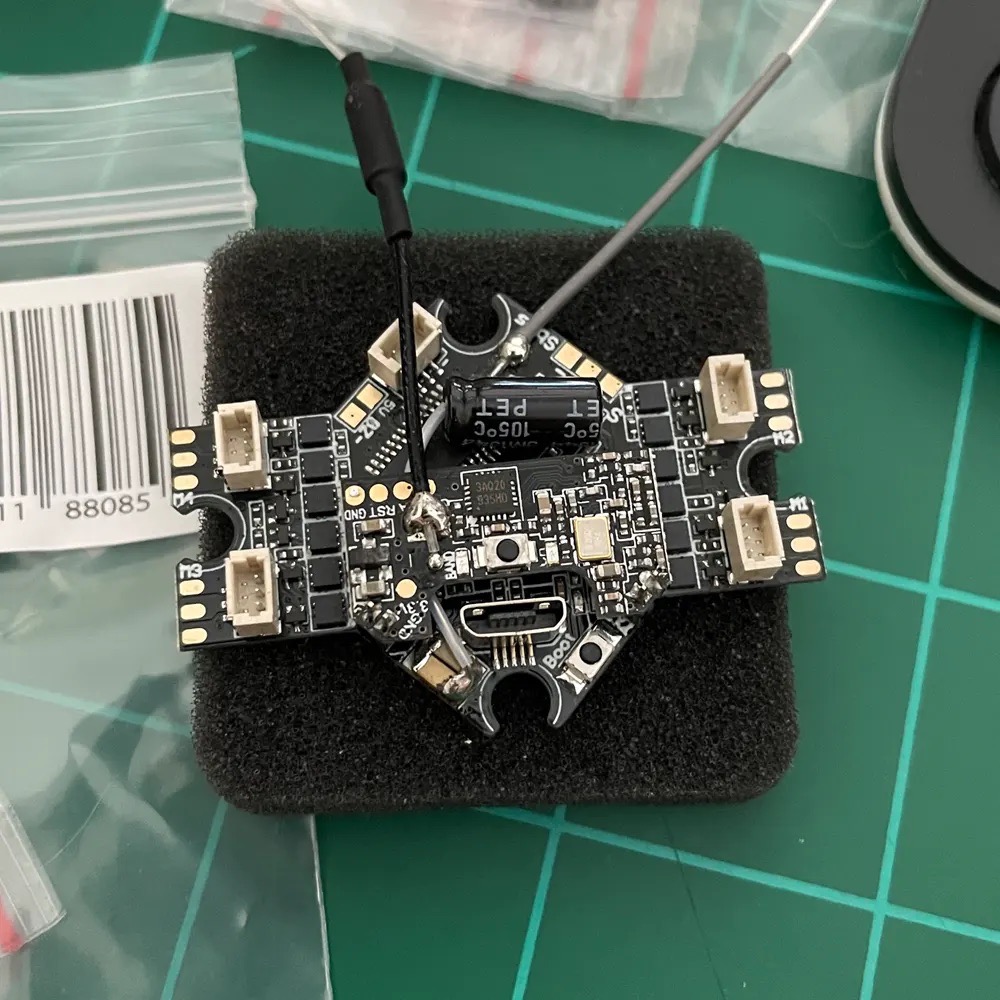
EMAX FC
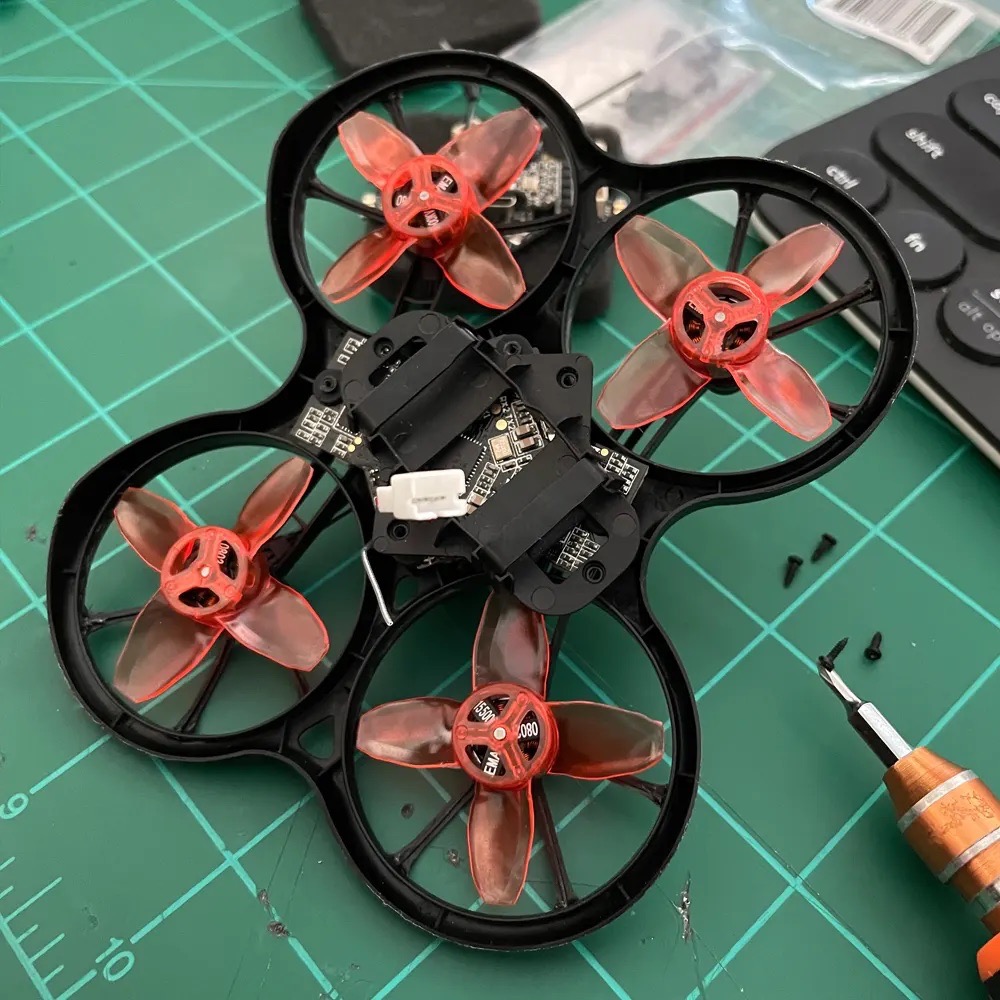
Drone Frame
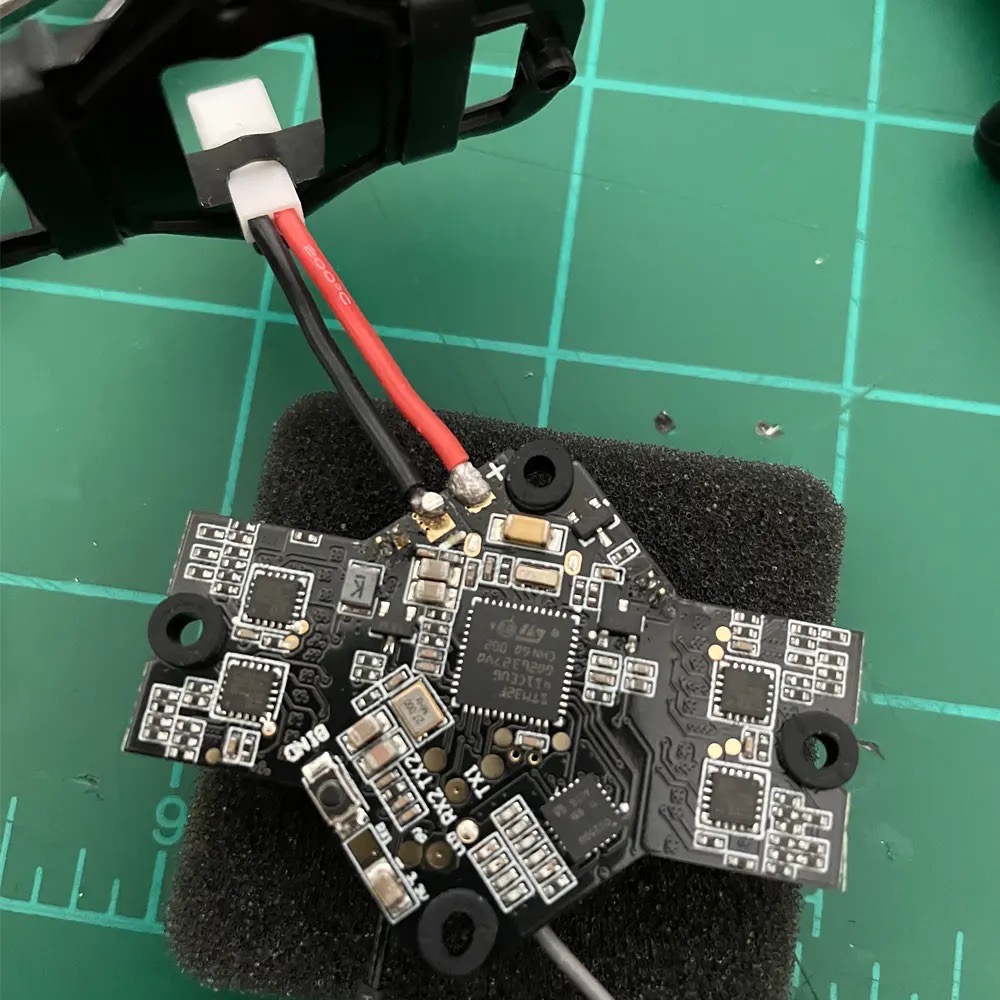
Add Connections
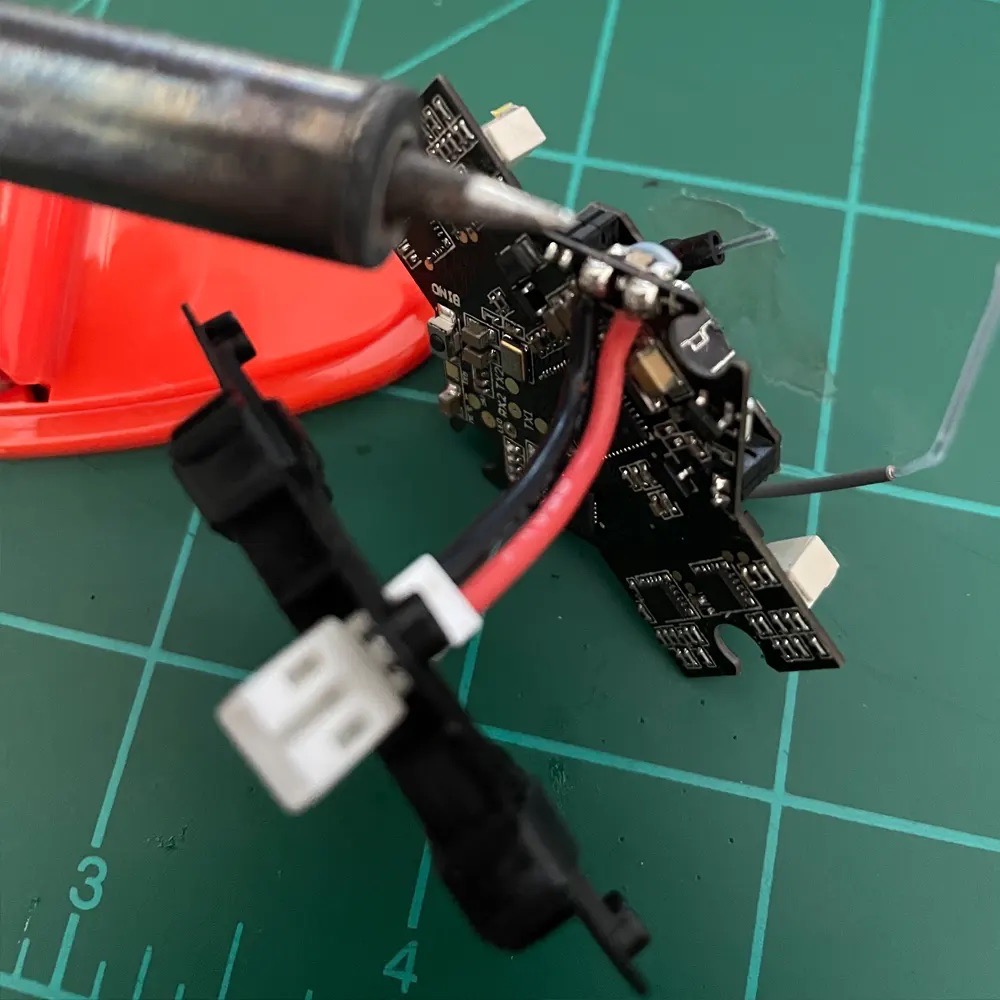
Reattach Power
Once you have all the parts, fitted, soldered and ready for flight, we will need to configure the FC. Rest, bind, configure and fly, in that order. Check out the EMAX FC and BetaFlight post for more information. You can also learn more about the repair, configuration process and in-flight troubleshooting. If you are having troubles, log into the EMAX Support Portal for assistance with your EMAX products. Lastly, I want to reiterate the steps to fix the FC – Support EMAX THS, remove EMAX FC screws from the Drone PC frame, Cut/Add Connection to Board, Re-Attach New Power Connector with the Battery Carrier”. Time has moved on since the original post, I wanted to share other Emax content where applicable. If you’re looking for Emax content, give these a shot (in reverse order from this postings date) – Emax Fix Part 1 and Part 2, Quadcopter Rewire, and the TinyHawk 2.
As usual leave a comment below, let us know what you’re thinking?
