
Let’s Kickoff the Rebuild With A Teardown
Ender Teardown, Rebuild – Start

Lab Work – Teardown Part 1
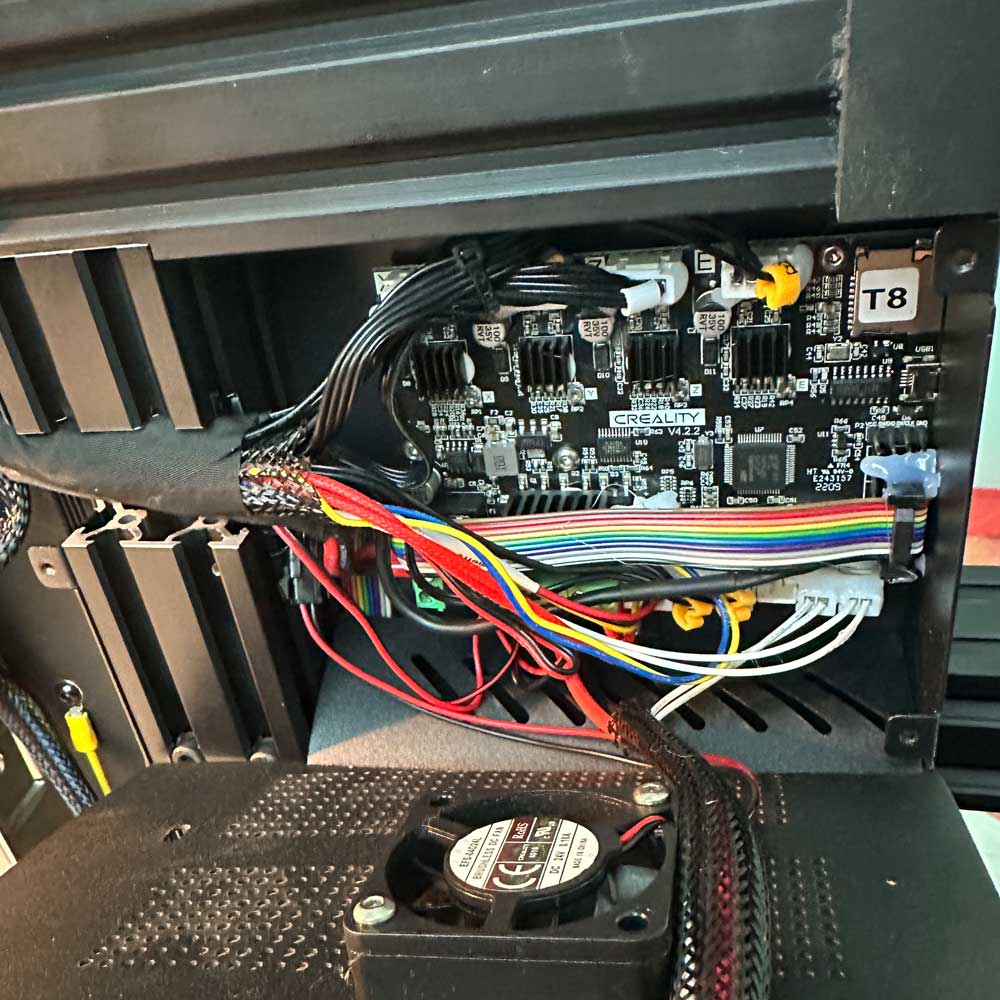
A few steps into the Ender Teardown – follow these steps to open the 3D printer housing or bottom hatch. Replace extruder wires, internal fan wires, jumpers etc. Check out the timeline below presented in editorial form.
Step One
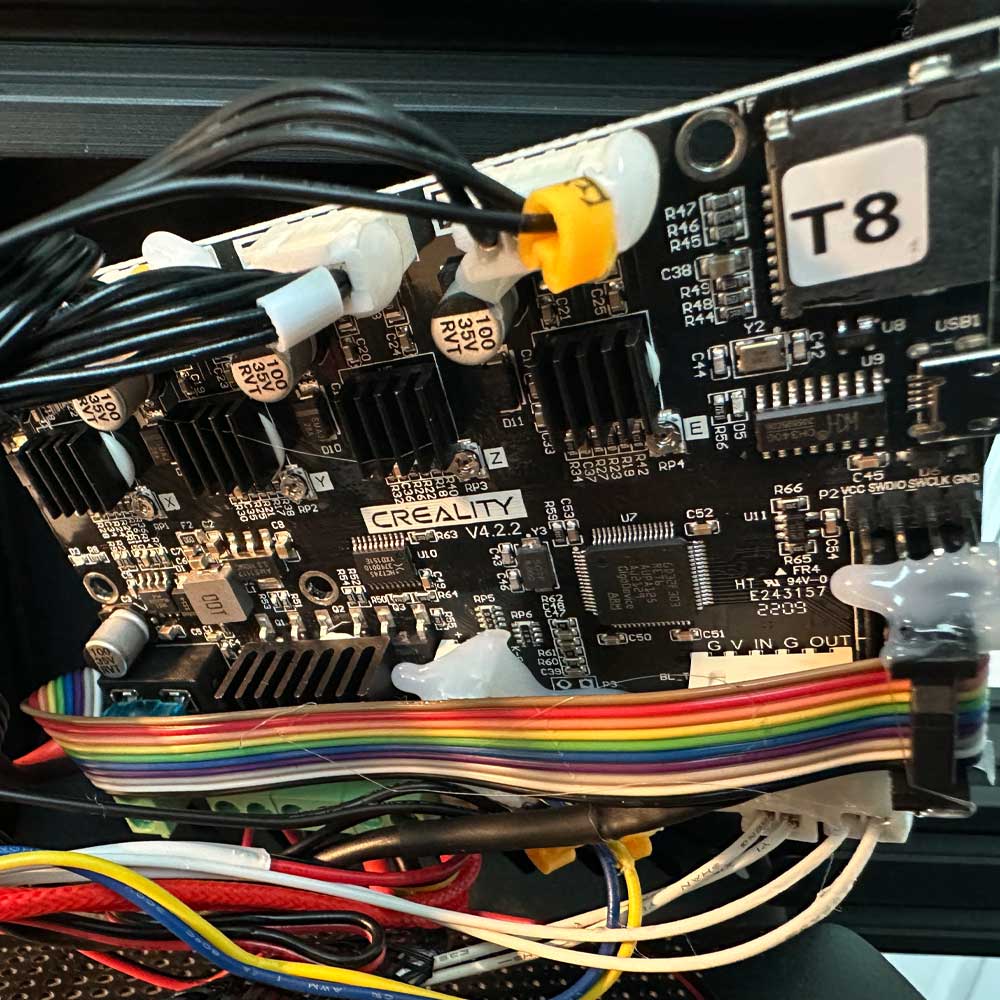
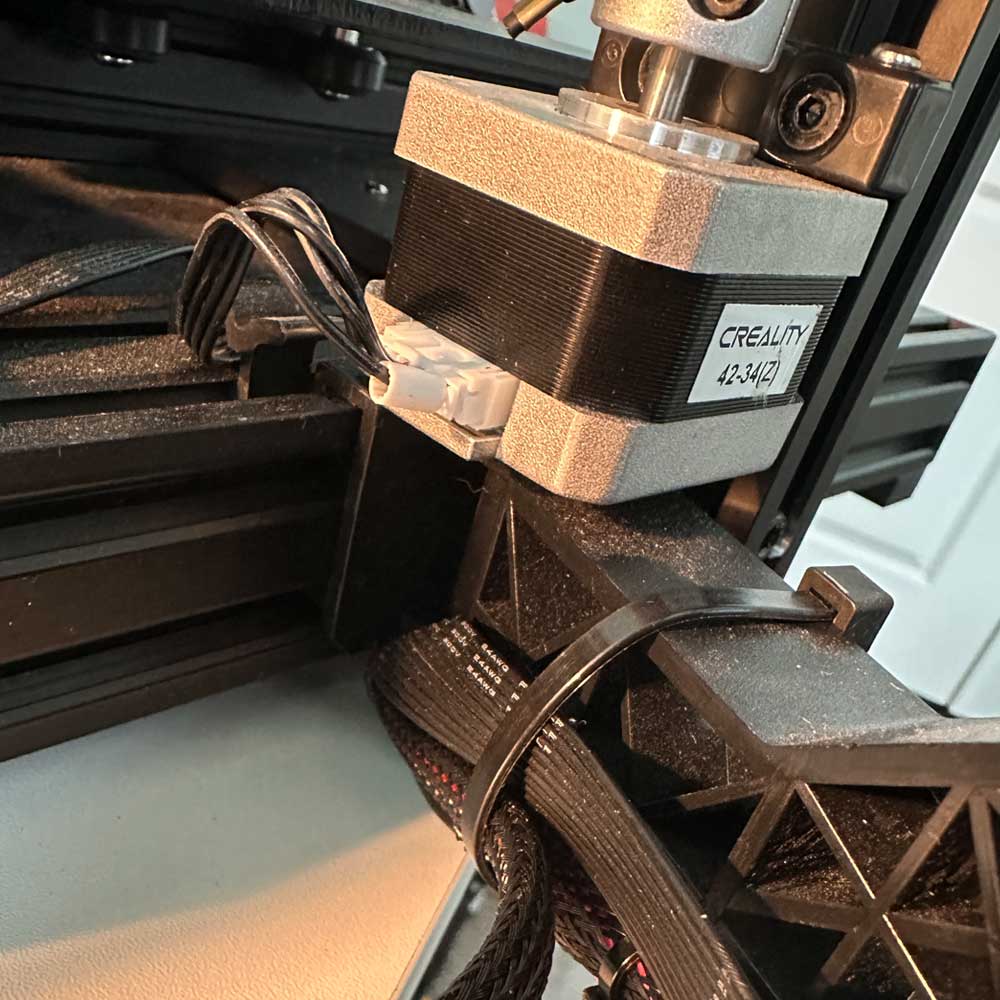
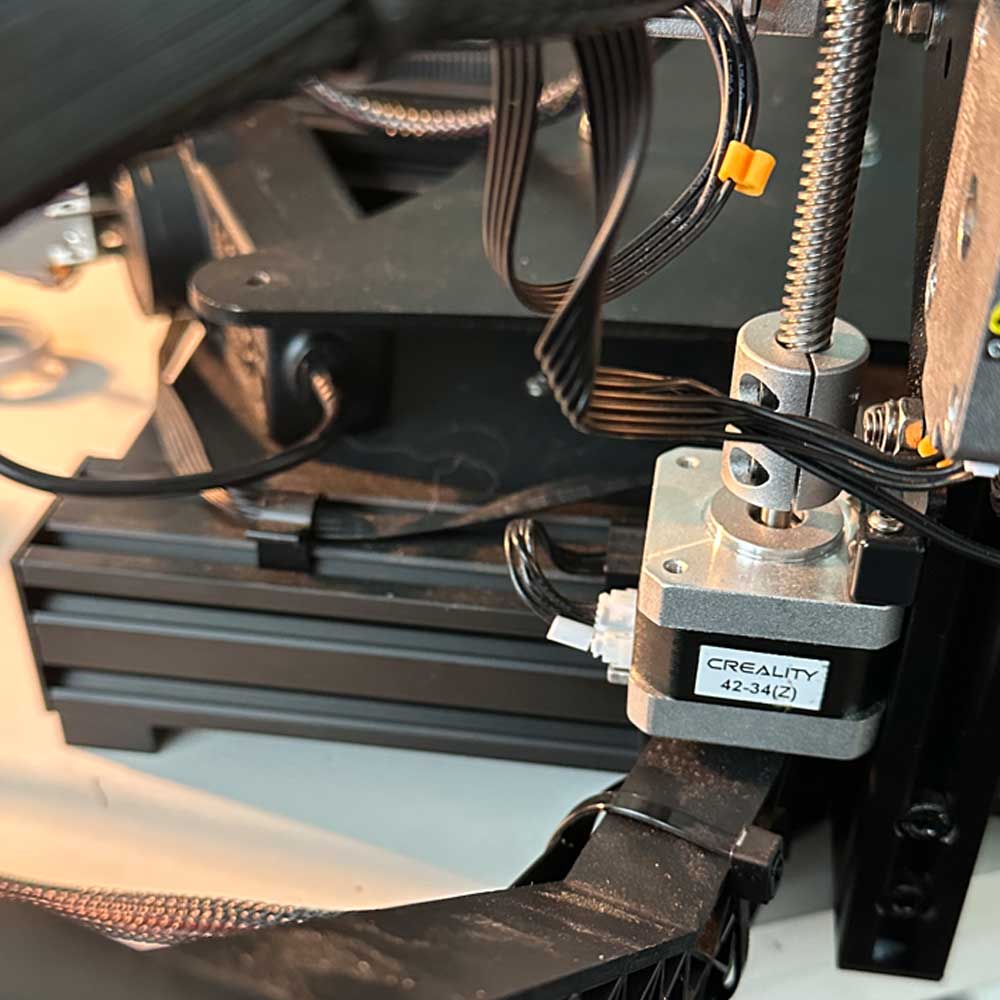
Motherboard
Old Wires
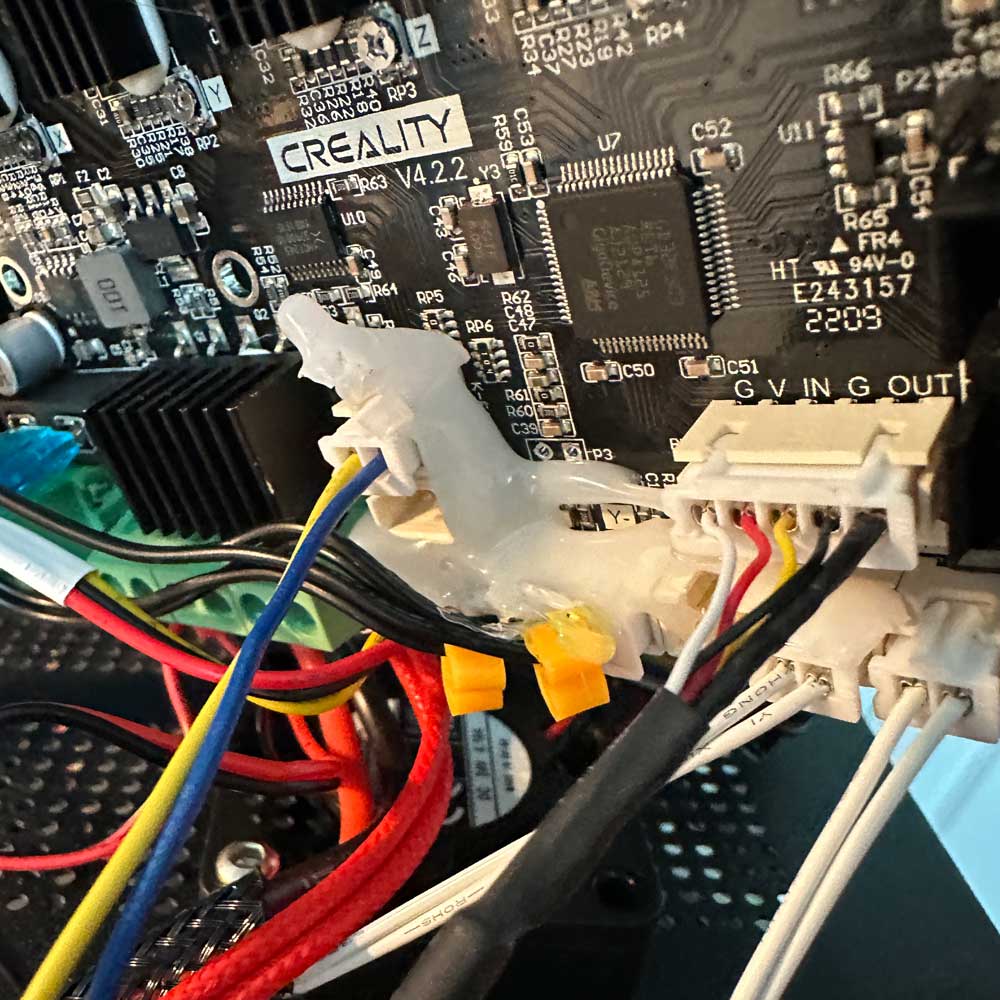
Remove Hot Glue
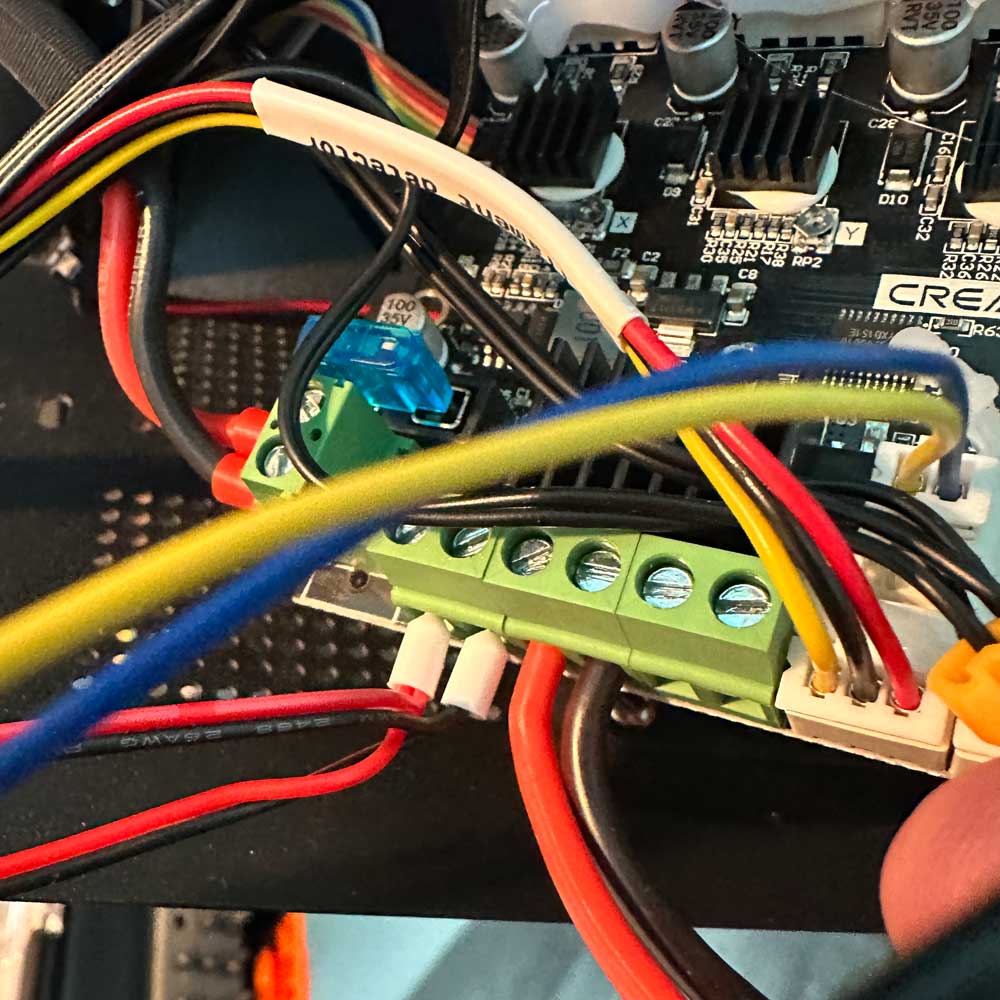
Fan Port
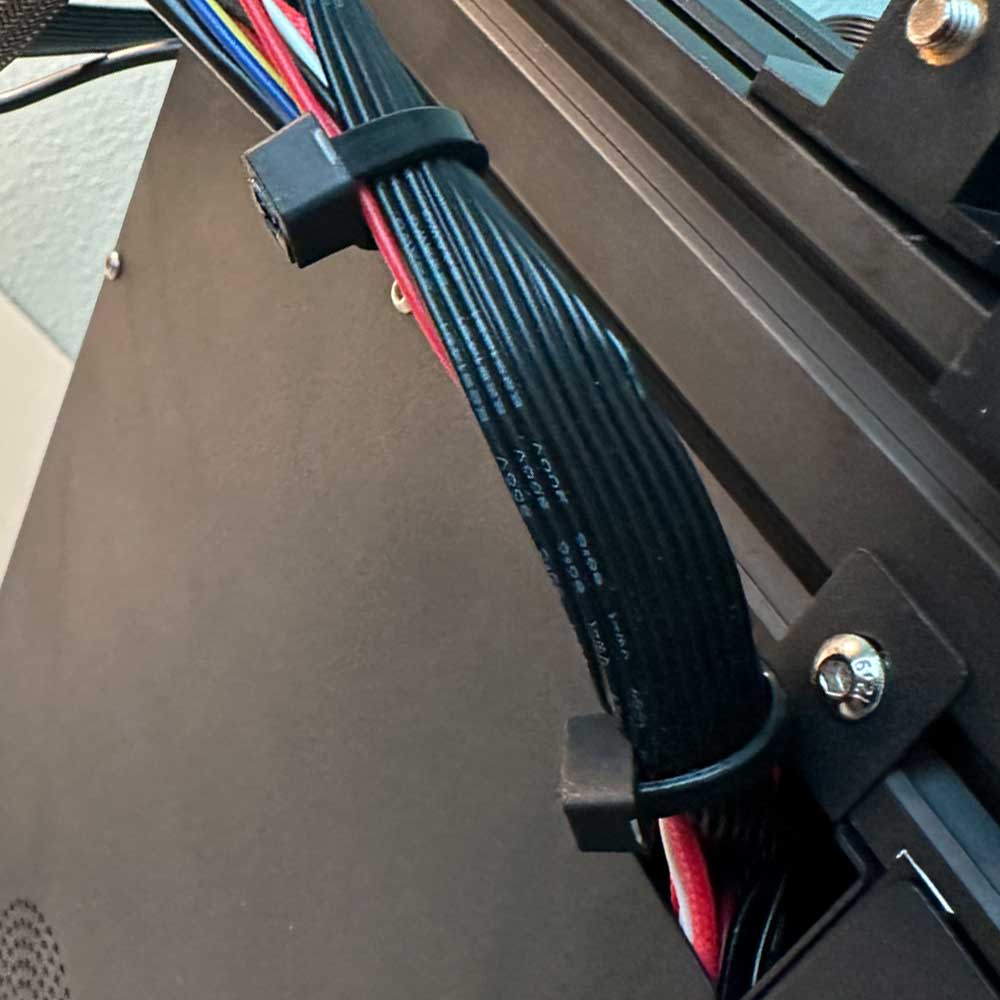
Rewrap
Reattach
Power On
Next Steps, Step 2
Voila! The first phase (teardown) is complete, and we are moving onto Rebuild Part 2, which will be more challenging. This part of the build will involve swapping the extruders from Bowden to Direct Drive and potentially replacing the back plate depending on the hardware and tools required. It’s important to note that the back plates are not identical and will need some adjustments. We plan to proceed with the swap and salvage the old plate. It shouldn’t be too difficult, especially now that we have completed part 1. Removing the hot glue can be tricky, but once you get past that and the screw, everything should go smoothly.
This seems like a good place to end. I will post another update on the tool set we used to complete the Ender Teardown. I have recently added a Klein driver set, a handy multitool to complement the new Tekprem Torx set. Check back soon for more updates in round two!